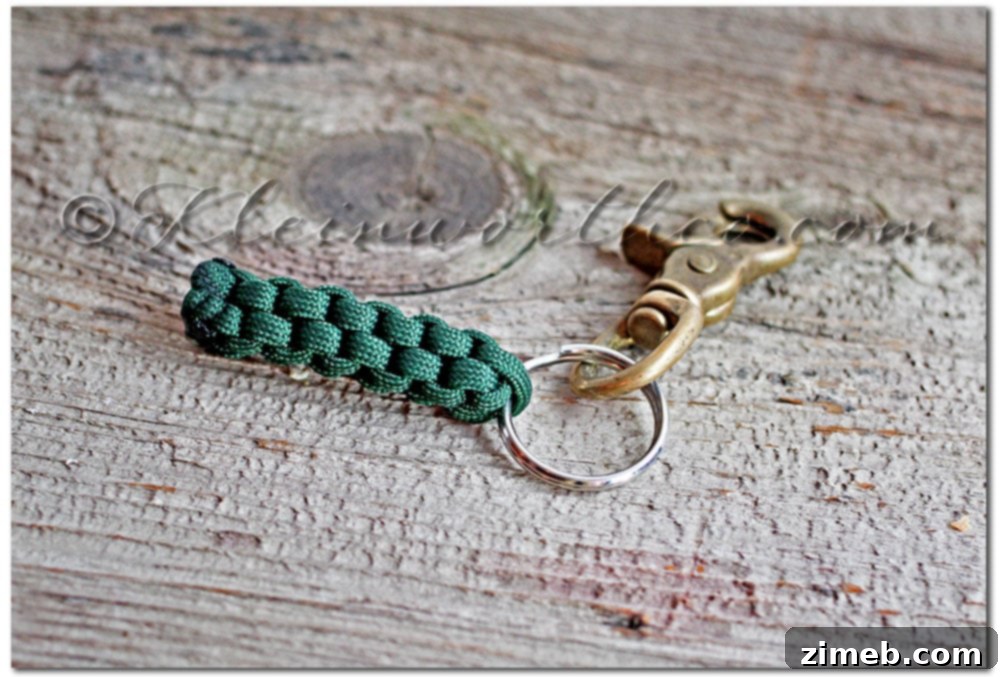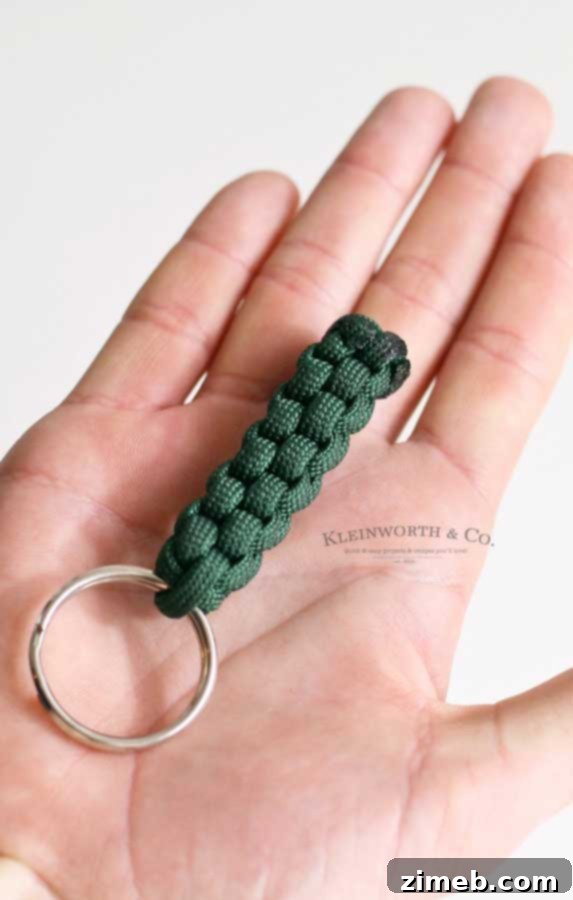
Discover how to craft your very own **Paracord Survival Keychain** with this comprehensive, easy-to-follow guide. More than just a stylish accessory, this **DIY paracord keychain** is a practical piece of **survival gear** that can be invaluable in an emergency. It makes an exceptional and thoughtful handmade gift for outdoor enthusiasts, military personnel, or anyone who appreciates preparedness – perfect for dads, brothers, uncles, grandpas, and more. Dive into this tutorial and unlock the potential of 550 paracord!
Are you searching for a unique and practical gift for Father’s Day, a birthday, or just because? Especially for those who love the outdoors, a **paracord keychain** offers both aesthetic appeal and crucial utility. The inspiration for this project often sparks from individuals who spend considerable time in environments where versatility and quick-thinking are paramount, like my son at the firehouse. He constantly innovates with paracord, creating everything from durable bracelets to this indispensable **survival keychain**. Today, we’re focusing on sharing this simple yet powerful **paracord project** so you can create your own.
Paracord keychains are ubiquitous in our household. My husband, for instance, utilizes shorter lengths as sturdy pulls on zippers for his gear bags, making them easier to access. Their popularity stems from their simplicity to create and their immense practical value. We’ve meticulously broken down each step of this **paracord keychain tutorial**, with assistance from my son, to ensure you can effortlessly follow along and master this useful craft.
Crafting Your Paracord Survival Keychain: Step-by-Step Instructions
This post contains some affiliate links. Click here to read my full disclosure policy.
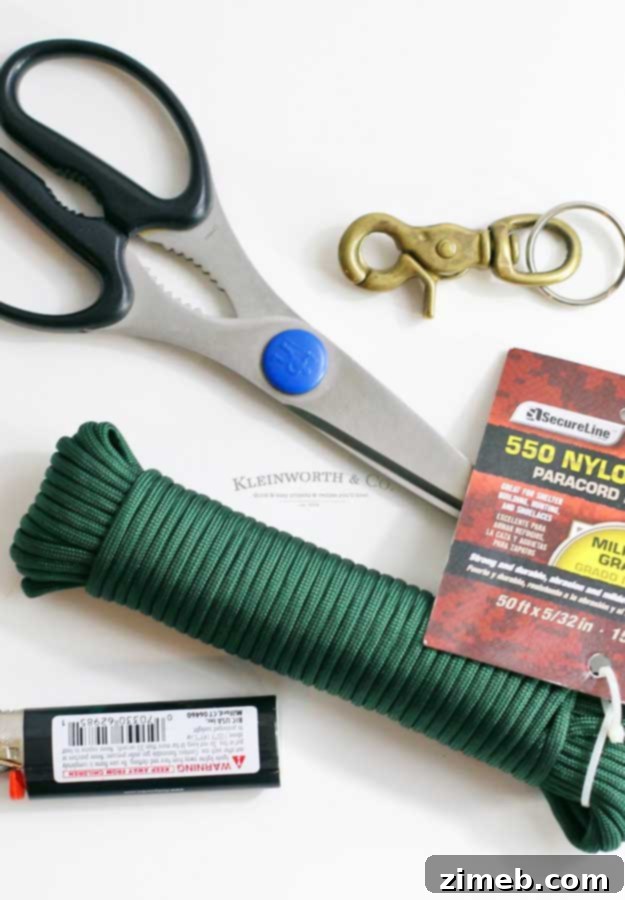
Before we begin, gathering your supplies is key. Fortunately, the materials needed for this **Paracord Survival Keychain** are straightforward, readily available, and very affordable. A single bundle of paracord can yield multiple keychains, making this an economical crafting endeavor. You’ll only need a few essential items, making it perfect for beginners and seasoned crafters alike.
Frequently Asked Questions About DIY Paracord Keychains
How long does it take to make a Paracord Survival Keychain?
The time it takes to complete a **paracord survival keychain** can vary, largely depending on your prior experience and dexterity. Your very first keychain will likely take a little longer as you familiarize yourself with the knots and techniques. However, once you grasp the basic pattern, the process becomes quite quick and intuitive. Typically, crafters can complete one of these keychains in approximately 30 minutes. The size of the keychain also plays a role; if you opt for a longer cord to create a larger fob, the weaving time will naturally extend. Don’t be discouraged by the initial learning curve – practice makes perfect, and you’ll soon be crafting these with ease!
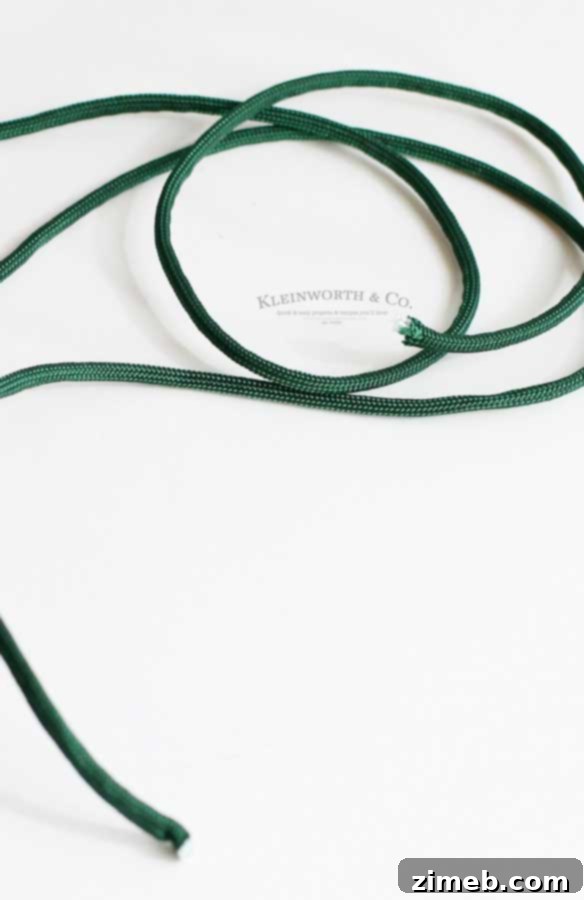
Step 1: Prepare Your Paracord. To achieve a keychain of the size shown in this tutorial, you will need to cut two distinct pieces of paracord. Each piece should measure precisely 18 inches in length.
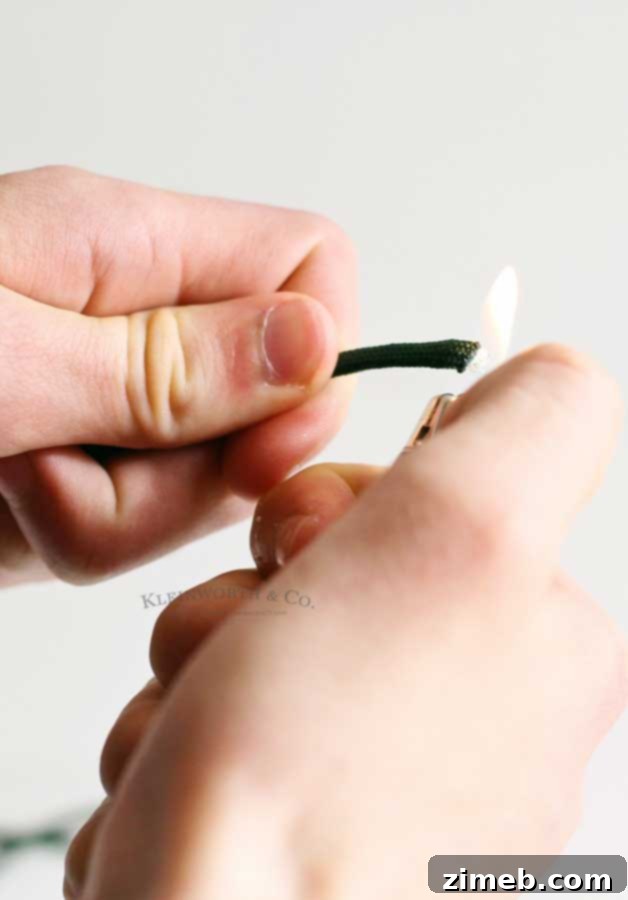
Step 2: Seal the Ends. Using a lighter, carefully and quickly pass the cut ends of both paracord pieces through a flame. This process melts the synthetic fibers, effectively sealing them and preventing any fraying, which can make weaving much more difficult. Exercise caution to avoid letting the cord actually catch fire; a brief pass is all that’s needed to melt the tips.
How to make a paracord keychain with 2 colors?
Creating a **two-color paracord keychain** is incredibly simple and adds a fantastic personalized touch to your project. The trick lies in your initial cord selection. Instead of cutting two pieces of the same color, simply choose one color for your first 18-inch cord and a different, complementary, or contrasting color for your second 18-inch cord. The beauty of this **DIY paracord project** is the endless possibilities for customization, allowing you to tailor the color scheme specifically for your recipient or to match your own style. Experiment with bold combinations or subtle blends to make each **paracord key fob** unique.
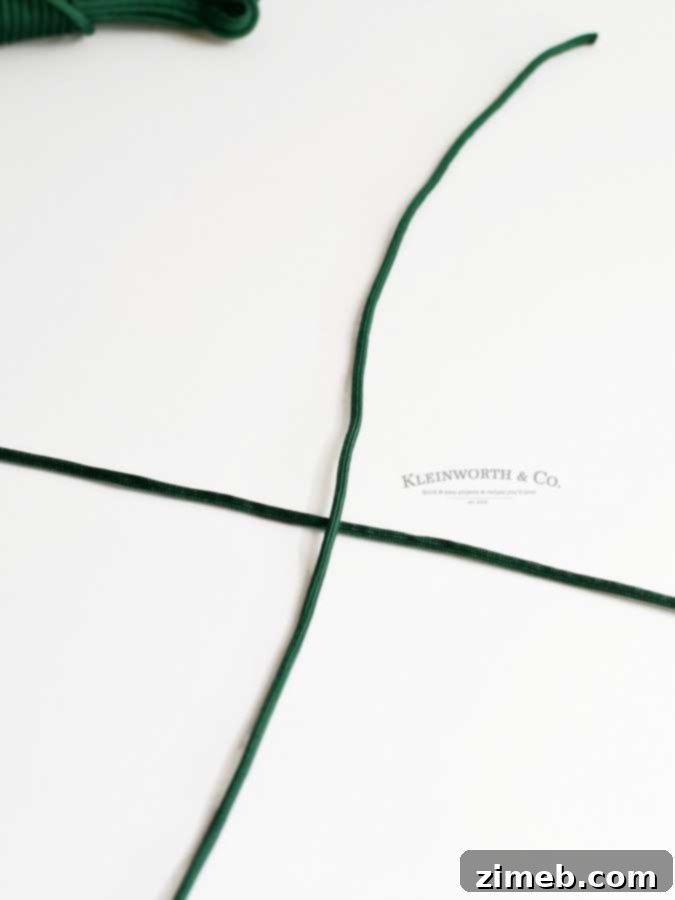
Step 3: Form the Initial Cross. On a clean, flat surface, carefully lay one piece of paracord horizontally. Then, place the second piece of paracord vertically over the first, creating a perfect cross pattern at the center. Ensure both pieces are evenly aligned before proceeding.
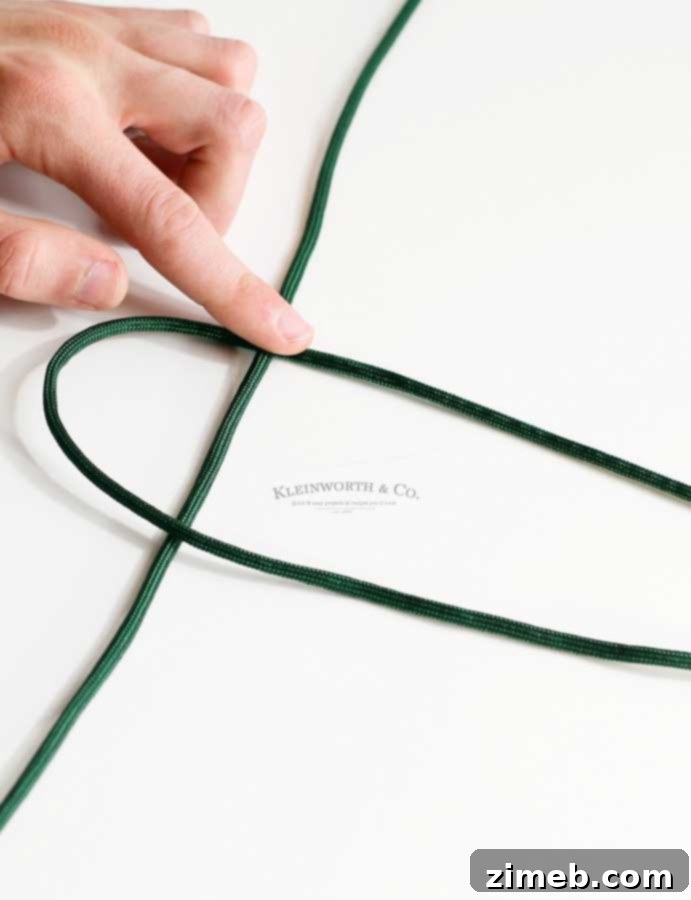
Step 4: Create the First Loop. While firmly holding the intersecting point where the two cords meet, take one of the horizontal ends and pull it over, forming a distinct U-shape. This U-shape should extend across the vertical cord that remains flat. This action initiates the knotting process and sets the foundation for your **braided paracord keychain**.
How to make a paracord keychain with beads?
Adding beads to your **paracord keychain design** can elevate its appearance and add a personal flair. The easiest and most effective way to incorporate beads into this specific pattern is to add them strategically during the weaving process, rather than attempting to thread them all onto the cord beforehand. As you progress through the knotting steps and create a new segment of your keychain, simply slide a single bead onto one of the working strands at the precise spot where you’d like it to be placed. Then, continue with the next knot, securing the bead within the weave. This method ensures that the beads are firmly integrated into the design and allows for precise placement, resulting in a beautifully embellished **custom paracord keychain**.
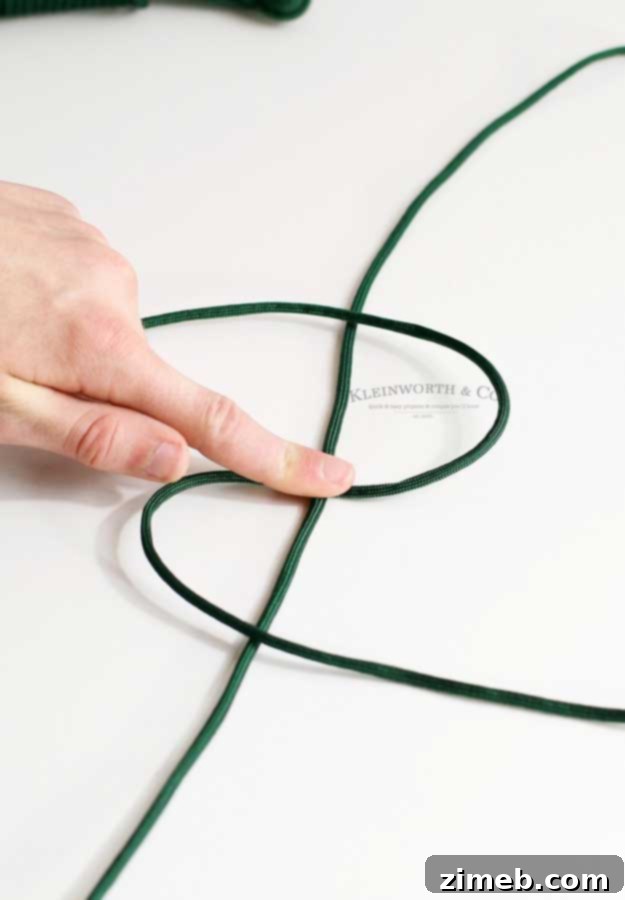
Step 5: Form the Second Loop. Continue to hold the initial intersecting point steady. Now, take the other end of the horizontal cord (the one not yet shaped) and pull it back over the straight vertical piece, forming a reverse S-shape or a mirror image of your first U-shape. This creates the symmetrical structure needed for the knot.
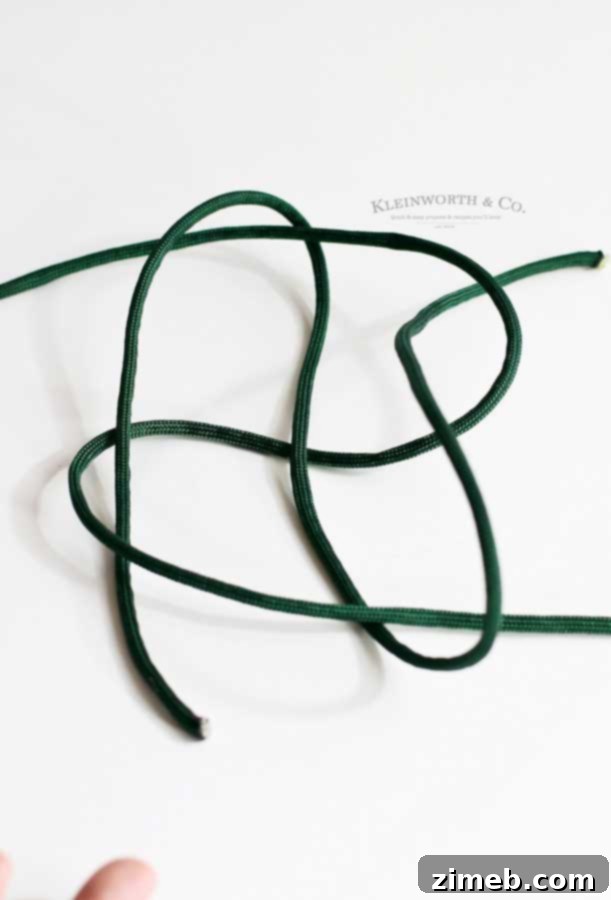
Step 6: Weave the Ends. Take the two free ends of the cords that are currently on the top. Carefully thread them through the bottom loops you’ve just created. This step interlocks the cords, beginning the formation of your initial knot.
Adding the Keyring to Your Paracord Keychain
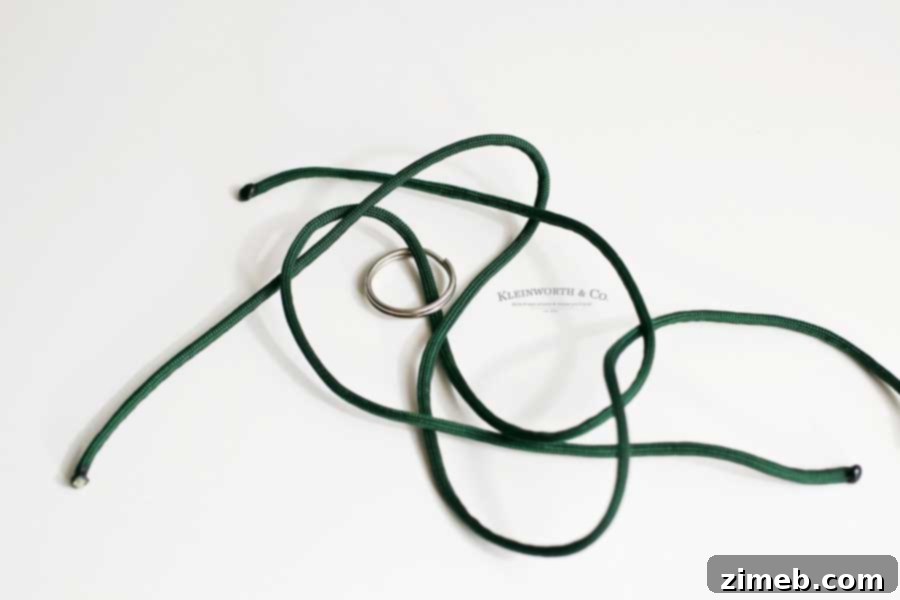
Step 7: Attach the Keyring. At this crucial stage, you will introduce your keyring. Slide the keyring onto the two central strands of the paracord. Position the keyring close to the original intersecting point where you began your knot. This spot will serve as the top of your finished **paracord key fob**, making it ready for attachment to your keys or other items.
What is a paracord survival keychain used for?
The primary purpose of a **Paracord Survival Keychain** extends far beyond simply holding your keys. The ingenious design ensures that if you ever find yourself in a dire situation, such as being stranded in the wilderness, you have immediate access to a substantial length of incredibly strong and versatile cordage. The original concept emphasizes preparedness: should an emergency arise, you can quickly unravel the keychain, gaining access to several feet of durable 550 paracord. This cord can then be used for a multitude of survival tasks – from building a shelter, setting a snare, creating a makeshift tourniquet, or even as fishing line after separating the inner strands. It’s truly a compact, everyday carry item that offers peace of mind and genuine utility.
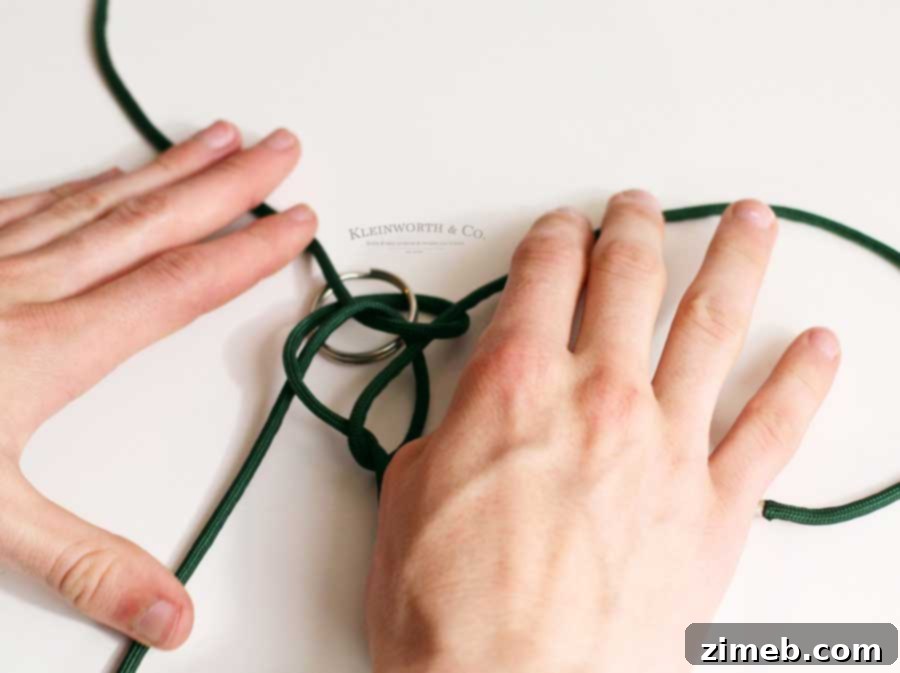
Step 8: Tighten the First Knot. Now, it’s time to carefully start pulling all four end pieces of the paracord simultaneously. This action will begin to tighten the initial knot you’ve formed. The image above illustrates what it will look like as you start to cinch it down. It is critically important to try and pull all the strands with equal pressure at the same time. This ensures that the knot tightens evenly and settles precisely where you want it, creating a neat and secure foundation for your **paracord project**. Uneven pulling can distort the knot and make the finished keychain appear lopsided.
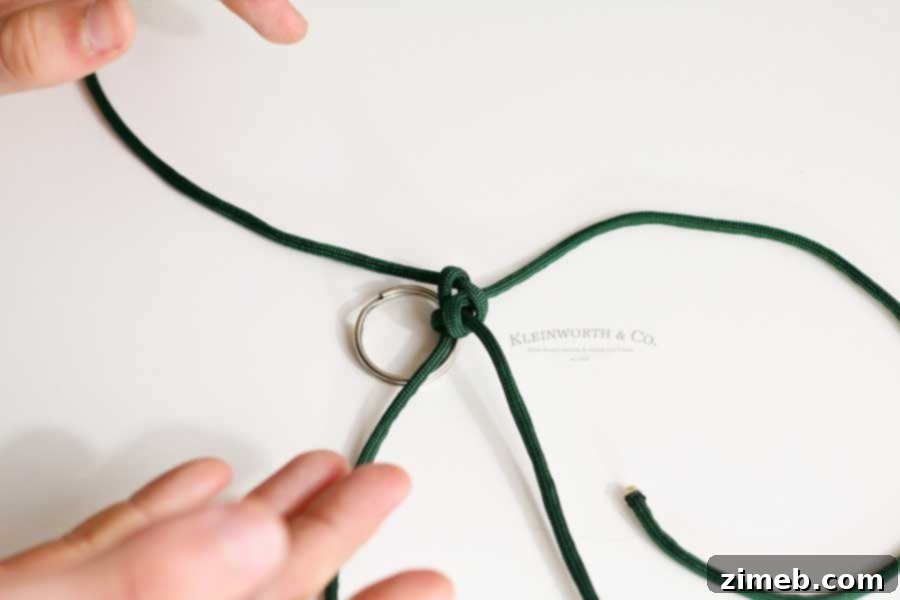
This image shows your knot nearing completion, but it’s not quite as tight as it needs to be. When crafting any **paracord design**, especially a **survival keychain**, maximizing tension is essential for durability and a professional finish. If your knot looks like the one above, keep pulling! Ensure each strand is pulled individually and then collectively, applying as much force as comfortably possible to make the knot incredibly snug and firm against the keyring. A truly tight knot prevents unraveling and maintains the integrity of the **braided paracord**.
Mastering the Simple Paracord Keychain Knot
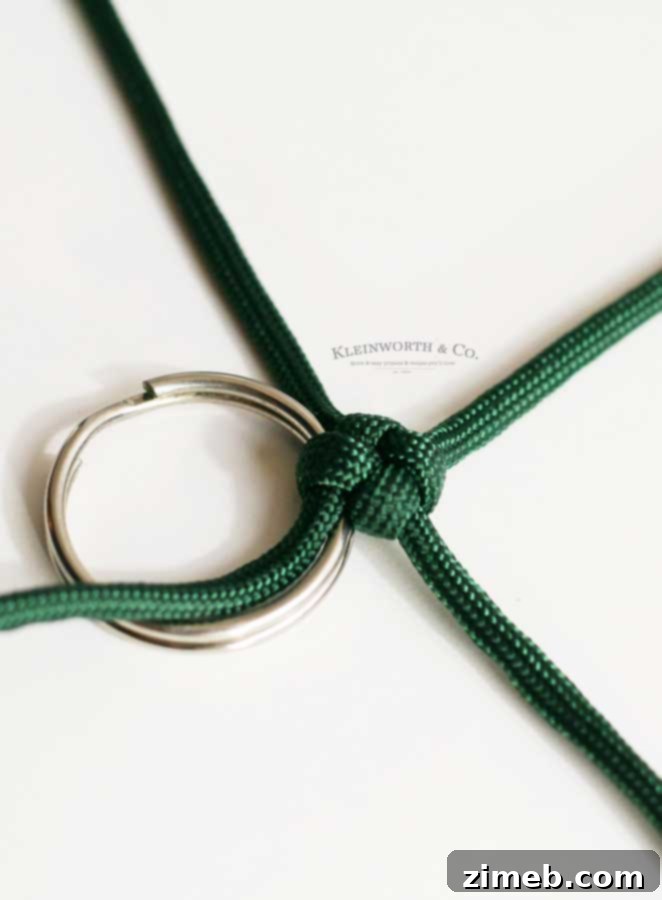
This is the ideal appearance of your first knot: perfectly tight and neatly formed, creating a solid base for the rest of your **paracord keychain**.
What are some common uses for paracord?
Paracord, particularly 550 paracord, is an incredibly versatile and invaluable tool for countless situations, both everyday and emergency. Its strength and multi-strand construction make it exceptionally handy to have. Beyond the **paracord survival keychain**, here are some favorite uses: securing a tarp to trees for shelter, creating a sturdy lanyard to hold essential items like a whistle or knife, fashioning an emergency wristband, crafting a makeshift fishing line by utilizing the thinner inner strands, replacing broken boot laces, or even using a single inner strand as dental floss in a pinch. It can also be braided into a durable dog leash. Remember, the true genius of paracord lies in its ability to be disassembled, allowing you to use individual strands for finer tasks while the outer sheath provides robust support. It’s an essential item for any **survival kit** or outdoor adventure.
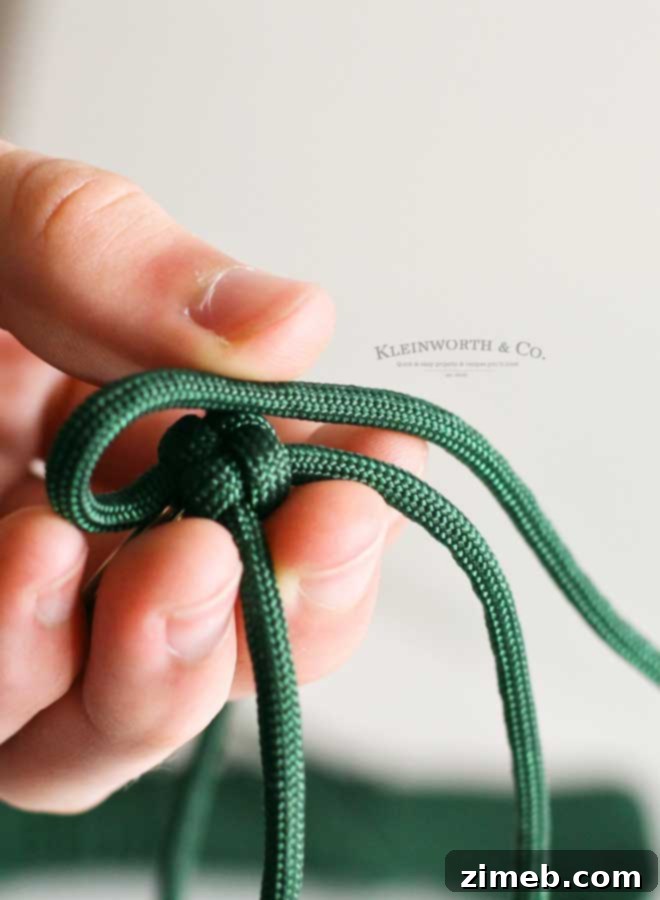
Step 9: Start the Weave Pattern – First Fold. Now, take one of the four strings that are currently extending from your tightened knot. Fold this string over the top of the knot, creating a small, open loop. This begins the intricate weaving pattern that forms the body of your **paracord keychain**.
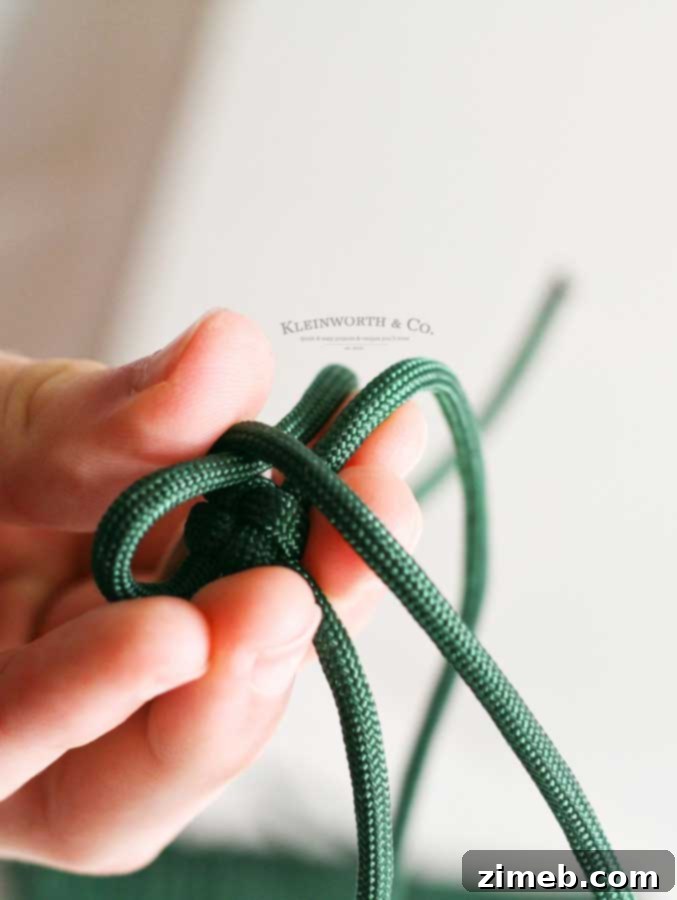
Step 10: Second Fold (Clockwise). Proceeding clockwise around your knot, take the next string in sequence. Fold this string over the top of the previous fold, ensuring it overlaps and continues the pattern. Maintain an even tension as you make these folds to keep the structure uniform.
DIY Paracord Keychain Weaving Techniques
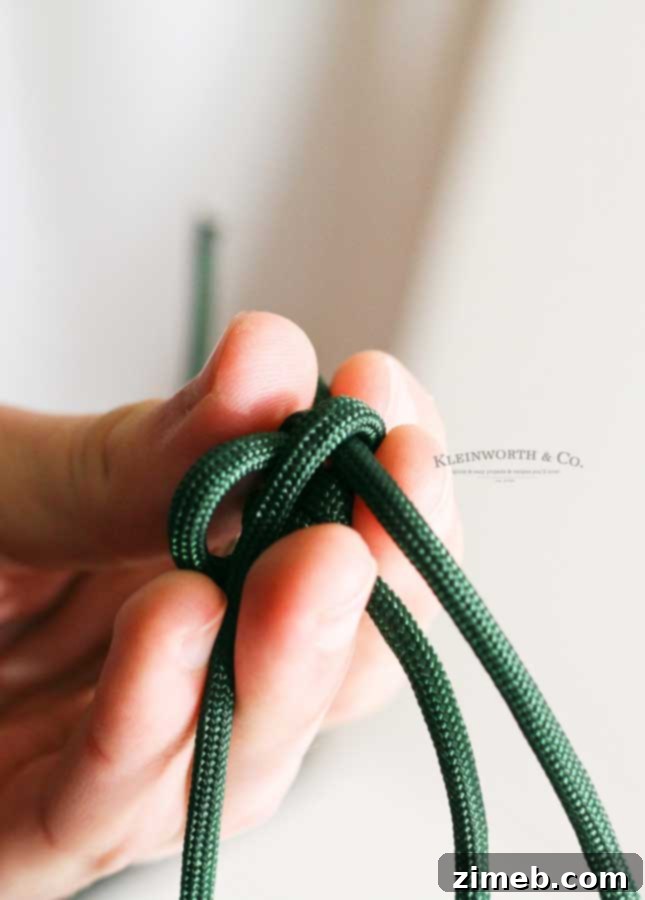
Step 11: Third Fold. Following the clockwise direction, pick up the third string. Fold it over the top of the preceding strings, directing it towards you. This sequence of folds builds the base of your subsequent knots and defines the aesthetic of your **braided keychain**.
Can paracord get wet?
Yes, **paracord** can absolutely get wet, and it handles moisture exceptionally well. Since it’s made from synthetic materials, typically nylon, it doesn’t absorb water like natural fibers, which means it won’t rot or mildew. A significant advantage is its quick-drying properties, making it ideal for outdoor and marine applications. However, there are a couple of points to note: when paracord gets wet, the fibers tend to swell slightly and become less silky, which can make untying knots significantly harder. Additionally, the first time new paracord is submerged in water, it will typically shrink by about ¼ inch. This initial shrinkage is a one-time occurrence; it will not continue to shrink with every subsequent exposure to water. This resilience to moisture makes **paracord keychains** a reliable accessory for any weather condition.
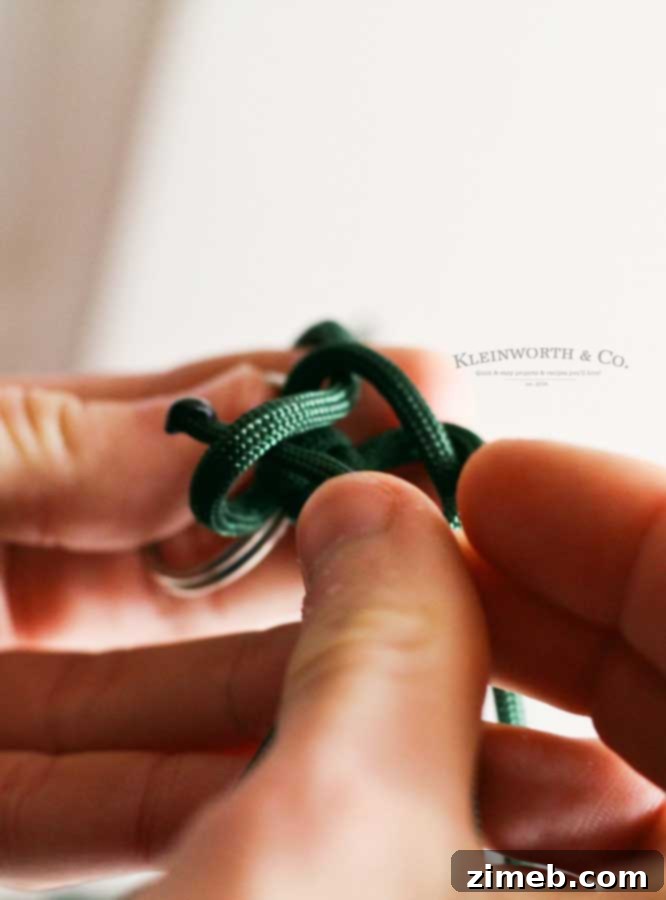
Step 12: Complete the Weave. Take the fourth and final string in your sequence. This string will not be folded over but rather slipped *through* the very first loop you created with the initial string. This action effectively interlocks all four strands, closing the knot.
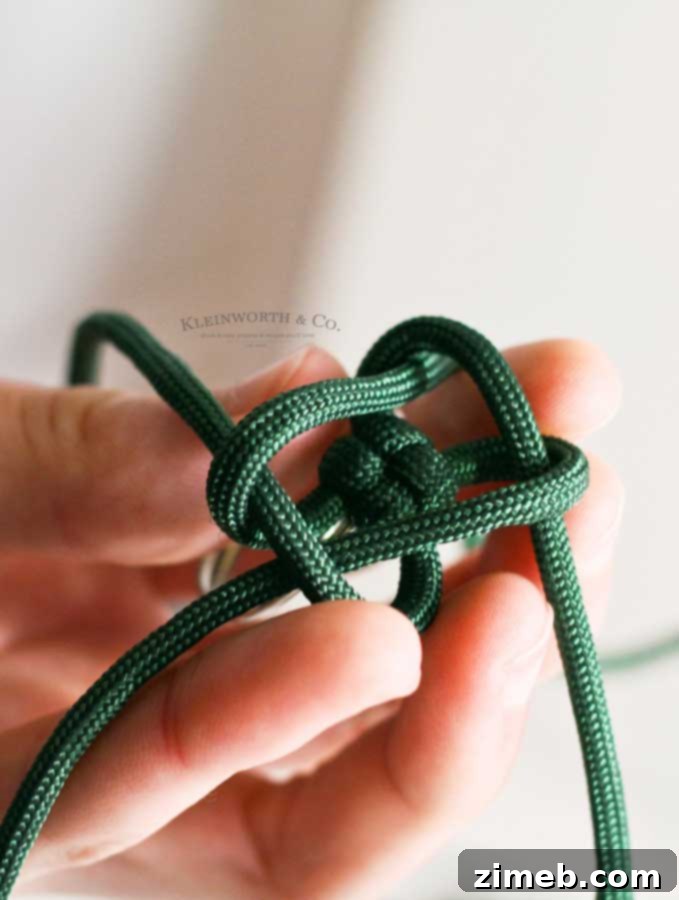
Step 13: Tighten the Knot. After slipping the last string through the loop, your arrangement should resemble the image above. Now, firmly and evenly pull all four strings outwards. This will cinch the knot tightly, drawing all the woven pieces together to form a compact and secure segment of your **paracord keychain**. Ensuring maximum tightness here is crucial for the keychain’s durability and neat appearance.
How strong is 550 paracord?
The common “550 paracord,” specifically Type III commercial paracord, earns its name from its impressive strength rating. It is nominally rated with a minimum breaking strength of 550 pounds (approximately 250 kilograms). This remarkable strength comes from its construction: an outer nylon sheath woven around seven inner strands, each composed of three individual twisted yarns. This multi-strand core provides exceptional resilience, allowing it to withstand significant tension and weight. Its strength-to-weight ratio is why it became a staple in parachutes and why it’s so highly valued for **survival applications** and **DIY paracord projects** like our keychain. This robust cordage can literally be a lifeline in critical situations.
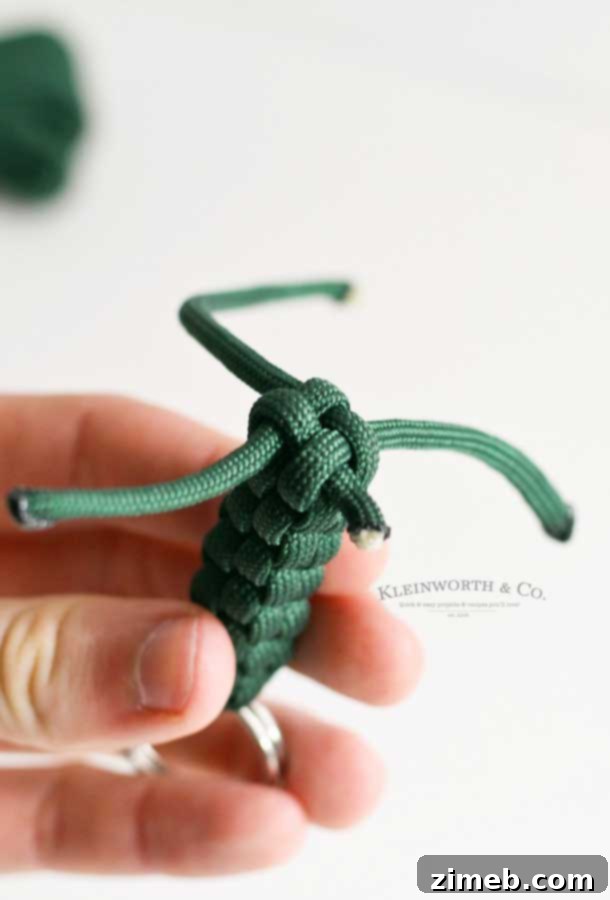
Step 14: Repeat the Pattern. Continue repeating Steps 9 through 13. This involves folding the first three strings clockwise and then slipping the fourth string through the loop created by the first, followed by tightening all strands. Continue this rhythmic weaving process until you have used up almost all of your paracord, leaving just enough to secure the ends.
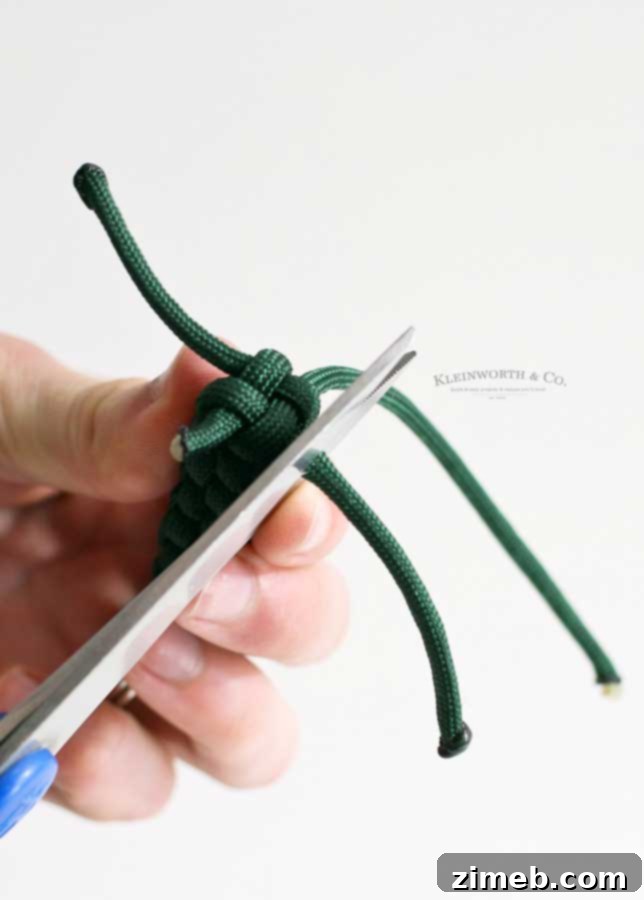
Step 15: Trim Excess Cord. Once your **paracord keychain** has reached the desired length, or you’ve run out of cord to continue the pattern, it’s time to trim the excess. Using sharp scissors, cut each of the four remaining end pieces, leaving approximately 1/8 inch to 1/4 inch of cord protruding from the last knot. It’s vital not to cut them too short, as this could cause the entire keychain to unravel prematurely.
Finishing Your Paracord Key Fob
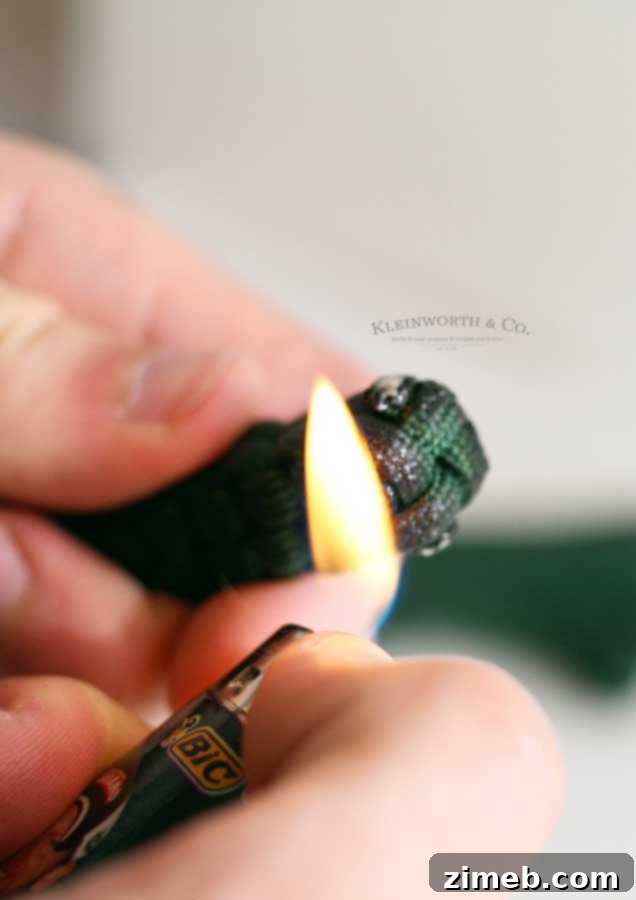
Step 16: Seal the Ends Securely. With a lighter, carefully melt the trimmed ends that are still sticking out. Briefly pass each cut end through the flame, allowing the synthetic material to melt and soften. Once melted, you can gently press the warm, molten paracord against the adjacent knot with a metal object (like the back of a spoon or a pair of pliers) to create a flat, secure seal. This crucial step prevents the ends from fraying and ensures the entire **paracord key fob** remains tightly woven and durable. Remember to be cautious to avoid burning yourself or catching the cord on fire.
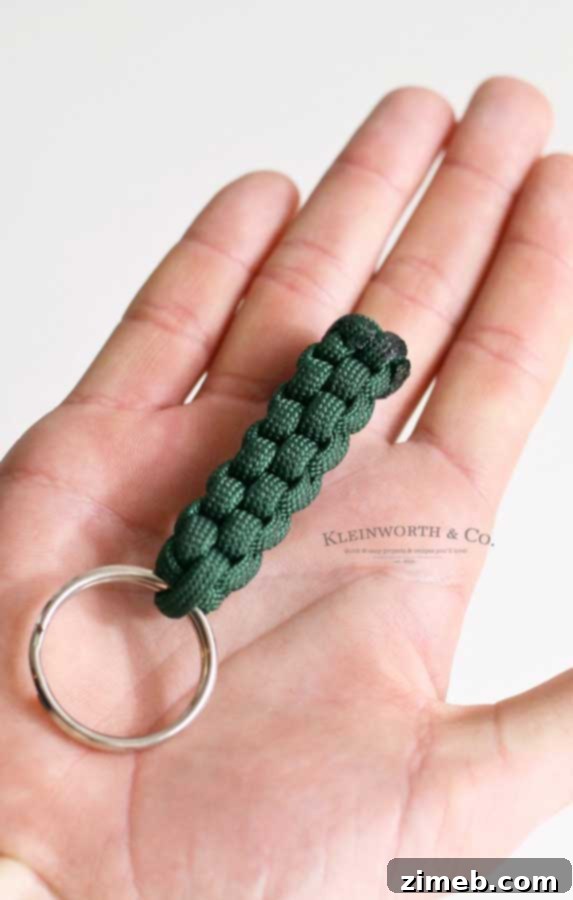
There you have it! Your very own finished **simple paracord keychain**, ready to accompany you on your adventures or be gifted to someone special. This durable and practical **DIY survival keychain** is not only a symbol of readiness but also a testament to your crafting skills. It’s sure to be cherished by anyone who receives it, embodying both thoughtfulness and utility.
Summary: How to Make a Paracord Keychain
- Cut two pieces of paracord, each 18 inches long, for this keychain size.
- Carefully burn the ends of the cord with a lighter to melt and prevent fraying.
- Lay the two paracord pieces in a cross pattern on a flat surface.
- While holding the intersection, pull one side over to form a U-shape across the flat piece.
- Continuing to hold the intersection, pull the other end of the cord back over the straight piece to form a backward S.
- Thread the ends of the top strings through the bottom loops you’ve created.
- Slide your keyring onto the central cords and position it near the initial intersecting point.
- Begin pulling all four end pieces simultaneously to tighten the first knot evenly.
- Fold one string over the top of the knot, creating a small loop.
- Working clockwise, fold the next string over the top of the previous fold.
- Fold the third string over towards you, continuing the clockwise pattern.
- Slip the fourth string through the loop that was created with the first string.
- Tightly pull all four strings to cinch the knot securely.
- Repeat the last five steps (Steps 9-13) until your keychain reaches the desired length or you run out of cord.
- Trim the remaining end pieces, leaving approximately 1/8″ to 1/4″ of cord sticking out.
- Carefully burn the trimmed ends to melt the cord and prevent it from unraveling.
PARACORD KEYCHAIN DESIGNS
To make this simple paracord keychain you will need:
- Paracord – choose your preferred color(s) for a personalized touch.
- Sharp scissors – essential for clean, precise cuts.
- Keyring – select a size appropriate for your keys or desired use.
- Cigarette lighter – for safely sealing the cord ends to prevent fraying.
Recommended Products for Your DIY Paracord Keychain Project:
Crafting these **paracord keychains** is a surprisingly simple and rewarding experience. All the necessary items can typically be found at your local crafting store, a big box retailer, or even a hardware store. If you’re new to making homemade **paracord key fobs**, you might feel a little apprehensive, but rest assured, this beginner-friendly project is incredibly satisfying. Below, I’ve compiled a list of my go-to items – the absolute essentials for creating this easy and thoughtful handmade gift.
- High-Quality Paracord
- Sharp Craft Scissors
- Durable Keyrings
- Brass Keyring Clips (for added versatility)
- Reliable Lighter
- Multi-colored Paracord Packs (for creative designs)
- Paracord Project Kits (great for beginners)
This **paracord survival keychain** is more than just a craft; it’s a statement of preparedness and a truly unique gift for anyone on your list.
Beyond the Paracord Keychain: More Creative Instructions & Ideas
If you’ve enjoyed mastering this **paracord key fob tutorial**, you’ll undoubtedly love these other exciting and easy **DIY project ideas**. Each link below leads to a full tutorial, so you can continue exploring the versatile world of paracord and other creative crafts!
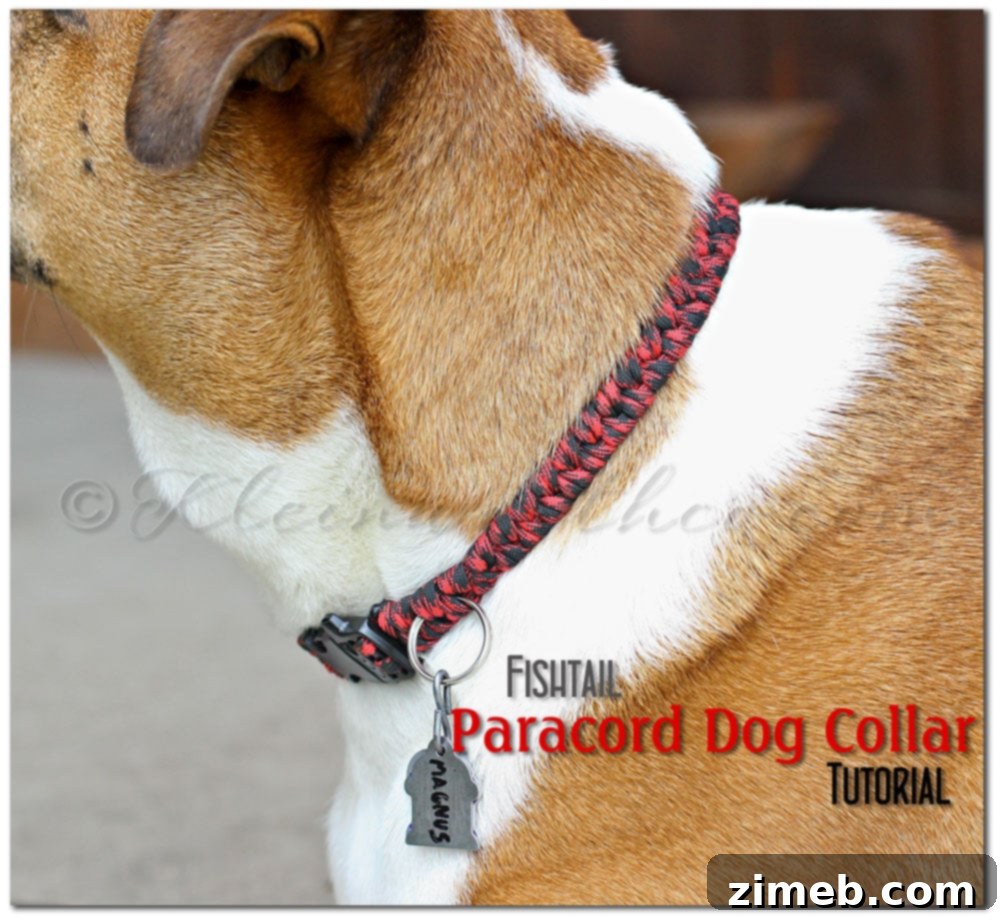
Fishtail Paracord Dog Collar
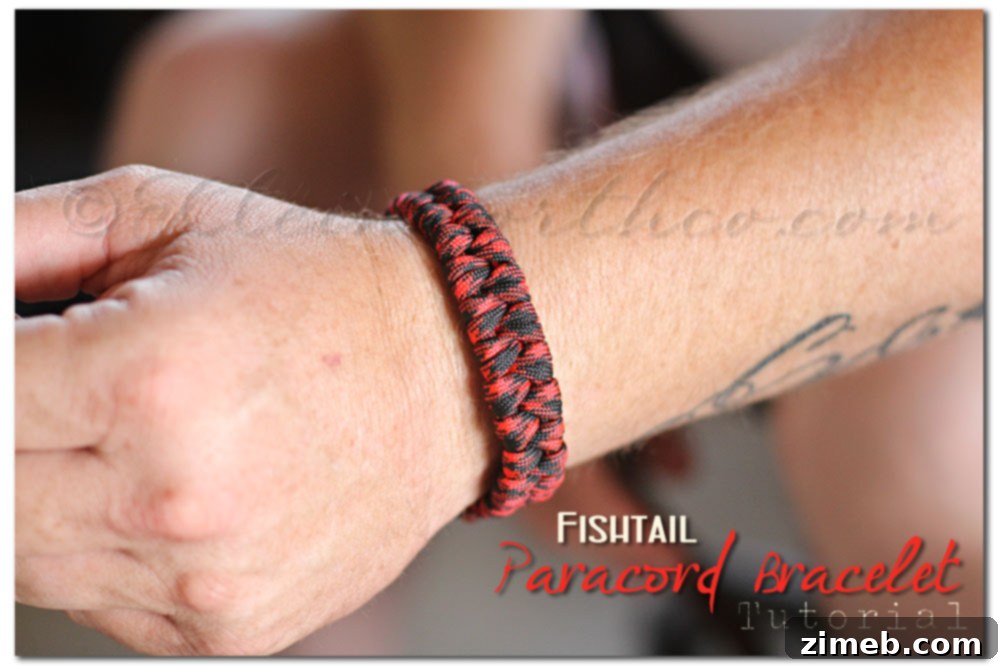
Fishtail Paracord Bracelet

Vintage Lighted Shop Sign
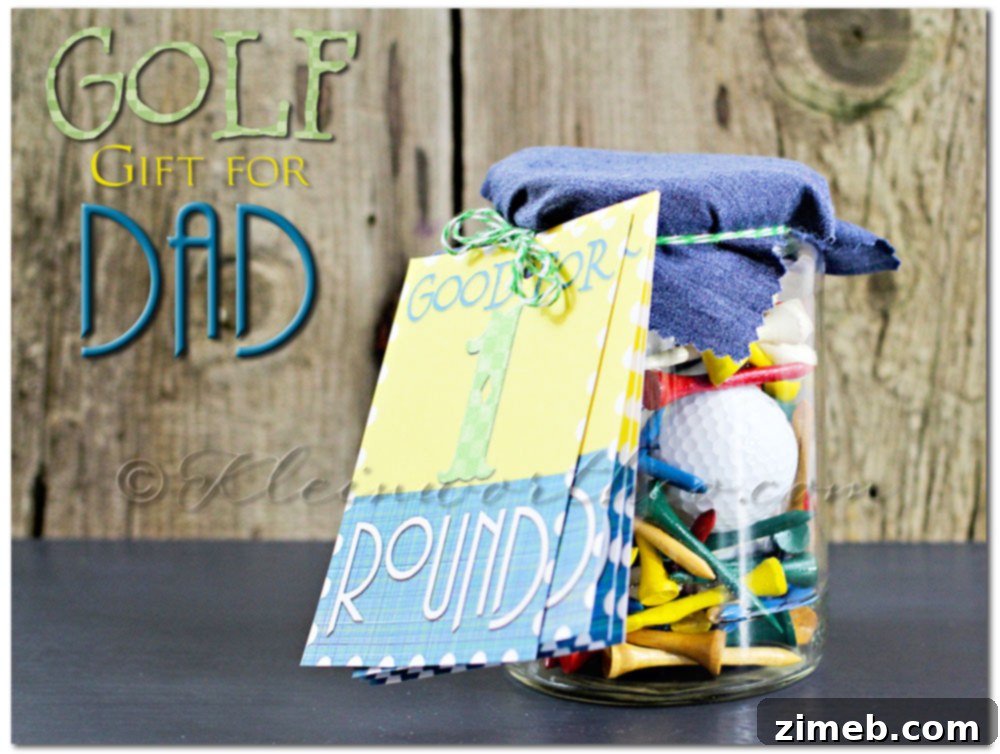
Golf Gifts for Dad
Share Your Parachute Cord Keychain Creations!
We hope you’ve found this **paracord keychain tutorial** as enjoyable and informative as we did creating it! If you’re proud of your new **parachute cord keychain** or found this guide helpful, please consider sharing it with your friends and family on Facebook and Pinterest. Your support helps us continue to bring you more exciting **DIY projects** and **survival gear** tips.
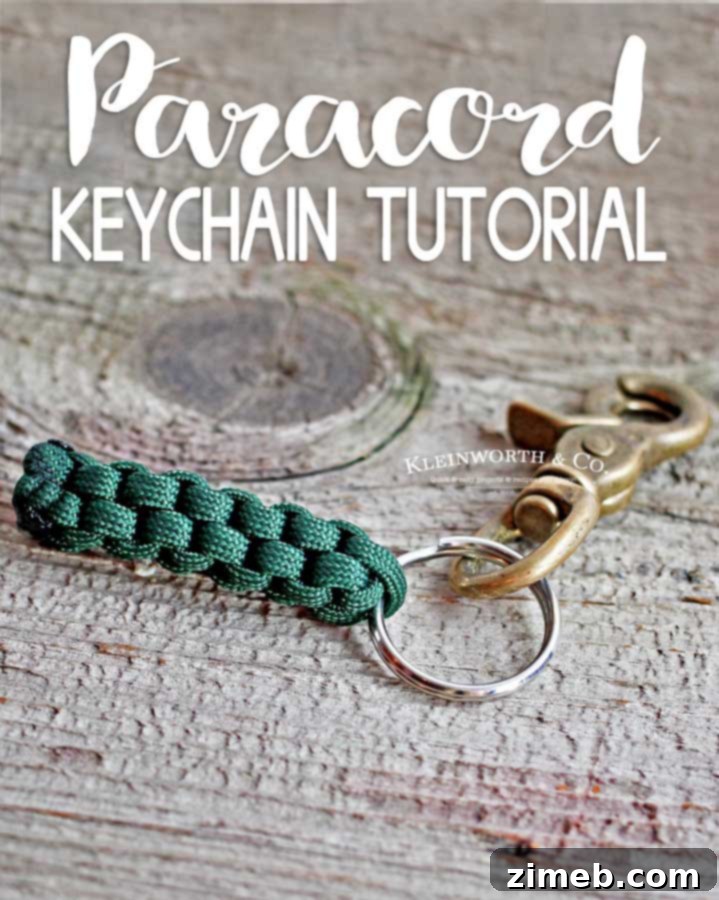
CONNECT WITH KLEINWORTH & CO!
Be sure to follow me on my social media, so you never miss a post!
FB, Pinterest, IG, Email Subscription
Don’t miss these other inspiring ideas from talented bloggers:
Homemade Old Bay BBQ Sauce | Happy Go Lucky Blog
Monster Trail Mix Father’s Day Gift | Lil’ Luna