
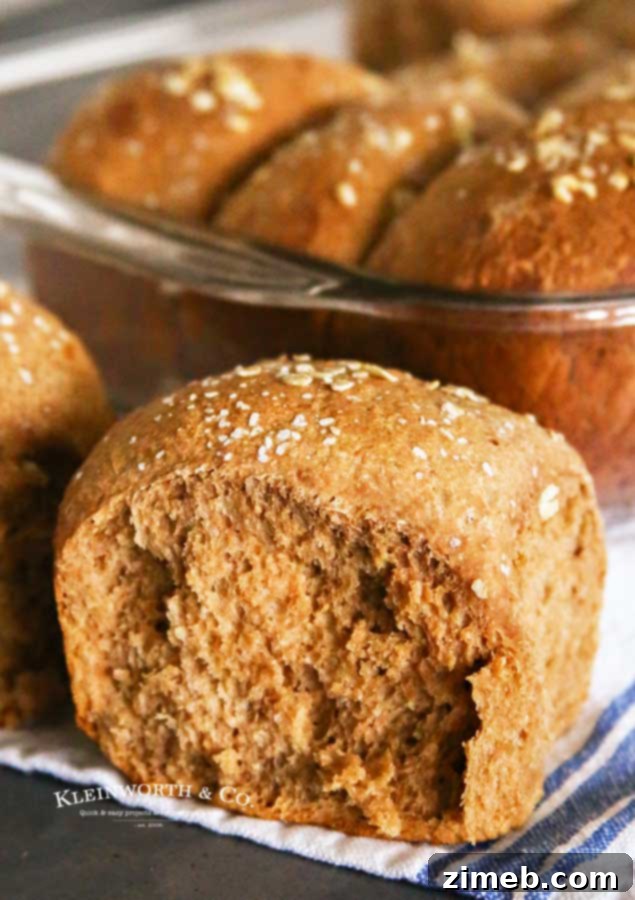
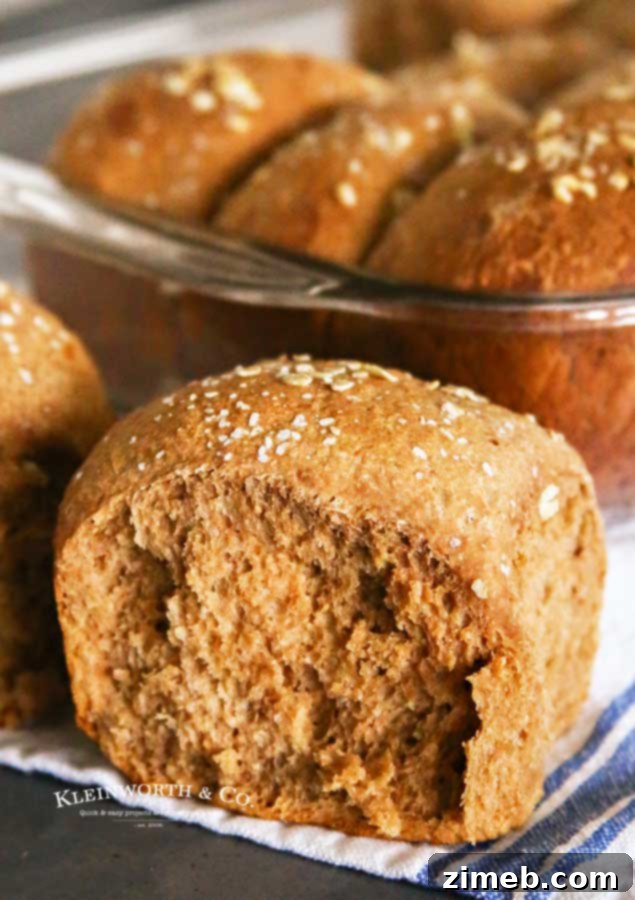
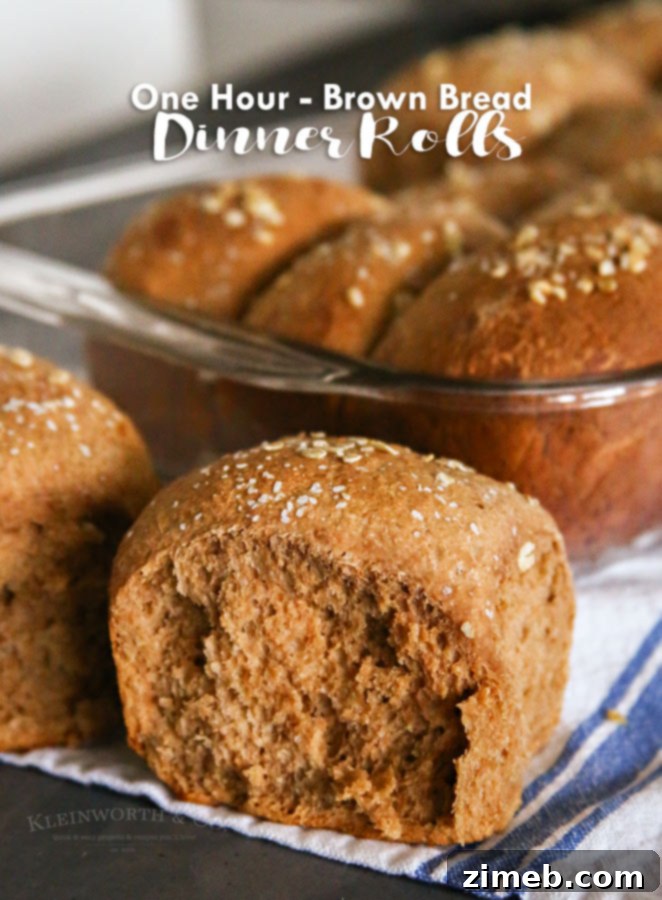
Imagine sinking your teeth into a buttery, soft, and impossibly fluffy dinner roll that tastes just like your favorite steakhouse’s signature brown bread. Now, imagine achieving that culinary dream in a mere 60 minutes. It’s not just a fantasy; it’s the reality you’re about to discover with our One-Hour Brown Bread Dinner Rolls recipe! Perfect for holiday feasts, family gatherings, or simply elevating a weeknight meal, these rolls are a game-changer for any bread lover.
Do you share an undeniable passion for bread? For many, including myself, it’s a delightful weakness that brings immense joy. There’s something truly therapeutic about the process of kneading dough and watching it transform into golden, aromatic perfection. While I frequently bake my renowned one-hour dinner rolls, which consistently elicit rave reviews from my family, a recent craving sparked a new culinary adventure.
It had been a while since a visit to a beloved steakhouse was on the cards. Then, a commercial flashed across the screen, showcasing those iconic, deeply flavorful brown bread rolls they serve. A wave of intense craving hit me! My traditional brown bread recipe, though incredibly delicious, demands a significant chunk of a day to prepare – a luxury I rarely have. This sparked a mission: to create a brown bread dinner roll recipe that not only rivaled the restaurant experience in taste but also fit into a tight schedule, ideally an hour or less. After a few dedicated attempts, I’m thrilled to present these exquisite One Hour Brown Bread Dinner Rolls, a testament to speed without compromising on flavor or texture.
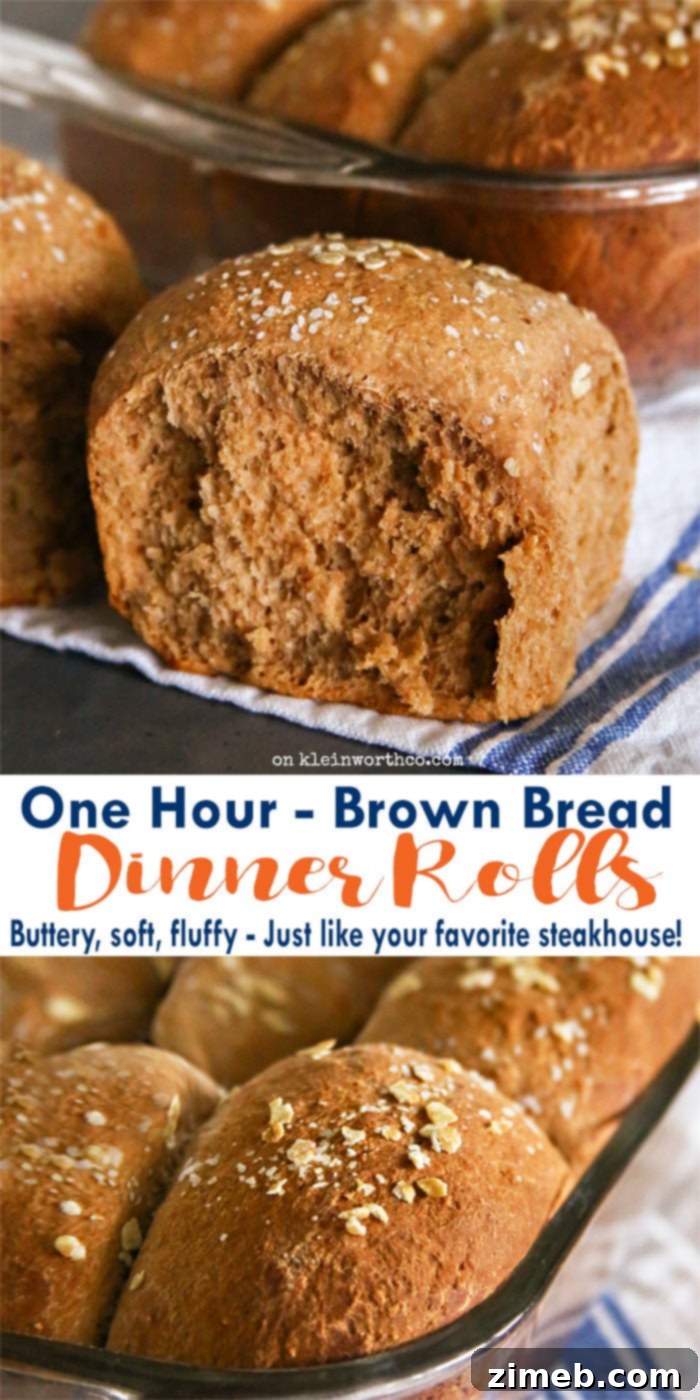
Experience the Magic of One-Hour Brown Bread Dinner Rolls
The journey to crafting this recipe was a testament to persistence and passion. My primary goal was to drastically cut down the preparation time of traditional brown bread without sacrificing its signature depth of flavor, tender crumb, and beautiful dark hue. The challenge lay in finding the right balance of ingredients and techniques to achieve a rapid rise and bake, yet still deliver that rich, complex taste profile we adore in steakhouse brown bread.
Inspired by the desire to bring that restaurant-quality experience right into my home kitchen, I embarked on several experiments. My first approach involved tweaking my existing, slower brown bread recipe by upping the yeast content and shortening the proofing time. While this yielded slightly quicker results, the texture and flavor weren’t quite hitting the mark. It lacked the specific nuances and unparalleled fluffiness I was chasing.
Crafting the Perfect Quick Brown Bread
This post contains some affiliate links. Click here to read my full disclosure policy.
Undeterred, I then tried incorporating the distinct brown bread ingredients into my existing one-hour roll recipe. This, too, proved less than ideal. The unique brown bread elements struggled to integrate seamlessly with the rapid-rise structure, resulting in a texture that wasn’t quite right and a flavor that felt muted. Discarding those early attempts was disheartening, but every failed batch brought me closer to understanding what was truly needed.
Finally, after much trial and error, a breakthrough! I developed a new methodology, carefully balancing the active dry yeast with a rich blend of molasses, cocoa powder, and brown sugar, combined with both all-purpose and whole wheat flours. The precise timing for mixing, kneading, and resting became critical. The result? A truly revolutionary brown bread roll recipe that is incredibly quick, surprisingly easy, and oh-so-delicious. It perfectly captures that deep, wholesome flavor and incredibly soft texture that makes steakhouse brown bread so irresistible, all ready to enjoy in just about an hour from start to finish!
Frequently Asked Questions About Our Brown Bread Rolls
To ensure your homemade brown bread dinner rolls turn out perfectly delightful every single time, we’ve compiled answers to some of the most commonly asked questions. These insights will help you navigate the baking process with confidence and achieve consistent, mouth-watering results.
Will the Sugar Make These Rolls Too Sweet?
Surprisingly, no, not at all! While this recipe does call for a generous amount of granulated sugar and brown sugar, their primary role isn’t to make the rolls overtly sweet. Instead, the sugar acts as a vital food source for the yeast, helping it activate and proof properly, which is crucial for achieving that wonderfully light and fluffy texture. The molasses and cocoa powder, combined with the whole wheat flour, provide a robust, earthy flavor that beautifully balances any perceived sweetness, contributing to the signature rich “brown bread” taste rather than a dessert-like sweetness. The resulting rolls have a subtle sweetness that perfectly complements savory meals, much like those found in your favorite steakhouses.
How Should I Store Leftover Brown Bread Rolls?
It’s a rare occurrence in our household to have any of these delicious rolls left over, as they tend to disappear remarkably fast! However, should you find yourself with a few extra rolls, proper storage is key to maintaining their freshness. Allow the rolls to cool completely to room temperature before storing. Place the leftover rolls in an airtight container or a large zip-top bag, ensuring all air is squeezed out. Stored this way, they will remain wonderfully fresh and soft at room temperature for up to 3 days. For longer storage, you can freeze them in a freezer-safe bag for up to 2-3 months. To reheat, simply warm them gently in the microwave for a few seconds or in a preheated oven at 300°F (150°C) for about 5-7 minutes, until soft and warm again.
What if I Don’t Have Buttermilk?
No buttermilk on hand? No problem! This is a common situation, and thankfully, there’s an incredibly simple substitute that works beautifully. For this recipe, which calls for ¾ cup of buttermilk, you can easily create your own “sour milk” alternative. Simply place 1 tablespoon of white vinegar (or lemon juice) in your measuring cup. Then, fill the rest of the cup up to the ¾-cup mark with regular milk (any kind, though whole milk yields the richest results). Stir gently and let it sit at room temperature for at least 5 minutes. During this time, the milk will curdle slightly, mimicking the acidity and texture of true buttermilk. This acidity is important as it reacts with the leavening agents in the recipe, contributing to the rolls’ tender texture and slight tang.
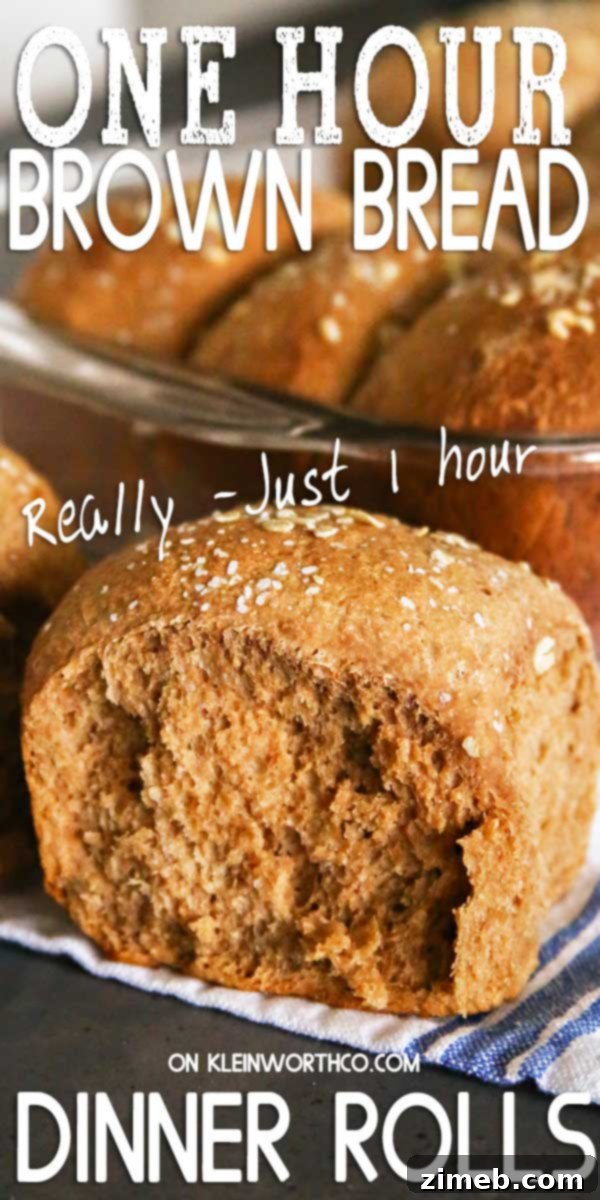
Step-by-Step: Mastering One Hour Brown Bread Dinner Rolls
Get ready to transform simple ingredients into extraordinary dinner rolls. This detailed guide will walk you through each step, ensuring a truly rewarding baking experience from start to finish. Follow these instructions carefully, and in just an hour, you’ll have warm, freshly baked brown bread rolls on your table.
- In a spacious mixer bowl, gently combine the warm water (ensure it’s around 115 degrees F – the ideal temperature for activating yeast), room temperature buttermilk, granulated sugar, slightly cooled melted butter, and active dry yeast. Stir these ingredients together until well combined. Allow this mixture to rest for approximately 15 minutes. This crucial step, known as proofing, ensures your yeast is alive and active; you’ll know it’s ready when the mixture appears delightfully puffed and frothy on top, indicating the yeast is feasting on the sugar.
- Once your yeast mixture is proofed and bubbling, add the large eggs, raw honey, molasses, cocoa powder, brown sugar, salt, all-purpose flour, and whole wheat flour into the mixer bowl. Attach a dough hook to your stand mixer and begin mixing on a slow speed. Continue mixing until all the dry flour is fully incorporated and a shaggy dough forms.
- Increase the mixer speed to medium and continue to mix/knead the dough with the dough hook for a full 10 minutes. This extensive kneading time is vital for developing the gluten structure, which is what gives these rolls their incredible chewiness and soft, fluffy texture. The dough should become smooth, elastic, and pull away cleanly from the sides of the bowl.
- After kneading, cover the mixer bowl lightly with a clean kitchen towel or plastic wrap. Let the dough rest directly in the bowl for 10 minutes. This short rest allows the gluten to relax, making the dough easier to handle and work with in the next steps, while also allowing the flavors to meld further.
- While the dough is resting, preheat your oven to 375 degrees Fahrenheit (190 degrees Celsius). Prepare a 9×13 inch glass baking dish by lightly spraying it generously with cooking spray or greasing it with butter. This ensures the rolls don’t stick and allows for easy removal.
- Turn the rested dough out onto a lightly floured clean surface. Knead it gently by hand for a minute or two to release any air bubbles and to bring it into a cohesive mass. You’re looking for a smooth, pliable dough that feels soft to the touch.
- Form the dough into a roughly rectangular shape. Using a sharp knife or a dough scraper, cut the dough into 12 equal-sized portions. Avoid using a rolling pin or biscuit cutter at this stage, as it can overwork the dough and compress the air bubbles.
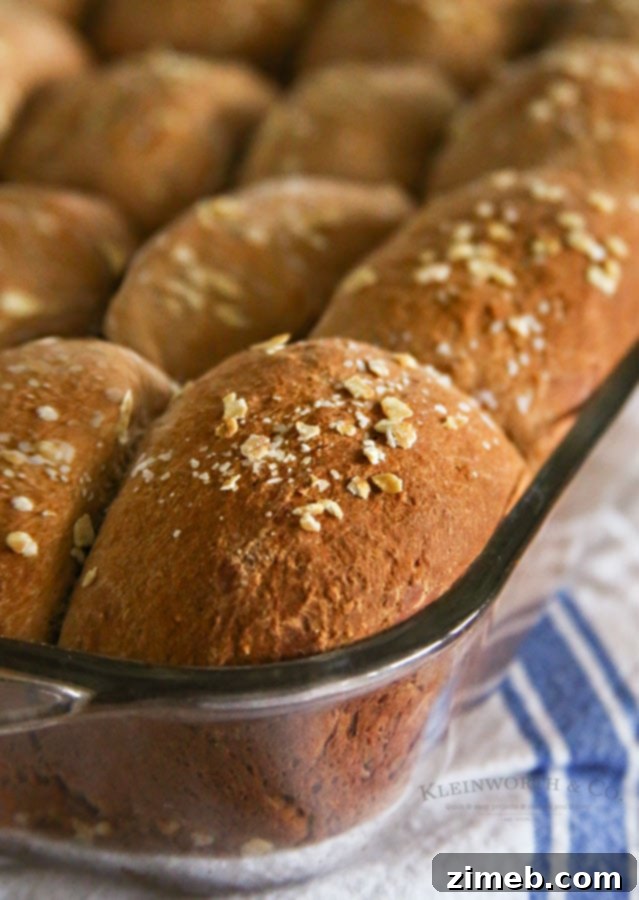
- Take each portion of dough and roll it between your palms to form a smooth, round ball. Arrange these dough balls neatly in your prepared 9×13 inch baking pan, leaving a small space between each roll as they will expand. Once all rolls are placed, lightly brush their tops with additional melted butter, which contributes to a golden crust and rich flavor. Finally, sprinkle a light layer of oats over the buttered tops for a delightful texture and rustic appearance.
- Place the baking dish into the preheated oven and bake for 15-20 minutes. The exact baking time may vary slightly depending on your oven. Look for the rolls to become beautifully golden brown on top and cooked through, with a light internal spring when gently pressed.
- As soon as the rolls emerge from the oven, while they are still hot, immediately brush them generously with more melted butter. This not only adds an extra layer of richness and shine but also keeps them wonderfully soft. Then, sprinkle a pinch of flaky sea salt over the buttered tops. The salt provides a fantastic contrast to the subtle sweetness of the bread, enhancing its overall flavor.
- Do not hesitate! Serve these incredible One Hour Brown Bread Dinner Rolls while they are still warm, allowing everyone to experience their unparalleled softness, buttery texture, and rich, satisfying flavor. They are truly best enjoyed fresh from the oven.
Explore More Delicious Dinner Roll Recipes
If you’ve fallen in love with the magic of homemade rolls, you’ll be thrilled to discover these other fantastic recipes that are perfect for complementing any meal or occasion. Each one offers a unique flavor and texture profile, guaranteed to become new family favorites:
- One-Hour Dinner Rolls: Our original beloved quick and easy rolls, a staple in many homes.
- 30-Minute Garlic Parmesan Dinner Rolls: Infused with aromatic garlic and savory Parmesan for a quick, flavorful twist.
- Copycat Olive Garden Breadsticks: Recreate the iconic, garlicky goodness of restaurant breadsticks at home.
- Cheesy Spinach Crescents: Flaky, cheesy, and packed with spinach – a delightful savory pastry.
- Heavenly One-Hour Dinner Rolls: Another variation of our popular quick rolls, known for their ethereal lightness.
- Sweet Potato Dinner Rolls: A unique, slightly sweet roll with a beautiful orange hue, perfect for fall.
- Beer Bread Dinner Rolls: Hearty and flavorful, these rolls have a subtle tang from the beer.
- One-Hour Disappearing Fat Rolls: True to their name, these light and airy rolls vanish quickly!
- No-Knead Dinner Rolls: Effortless rolls that require minimal hands-on time, perfect for busy days.
Essential Ingredients for Perfect Brown Bread Dinner Rolls
Crafting these delectable brown bread rolls begins with a careful selection of fresh, high-quality ingredients. Each component plays a crucial role in achieving the signature flavor, texture, and appearance that makes these rolls so special. Here’s a comprehensive list of what you’ll need to create our signature One-Hour Brown Bread Dinner Rolls:
- Warm water: Essential for activating the yeast, ideally around 115 degrees F.
- Buttermilk: Adds a tender crumb and subtle tang; room temperature is best.
- Granulated sugar: Feeds the yeast and contributes to flavor balance.
- Butter: Melted and slightly cooled, for richness and moisture.
- Dry active yeast: The leavening agent responsible for the rapid rise.
- Table salt: Enhances flavor and regulates yeast activity.
- Large eggs: Room temperature, for structure, richness, and binding.
- All-purpose flour: Provides the primary structure of the rolls.
- Whole wheat flour: Contributes to the characteristic “brown” color and a nutty depth of flavor.
- Raw honey: Adds natural sweetness and moisture, with a unique flavor profile.
- Molasses: Crucial for the dark color, distinct deep flavor, and moist texture of brown bread.
- Cocoa powder: A key ingredient for achieving the authentic dark brown color and a subtle bitterness that balances the sweetness.
- Brown sugar: Adds caramel notes and works with molasses for that rich brown bread taste.
- Oats: For sprinkling on top, adding a rustic look and a slight textural contrast.
- Additional melted butter & sea salt for topping: Applied after baking for a final flourish of flavor and shine.
Recommended Tools for Your Baking Success
To make your baking experience even smoother and ensure consistently perfect brown bread rolls, having the right kitchen tools is invaluable. Whether you’re a seasoned baker or just starting, these items will be your best allies in the kitchen, simplifying the process and helping you achieve outstanding results with this bread roll recipe:
- Glass Baking Pan: A 9×13 inch pan is ideal for baking these rolls evenly.
- Stand Mixer: Essential for efficient kneading, especially with a dough hook.
- Mixing Bowl: A large capacity bowl is needed for the dough to rise and mix comfortably.
- Dry Active Yeast: Ensure your yeast is fresh for optimal rise.
- Granulated Sugar: A pantry staple for countless baking adventures.
- Eggs: Fresh large eggs at room temperature are always recommended.
- Table salt: An everyday seasoning that’s critical in baking.
- All-Purpose flour: The versatile foundation of many baked goods.
- Raw Honey: Look for good quality raw honey for the best flavor.
- Molasses: Blackstrap or regular molasses will work to give the rolls their color and flavor.
- Cocoa Powder: Unsweetened cocoa powder is best for this recipe.
- Butter: High-quality butter makes a difference in taste.
- Brown sugar: Either light or dark brown sugar can be used.
- Oats: Rolled oats for sprinkling add a lovely texture.
Why These Brown Bread Rolls Will Become Your Go-To Recipe
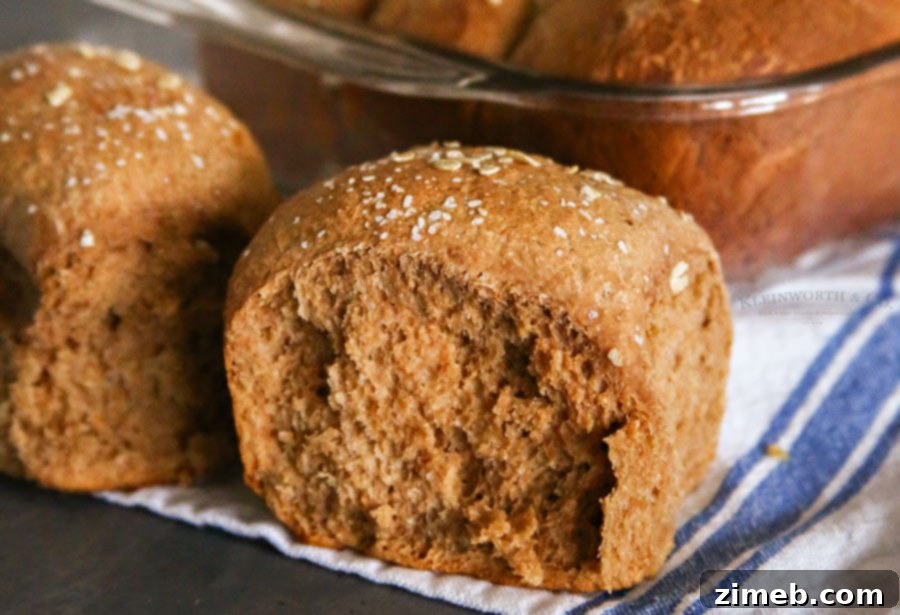
These aren’t just any dinner rolls; they are an experience. They perfectly capture the essence of those beloved soft and warm steakhouse rolls you crave, all achieved in your own kitchen in under an hour. Their rich, slightly sweet, and utterly tender crumb makes them impossible to resist. You’ll find it incredibly hard to stop at just one, especially when they’re fresh from the oven, still warm, brushed with melted butter, and sprinkled with a touch of flaky sea salt. That irresistible combination of flavors and textures is pure culinary bliss.
If you’ve been searching for that perfect side dish – buttery, fluffy, and full of complex flavor – that also fits seamlessly into a busy schedule, your quest ends here. These One Hour Brown Bread Dinner Rolls are simply the best. They are ideal for quick weeknight dinners when you need something special, impressive holiday gatherings where time is precious, or whenever a spontaneous bread craving strikes. Prepare to impress your family and friends with these effortlessly delicious, restaurant-quality rolls that taste like they took all day to make, but only took an hour!
More Delicious Recipes to Complement Your Meal
Once you’ve mastered these incredible brown bread dinner rolls, you might be looking for other delightful recipes to complete your meal. From savory side dishes to hearty main courses, these selections pair beautifully with freshly baked bread. Click on each link to explore the easy, printable recipes and expand your culinary repertoire:
Check out this recipe
Check out this recipe

Check out this recipe
Check out this recipe

Check out this recipe
Check out this recipe

Rate this Recipe
One Hour Brown Bread Dinner Rolls
Ingredients
Rolls
- 1 cup warm water (around 115 degrees F is perfect for yeast activation)
- ¾ cup buttermilk (ensure it’s at room temperature for best results)
- ½ cup granulated sugar
- 5 tbsp butter (melted and slightly cooled)
- 3 tbsp dry active yeast
- ½ tbsp table salt
- 2 large eggs (at room temperature)
- 5 cups all-purpose flour
- 1½ cups whole wheat flour
- 2 tbsp raw honey
- 3 tbsp molasses
- 2 tbsp cocoa powder (unsweetened)
- ¼ cup brown sugar
- 1 tbsp oats (for topping)
For Topping
- Additional melted butter & sea salt
Instructions
-
In a spacious mixer bowl, gently combine the warm water (ensure it’s around 115 degrees F – the ideal temperature for activating yeast), room temperature buttermilk, granulated sugar, slightly cooled melted butter, and active dry yeast. Stir these ingredients together until well combined. Allow this mixture to rest for approximately 15 minutes. This crucial step, known as proofing, ensures your yeast is alive and active; you’ll know it’s ready when the mixture appears delightfully puffed and frothy on top, indicating the yeast is feasting on the sugar.
-
Once your yeast mixture is proofed and bubbling, add the large eggs, raw honey, molasses, cocoa powder, brown sugar, salt, all-purpose flour, and whole wheat flour into the mixer bowl. Attach a dough hook to your stand mixer and begin mixing on a slow speed. Continue mixing until all the dry flour is fully incorporated and a shaggy dough forms.
-
Increase the mixer speed to medium and continue to mix/knead the dough with the dough hook for a full 10 minutes. This extensive kneading time is vital for developing the gluten structure, which is what gives these rolls their incredible chewiness and soft, fluffy texture. The dough should become smooth, elastic, and pull away cleanly from the sides of the bowl.
-
After kneading, cover the mixer bowl lightly with a clean kitchen towel or plastic wrap. Let the dough rest directly in the bowl for 10 minutes. This short rest allows the gluten to relax, making the dough easier to handle and work with in the next steps, while also allowing the flavors to meld further.
-
While the dough is resting, preheat your oven to 375 degrees Fahrenheit (190 degrees Celsius). Prepare a 9×13 inch glass baking dish by lightly spraying it generously with cooking spray or greasing it with butter. This ensures the rolls don’t stick and allows for easy removal.
-
Turn the rested dough out onto a lightly floured clean surface. Knead it gently by hand for a minute or two to release any air bubbles and to bring it into a cohesive mass. Kneading creates the gluten structure which is what makes the rolls so fluffy and airy. You’re looking for a smooth, pliable dough that feels soft to the touch.
-
Form the dough into a roughly rectangular shape. Using a sharp knife or a dough scraper, cut the dough into 12 equal-sized portions. Avoid using a rolling pin or biscuit cutter at this stage, as it can overwork the dough and compress the air bubbles.
-
Take each portion of dough and roll it between your palms to form a smooth, round ball. Arrange these dough balls neatly in your prepared 9×13 inch baking pan, leaving a small space between each roll as they will expand. Once all rolls are placed, lightly brush their tops with additional melted butter, which contributes to a golden crust and rich flavor. Finally, sprinkle a light layer of oats over the buttered tops for a delightful texture and rustic appearance.
-
Place the baking dish into the preheated oven and bake for 15-20 minutes. The exact baking time may vary slightly depending on your oven. Look for the rolls to become beautifully golden brown on top and cooked through, with a light internal spring when gently pressed.
-
As soon as the rolls emerge from the oven, while they are still hot, immediately brush them generously with more melted butter. This not only adds an extra layer of richness and shine but also keeps them wonderfully soft. Then, sprinkle a pinch of flaky sea salt over the buttered tops. The salt provides a fantastic contrast to the subtle sweetness of the bread, enhancing its overall flavor.
-
Do not hesitate! Serve these incredible One Hour Brown Bread Dinner Rolls while they are still warm, allowing everyone to experience their unparalleled softness, buttery texture, and rich, satisfying flavor. They are truly best enjoyed fresh from the oven.
Nutrition
Nutritional information for the recipe is provided as a courtesy and is approximate. Please double-check with your own dietary calculator for the best accuracy. We at Yummi Haus cannot guarantee the accuracy of the nutritional information given for any recipe on this site.