
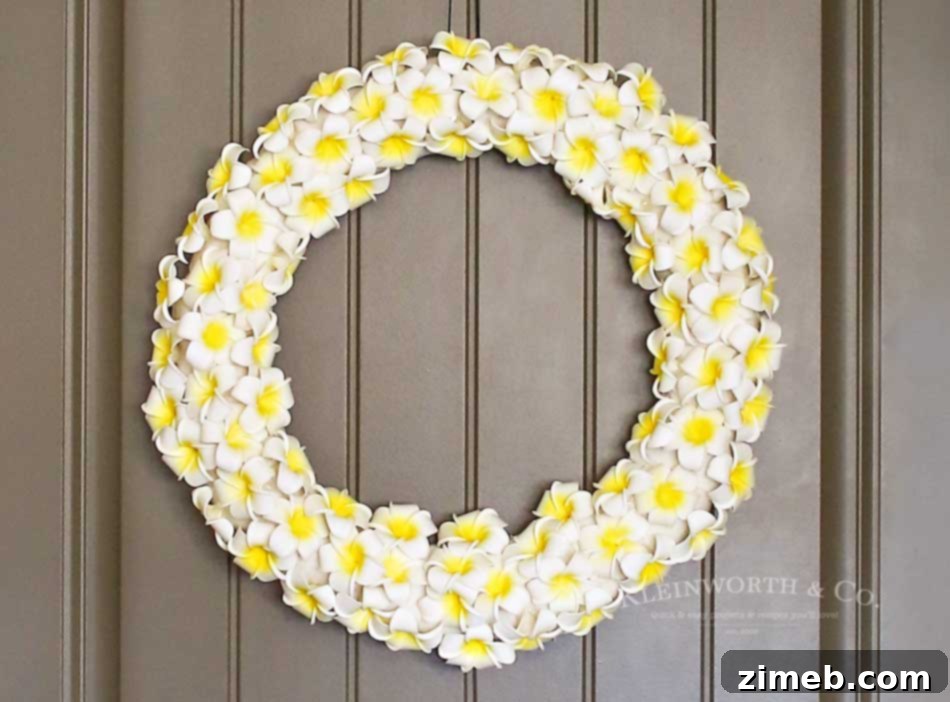
Welcome the vibrant spirit of summer to your home with this exquisite **DIY Plumeria Wreath**. This project is not just a craft; it’s an invitation to bring a piece of tropical paradise right to your doorstep. Perfect for enhancing your curb appeal, this handcrafted wreath combines stunning beauty with remarkable simplicity, making it an ideal weekend activity. Dive into our comprehensive tutorial and discover how effortlessly you can create a captivating summer decoration that will delight guests and passersby alike, truly transforming your front door into a warm, inviting focal point.
Crafting a Beautiful Plumeria Wreath for Your Summer Front Door
My admiration for plumeria runs deep; it stands as my absolute favorite blossom, rivaled only by the intoxicating gardenia. The profound connection began years ago during an unforgettable journey to the Hawaiian Islands. Each morning, drawn by the vibrant atmosphere, I’d stroll from my hotel to a charming local lei stand. There, a dedicated artisan would meticulously craft breathtaking leis, and every day of my stay, I indulged in the joy of wearing a freshly made one. The culmination of this experience was a special evening luau, where I sought out a truly magnificent lei. I discovered an extraordinary plumeria lei, so lush and voluminous it was thicker than my arm, a genuine wearable piece of heaven. Feeling particularly festive, I even acquired a matching plumeria anklet. The sheer beauty and incredible, sweet fragrance were utterly enchanting – a truly sublime moment.
That sensory delight became an indelible memory, solidifying my lifelong affection for plumeria. Its delicate petals and heavenly scent have a unique way of transporting me back to those sun-kissed shores, making it the perfect inspiration for a truly special summer project. Plumeria flowers, often associated with tropical warmth and welcoming aloha spirit, symbolize new beginnings, beauty, and charm. Incorporating them into a wreath is a wonderful way to infuse your home with this positive, joyful energy, making it a perfect accent for any summer home or patio decor.
DIY Plumeria Wreath: A Step-by-Step Tutorial
This post contains some affiliate links. Click here to read my full disclosure policy.
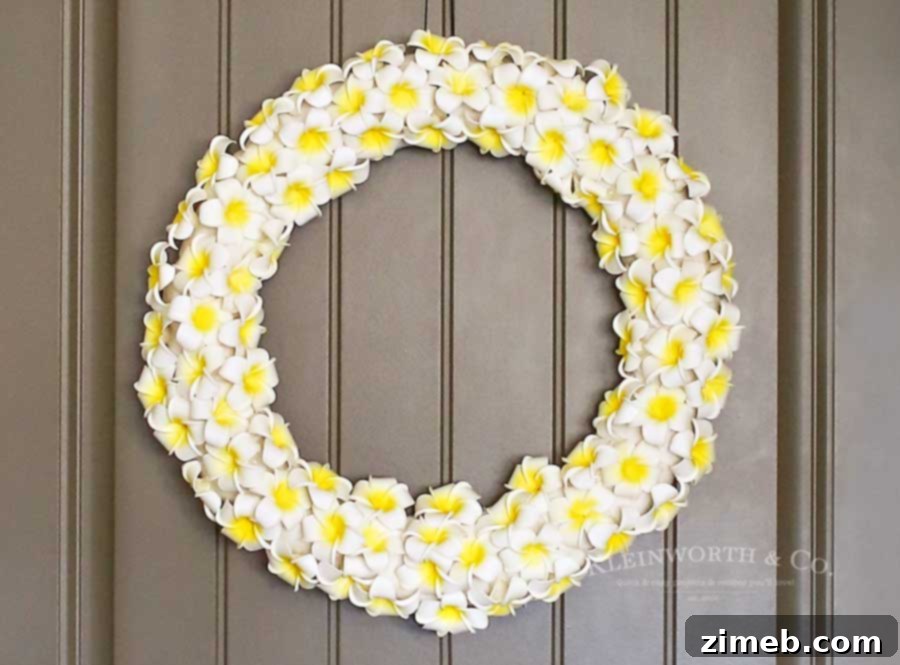
Creating wreaths is a passion of mine; I strive to adorn our front door with a fresh, seasonal design almost every month. This particular plumeria wreath, crafted from high-quality foam flowers, actually came to life last August, destined to brighten our porch. However, as often happens, my editorial schedule shifted rapidly towards autumn and back-to-school themes, regrettably pushing this beautiful summer creation to the side. I simply couldn’t allow another glorious summer to pass without finally sharing this cherished DIY project with you. It’s a testament to enduring summer charm, and I’m thrilled to bring its tropical beauty into the spotlight now, offering a timeless piece of decor that you can proudly display year after year.
For your convenience, I’ve included direct links to the products used in this tutorial. Please note that some of these are affiliate links. This means that while your purchase price remains exactly the same, I may earn a small commission, which helps to support this website and allows me to continue providing free content and inspiration. Your support is greatly appreciated and ensures that I can keep sharing these fun and accessible DIY projects with you.
Supplies Needed for Your Handmade Plumeria Wreath:
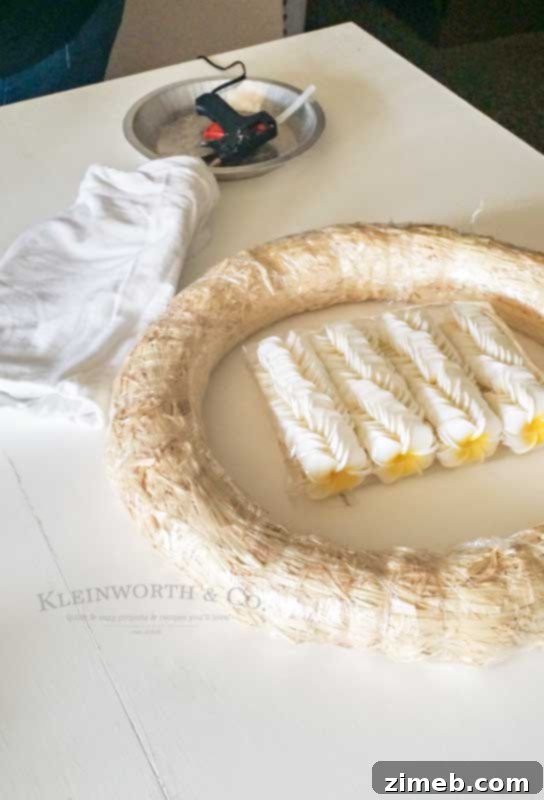
Straw Wreath, old white t-shirt (any white fabric will do), 150 foam plumeria flowers, hot glue gun & glue sticks, wire.
Getting Started: Crafting Your Own Plumeria Wreath
Creating your beautiful Plumeria Wreath is a surprisingly straightforward process, often quicker than you might anticipate. Even with a few less-than-perfect progress photos, the core techniques are clear and highly achievable for any DIY enthusiast. Let’s get started on bringing this gorgeous summer decoration to life for your home:
- **Prepare Your Wreath Form and Heat Your Glue Gun:** First, plug in your hot glue gun and allow it ample time to reach its optimal temperature for strong adhesion. Simultaneously, carefully unwrap your straw wreath form, removing any plastic packaging. While the plastic might seem like a barrier for mess, it’s crucial for strong bonds that you work directly on the straw and fabric. Hot glue does not adhere well to slick plastic surfaces, which could lead to your beautiful flowers detaching over time. A clean, exposed straw form provides the best base for the subsequent steps, ensuring a durable and long-lasting wreath.
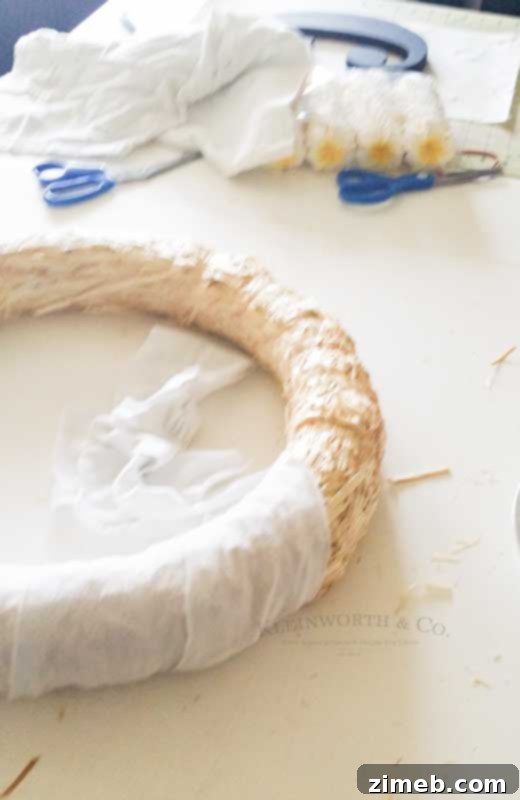
- **Cut and Prepare Your Fabric Strips:** Take your chosen white t-shirt or scrap fabric and cut it into long strips, each approximately 4 to 5 inches wide. For efficiency, I often cut the entire bottom section of a large t-shirt (just below the sleeves), then proceed to slice that larger piece into the necessary strips. The goal is to have enough material to completely cover your wreath form. The white fabric ensures that no dark straw color shows through the gaps between your plumeria flowers, allowing their vibrant colors to truly pop and giving your wreath a polished, professional finish.
- **Wrap the Wreath Form with Fabric:** Begin wrapping these fabric strips tightly and neatly around the entire straw wreath form. Overlap each strip slightly to ensure full coverage and a smooth base. Use small dabs of hot glue at the beginning and end of each strip, and occasionally along the wrap, to securely tack the fabric in place. This fabric layer serves multiple purposes: it conceals the straw, creates a cohesive background, and provides an excellent surface for the plumeria flowers to adhere to, resulting in a much cleaner and professional-looking finished wreath.
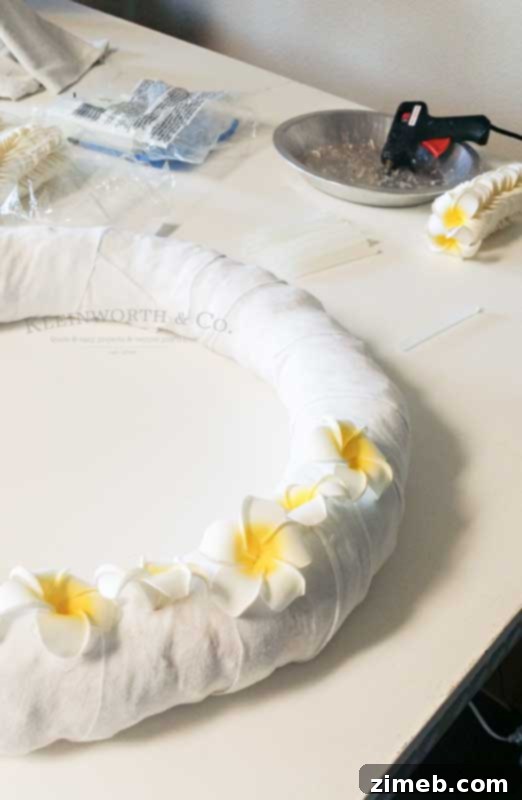
- **Begin Attaching Plumeria Flowers:** With your fabric-covered wreath form ready, it’s time for the most exciting part – adding your stunning plumeria flowers! Select your starting point, typically at the top or bottom of the wreath for consistency. Apply a small but sufficient dab of hot glue to the back or base of your first plumeria flower. Carefully press the flower onto the fabric-wrapped wreath form, holding it firmly in place for a few seconds until the glue cools and sets. This ensures a strong initial bond and sets the stage for the rest of your beautiful arrangement.
- **Continue to Fill with Flowers for a Lush Effect:** Now, continue the process, meticulously gluing more and more plumeria flowers onto the wreath. The key to a truly breathtaking wreath is to place the flowers quite close together, ensuring that all visible spaces are filled and creating a wonderfully lush, dense appearance. This step can be a bit repetitive, requiring patience and a steady hand, but the final result of a full, vibrant summer wreath is absolutely worth the effort. *Pro Tip for Efficiency and Aesthetics:* To conserve both flowers and time, consider only applying plumeria to the front and sides of the wreath – the portions that will be visible when your wreath is hanging on the door. Leaving the back section clear allows the wreath to lay flatter against the door and prevents the unnecessary use of flowers where they won’t be seen. This smart technique ensures your wreath looks fantastic from every angle that matters while optimizing your materials.
Finishing Your Handmade Plumeria Wreath
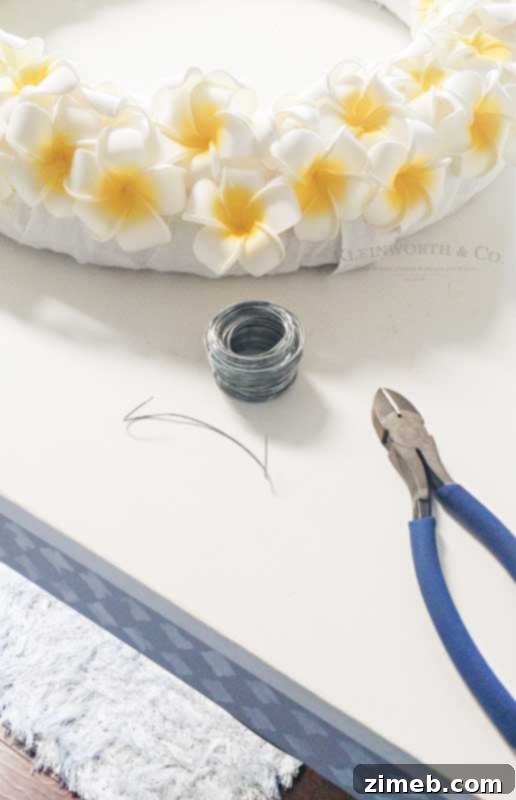
- **Install Your Hanging Mechanism:** The final structural step is to add a secure way to hang your beautiful wreath. Take a piece of craft wire, approximately 6-8 inches long, and bend it into a robust V-shape or a sturdy loop. Carefully poke the two ends of the wire into the back of your fabric-covered wreath form, ensuring they penetrate deep enough to be stable. Secure these ends firmly with a generous application of hot glue, allowing it to cool and harden completely. Once dry, you might gently pull the top of the wire loop outwards slightly, creating a small gap to accommodate your chosen door hook. This DIY wire hanger is discreet and strong, ensuring your wreath hangs perfectly and securely on your front door or desired location.
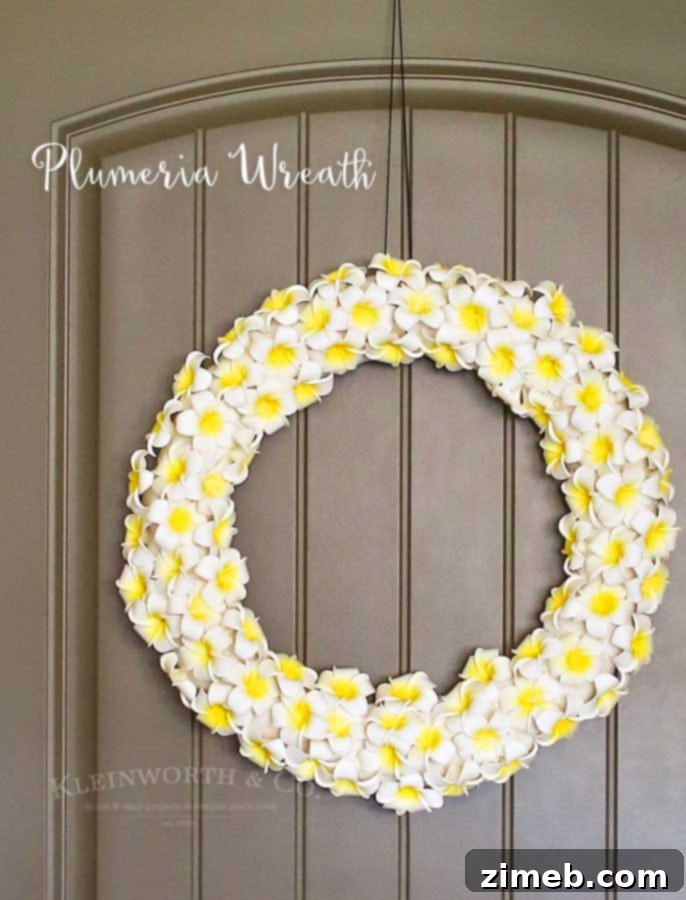
And there you have it – your stunning Plumeria Wreath is complete! What might initially appear to be an intricate project is, in fact, a simple and immensely rewarding DIY craft. The satisfaction of creating something so beautiful with your own hands is truly unparalleled, offering a unique piece of personalized decor that store-bought items simply can’t match. This vibrant wreath brings a continuous touch of summer warmth and tropical elegance to any space, making every arrival home a little brighter. In fact, this plumeria wreath has earned high praise even from my husband, who declared it one of his absolute favorites among all the wreaths I’ve crafted throughout our two decades together. It’s clear that the tropical charm and vibrant appeal of the plumeria hold a special place, and I’m sure it will in your home too!
Looking for more of my favorite summer home projects like this plumeria wreath?
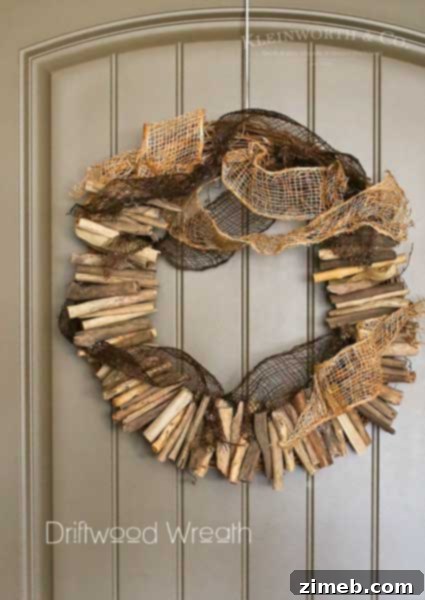
Driftwood Wreath
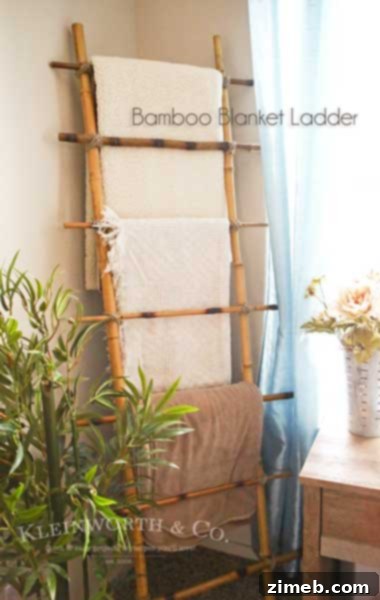
Bamboo Blanket Ladder
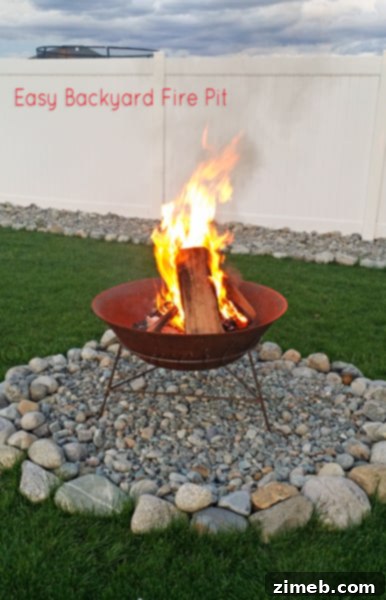
Easy Backyard Fire Pit
Don’t miss these great ideas from these talented bloggers to further inspire your home decorating projects:
Infarrantly Creative – Wood Bench with a Galvanized Metal Top
Liz Marie Blog – DIY Bathroom Hooks