
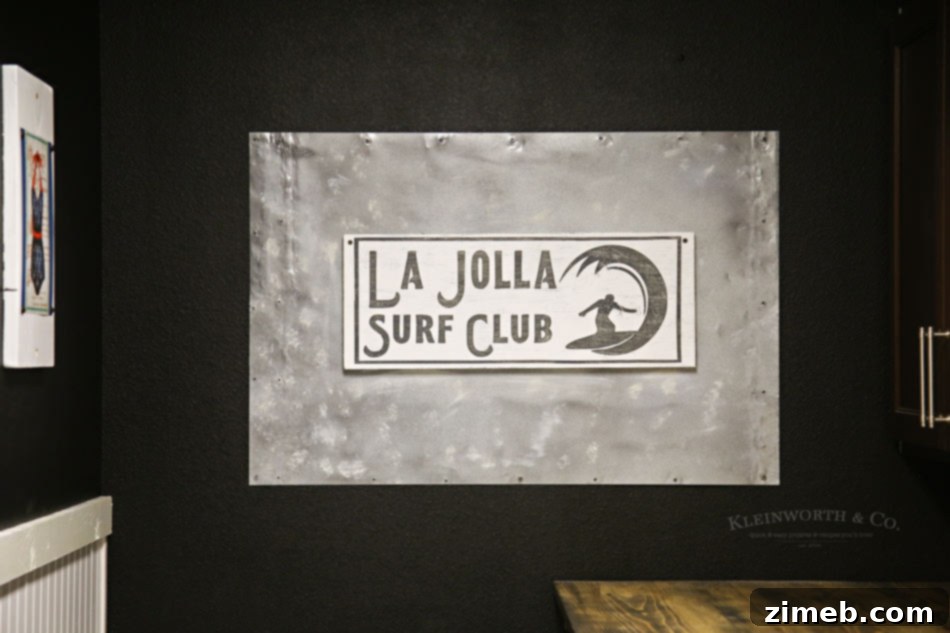
When embarking on a DIY journey with a cutting machine, a common question arises: Can I Upload My Own Images to Cricut? The resounding answer is YES! In this comprehensive guide, we’ll not only confirm this exciting capability but also walk you through the entire process, demonstrating it with a fun and personalized Surfer Sign Craft project. Get ready to unlock a new level of creative freedom with your Cricut machine!
The world of cutting machines has evolved dramatically over the years, transforming crafting from a niche hobby into an accessible and exhilarating creative outlet. I vividly recall the early days when my mom acquired the very first Cricut machine. The possibilities it presented were astonishing, yet the necessity of purchasing expensive, pre-made cartridges always felt like a creative constraint. As newer cutting machine options emerged, I found myself in a dilemma, deeply pondering which brand would best serve my crafting aspirations. Despite the alternatives, my heart consistently leaned towards Cricut, a brand I eventually embraced fully.
Years later, I inherited my mother’s Cricut, but it largely remained unused, its potential untapped. My true diving board into the world of digital crafting came with the launch of the Cricut Explore Air 2. This machine was a game-changer, directly addressing my core query: Can I Upload My Own Images to Cricut? Its advanced capabilities, including seamless WiFi connectivity, revolutionized my workflow. I could design comfortably at my desk and send intricate cut files wirelessly to the machine on my craft table across the studio—a truly dreamlike setup for any crafter! This technological leap didn’t just simplify the process; it unleashed unparalleled creative freedom. Now, I’m thrilled to share precisely how I leverage this feature to upload a custom image, transform it into an extra-large cut file, and bring to life this incredibly fun Surfer Sign Craft for my home. This tutorial will empower you to personalize your projects, moving beyond pre-designed options and making every creation uniquely yours.
Unlock Your Creativity: How to Upload Custom Images to Cricut
This post contains some affiliate links. Click here to read my full disclosure policy.
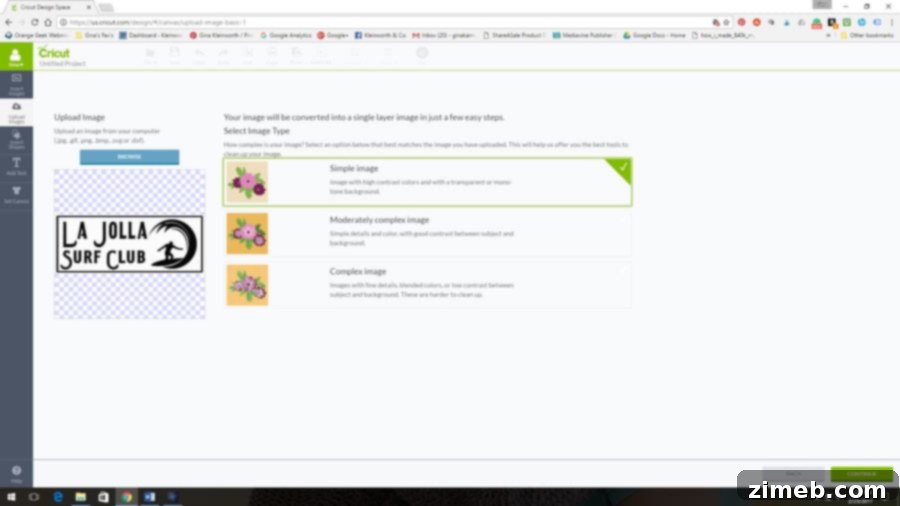
The ability to upload your own images is arguably one of the most powerful features of Cricut Design Space, transforming your machine from a simple cutter into a truly personalized crafting tool. Whether you’re working with intricate designs, unique logos, or custom fonts, the process is straightforward. First, you’ll need to create or find your desired image. For this Surfer Sign Craft, I designed a unique surfer graphic, perfectly aligned with our vintage coastal-themed home decor. You can use any image editing software you prefer, from professional tools like Adobe Illustrator or Affinity Designer to more accessible options like Canva, Procreate, or even basic paint programs. The key is to save your final design as a high-quality JPG, PNG, GIF, BMP, or SVG file. While JPGs and PNGs are widely accepted, SVG files are vector-based and offer the best quality for cutting as they can be scaled infinitely without losing resolution. Once your image is ready, open Cricut Design Space. On the Canvas, navigate to the left sidebar and click the “Upload” icon. Then, select “Upload Image” and browse your computer to find your saved file. After selecting your image, Cricut Design Space will prompt you to choose an image type – for most custom cut files, “Simple” is often the best choice for designs with high contrast and few colors, as it helps the software recognize clear cut lines easily. Click “Continue” to proceed.
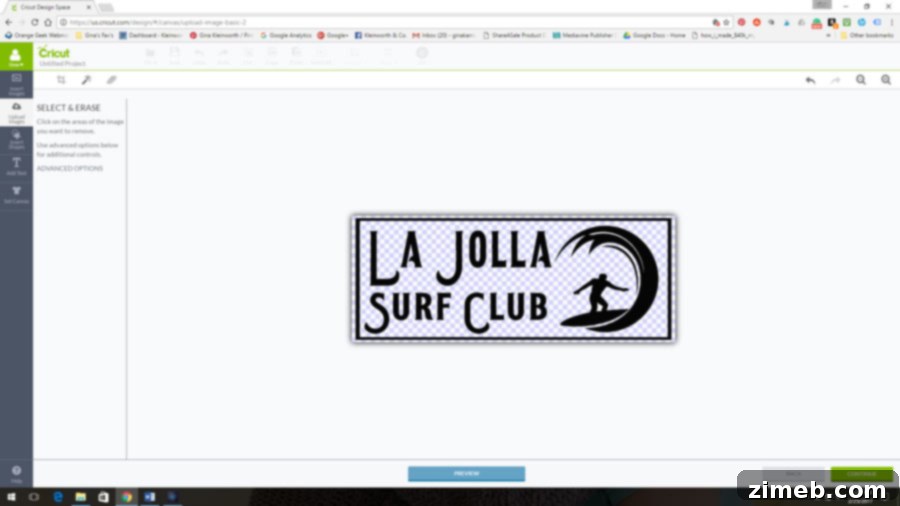
The next crucial step involves refining your image for cutting. Design Space will display your uploaded image, allowing you to select and remove any unwanted background areas or internal spaces that you don’t want your Cricut to cut. This process is often referred to as “cleaning up” your image. Utilize the “Select & Erase” tool (represented by a magic wand icon) to click on the parts of the image you want to be transparent or “cut away.” For intricate designs, you might also use the “Eraser” tool for finer adjustments. As you click, the selected areas will turn into a checkerboard pattern, indicating transparency. Pay close attention to both the external background and any internal “negative space” within your design (e.g., the inside of an “O” or “A”). For this surfer design, I carefully removed the background and any enclosed areas to ensure only the surfer silhouette remained. Once you’re satisfied with the cleaned-up image, ensuring all desired cut lines are clear and all unwanted areas are transparent, click “Continue.”
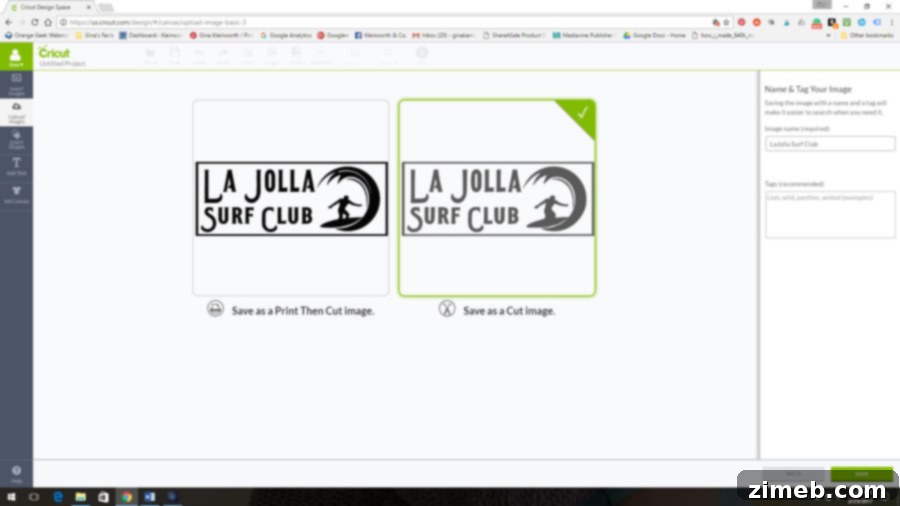
After cleaning your image, Design Space will present you with two options: “Save as a Print Then Cut Image” or “Save as a Cut Image.” For projects like our Surfer Sign, where we’re cutting vinyl for a stencil, you’ll want to “Save as a Cut Image.” This tells your Cricut machine to simply cut the outlines you’ve defined, rather than printing the image first and then cutting around it. Before saving, you’ll also have the opportunity to name your image and add relevant tags, which helps with organization within your Design Space library, especially as your collection of custom uploads grows. Give your image a descriptive name (e.g., “Vintage Surfer Silhouette” or “Coastal Wave Design”) so you can easily find it later. Once named, click “Save.” Your custom image is now successfully uploaded and stored in your Design Space library, ready to be inserted into any project!
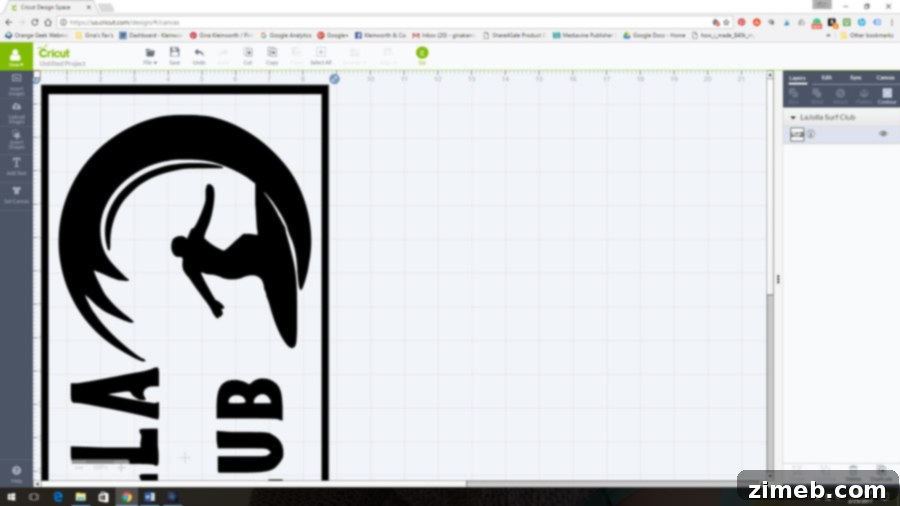
With your custom image saved, it’s time to bring it into your project canvas. From your uploaded images library, select your newly saved cut file and click “Insert Images” to add it to your Design Space canvas. Once on the canvas, you can freely reposition and resize it to fit your specific project dimensions. For this Surfer Sign, I envisioned a prominent, extra-large piece, requiring the design to be approximately 23 inches long. To accommodate such a large cut, a standard 12×12 inch cutting mat simply won’t suffice. This is where my super long 12×24 inch cutting mat became indispensable. Adjusting the dimensions is simple: select your image on the canvas, then use the width and height input fields in the top toolbar to dial in the exact measurements. Ensure the lock icon is engaged to maintain proportionality as you resize. This large mat allowed the entire design to be cut in one continuous pass, resulting in a perfectly scaled stencil without the need for intricate拼接 (splicing) later on.
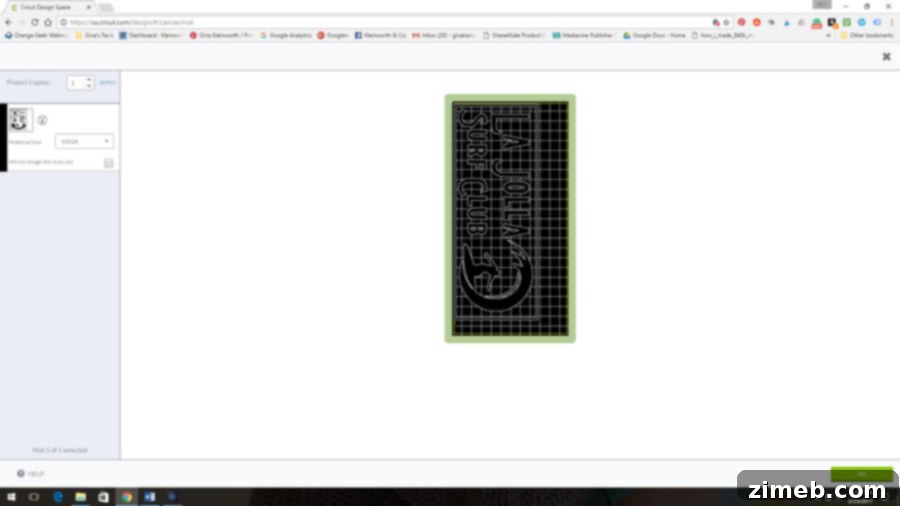
Once you’ve finalized the size and positioned your design on the canvas, click the “Make It” button in the top right corner of Design Space. This will take you to the “Prepare” screen, where Design Space automatically organizes your design onto virtual mats based on its size. If your design exceeds the standard 12×12 inch mat, Design Space will prompt you to select a larger mat size, such as the 12×24 inch mat. It’s crucial to acknowledge and “accept” this change, as it ensures your physical mat choice matches the digital layout. The software will display your design laid out on the correct mat size, giving you a visual confirmation before cutting. This preview screen is also where you can mirror your image if you’re working with heat transfer vinyl (HTV) or ensure your material placement on the physical mat aligns with the digital representation. Double-checking these details here saves valuable time and material. Proceeding with the correct mat selection is essential for a successful large-scale cut.
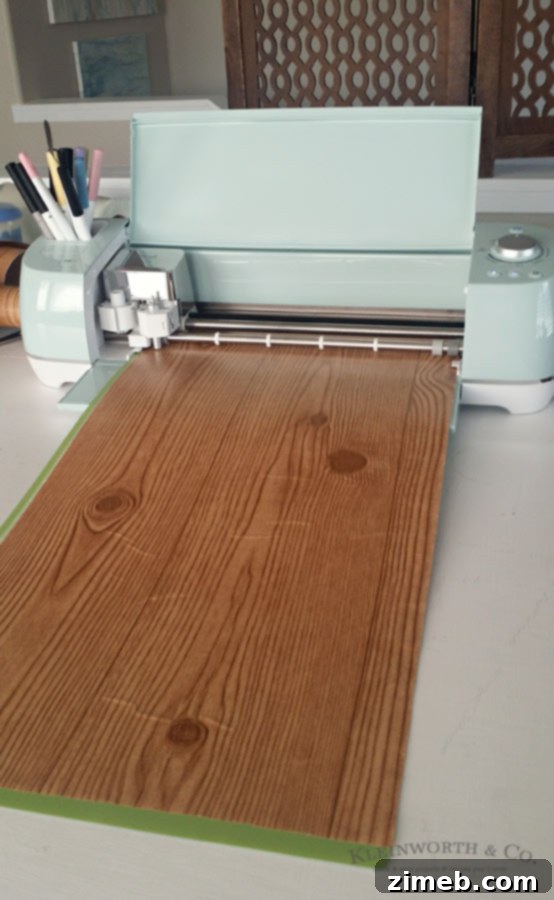
With the design now perfectly sized and the mat selected in Design Space, it’s time to prepare your material for cutting. For this project, I needed a long piece of vinyl to create the stencil. However, I didn’t have a solid roll of vinyl long enough on hand. This is a common scenario in crafting, and it’s good to know alternatives! I opted to use contact paper, which is an excellent substitute for vinyl in a pinch, especially for stencils. While contact paper isn’t as aggressively adhesive as dedicated stencil vinyl, making it slightly more prone to bleed-through on certain surfaces, it performs admirably for temporary stencil applications when handled with care. Carefully unroll and place your chosen material onto your 12×24 inch cutting mat, ensuring it adheres smoothly and without bubbles. Use a brayer or scraper tool to press it down firmly, especially around the edges, to prevent shifting during the cut. Load the mat into your Cricut machine, confirm your material settings in Design Space (e.g., “Vinyl,” or a custom setting for contact paper), and then press the flashing “Go” button on your machine. The Cricut will then precisely cut your custom surfer design, bringing your digital creation to life in physical form.
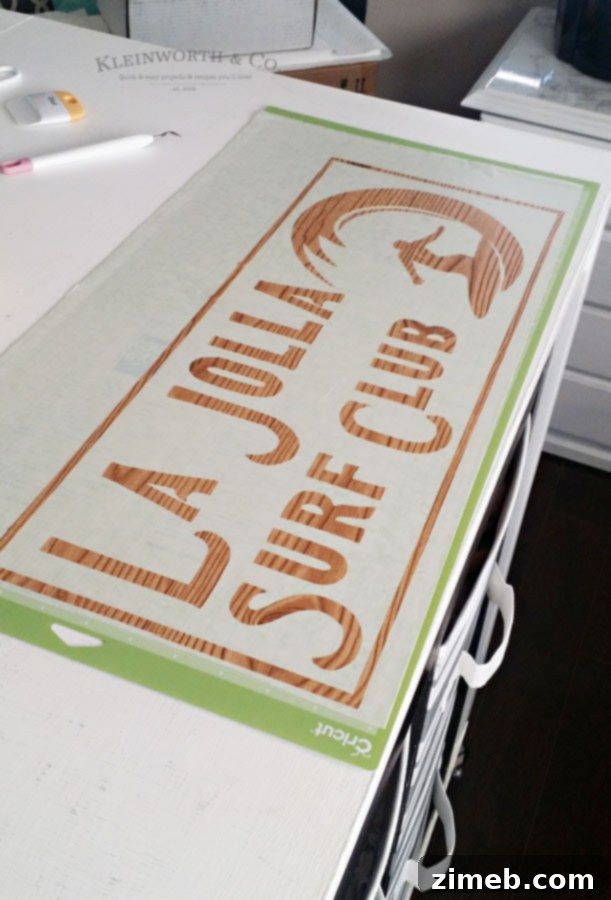
Once your Cricut has finished cutting, carefully unload the mat from the machine. Now comes the “weeding” process—a step that requires a bit of patience and a steady hand. Weeding involves removing all the excess vinyl or contact paper that you don’t want to be part of your final design. For a stencil, this means carefully peeling away the parts *inside* your design that will allow paint to pass through, and leaving the outline or “stencil” part adhered to the backing. It’s important to decide whether you want the design itself to be the darker part of your sign or the lighter background. For my Surfer Sign, I wanted the letters and design to be gray, with a white background, so I weeded out the surfer shape and the text. Use a weeding tool (a hook tool or a sharp crafting knife works well) to gently lift and peel away the unwanted material. Work slowly and methodically, ensuring you don’t accidentally remove any parts of your design that should remain. The image above shows what the weeded stencil looks like once the excess material has been removed, leaving only the desired stencil pattern on the backing sheet. This careful preparation is key to achieving crisp, clean painted lines later on.
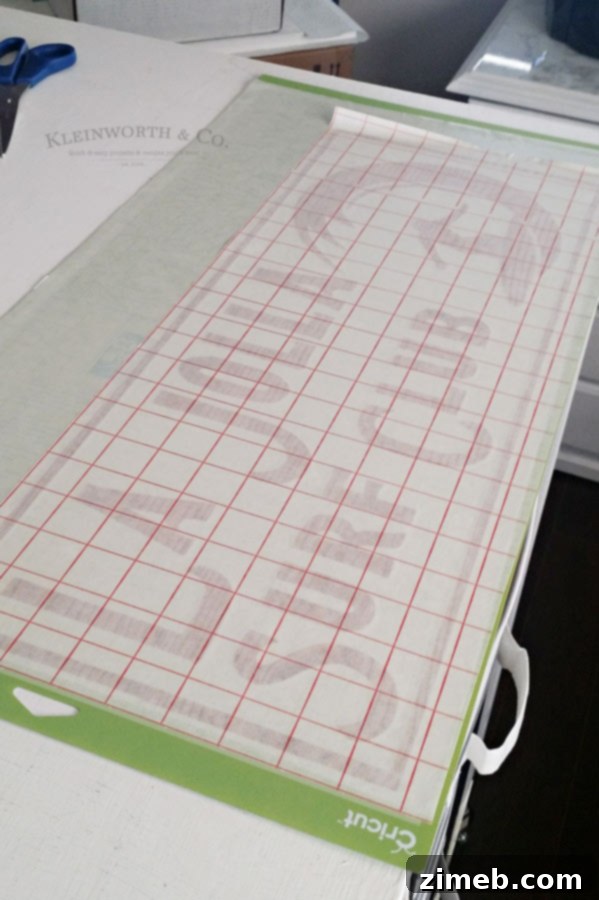
With your custom stencil perfectly weeded, the next step is to transfer it from its backing sheet to your project surface. This is where transfer tape becomes your best friend. Transfer tape is a specially designed adhesive sheet that helps lift your delicate vinyl design in one piece and then adhere it evenly to your chosen material. To apply, unroll a piece of transfer tape slightly larger than your design. Carefully place the transfer tape over the top of your weeded stencil, starting from one edge and smoothing it down across the entire design with a scraper tool or an old credit card. Apply firm, even pressure to ensure the vinyl adheres well to the transfer tape. Once fully burnished, slowly peel the transfer tape (with your vinyl design now attached to it) off the original cutting mat or backing paper. If any part of the vinyl doesn’t lift with the transfer tape, simply lay it back down and re-burnish that section before trying again. Take your time with this step to avoid stretching or tearing your design. The goal is to have your entire custom stencil cleanly lifted and ready for placement on your sign board.
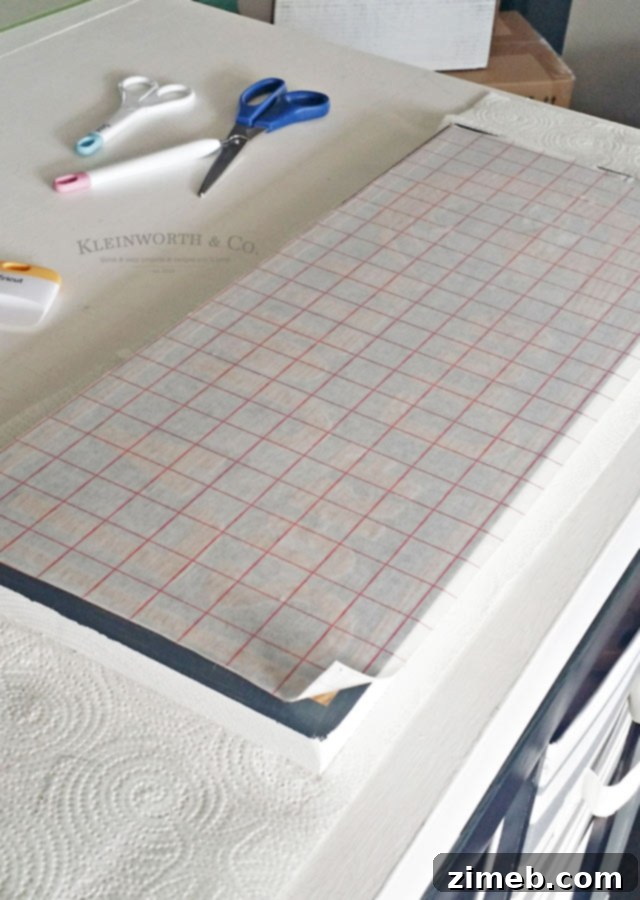
Now for the exciting part: positioning your custom stencil onto your prepared sign board. Before applying the stencil, ensure your wood plank or chosen surface is clean, dry, and has any base coats of paint fully cured. For my Surfer Sign, I had already painted the wood plank with the desired gray color, which would serve as the color of the letters and design once the stencil was removed. This base coat is essential as it will be the color revealed beneath the stencil. Carefully hover your transfer-taped stencil over your sign board, taking your time to align it perfectly. Once you’re happy with the placement, start by pressing down one edge of the transfer tape onto the board and slowly smooth it across the entire design, using your scraper tool to firmly adhere the vinyl to the surface. Work from the center outwards to push out any air bubbles and ensure strong adhesion. This precise placement is crucial for the final aesthetic of your custom sign. With the stencil firmly in place, it’s almost time to paint!
Can You Upload Your Own Designs to Cricut? Absolutely!
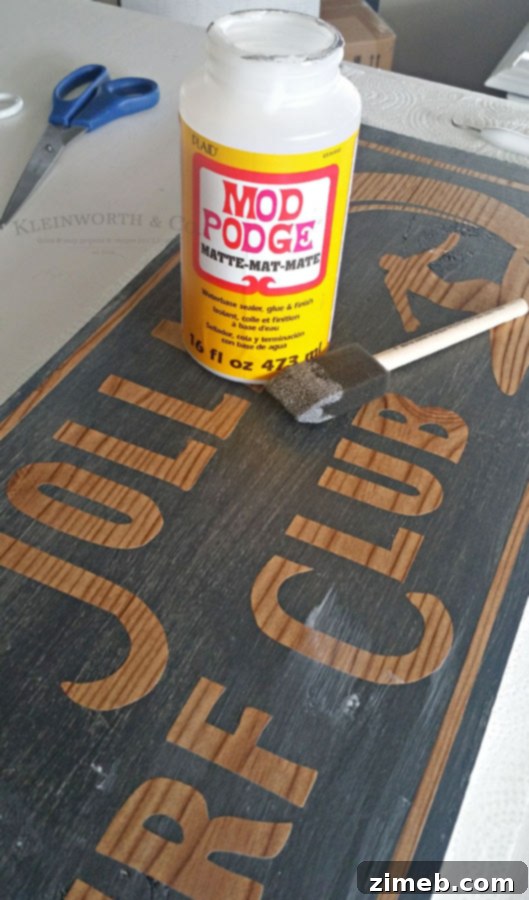
Once your custom stencil is firmly adhered to your sign board, the next delicate step is to carefully peel off the transfer tape. This process requires patience to ensure the vinyl stencil remains perfectly in place. Begin by gently lifting a corner of the transfer tape and slowly pull it back at a sharp angle, almost parallel to the surface. If you notice any part of your vinyl stencil lifting with the transfer tape, simply lay that section back down, firmly burnish it again with your scraper tool, and then continue peeling. The goal is for the transfer tape to release, leaving only your perfectly formed stencil behind on the painted wood surface. What remains is the crisp, custom stencil you created, ready for the next layer of paint. I was already incredibly pleased with the clean lines and overall look at this stage. Since I was using contact paper, which can be less adhesive than specialized stencil vinyl, I added a preventive measure: I applied a thin layer of Mod Podge over all the edges of the stencil. This acts as a sealant, filling in any tiny gaps and preventing paint bleed-through, ensuring I would achieve super clean edges despite using a substitute material. Let the Mod Podge dry completely before proceeding to the next step.
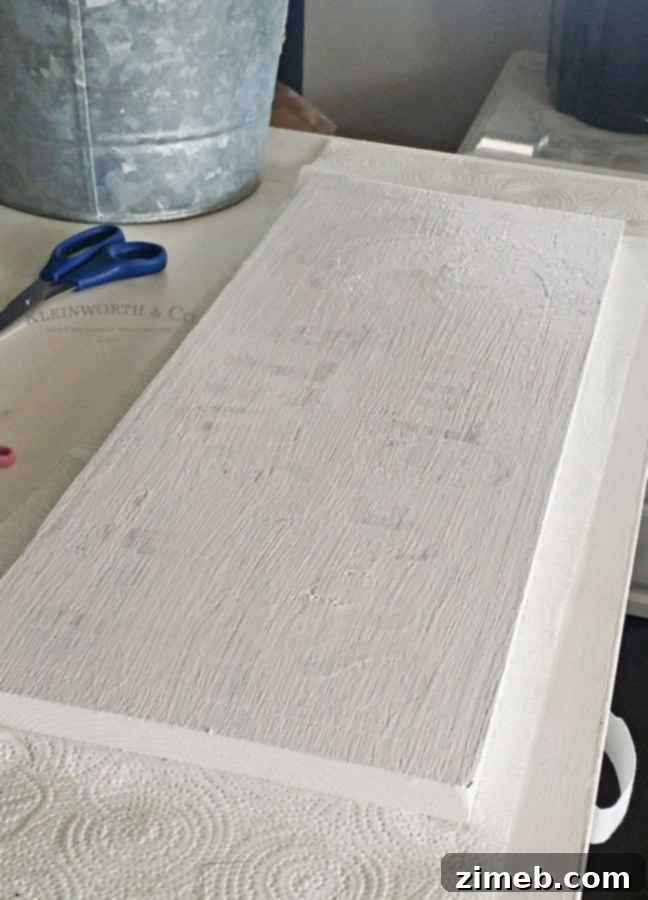
With the Mod Podge fully dry and acting as a protective barrier against paint bleed, it was time to apply the main color of the sign. I opted for a clean, bright white paint to contrast beautifully with the gray letters and the distressed aesthetic I had in mind. Using a brush or roller, apply a nice, even coat of white paint over the entire stenciled surface, ensuring complete coverage over the open areas of your design. Don’t overload your brush; thin, even coats are always better to prevent paint from seeping under the stencil, even with the Mod Podge seal. For best results, I typically apply one or two coats, allowing each to dry for about 15-20 minutes, or until touch-dry, before applying the next. The quick-drying nature of acrylic paints makes this process efficient. Once the final coat of white paint was applied, I let the entire piece dry for approximately 20 minutes, giving the paint enough time to set but not fully cure, which makes peeling the stencil off slightly easier and reduces the risk of paint pulling.
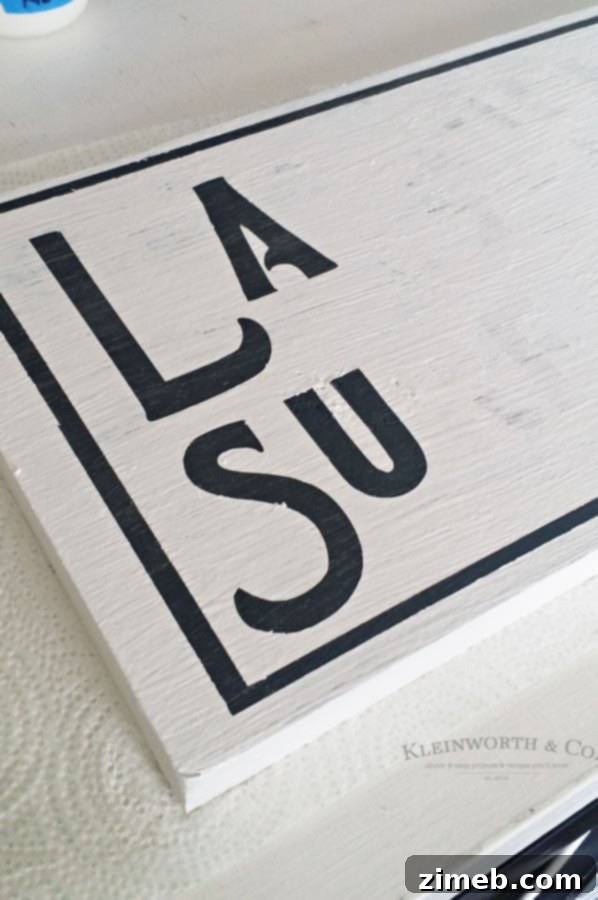
The moment of truth has arrived! Once the white paint is sufficiently dry to the touch, it’s time for the incredibly satisfying reveal: peeling off the stencil to unveil your custom Surfer Sign. This step, while exciting, still requires a gentle hand to prevent any accidental damage to your newly painted surface. Start by carefully lifting an edge of the contact paper stencil. Slowly and steadily pull the stencil away from the wood surface. As you peel, your custom design will emerge with crisp, clean lines, revealing the underlying gray paint color. The Mod Podge barrier should have done its job, preventing any unwanted paint seepage and ensuring sharp edges. Take your time, especially around intricate details, to avoid tearing the paint or leaving any adhesive residue. The image below shows the sign as the stencil is being carefully removed, with the custom surfer design beginning to fully take shape. This stage truly highlights the power of using your Cricut to upload and cut personalized images, transforming a simple piece of wood into a unique piece of art.
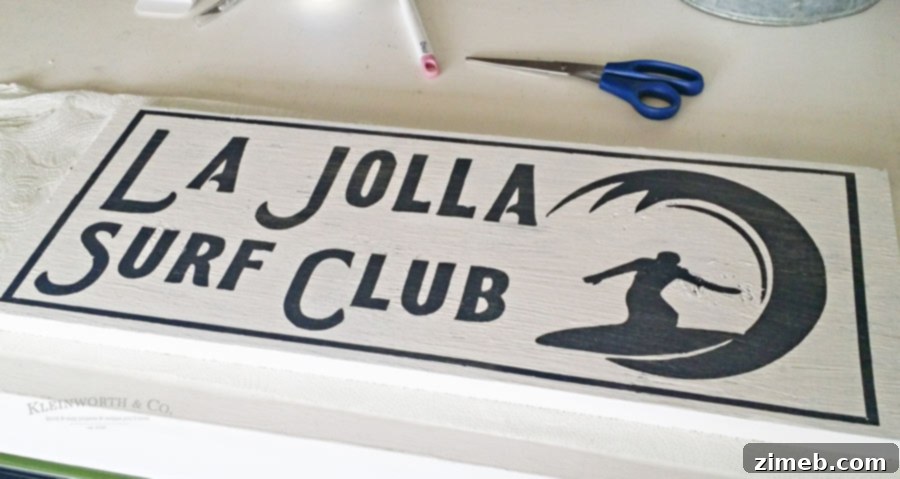
Here’s what the Surfer Sign looked like immediately after all the stencil pieces had been meticulously removed. The contrast between the gray base and the white overlay was striking, and the custom surfer graphic looked fantastic!
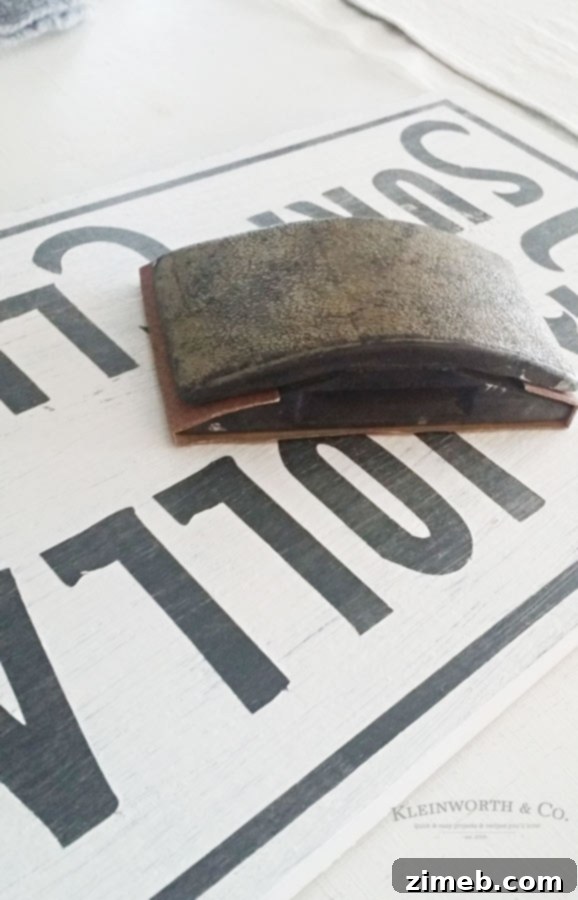
To enhance the vintage coastal theme and give the sign a truly authentic, weathered look, I decided to add a distressed finish. Once the paint was completely dry, I grabbed a piece of fine-grit sandpaper and gently roughed up the edges and surface of the sign. The goal was not to damage the paint but to subtly wear it down in areas where natural aging would occur, mimicking the appearance of a sign that had been exposed to the elements or lovingly preserved in an old surf shack for years. This technique involved light, circular motions, focusing on corners and raised areas. The distressing added depth, character, and a touch of nostalgic charm, perfectly aligning with the “found object” aesthetic I was aiming for. It transformed a freshly painted piece into something that felt rich with history and personality, further personalizing the craft project beyond just the custom design.
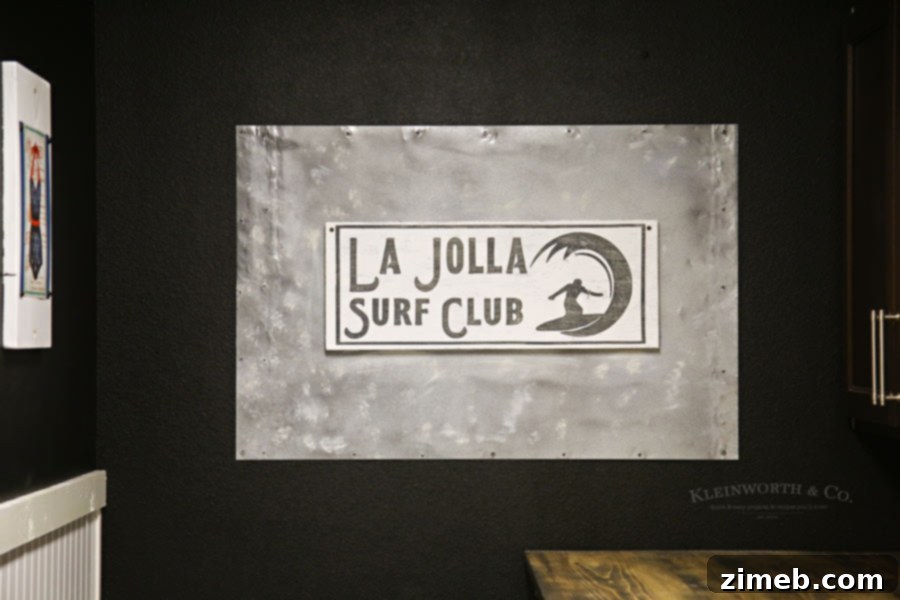
With the distressing complete, my custom Surfer Sign was officially finished and ready for display! However, upon placing it on its designated wall, I felt it needed a little something extra to truly command the space. To enhance its presence and complement the rustic vibe, I decided to mount it onto a piece of distressed, galvanized metal. This subtle addition provided a fantastic backdrop, adding texture and another layer of vintage charm that perfectly tied the entire display together. The metal frame not only made the sign appear larger and more substantial but also amplified its coastal-industrial aesthetic. This final touch truly elevated the project, turning a simple custom sign into a captivating focal point within my vintage coastal-themed home. This entire project stands as a testament to the incredible versatility and personalization possibilities that the Cricut machine offers.
Unleash Endless Possibilities: Your Cricut and Custom Images
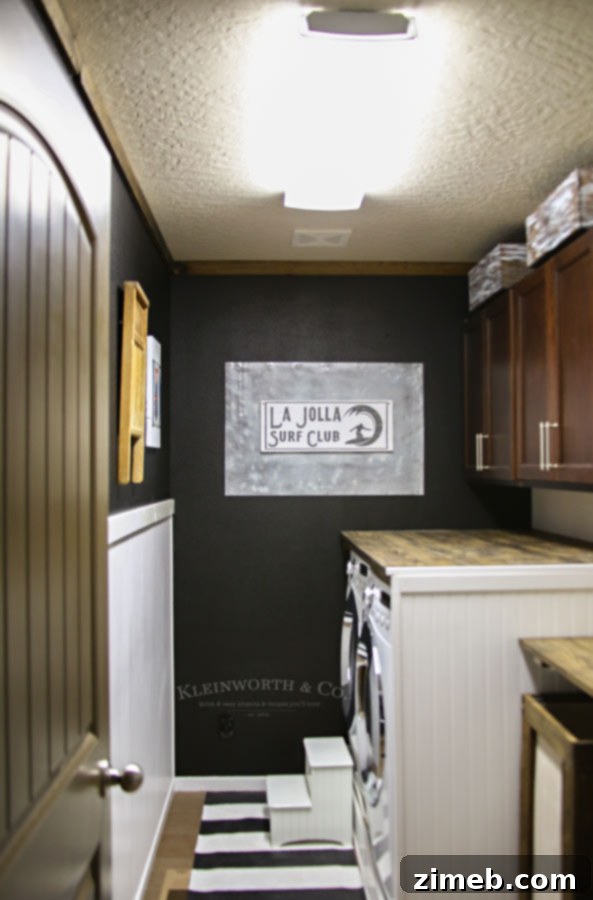
By now, it’s abundantly clear: you can indeed upload virtually any image you can envision and bring it to life with your Cricut machine. The creative freedom this capability provides is truly boundless. While Cricut Design Space offers a vast library of pre-made project ideas and cut images, the real magic happens when you infuse your unique personality into your creations. Whether it’s a family crest, a custom logo, a favorite quote in a specific font, or a unique graphic like our surfer silhouette, Cricut empowers you to transform digital ideas into tangible masterpieces. My Cricut Explore Air 2 continues to be an invaluable tool in my craft studio, proving its worth daily by allowing me to tackle both simple and complex projects with ease and precision. Don’t let pre-set limitations define your crafting journey; embrace the power of custom uploads and let your imagination soar!

Ready to make your own Surfer Sign? Click here to download the exact image I used and start crafting today!
Discover More Inspiring Cricut Craft Ideas:

Craft Your Own Festive Hashtag Irish Shirt with Cricut!
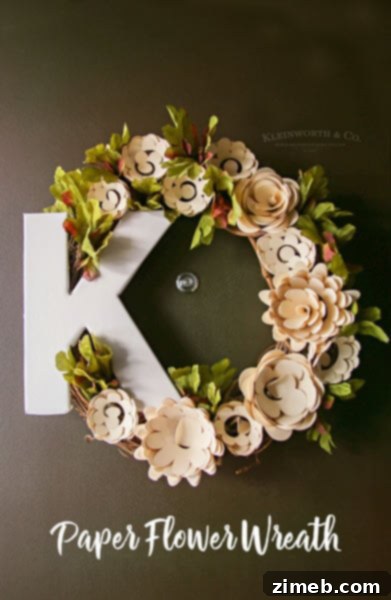
Elegant Paper Flower Wreath: A Step-by-Step Cricut Tutorial
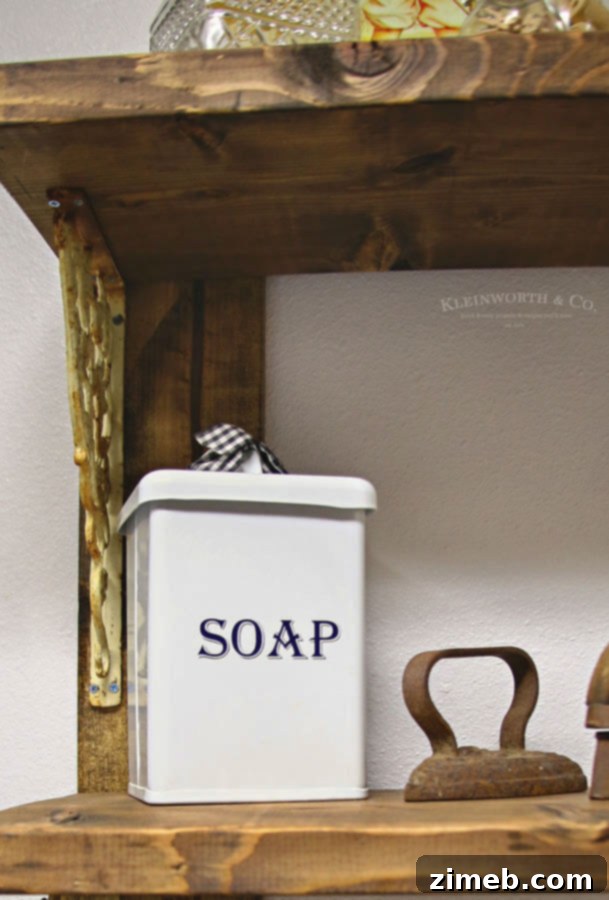
Upcycle with Cricut: Create a Vintage Soap Canister!
For even more fantastic Cricut project inspiration, explore these ideas from fellow crafting enthusiasts:
Cricut Pen Hand Lettering Projects from Printable Crush
Cricut Monogram Tutorial from Frugal Coupon Living
To explore more of my latest projects and inspirations, visit HERE.
This is a sponsored conversation written by me on behalf of Cricut. The opinions and text are all mine.