
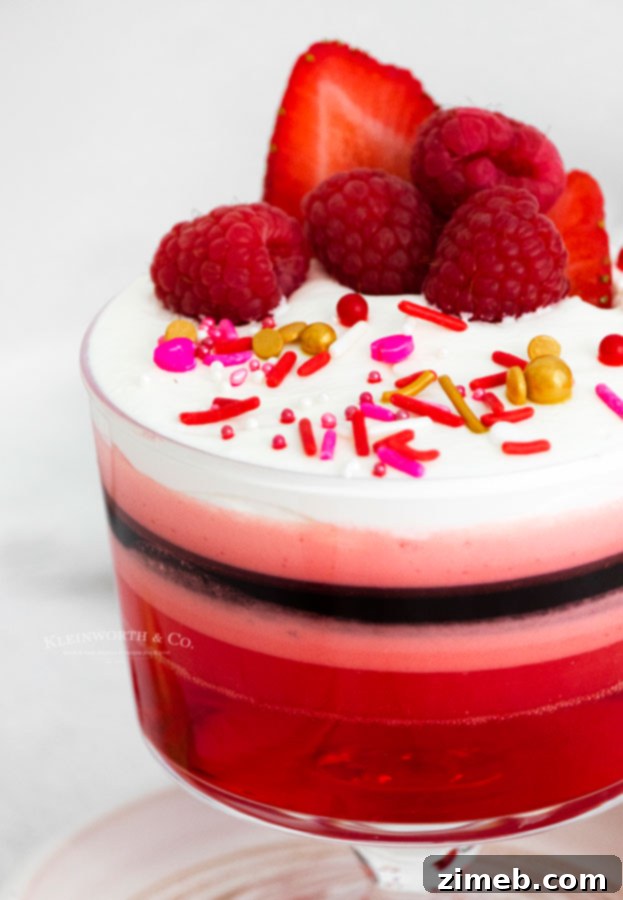
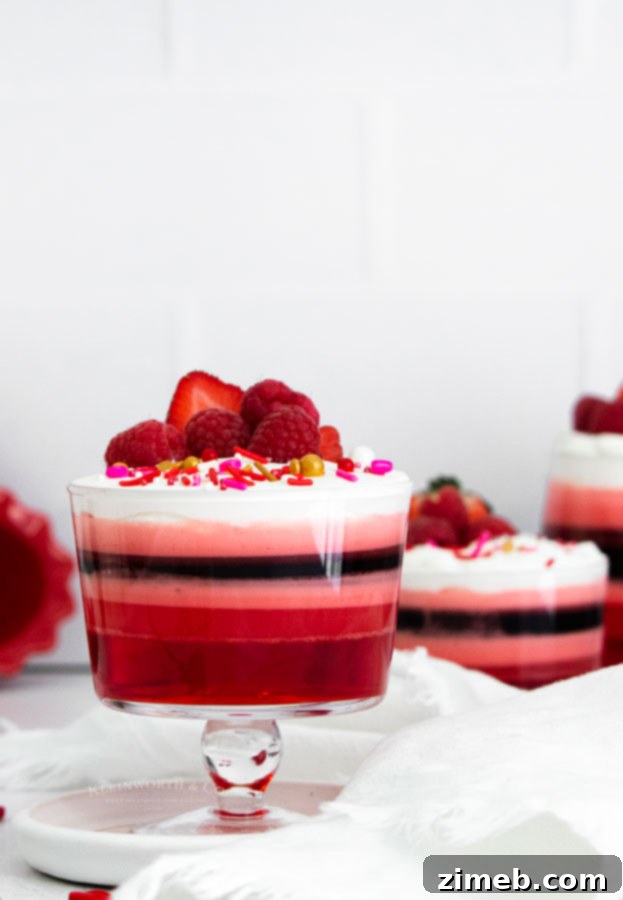
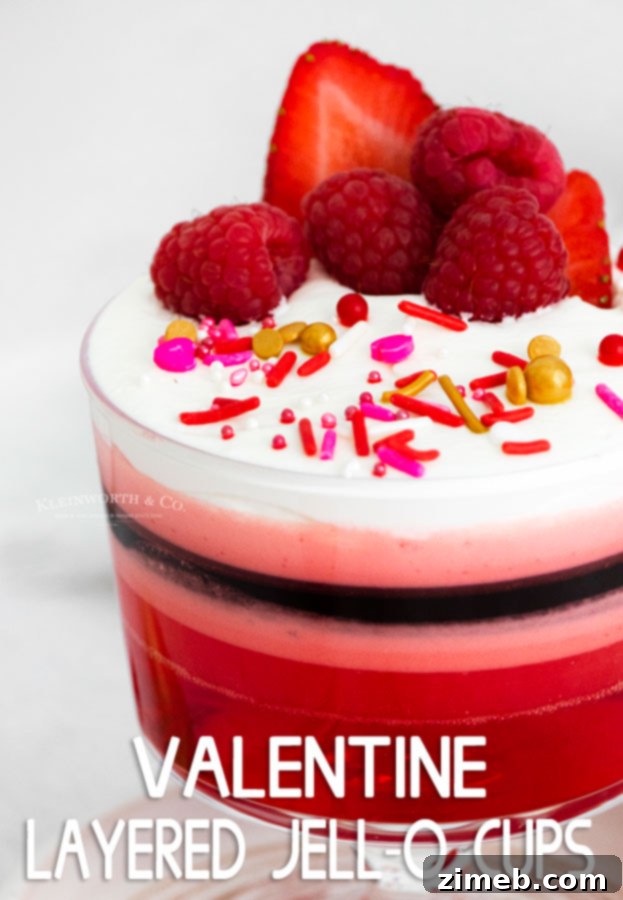
This Layered Jello Recipe is a delightful and surprisingly simple dessert to create, perfect for sharing with your loved ones or preparing as a special treat for the whole family. Kids absolutely adore the vibrant colors and playful texture of these Jello cups, and their customizable nature makes them ideal for any holiday or celebration. Get ready to impress with minimal effort!
Do you appreciate easy desserts that deliver a significant visual and taste impact? I certainly do! Anytime I can craft something that genuinely “wows the crowd” yet is incredibly straightforward to make, I’m fully onboard. That’s precisely why this adorable layered Jello recipe is an excellent choice to prepare for occasions like Valentine’s Day, or any festive gathering. Not only are these layered desserts simple to assemble, but they are also exceptionally delicious and fun to eat.
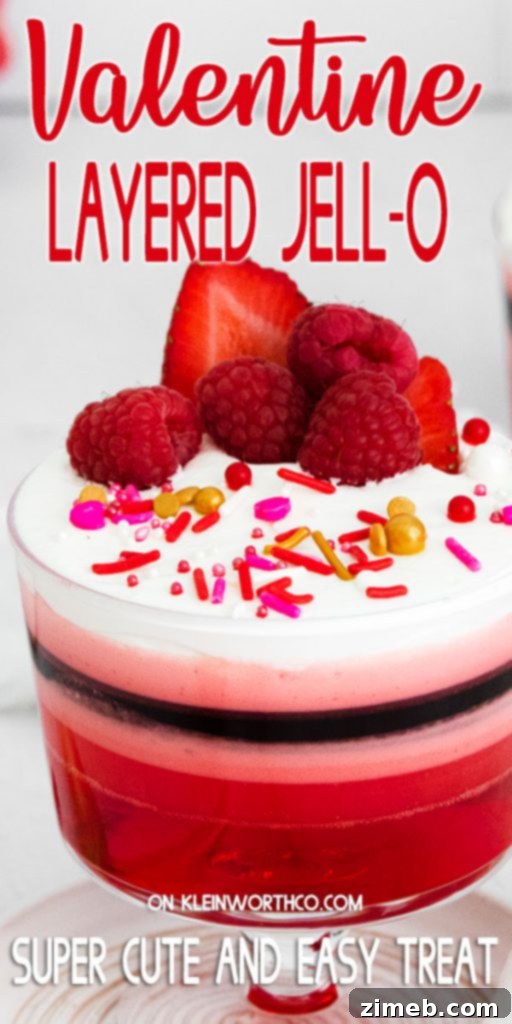
The most challenging aspect of this recipe isn’t the mixing or assembling, but rather the patience required for each Jello layer to firm up before you add the next. This waiting period is crucial for achieving those perfectly distinct, beautiful layers.
I often find it helpful to integrate the Jello-making process into my weekend routine. For instance, I’ll mix one layer, place it in the refrigerator, and then tackle a chore like cleaning the bathroom. Once that’s done, I’ll mix the next layer, refrigerate it, and perhaps vacuum the house. By breaking it down into small, manageable steps, you’ll find your gorgeous layered Jello cups are ready before you know it, almost effortlessly.
For those interested in adult-only Jello creations, you might want to explore some exciting ideas for Jello Shots.
Mastering Layered Jello Recipes: Tips for Success
Creating stunning layered Jello desserts is all about precision and patience. Here are some commonly asked questions and expert tips to ensure your Jello cups turn out perfectly every time.
Can I use sugar-free Jell-O for this recipe?
Absolutely! These delightful Jello cups can definitely be made with sugar-free Jell-O varieties. It’s important to note that sugar-free Jell-O boxes typically have a different net weight compared to regular ones. When selecting sugar-free options, look for boxes that specify 0.3 ounces, as opposed to the 3 ounces found in standard Jell-O boxes. The setting process and texture should remain consistent.
How do you properly store layered Jello cups?
Jello maintains its best texture and freshness when kept refrigerated. Once all your layers have set and you’ve added any desired toppings, it’s essential to place the Jello cups back into the refrigerator. Keep them chilled until you’re ready to serve. For optimal taste and appearance, consume them within 2-3 days.
How many servings does this recipe provide?
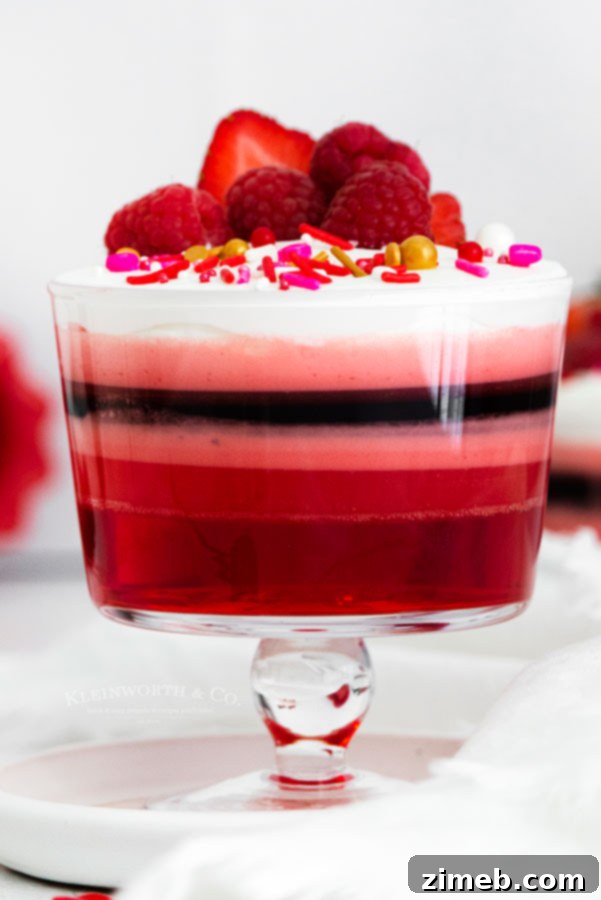
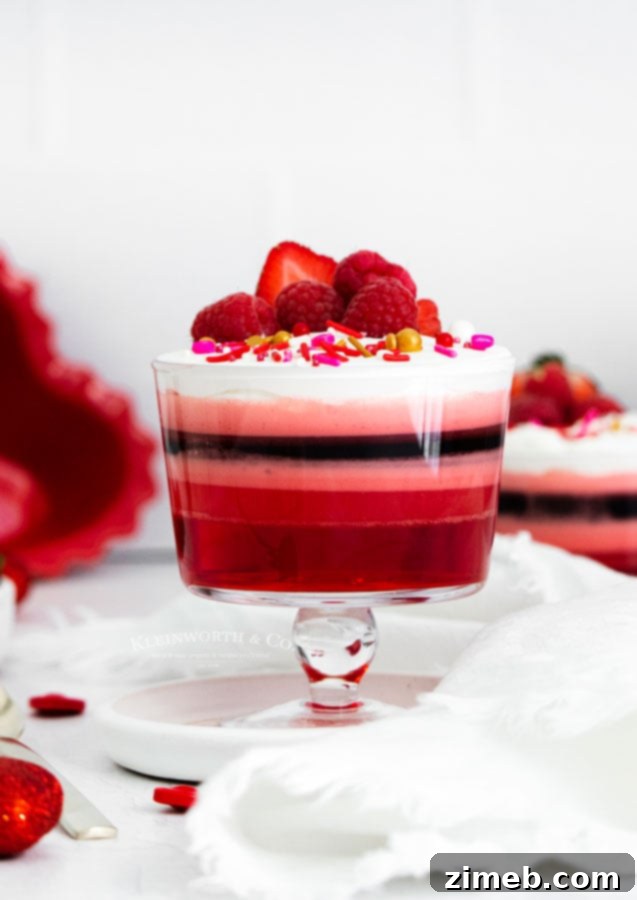
This particular recipe, as written, yields enough to fill four mini trifle glasses. However, the number of servings can vary based on the size of the cups or containers you choose to use. If you opt for larger dessert cups, you might get fewer servings, while smaller ones could provide more. Feel free to adjust accordingly for your gathering.
Can layered Jello cups be frozen?
The short answer is no, Jello cups should not be frozen. Here’s a more detailed explanation:
Due to the unique properties of gelatin, it does not freeze solid in the same way water or other desserts do. When placed in the freezer, Jello will become grainy and lose its characteristic firm, bouncy texture.
Even worse, the freezing process irrevocably damages the binding particles within the gelatin structure. This means that once you remove it from the freezer and it begins to thaw, it will separate into an unappetizing bowl of gooey, watery slush rather than returning to its original pleasant consistency. It’s best to enjoy Jello fresh from the refrigerator.
Customizing Your Layered Jello: Flavors and Colors
What Jello flavors should I use for layered cups?
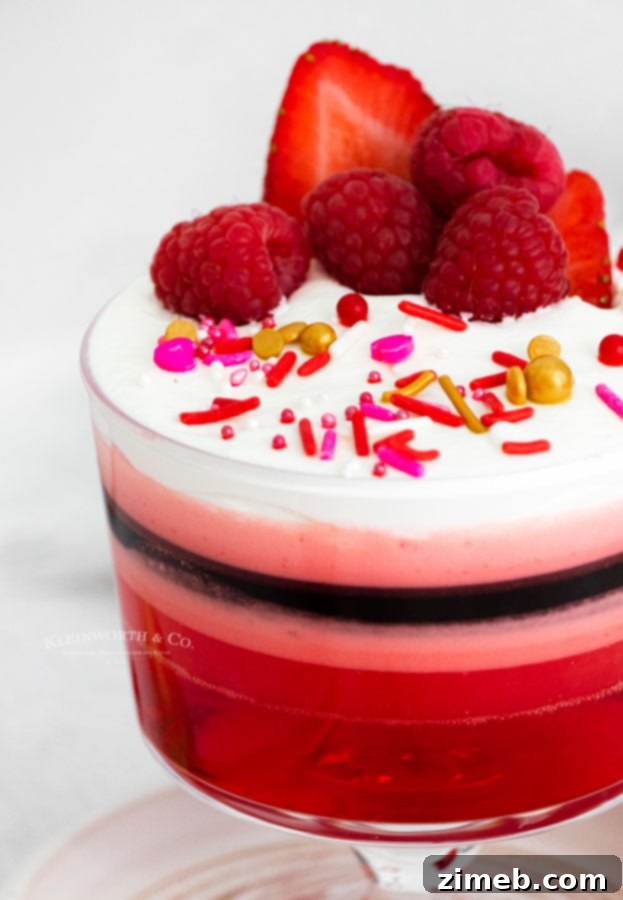
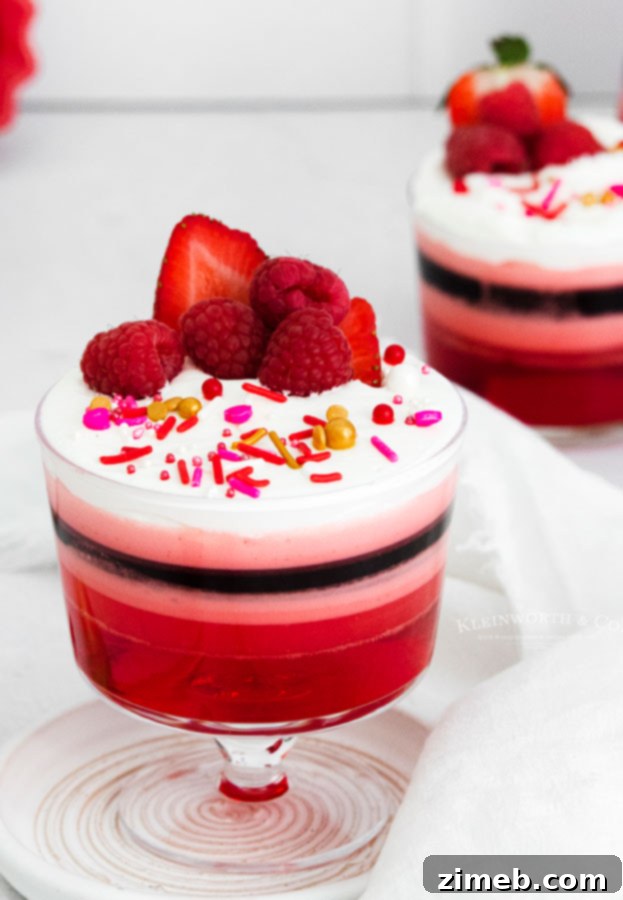
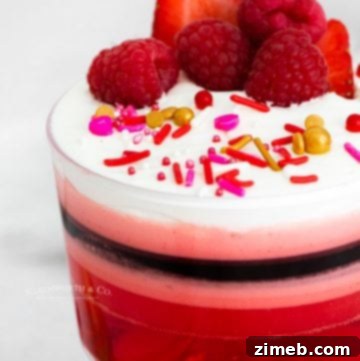
For these particular Valentine’s themed Jello cups, we’ve used a delightful combination of strawberry, black cherry, and raspberry. However, the beauty of this layered Jello recipe lies in its incredible versatility. You can choose any variety of flavors to create the specific color scheme and taste profile you desire.
Think beyond just red and pink! These cups would be equally adorable with a refreshing blue raspberry stripe for a summer party, or even a rich purple grape stripe for a whimsical touch. Consider holiday-specific combinations like red and green for Christmas (cherry and lime), orange and black for Halloween (orange and black cherry), or red, white, and blue for patriotic celebrations (strawberry, unflavored/creamy white, and blue raspberry). The possibilities for color and flavor combinations are endless, allowing you to tailor this dessert to any theme or event.
How long does it take for each Jello layer to set?
When preparing this recipe in smaller, individual glasses (as opposed to a large bowl where layers might be considerably thicker), I’ve observed that each layer typically takes only about 20-30 minutes to set sufficiently before you can carefully add the next layer. While the recipe instructions might suggest waiting an hour between layers, this is primarily a conservative estimate to ensure absolute firmness and prevent the subsequent layer from mixing. In most cases, especially if your refrigerator is efficient and your layers aren’t overly thick, you can often proceed much sooner.
Factors like the temperature of your refrigerator, the thickness of each Jello layer, and even the type of Jello (some set faster than others) can influence the exact setting time. Always do a gentle touch test to ensure the top surface is firm and slightly springy before pouring the next layer.
Can this layered Jello recipe be doubled or tripled?
Yes, absolutely! If you need to prepare more than four Jello cups for a larger gathering, you can certainly double or even triple this recipe with ease. Simply scale up all the ingredients proportionally. This is a fantastic option for parties, potlucks, or when you want to make a big batch of this crowd-pleasing dessert.
Crafting Your Creamy Layers in a Layered Jello Recipe
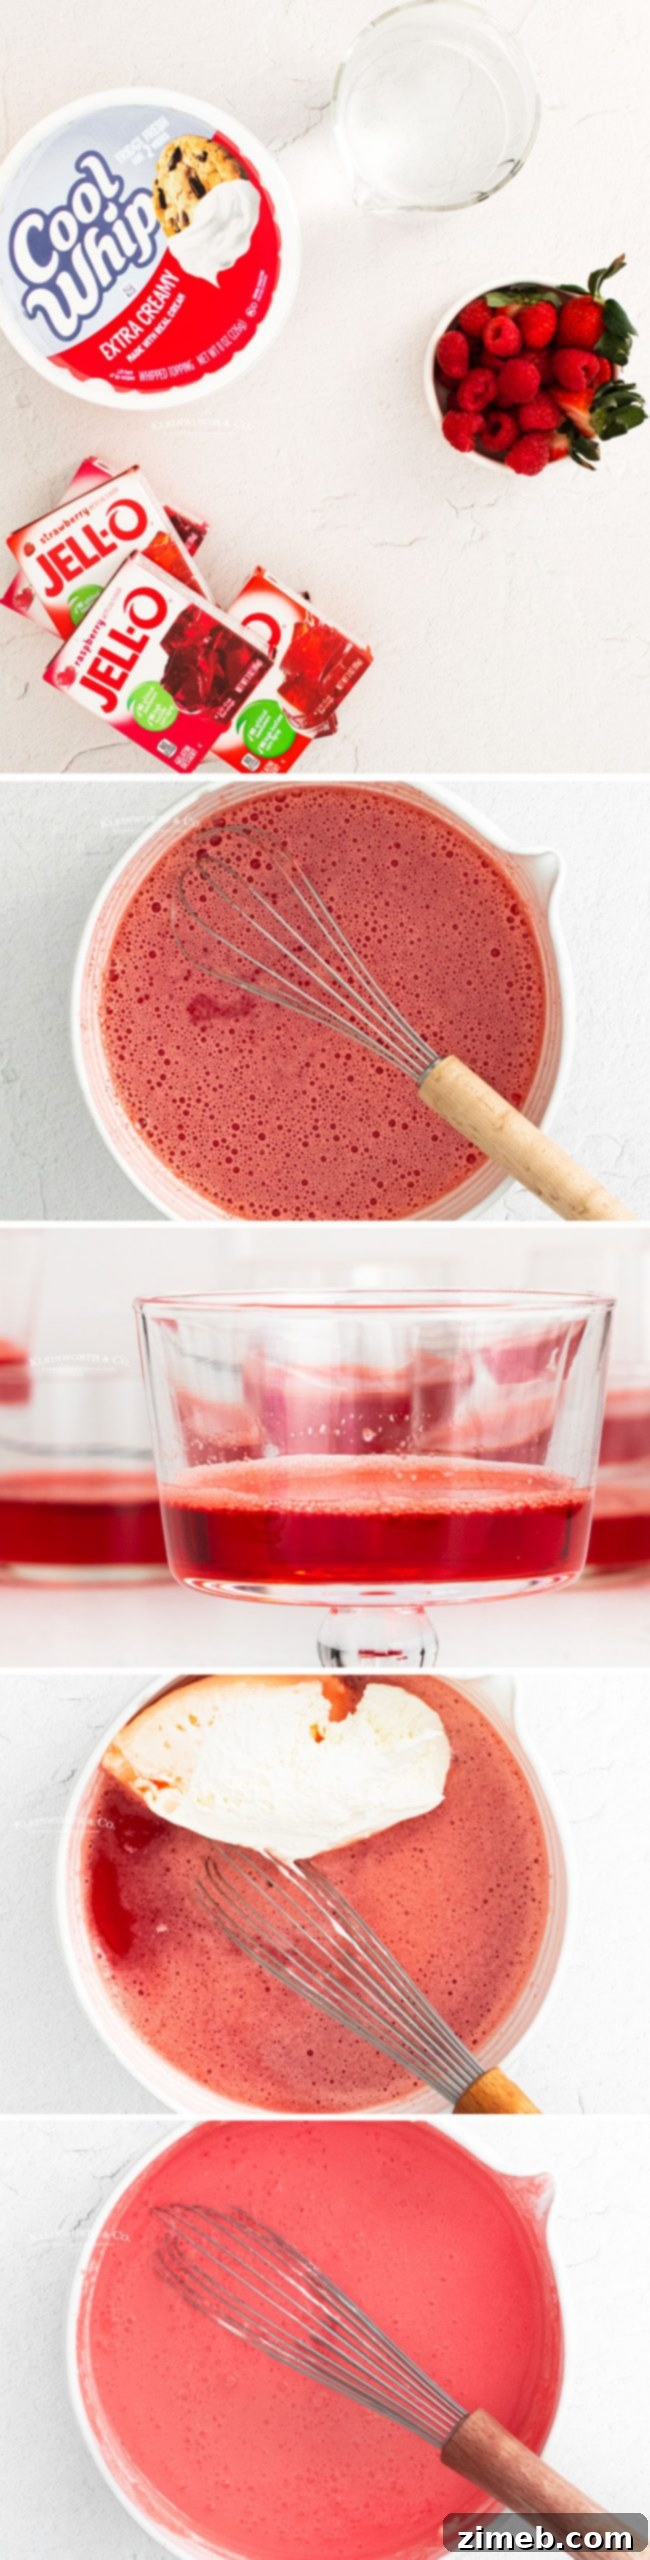
To make Layered Valentine Jello Cups you will need…
- Jello: In a variety of flavors to create your desired different colors. For Valentine’s, think reds, pinks, and purples.
- Whipped Topping: Such as Cool Whip, essential for creating the creamy, opaque layers that alternate with the clear Jello.
- Whipped Cream: (Optional) For a final luxurious topping before serving.
- Berries and Sprinkles: (Optional) Perfect for garnishing and adding an extra festive touch.
Is Jello a healthy dessert option?
Generally speaking, Jello is considered a low-calorie dessert, which is one of the reasons I find it so appealing. It’s particularly low in calories if you choose to use the sugar-free variety, making it a suitable treat for those mindful of their sugar intake. While not a nutritional powerhouse, it can be a lighter alternative to many other sweet indulgences.
What are the best sprinkles for Jello cups?
Choosing the right sprinkles is more important than you might think, especially for chilled desserts like Jello. Just because a package is labeled “sprinkles” doesn’t always mean it’s the best type for this application.
I often see people using colored sanding sugar, which is sometimes incorrectly marketed as sprinkles. This type of sugar-based decoration will not work well with chilled recipes like Jello cups. The moment sanding sugar comes into contact with moisture – such as when it’s mixed into a moist dough, added on top of whipped cream, or placed in the refrigerator – it will “sweat,” causing the color to bleed out into your beautiful Jello layers or whipped topping. This can ruin the aesthetic of your carefully crafted dessert.
Instead, look for true sprinkles, also known as jimmies, nonpareils, or shaped confetti sprinkles. These are typically made with a wax-based coating that prevents them from bleeding color when exposed to moisture or cold temperatures, ensuring your Jello cups remain vibrant and appealing.
Layered Jello: A Canvas for Creativity
Can this be made without whipped topping?
Yes, absolutely! If you prefer not to use whipped topping in your layered Jello, or if you’re looking for an alternative, you have a couple of excellent options. For a creamy layer, you can substitute vanilla yogurt instead of whipped topping. This will give your Jello cups a slightly tangier flavor and a different creamy texture.
Alternatively, if you want a white, opaque layer without the creaminess of whipped topping or yogurt, you can prepare unflavored gelatin. When unflavored gelatin is properly prepared and allowed to set, it creates a translucent, firm white layer that contrasts beautifully with the colored Jello layers. This is a great way to introduce white stripes into your dessert without adding extra sweetness or dairy.
How to Make Layered Jello Cups: A Detailed Guide
Follow these simple steps to create your visually stunning and delicious layered Jello cups:
- Prepare the First Layer: Start by making one package of Jello according to the specific instructions provided on its box. Typically, this involves combining the Jello powder with 1 cup of boiling water until fully dissolved, then stirring in 1 cup of cold water.
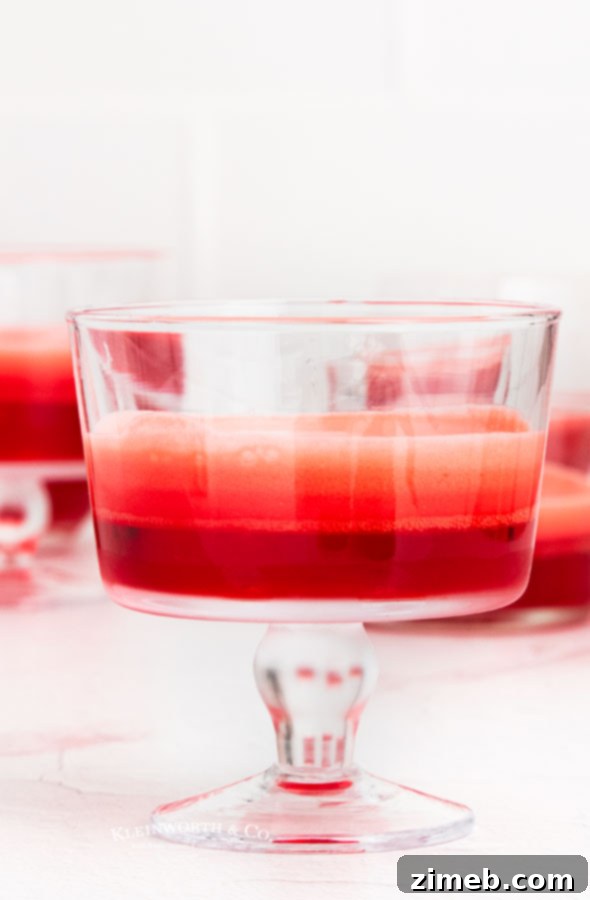
- Chill the First Layer: Carefully divide the prepared Jello mixture evenly among your chosen individual cups. Place these cups into the refrigerator to chill and set. This crucial step usually takes about an hour, or until the layer is firm to the touch.
- Create the First Creamy Layer: Next, prepare another package of Jello following the box instructions. However, for this layer, before pouring it, gently whisk in 6 ounces of whipped topping (like Cool Whip) until thoroughly combined and smooth. Ensure your first Jello layer is completely firm before carefully pouring this creamy mixture on top. Return the Jello cups to the refrigerator to chill for another hour, or until this creamy layer is fully set.
- Repeat for Subsequent Layers: Continue this layering and chilling process for the remaining Jello. The third layer will typically be a plain, clear Jello layer, similar to your first.
- Add the Final Creamy Layer: The fourth and final layer will again be a creamy layer, made by combining Jello with the remaining 8 ounces of whipped topping.
- Ensure Firmness: It is absolutely essential to ensure that each individual layer has firmed up completely before you proceed to add the next. Rushing this step will result in layers bleeding into each other, compromising the distinct appearance of your dessert.
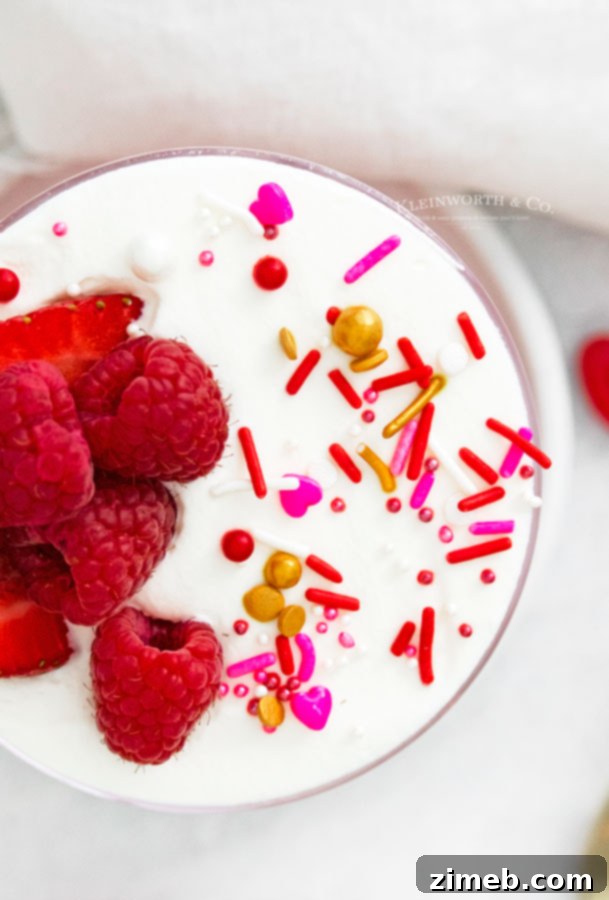
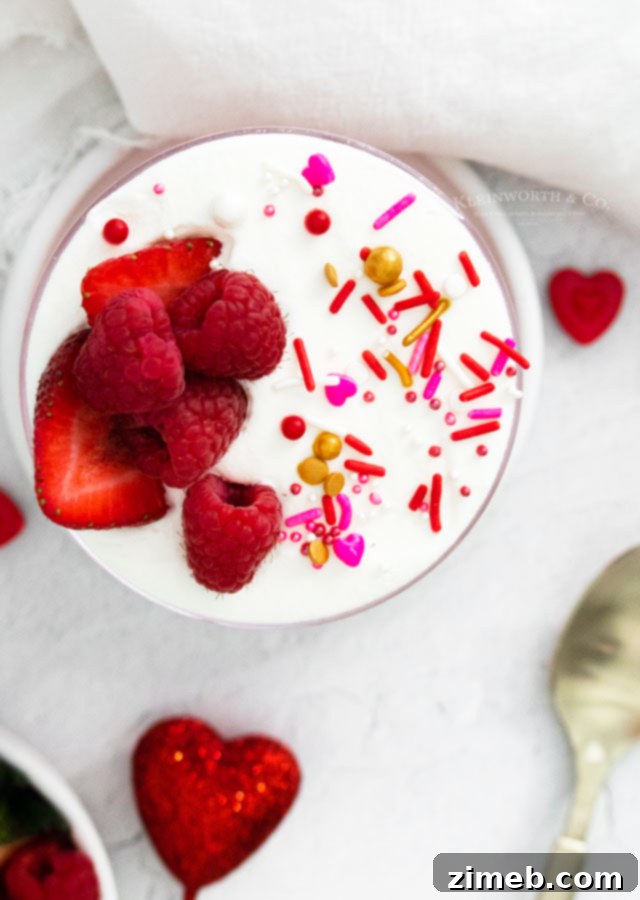
- Garnish and Serve: Once all layers are firm and chilled, you can top your layered Jello cups with extra whipped cream, a sprinkle of non-bleeding sprinkles, or fresh berries, if desired. Serve them chilled for the best experience.
Can this recipe be cut in half?
Yes, certainly! If you only need two Jello cups, you can easily halve this recipe by using just two boxes of Jello. While you won’t achieve as many distinct color layers as with the full recipe, you can still create a beautiful effect by alternating a darker clear color with a lighter clear one, along with an added whipped topping layer for contrast. It will still be a lovely and enjoyable treat.
Explore More Fun Recipes Made with Jello for All Ages!
- Jello Jigglers
- Blue Raspberry Jello Cups for Kids
- Strawberry Jello Salad
- Jello Poke Cake
- Broken Glass Jello
- Raspberry Pretzel Salad
Products I love when making jello cups…
This layered Jello cup recipe is incredibly easy and truly delicious. If you’re like me, you probably already have some of the necessary items on hand. Or perhaps you’ve never ventured into making layered Jello before and might feel a little nervous – but I assure you, you’re going to absolutely love the process and the results! I’ve compiled a list below of the essential tools and ingredients I can’t do without when preparing this delightful dessert recipe. These will help ensure your success from start to finish.
- Strawberry Jell-O
- Raspberry Jell-O
- Black Cherry Jell-O
- Measuring Cups
- Mixing Bowls
- Whisk
- Serving Cups
- Valentine Sprinkles
Visualizing Your Jello Cup Creation
If you adored this Valentine Layered Jello recipe, you’re sure to love these other fantastic treats as well. Please click each link below to discover the easy, printable recipe!
Check out this recipe

Check out this recipe
Check out this recipe
Check out this recipe
Check out this recipe

Check out this recipe

Check out this recipe
The Beauty of Layered Jello Dessert
Delicious and Fun Jello Cups
If you’ve enjoyed making and savoring this Valentine Layered Jello recipe as much as I have, please consider leaving a five-star review below. Your feedback helps immensely! Also, I’d be incredibly grateful if you could help me share this delightful dessert with more people by sharing it on Facebook and Pinterest!
CONNECT WITH YUMMI HAUS!
Be sure to follow me on my social media, so you never miss a post!
Substack, FB, Pinterest, IG, Email Subscription
Rate this Recipe
Valentine Layered Jello Recipe
Dessert
4
5 hours
hrs
Ingredients
-
4
packages of jello
I used a mix of strawberry, raspberry, and black cherry (3 ounces each) -
1
package
12 ounces whipped topping -
Whipped Cream
optional -
Berries and Sprinkles
optional
Instructions
-
Make one package of jello according to the instructions on the box (most likely, you’ll combine the jello powder with 1 cup of boiling water and 1 cup of cold water).
-
Divide the jello between the cups and place it in the refrigerator to set– this should take about an hour.
-
Next, make another package of jello according to the instructions on the box. However, this time you’ll whisk in 6 ounces of the whipped topping before pouring it over the first layer (make sure the first layer is fully set before you pour another layer on top). Place the jello cups back in the refrigerator to chill for another hour, or until set.
-
Repeat the layering and chilling set for the last two layers. The third layer will be a plain jello layer.
-
The fourth layer will be a creamy layer (jello plus the remaining 8 ounces of cool whip).
-
Make sure that each of the layers has firmed completely before moving on to the next.
-
Lastly, top with whipped cream, sprinkles, or berries, if desired. Serve chilled.
Notes
You can do as many layers as you like– if you don’t have time to do four separate layers, consider doing just two or three.
Nutritional information for the recipe is provided as a courtesy and is approximate. Please double-check with your own dietary calculator for the best accuracy. We at Yummi Haus cannot guarantee the accuracy of the nutritional information given for any recipe on this site.
Love this recipe?
Follow @KleinworthCo for even more tasty recipes!