
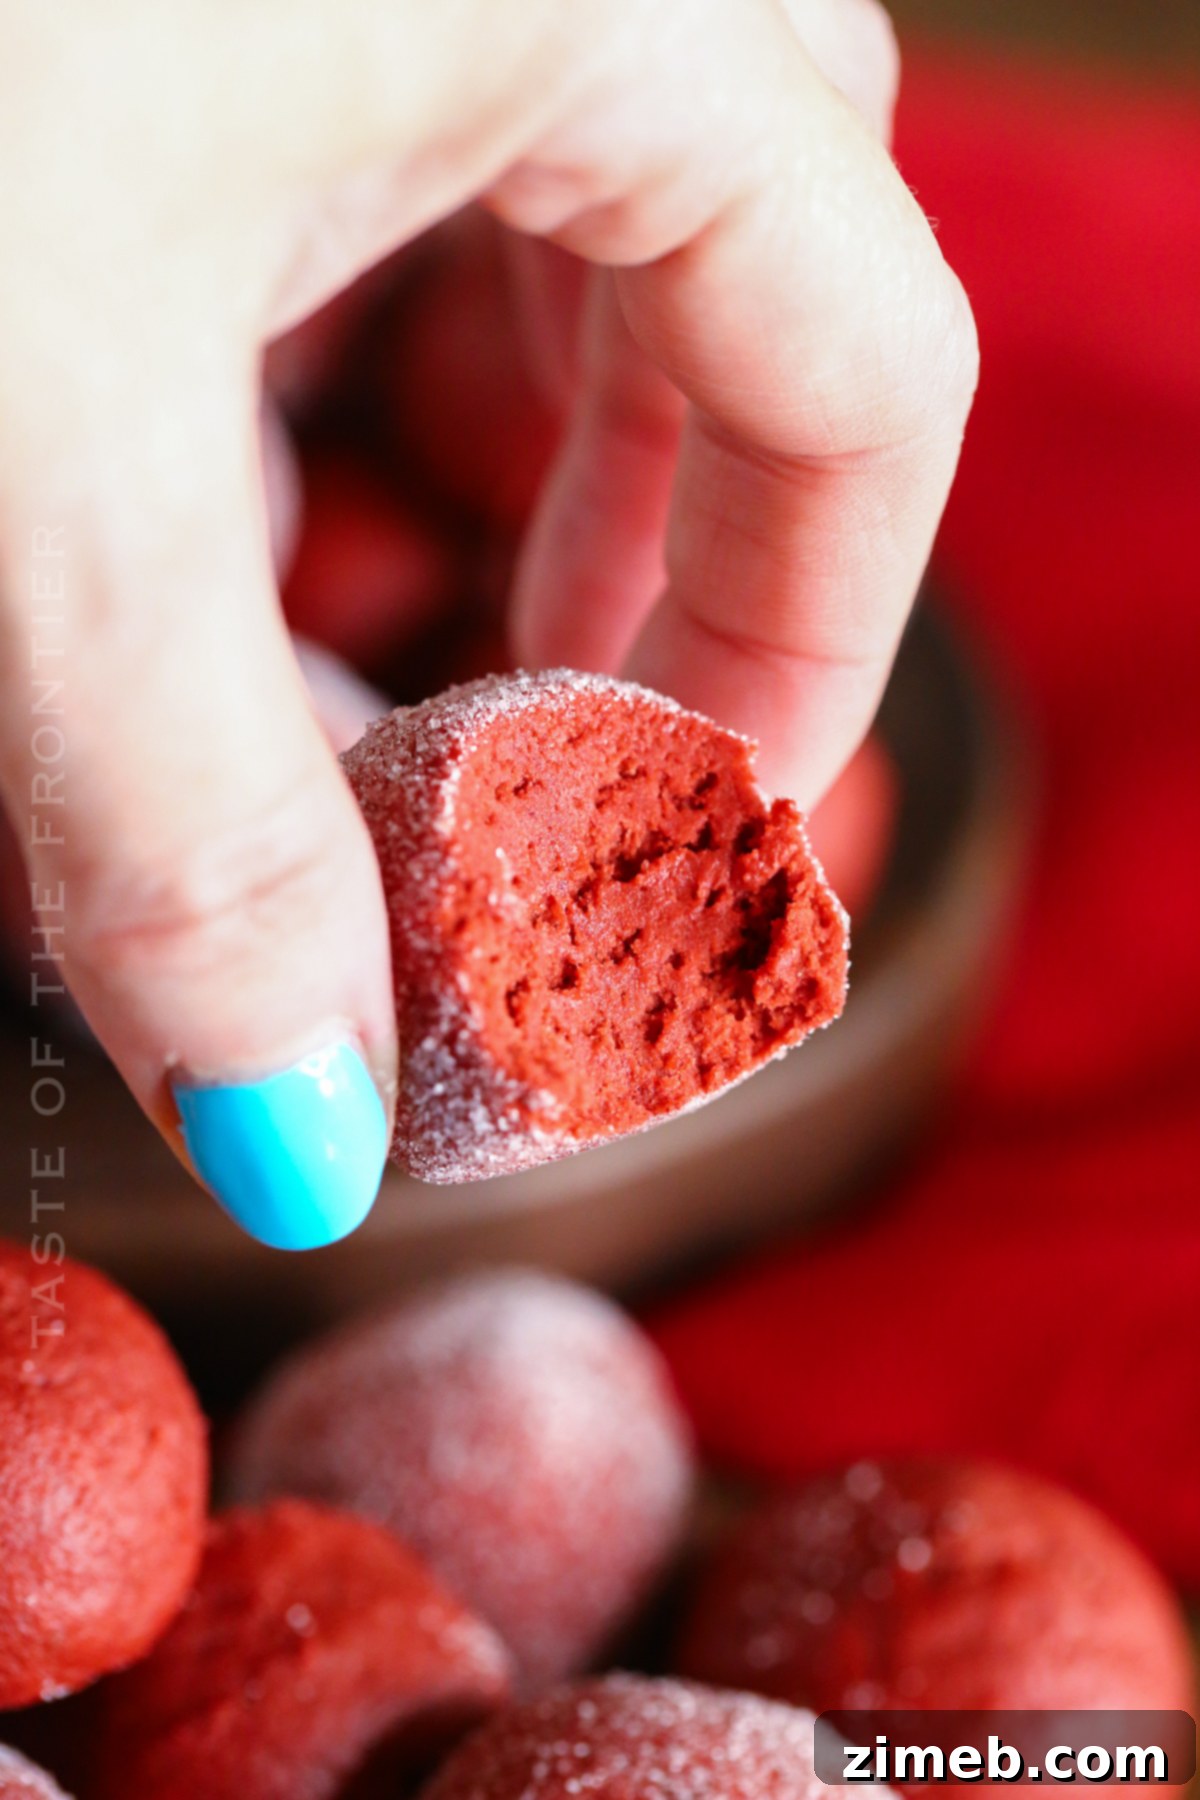
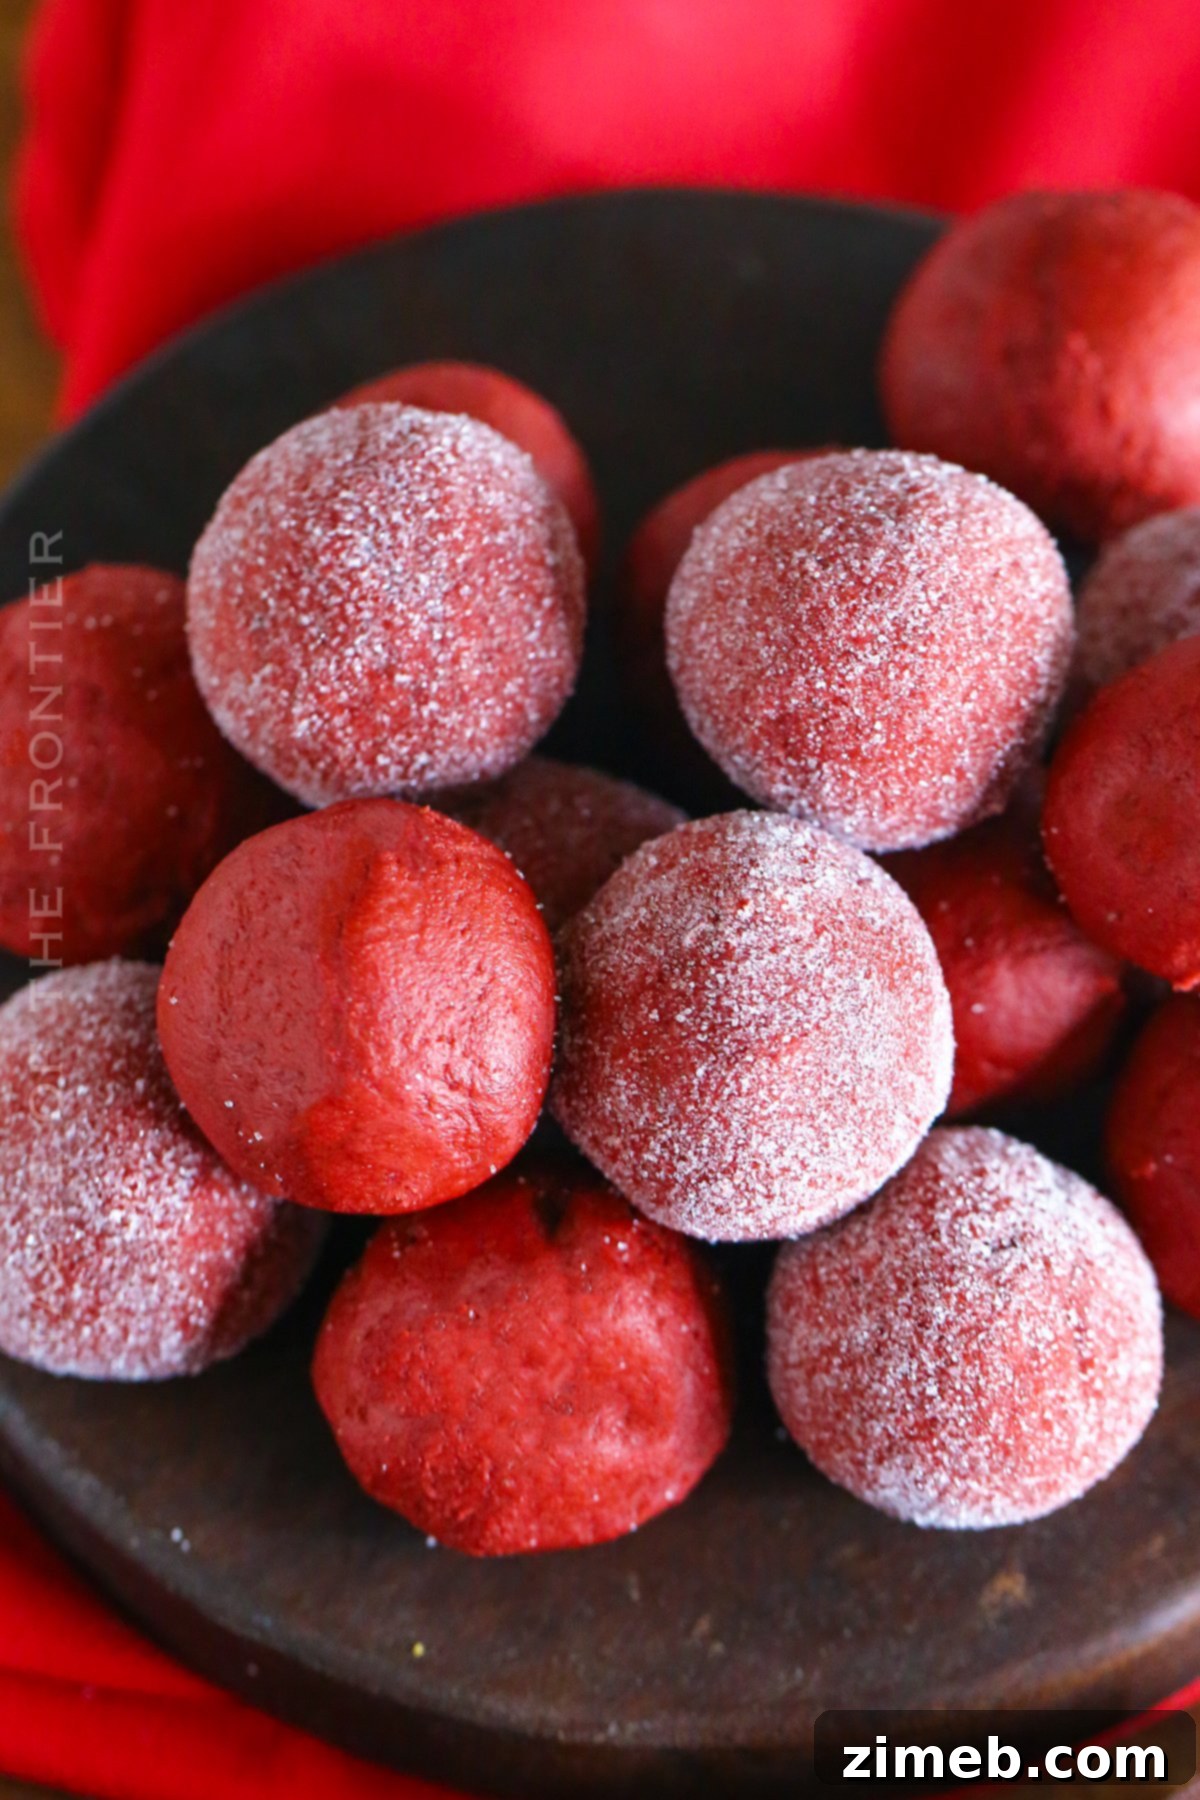
Red velvet cake, with its striking deep red color and creamy white frosting, is often considered the quintessential Valentine’s Day dessert. However, its rich flavor and decadent texture make it a delightful treat for any time of year. For those moments when you crave the classic taste but desire a more convenient, bite-sized indulgence, these **easy red velvet truffles** are the perfect solution. They offer all the beloved flavors of red velvet cake in a simple, handheld confection that’s ideal for sharing, gifting, or enjoying all by yourself.
These exquisite **red velvet cake balls** beautifully combine the moist, rich essence of red velvet cake with the sweet, tangy notes of a traditional cream cheese frosting. What makes this recipe truly outstanding is its simplicity – you only need a box of red velvet cake mix and a handful of other readily available ingredients. Say goodbye to complex baking steps and hello to a fuss-free dessert that tastes utterly gourmet.
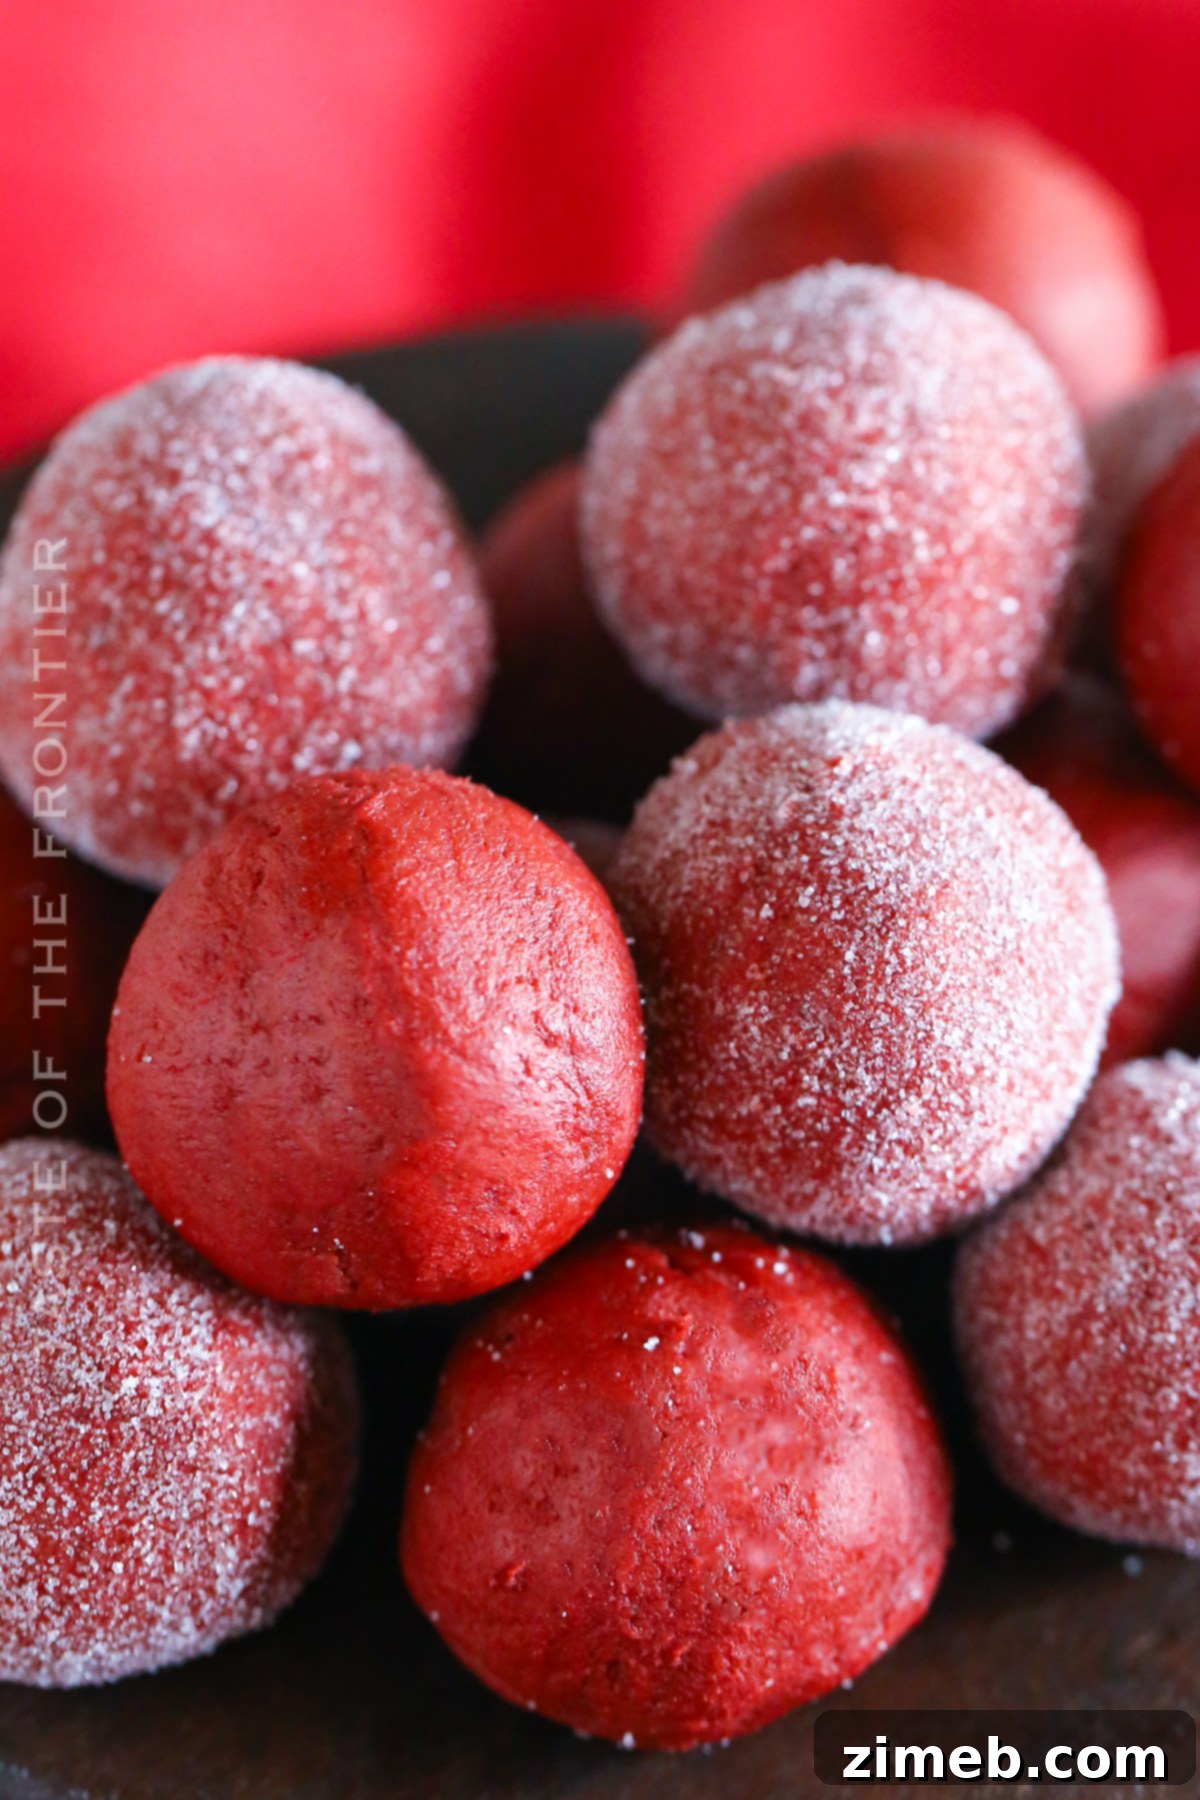
If you’re seeking an **easy truffle recipe** that’s incredibly versatile, customizable, and guaranteed to impress, look no further. These red velvet truffles are a definite show-stopper, perfect for parties, holiday gatherings, or as a delightful homemade gift. Their vibrant color and delectable taste make them a memorable addition to any dessert table.
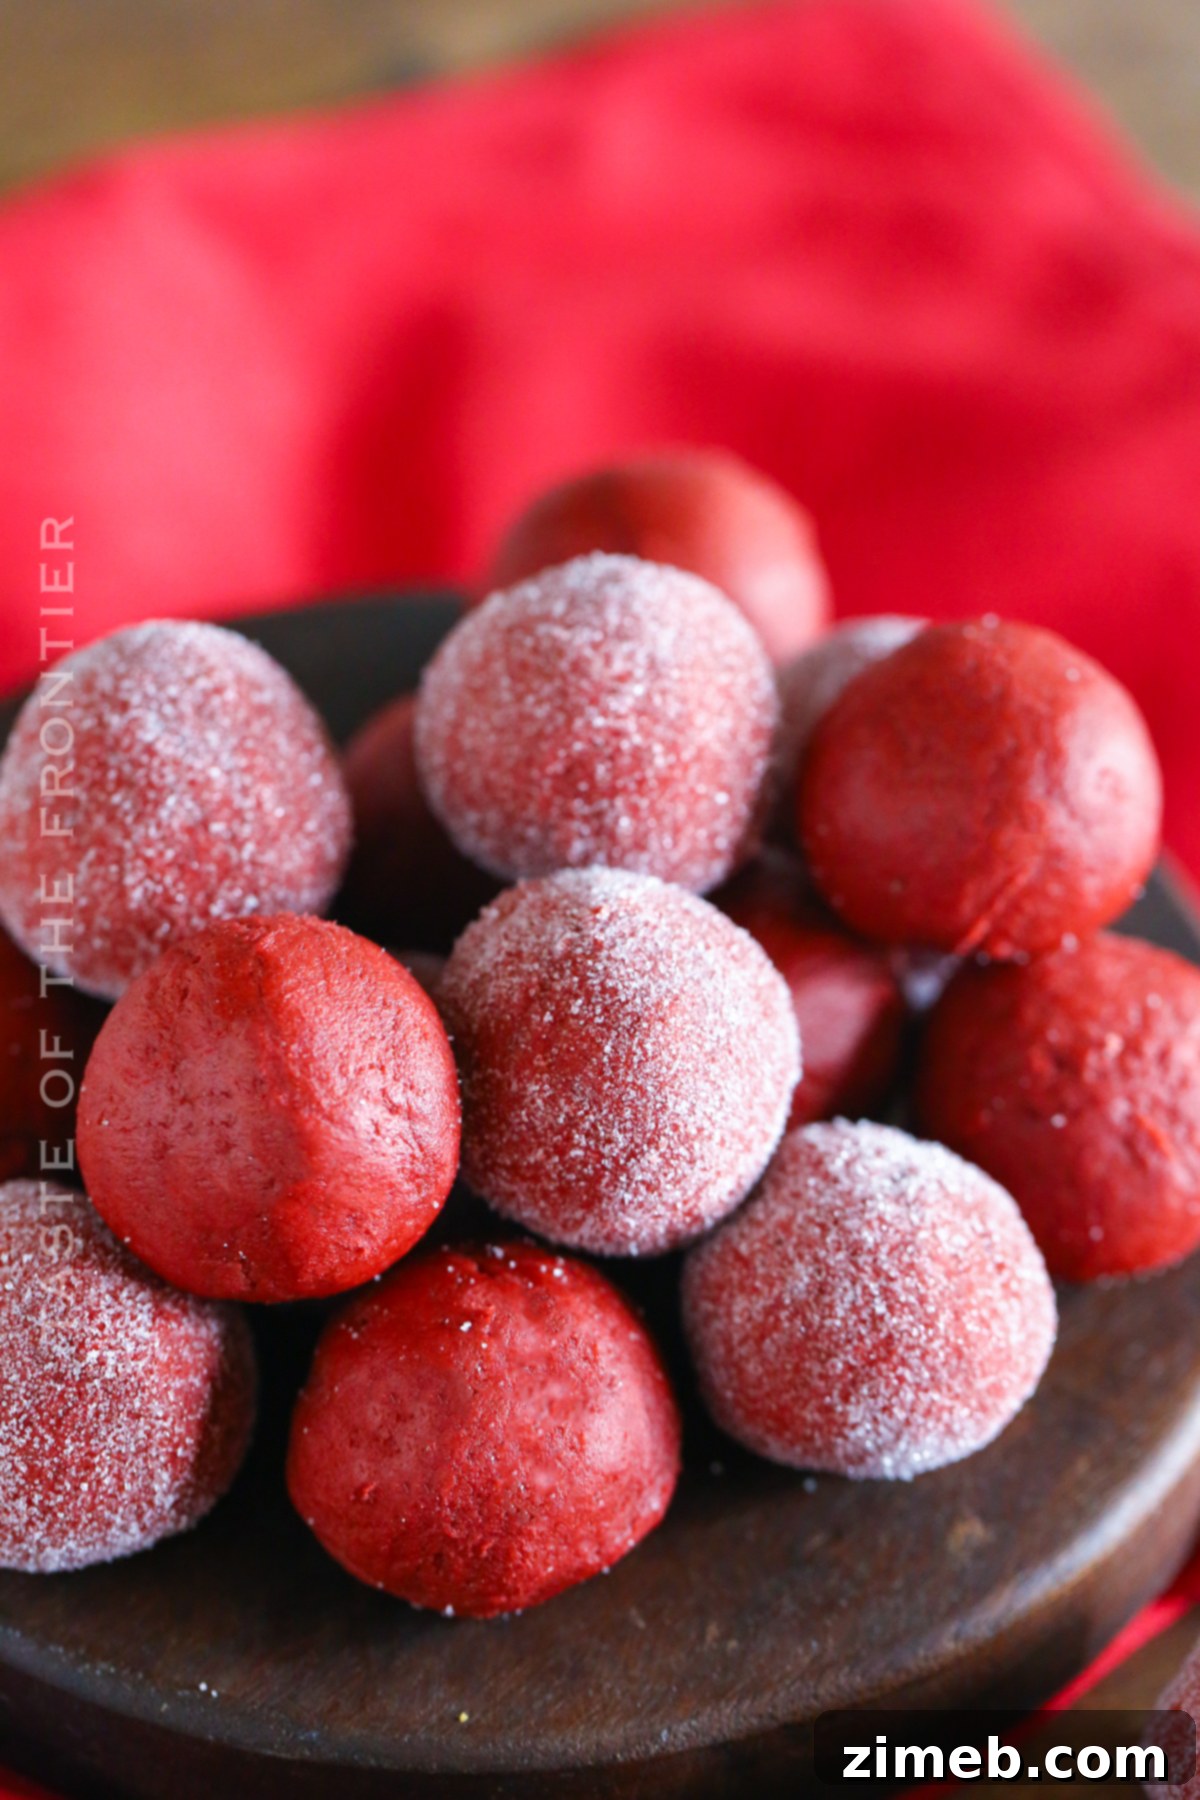
Common Questions About Red Velvet Truffles
What Makes Red Velvet Cake So Special?
Beyond its undeniably beautiful appearance, red velvet cake is celebrated for its distinctive flavor profile and exceptionally moist, tender crumb. The unique taste comes from a delicate balance of mild cocoa powder, a touch of tang from buttermilk or vinegar, and usually a generous amount of cream cheese frosting. This combination creates a rich, complex flavor that is subtly chocolatey with a refreshing, slight acidity that distinguishes it from a regular chocolate cake. The cocoa also reacts with acidic ingredients like buttermilk and vinegar, which traditionally enhanced the red hue, though modern recipes often rely on food coloring for its vibrant signature color. This harmonious blend of flavors and textures is what truly sets red velvet apart as a beloved classic.
What Exactly Are Cake Truffles?
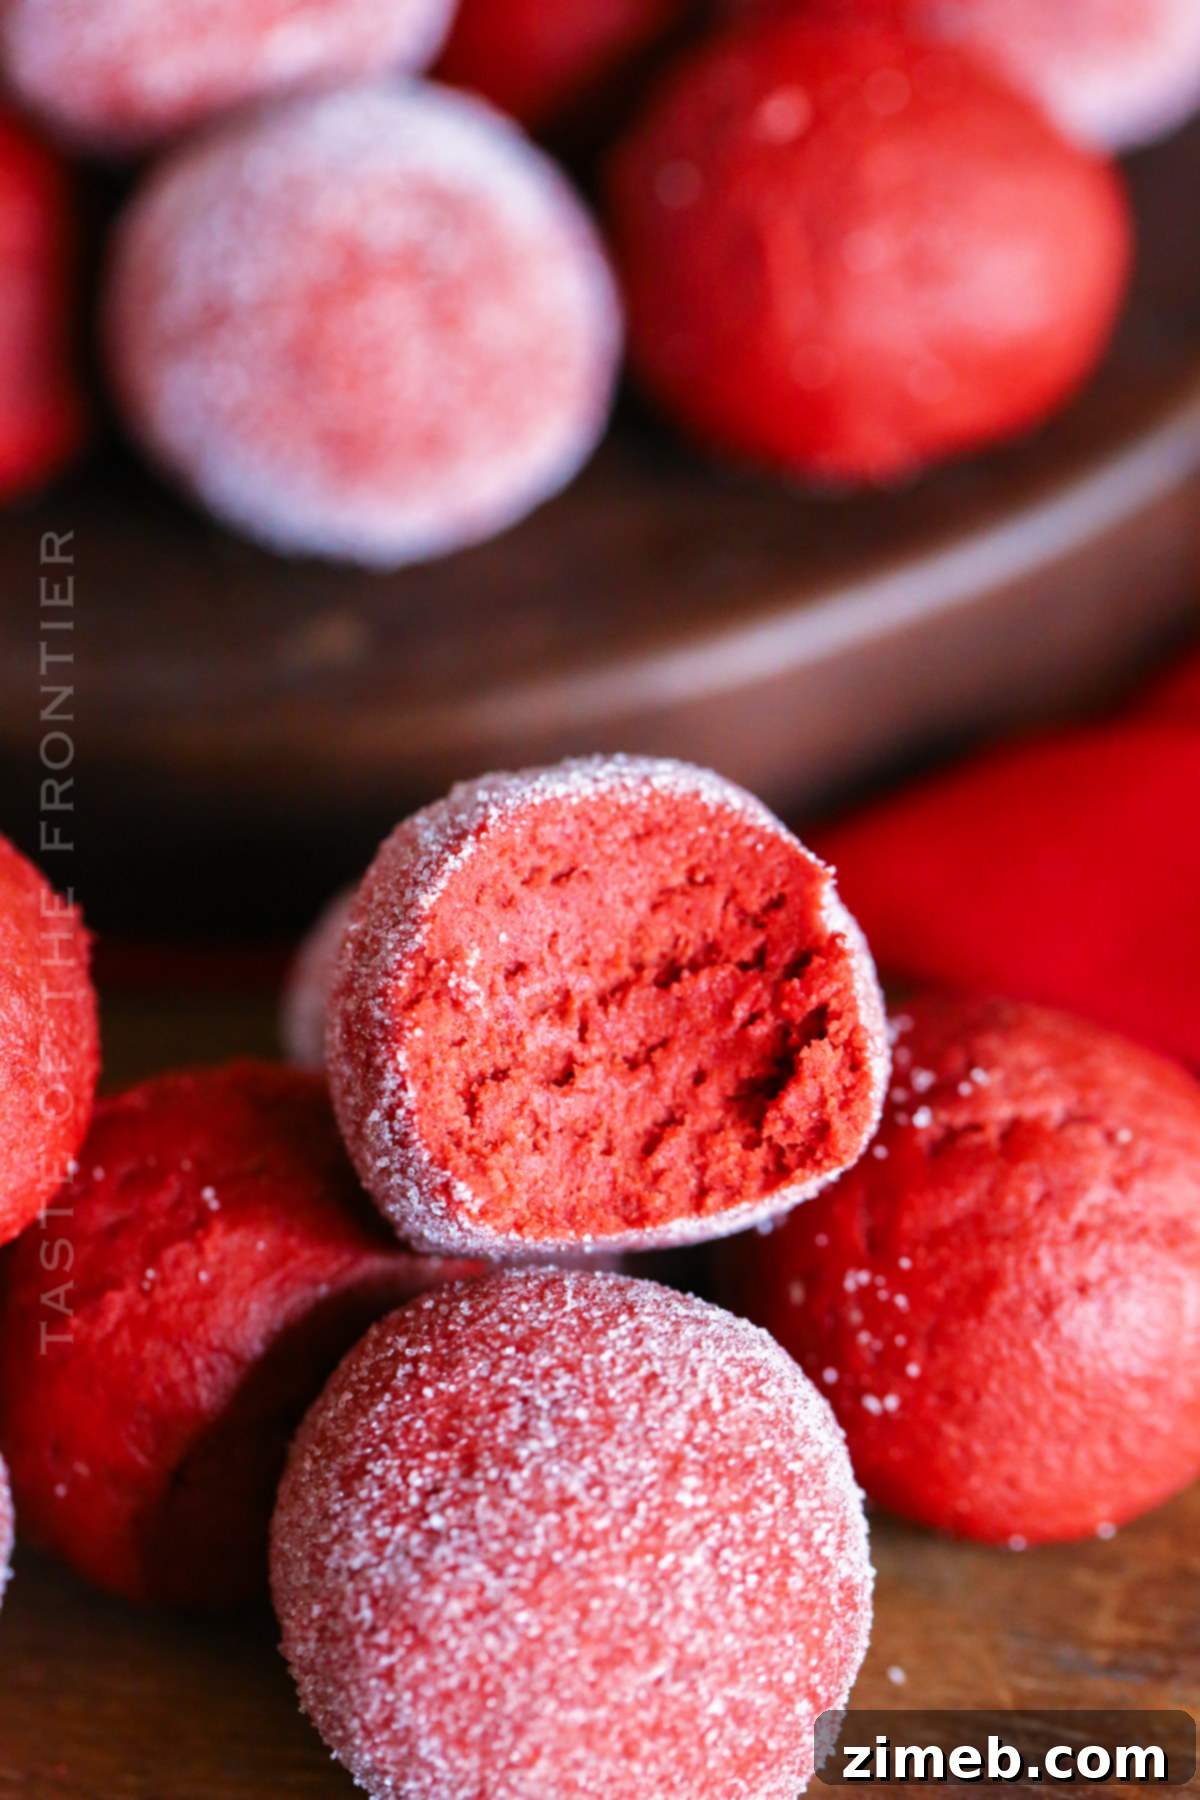
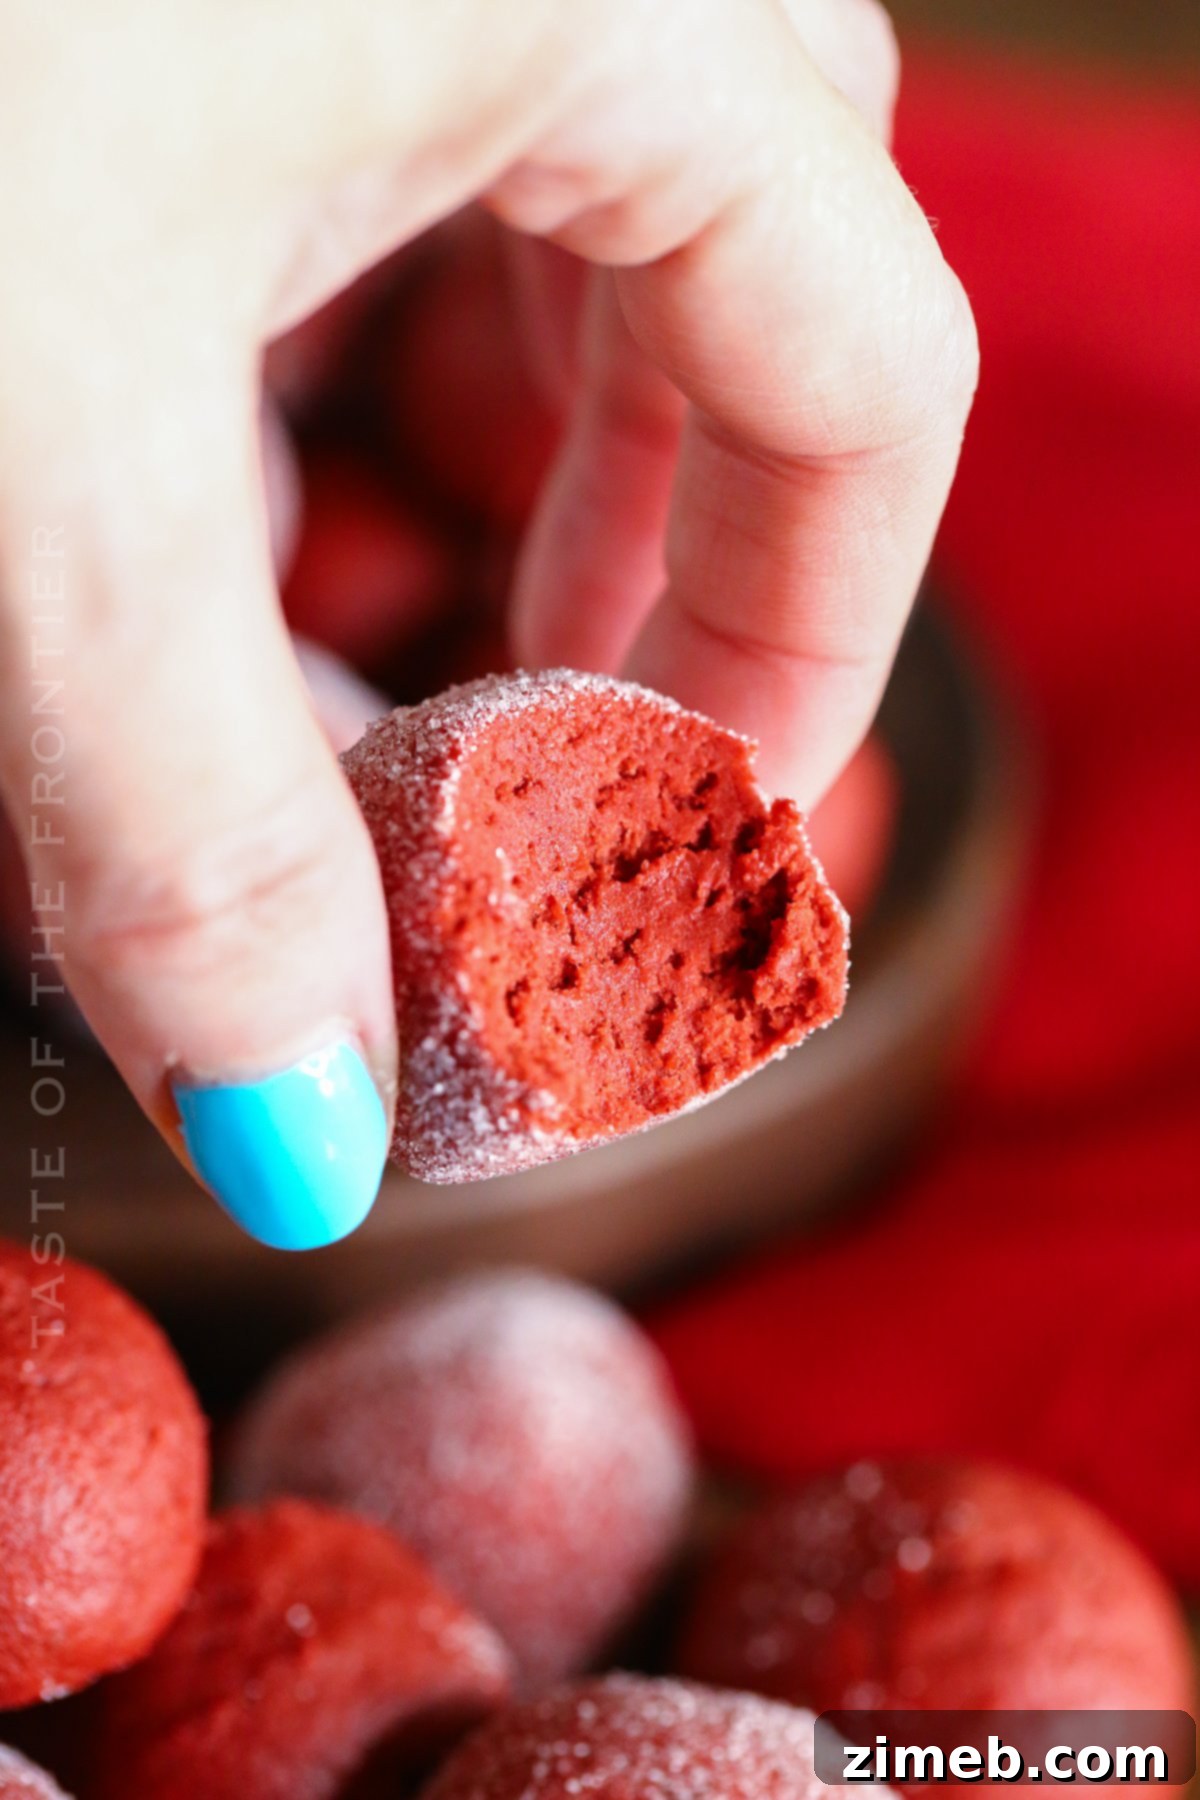
At their core, cake truffles are delightful, usually ball-shaped confections that take the essence of cake and transform it into a dense, fudgy, and portable treat. Traditionally, they combine leftover cake crumbs with frosting to form a moldable mixture, which is then rolled and often coated. These particular **red velvet cake truffles**, however, simplify the process even further. Instead of using baked cake and separate frosting, we ingeniously combine red velvet cake mix powder with softened cream cheese and a touch of powdered sugar in one swift step. This method creates a rich, dough-like consistency that captures the essence of a moist cake and tangy frosting without any baking required. It’s a fantastic **no-bake dessert** solution that’s both efficient and incredibly delicious.
Can I Leave Red Velvet Truffles Out Overnight?
Due to the inclusion of cream cheese, a dairy product, these **homemade red velvet truffles** require refrigeration to maintain their freshness and ensure food safety. It’s best to store them in an airtight container in the refrigerator when they are not being actively served. While they can sit out for a short period at room temperature for serving (allowing them to soften slightly for a better texture), prolonged exposure to warmth is not recommended. Always err on the side of caution with dairy-based desserts.
Making Red Velvet Truffles Ahead of Time
These **easy red velvet truffles** are wonderfully straightforward, making extensive prep work unnecessary. However, their excellent shelf life means you can prepare them well in advance, which is perfect for busy schedules, party planning, or gift-giving. Whipping up a batch a day or two before an event saves time and ensures you have a delightful dessert ready when you need it. They’re also an ideal candidate for freezing, further extending their make-ahead potential.
Storage Solutions for Your Truffles
These delectable **red velvet cake truffles** are incredibly simple to store, whether you plan to keep them in the refrigerator for a few days or freeze them for longer enjoyment. Proper storage is key to maintaining their fresh taste and perfect texture. To prevent them from sticking together, especially if you’ve coated them, arrange them in a single layer or separate layers with parchment paper or wax paper.
Refrigerator: For short-term storage, place your truffles in an airtight container or a heavy-duty ziploc bag. They will keep beautifully in the refrigerator for up to 10 days, allowing you to enjoy them throughout the week or prepare them well in advance for an event.
Freezing: To extend their freshness even further, freeze these truffles! Arrange them in a single layer on a parchment-lined baking sheet and freeze until firm (about an hour). Then, transfer them to a freezer-safe container or a freezer bag. They can be stored for up to 3 months. When ready to enjoy, simply thaw them in the refrigerator or at room temperature for about 15-20 minutes before serving.
Expert Tips for the Best Red Velvet Truffles
While this recipe for **red velvet cake mix truffles** is incredibly simple, a few expert tips can elevate your results from good to absolutely phenomenal. Follow these suggestions to ensure your truffles are perfectly smooth, uniform, and delicious every time:
- Grease Your Hands: Before you begin rolling the truffle balls, lightly spray your palms with cooking spray or rub a small amount of neutral oil (like vegetable or canola oil). This simple trick prevents the dough from sticking to your hands, making it much easier to form smooth, perfectly round balls.
- Add Cream Gradually: When incorporating the heavy cream to achieve the right dough consistency, do so in small intervals, adding just a teaspoon at a time. This allows you to control the texture precisely, preventing the mixture from becoming too soft or liquefied. You want a firm, pliable dough that holds its shape.
- Mix on Low Speed: To avoid a dusty kitchen and ensure all ingredients are well combined, always start mixing on the lowest speed. This helps contain the cake mix powder and confectioner’s sugar within the bowl, gradually incorporating them into the cream cheese without making a mess. Once combined, you can increase the speed slightly if needed.
- Chill the Dough: If your dough becomes too soft to handle, particularly in a warm kitchen, pop it into the refrigerator for 15-30 minutes. Chilling will firm it up, making it much easier to roll into perfect balls.
- Use a Scoop for Uniformity: For consistently sized truffles, use a small cookie scoop or a measuring spoon (e.g., a tablespoon) to portion out the mixture before rolling. This ensures that all your truffles cook evenly (if baking, though these are no-bake) and look professional.
Simple Ingredients for Decadent Red Velvet Truffles
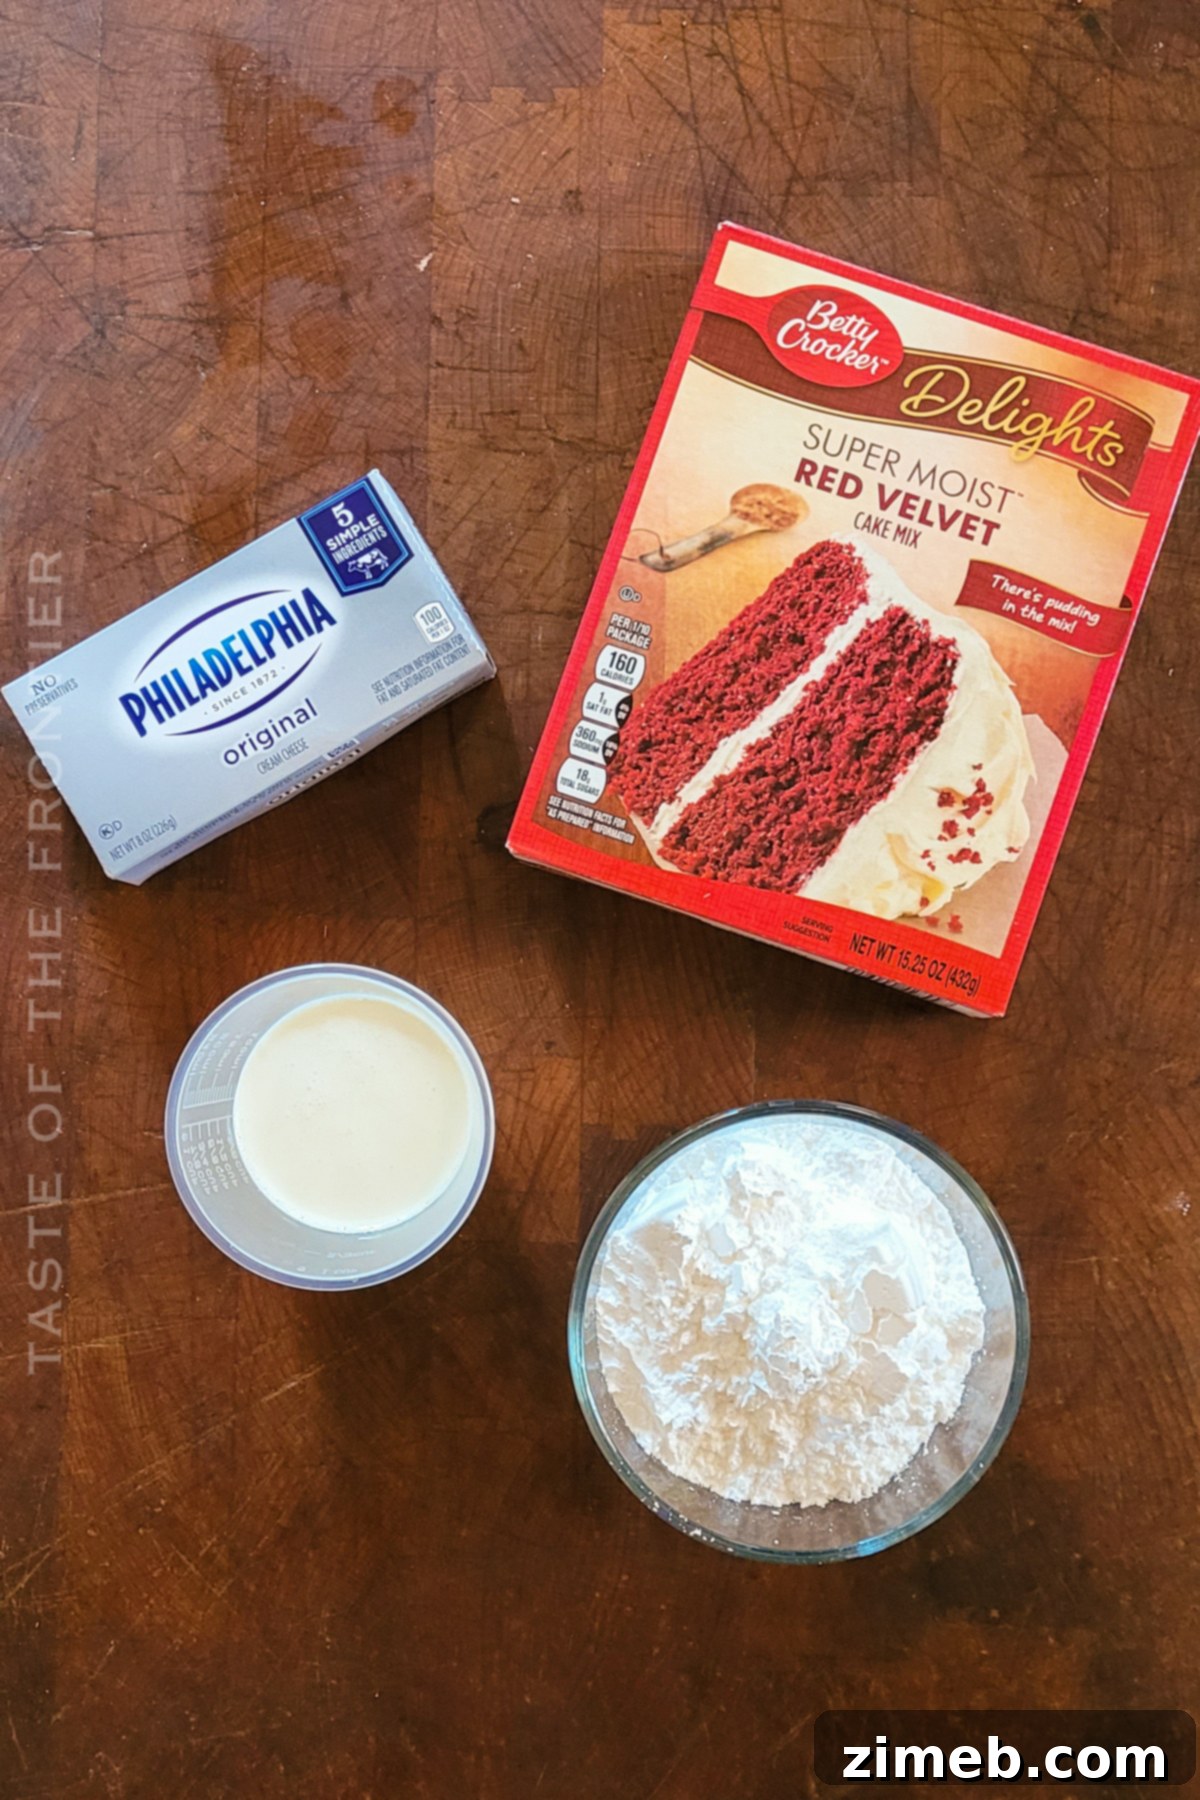
One of the best aspects of this **no-bake red velvet truffle** recipe is the minimal and simple ingredient list. You’ll be amazed at how these few items come together to create the most mouth-watering, irresistible treats. Here’s what you’ll need:
- Red Velvet Cake Box Mix: This is our secret weapon for speed and convenience. *Important: Do NOT follow the package directions for making cake. We only use the dry mix.* This provides the distinctive red velvet flavor and color effortlessly.
- Confectioner’s Sugar (Powdered Sugar): Essential for adding sweetness and contributing to the smooth, fudgy texture of the truffles.
- Cream Cheese (Full Fat, Softened): The backbone of the truffle’s creamy texture and signature tangy flavor. Ensure it’s full-fat and softened to room temperature for easy blending and a rich result.
- Heavy Cream: Used sparingly to achieve the perfect doughy consistency. It adds richness and helps bind the mixture without making it too wet. You’ll adjust the amount based on your cake mix and cream cheese consistency.
- Granulated Sugar for Rolling (Optional): A simple coating for an extra sparkle and textural contrast. Feel free to use other coatings as desired.
Kitchen Supplies You’ll Need
You won’t need a pantry full of specialized gadgets to whip up these delicious **red velvet cake balls**. Just a few standard kitchen supplies will make the process smooth and enjoyable:
- Stand Mixer (or Large Mixing Bowl and Electric Mixer): A stand mixer makes combining the dense ingredients effortless, but a large mixing bowl with a sturdy electric hand mixer works just as well. You’ll need something powerful enough to mix a thick dough.
- Baking Sheet: For chilling and organizing your formed truffles before serving or coating.
- Parchment Paper or Silpat Mat: To line your baking sheet, preventing the truffles from sticking and making cleanup a breeze.
- Small Cookie Scoop (Optional but Recommended): For portioning out the truffle mixture, ensuring uniform size and shape for all your delicious treats.
How to Make Delicious Red Velvet Truffles
Get ready for one of the easiest and most rewarding dessert recipes! These **cake mix red velvet truffles** come together in a flash, allowing you to enjoy their rich flavor in minutes. Here’s a detailed, step-by-step guide:
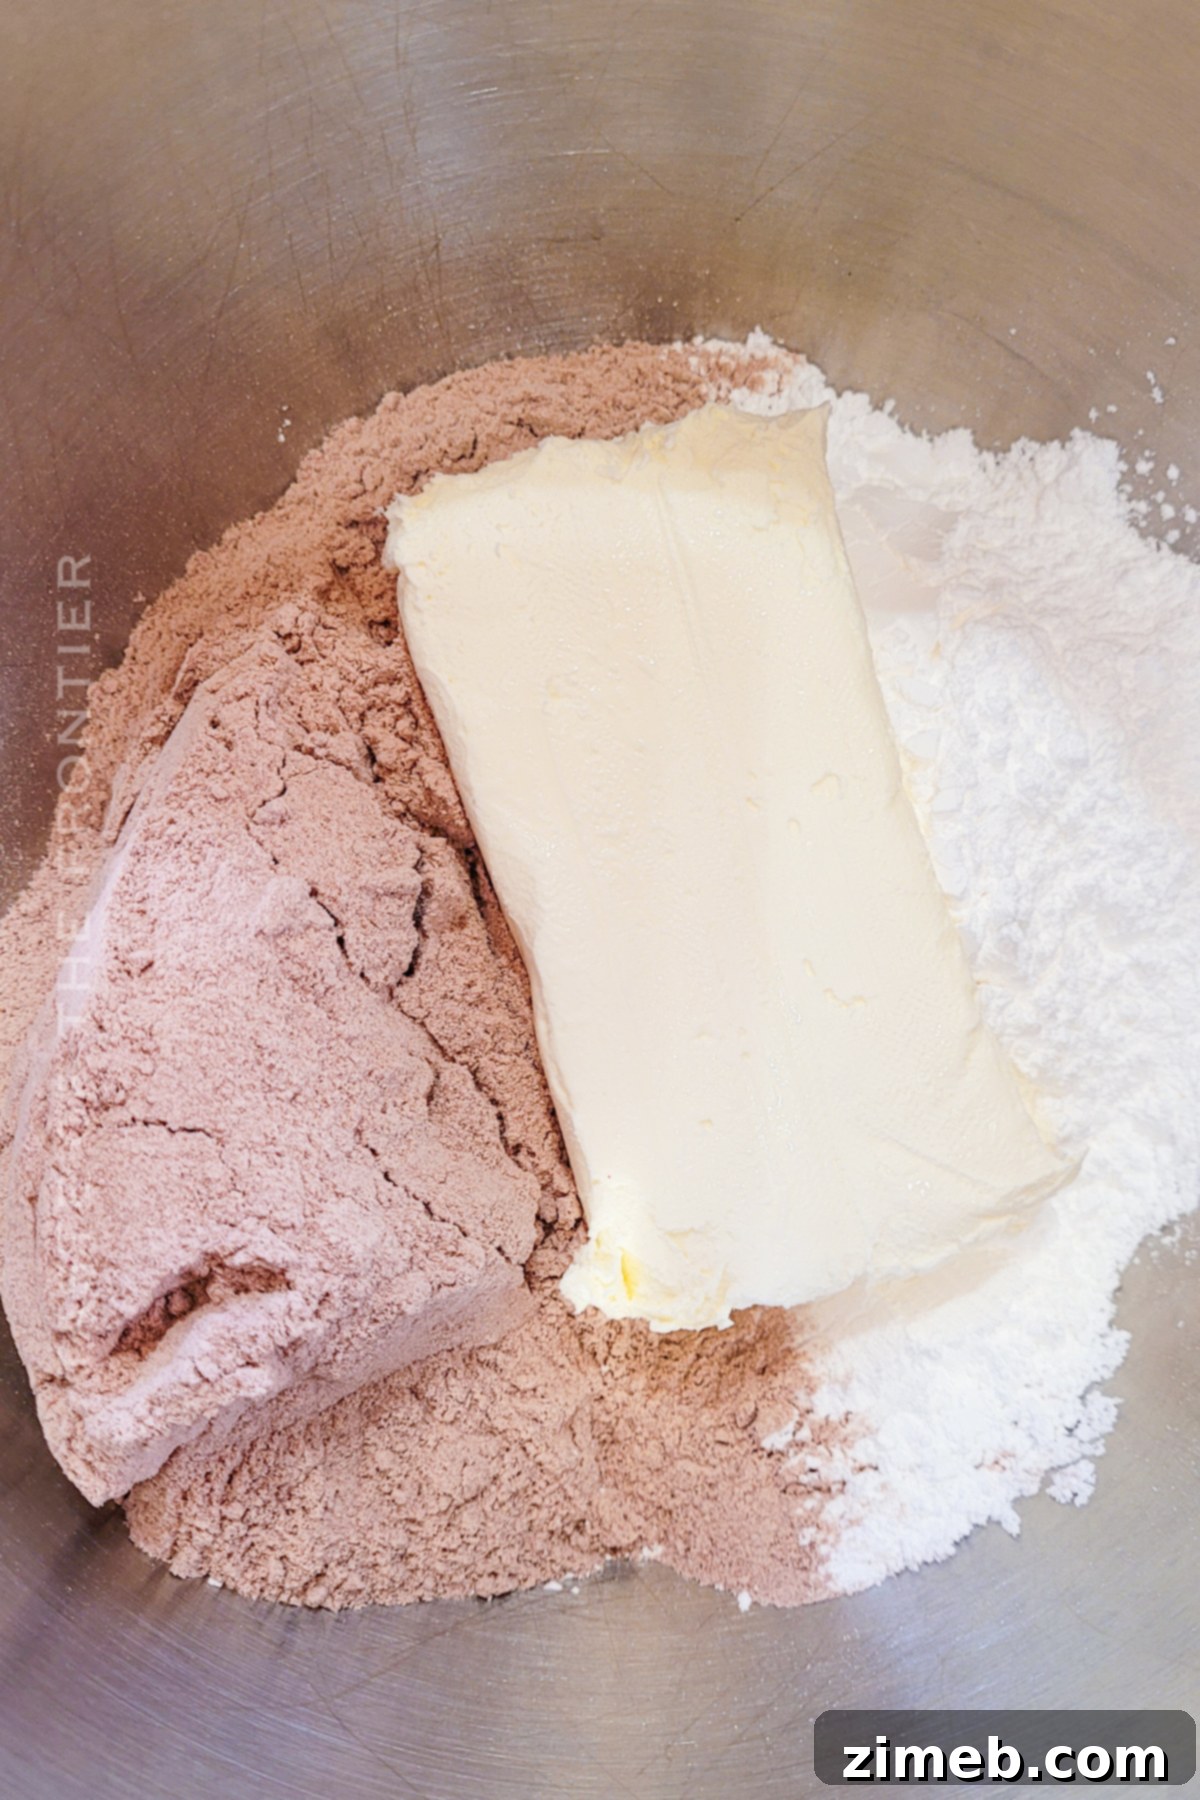
- Combine Dry and Wet Ingredients: In the large bowl of your stand mixer (or a large mixing bowl if using a hand mixer), add the dry red velvet cake mix powder, confectioner’s sugar, and the softened full-fat cream cheese. Ensure the cream cheese is at room temperature for optimal blending.
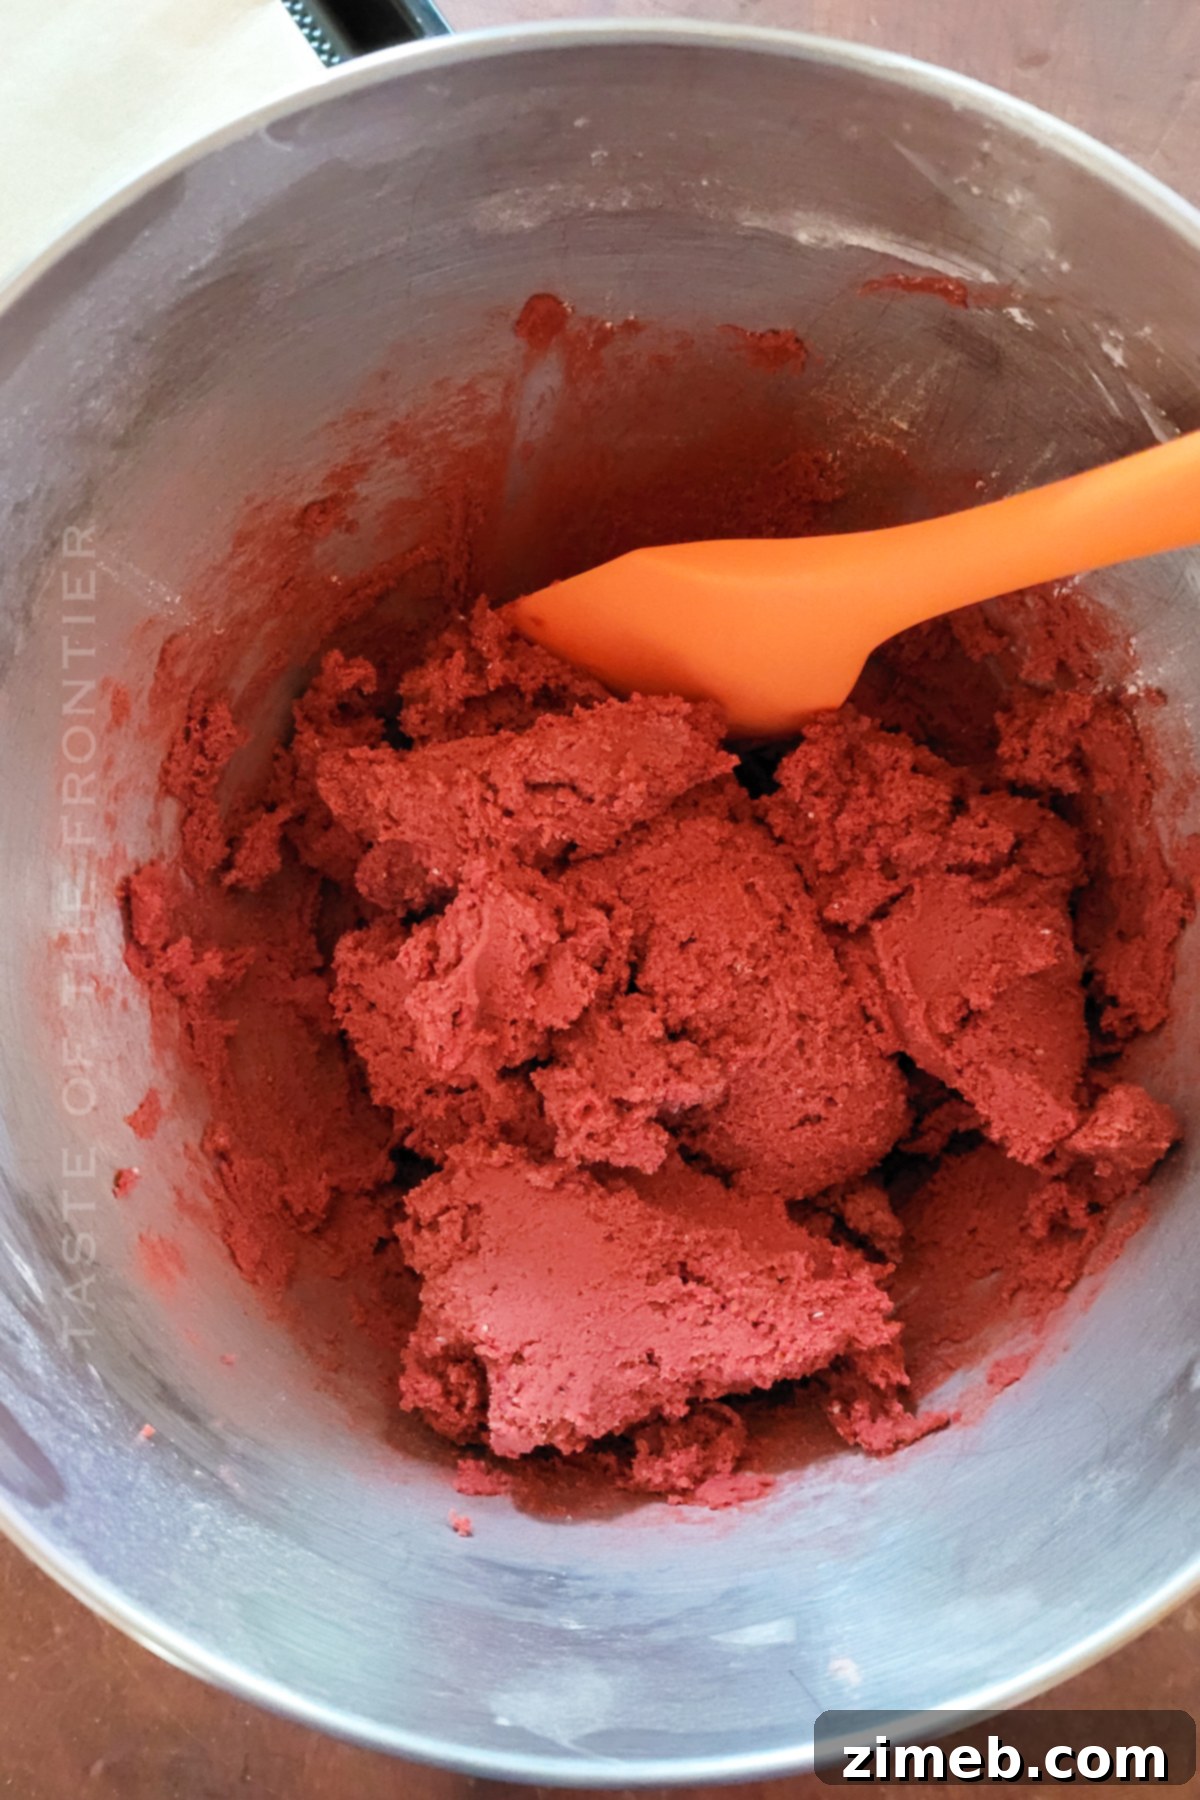
- Begin Mixing on Low Speed: Start mixing the ingredients on a very low speed. This prevents the dry powders from puffing up and creating a mess. Continue mixing until the ingredients just begin to come together and look crumbly.
- Achieve Desired Dough Consistency: If the mixture appears too dry and isn’t forming a cohesive dough, gradually add the heavy cream, one tablespoon at a time. Mix after each addition until the mixture comes together into a firm, doughy consistency that is pliable but not sticky. It should be easy to roll.
- Scrape the Bowl: Periodically stop the mixer and use a rubber spatula to scrape down the sides and bottom of the bowl. This ensures all ingredients are thoroughly incorporated and there are no dry pockets of cake mix.
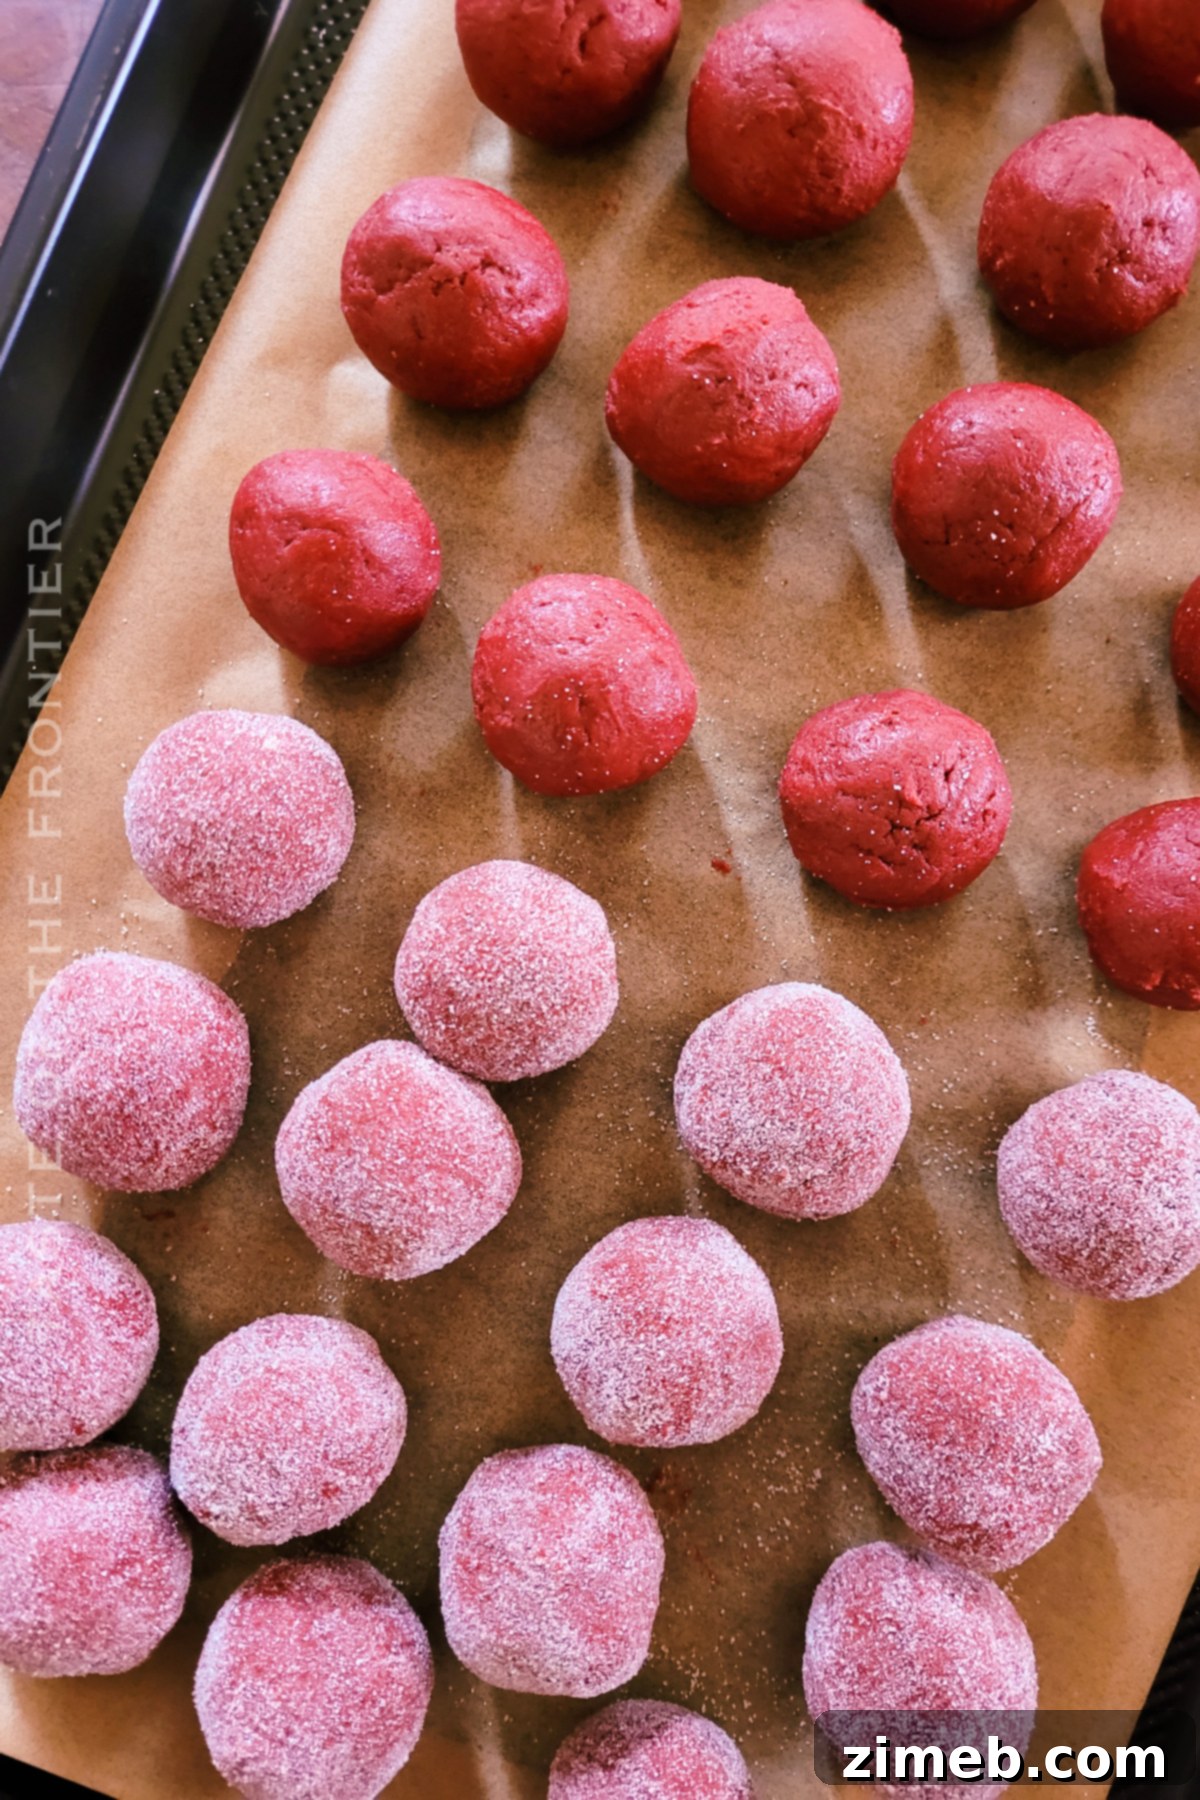
- Form Individual Balls: Once the dough is ready, use a small cookie scoop or a tablespoon to portion out the mixture. Then, gently roll each portion between your palms until it forms a smooth, round ball. Remember the tip about lightly greasing your hands for easier rolling!
- Prepare for Chilling and Coating: Place the formed balls onto your prepared baking sheet lined with parchment paper. At this stage, you can either chill them as is, or roll them in your chosen garnishes (like granulated sugar, sprinkles, or chopped nuts) before placing them on the sheet. If you plan to dip them in melted chocolate, it’s best to chill them first so they hold their shape.
- Chill Before Serving: Store the finished truffles in an airtight container in the refrigerator for at least 30 minutes to firm up. For the best texture and flavor, allow them to come to room temperature for about 10-15 minutes before serving. This softens them just enough to be perfectly tender.
What to Serve With Red Velvet Truffles
These versatile **red velvet dessert truffles** are so rich and satisfying, they can stand alone beautifully. However, they also pair wonderfully with a variety of other delights, making them a fantastic addition to almost any dessert spread or casual indulgence:
- Cake or Tarts: Elevate a plain cake, cheesecake, or even a chocolate ganache tart by using these truffles as an elegant garnish. Their vibrant color and decadent flavor add a touch of sophistication.
- Frozen Sweets: Serve these alongside a scoop of your favorite vanilla ice cream, rich chocolate gelato, or even a simple sorbet for a delightful contrast in temperatures and textures.
- Coffee or Tea: The deep flavors of red velvet are beautifully complemented by a warm cup of coffee, especially a dark roast, or a robust black tea. The warmth helps to bring out the subtle cocoa notes in the truffles.
- Cocktails: For an adult pairing, consider an espresso martini, a glass of rich Kahlua, or a creamy Bailey’s Irish Cream. You can even add a splash of Kahlua or Bailey’s to your coffee for an extra indulgent experience.
- Milk or Milk Alternatives: Sometimes, the simplest pairings are the best. A cold glass of whole milk, almond milk, or oat milk provides a refreshing counterpoint to the richness of the truffles, especially appealing to kids and adults alike.
- Fruit Platter: Pair them with fresh berries like strawberries, raspberries, or blueberries for a light, refreshing contrast that cuts through the richness.
Why You Absolutely Must Make This Red Velvet Truffle Recipe
These sweet treats are not just a pretty dessert; they offer a multitude of compelling reasons to become your next go-to recipe for any occasion. From their striking appearance to their incredible ease, these **homemade red velvet truffles** are a winner:
- Affordable Decadence: With just a handful of simple and inexpensive ingredients, this recipe offers a surprisingly cost-effective way to create a truly decadent and impressive dessert. You don’t need fancy components to achieve gourmet flavor.
- Effortlessly Easy: Forget complicated baking schedules or intricate techniques. This recipe requires only a few straightforward steps, allowing you to quickly whip up a batch of these delicious truffles with minimal effort. It’s perfect for beginner bakers or anyone short on time.
- Incredibly Convenient: All the ingredients needed for these truffles are readily available at any standard grocery store. In fact, you might already have most of them stocked in your kitchen pantry, making impromptu dessert cravings easy to satisfy.
- Remarkably Versatile: These truffles are a fantastic choice for a wide array of occasions. They make a thoughtful and delicious homemade gift, are ideal for serving at parties and potlucks, and their vibrant red hue makes them the absolute most perfect Valentine’s Day treat. They can be dressed up or down with various coatings to suit any theme.
- No-Bake Bliss: No oven required! This makes them perfect for hot weather, when your oven is occupied, or when you just want a quick dessert without the hassle of baking.
Creative Variations and Delicious Add-ins
One of the joys of making these **easy red velvet cake truffles** is their incredible adaptability. There are countless ways to customize and dress up these homemade treats, allowing you to tailor them to your taste, occasion, or simply to get creative in the kitchen!
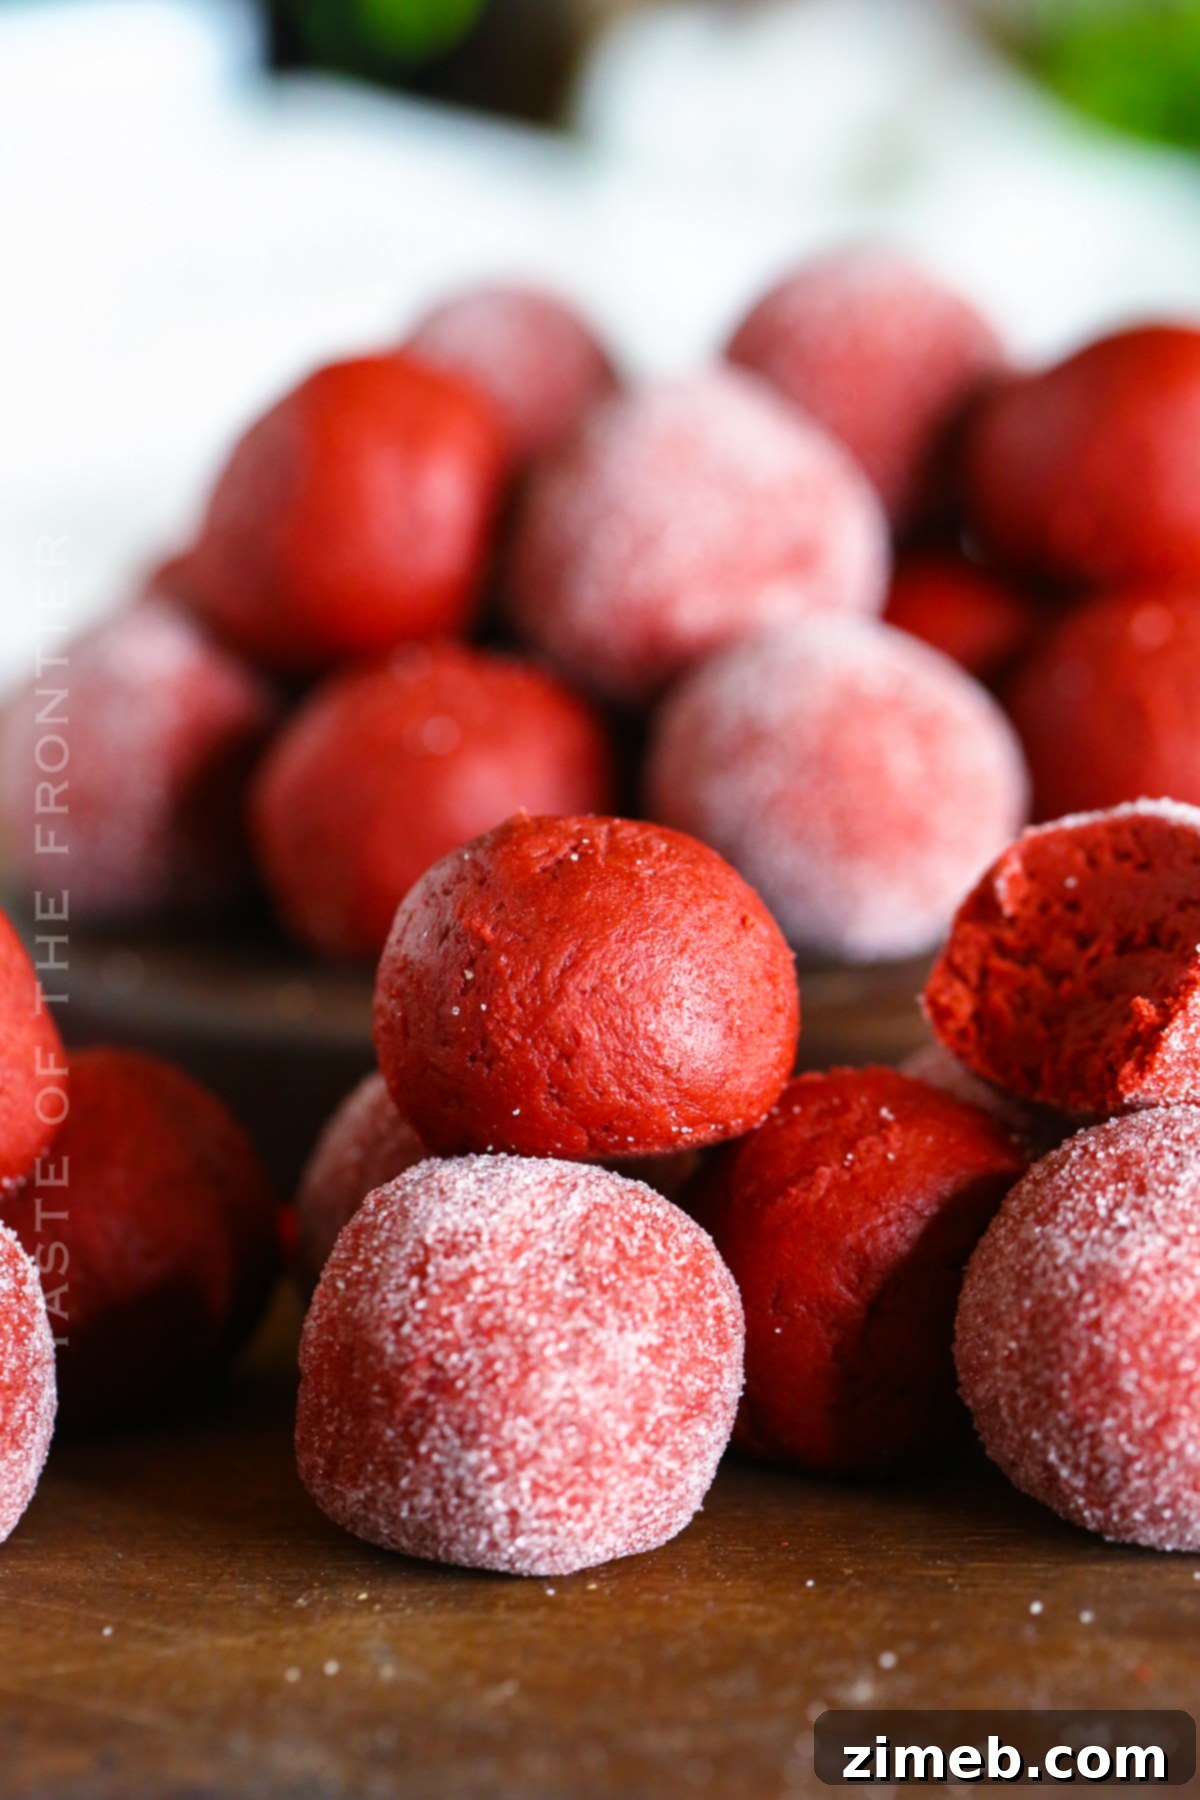
- Sugar Coatings: For a simple yet elegant finish, roll the formed balls in fine powdered sugar, sparkling granulated sugar, or specialized decorator’s sugar for an extra shimmer.
- Nutty Texture: Add a satisfying crunch by rolling the truffles in finely chopped or crushed nuts such as pecans, walnuts, or almonds. Toasting the nuts beforehand can enhance their flavor.
- Mini Chocolate Chips: Gently fold mini milk chocolate, dark chocolate, or white chocolate chips into the truffle dough before rolling. They add delightful bursts of chocolate flavor throughout.
- Chocolate Coating: For the ultimate indulgence, dip the chilled truffle balls into a bit of melted chocolate (milk, dark, or white). Ensure you tap off any excess chocolate for a clean, professional finish. You can drizzle contrasting chocolate over them once set.
- Lollipop Sticks (Cake Pops): Transform your truffles into charming **red velvet cake pops** by piercing them with lollipop sticks or popsicle sticks after they’ve been chilled. Dip them in chocolate for a complete cake pop experience.
- Vanilla Extract Boost: To truly bring out the sweetness of the ingredients and enhance the subtle tang of the cream cheese, add just a few drops of pure vanilla extract to the dough mixture.
- Festive Sprinkles: Roll the balls in pink, red, or white sprinkles for a classic look, especially for Valentine’s Day. Alternatively, use shaped sprinkles, like tiny hearts or stars, for a fun and thematic decoration.
- Citrus Zest: A little lemon or orange zest folded into the dough can add a bright, fresh counterpoint to the richness of the red velvet and cream cheese.
- Spices: A tiny pinch of cinnamon or a dash of nutmeg can add warmth and depth, complementing the cocoa flavor beautifully.
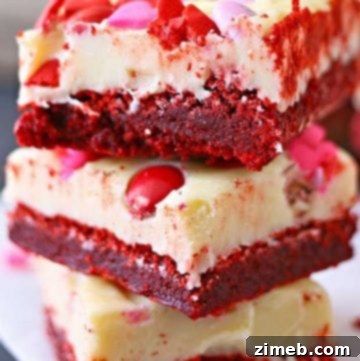
If you adore this **easy Red Velvet Truffles** recipe, you’re going to love these other fantastic red velvet treats too. Please click each link below to find the easy, printable recipe!
Check out this recipe
Check out this recipe
Check out this recipe
Check out this recipe
Check out this recipe

Other Delicious Truffle Recipes to Try
If you’ve enjoyed the simplicity and decadence of these red velvet truffles, you’ll love exploring other variations of these bite-sized delights. Truffles are incredibly versatile and can be made with a wide array of flavors and bases. Here are some more truffle recipes to inspire your next sweet creation:
- Chocolate Chip Cookie Truffles
- Valentine Oreo Truffles
- Easy Chocolate Truffles
- Nutella Kahlua Truffles
- Strawberry Truffles
If you love this recipe for **Homemade Red Velvet Truffles** as much as I do, please consider leaving a five-star review below. Your feedback helps others discover and enjoy this delightful treat! And don’t forget to help me share the sweetness on Facebook and Pinterest!
CONNECT WITH YUMMI HAUS!
Be sure to follow me on my social media, so you never miss a post!
Substack, Facebook, Pinterest, Instagram, Email Subscription
Rate this Recipe
Red Velvet Truffles
Ingredients
- 15.25 ounces red velvet cake mix
- 1 cup confectioner’s sugar
- 8 ounces cream cheese – full fat, softened
- 3 tbsp heavy cream (start with 1 tbsp, add more as needed up to 1/4 cup)
Optional Coatings
- granulated sugar for rolling
- powdered sugar, chopped nuts, or melted chocolate
Instructions
-
In the bowl of a stand mixer, combine the red velvet cake mix powder, confectioner’s sugar, and softened cream cheese.
-
Mix on low speed until the ingredients begin to pull together into a crumbly mixture. If the mixture remains too dry, add heavy cream 1 tablespoon at a time until it forms a cohesive, dough-like consistency. Scrape the sides of the bowl to ensure everything is well incorporated.
-
Scoop tablespoon-sized portions of the mixture. Lightly grease your hands with cooking spray or oil, then roll the mixture between your palms to form smooth, uniform rounds.
-
You can either place the plain balls on a parchment-lined baking sheet to chill, or roll them in your desired garnishes (such as granulated sugar, powdered sugar, chopped nuts, or sprinkles) before placing them on the sheet. If coating in melted chocolate, chill the plain balls in the refrigerator or freezer first until firm to help them hold their shape during dipping.
-
Store these finished truffles in an airtight container in the refrigerator for up to 10 days. For optimal texture, allow them to come to room temperature for about 10-15 minutes before serving.
Nutrition
Nutritional information for the recipe is provided as a courtesy and is approximate. Please double-check with your own dietary calculator for the best accuracy. We at Yummi Haus cannot guarantee the accuracy of the nutritional information given for any recipe on this site.