
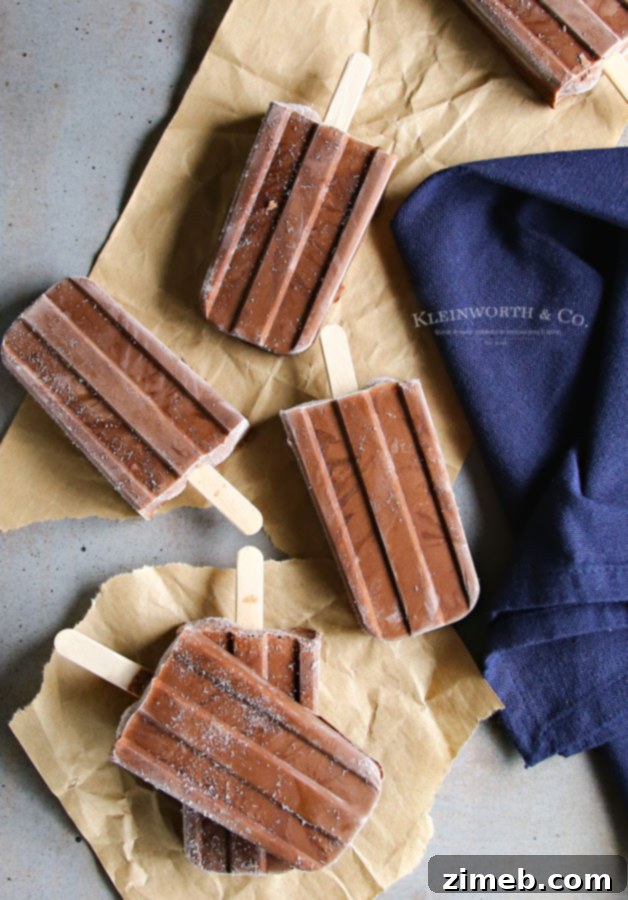
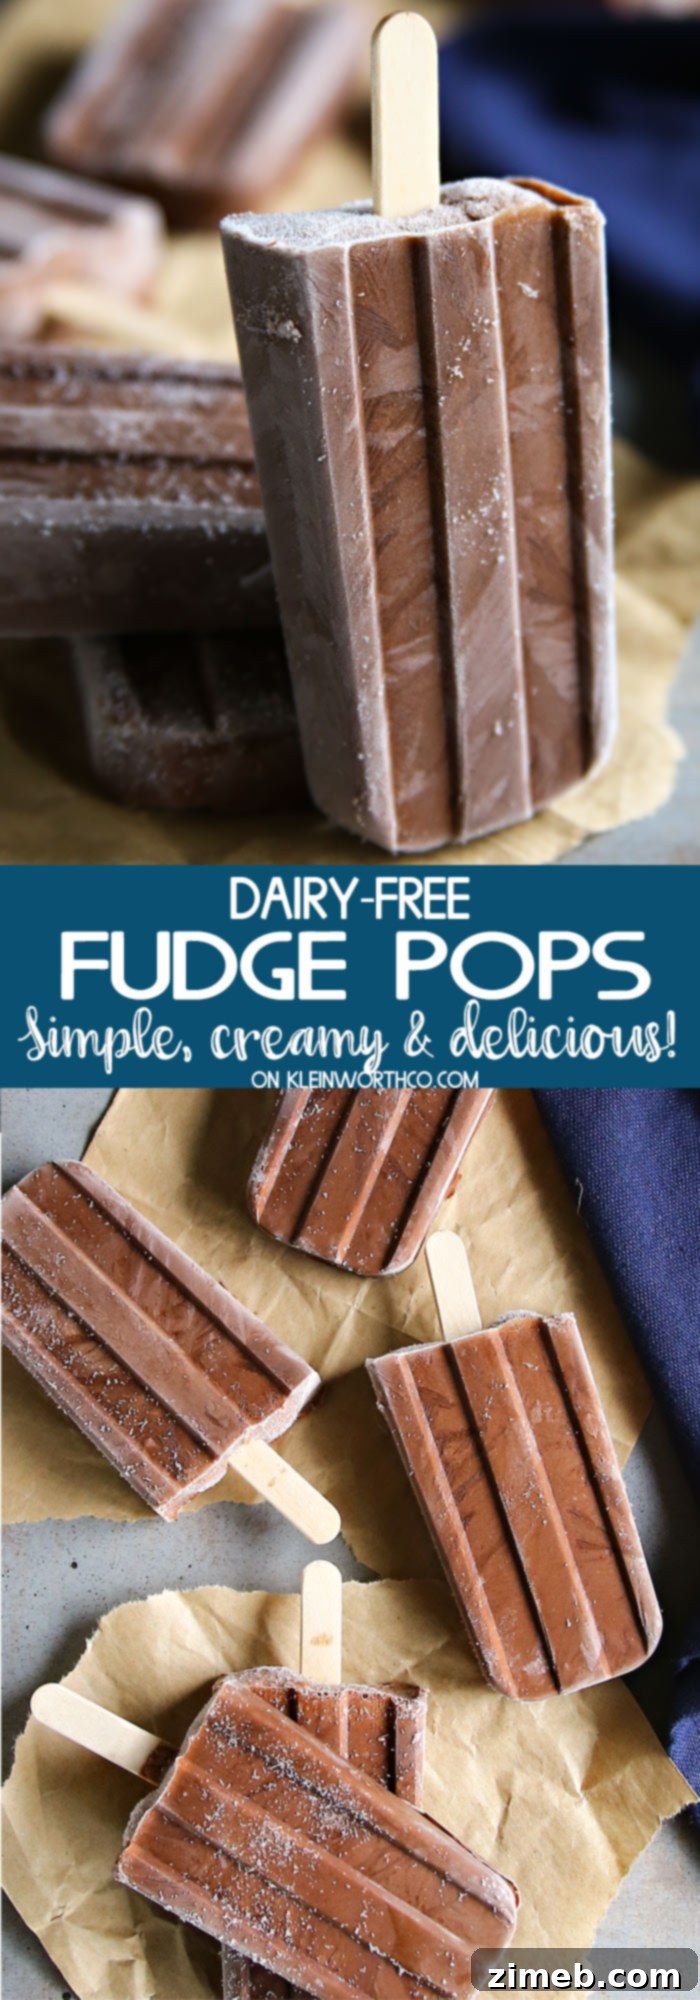
Welcome to the ultimate guide to creating the perfect summertime delight: our Dairy-Free Fudge Pops! If you’re searching for an ultra-creamy, incredibly delicious, and guilt-free frozen treat, your quest ends here. Crafted with rich coconut milk and sweetened without refined sugar, these fudge pops are a game-changer for anyone craving a satisfying chocolate fix. Prepare to be amazed by their decadent texture and profound flavor that will transport you straight back to childhood, but with a wholesome twist.
There are few things as comforting as a classic frozen treat, and for me, fudge pops hold a special place in my heart. I vividly remember enjoying them on warm afternoons with my grandfather, a self-proclaimed “choc-o-holic” whose love for all things chocolate was truly infectious. Sharing those simple moments, savoring the rich, cool sweetness, became a highlight of my younger years. The pure joy of a fudge pop is a memory I still cherish, and honestly, the craving for that deep chocolate bliss never really goes away.
However, as we journey through life, our dietary needs and health goals often evolve. For many of us, this means navigating a world of refined sugars and dairy products, which can sometimes feel like eliminating all the treats we love. It’s a constant quest to find satisfying replacements that truly hit the spot without derailing our wellness efforts. That’s precisely where this recipe for Dairy-Free Fudge Pops shines. It’s not just a substitute; it’s an elevated experience that delivers on every promise of rich, chocolatey goodness, proving that healthy can indeed be incredibly delicious.
Indulge Guilt-Free with Our Dairy-Free Fudge Pops
This post contains some affiliate links. Click here to read my full disclosure policy.
Explore More Refreshing Pop Recipes
If you’re loving the idea of wholesome frozen treats, be sure to check out these other delightful recipes:
Frozen Bananas: A Simple & Healthy Snack
Dirty Pineapple Whip Pops: Tropical & Creamy
White Chocolate Custard Frozen Pops: Rich & Sweet
Red White and Blue Popsicles: Patriotic & Fruity
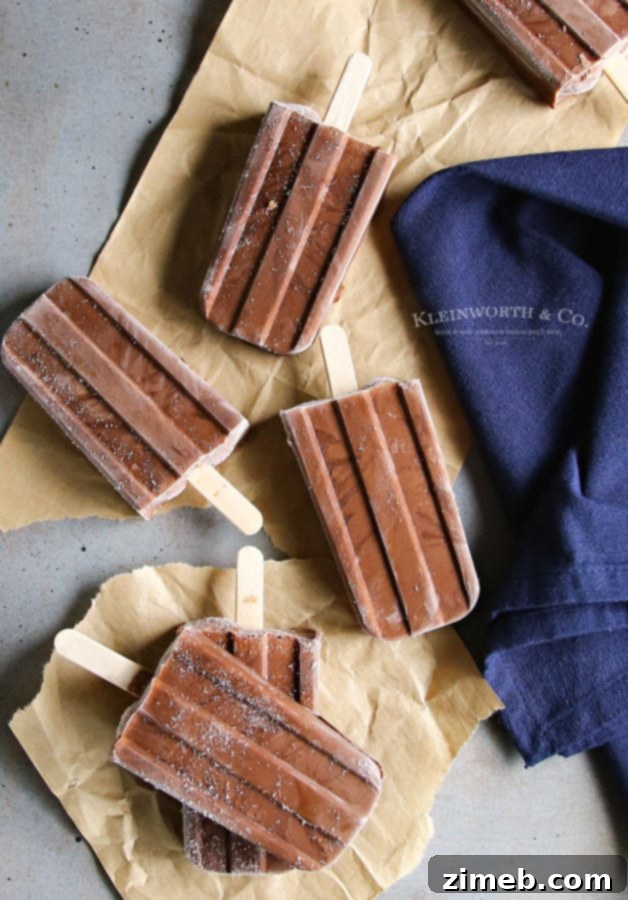
Now, I can almost hear your thoughts: “How truly good can a dairy-free, refined sugar-free fudge pop be?” And believe me, as someone who often finds “healthy substitutions” in desserts to be a letdown, I understand the skepticism. But let me assure you, these fudge pops absolutely defy expectations. They are every bit as rich, smooth, and utterly delicious as any traditional fudge pop you’ve ever enjoyed – perhaps even more so! The moment you take that first bite, you’ll realize these aren’t just a compromise; they are a superior frozen treat that satisfies every chocolate craving you might have.
The texture is a key highlight: ultra-creamy and smooth, with a deep chocolate flavor that feels incredibly indulgent. There’s no hint of iciness or a watered-down taste often associated with dairy-free alternatives. These pops deliver a robust chocolate experience that truly delights the palate. In fact, they are so good that even my husband, who is typically quite critical of dietary replacements, was asking for more! I was genuinely shocked when he not only loved them but immediately wanted me to whip up another batch as soon as the last one vanished. It’s a testament to how unexpectedly delicious these dairy-free and refined sugar-free treats truly are. Everyone in the family, including the toughest critics, simply adored them.
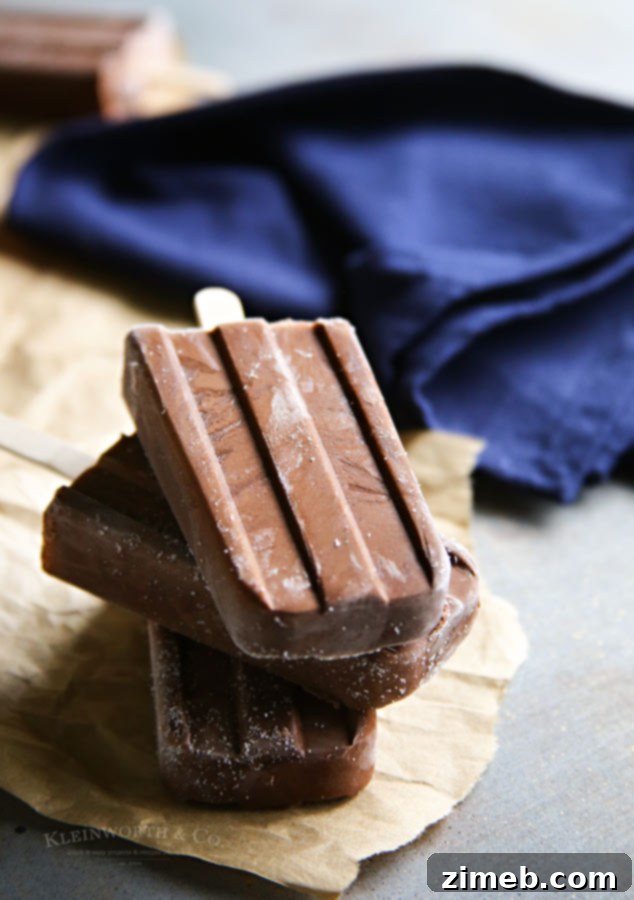
One of the greatest benefits of these delicious fudge pops is how they make healthy eating feel effortless and enjoyable. They completely eliminate the feeling of deprivation, which is crucial for me to stick with any dietary goals. When I can enjoy something so incredibly satisfying that also aligns with my healthier choices, it truly transforms my approach to food. These fudge pops are more than just a recipe; they’re a lifestyle hack for anyone who loves treats but wants to make smarter, healthier choices without sacrificing flavor or pleasure.
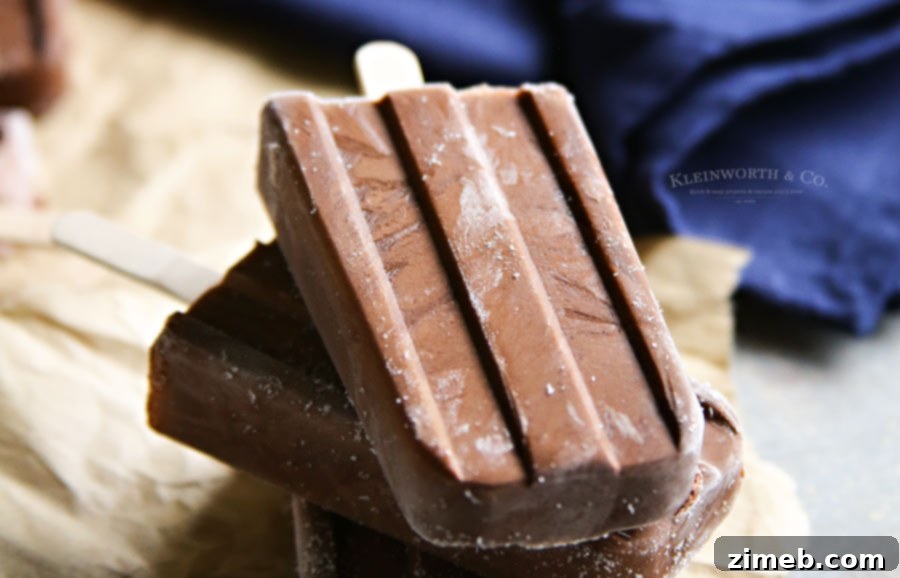
These creamy, chocolatey delights are sure to become a staple in your freezer, especially during the warmer months. They’re quick to prepare, require minimal ingredients, and deliver maximum satisfaction. Whether you’re cooling off by the pool, hosting a backyard barbecue, or simply unwinding after a long day, these summertime treats are the perfect indulgence. They truly are SOOOOO GOOD!
Frequently Asked Questions About Dairy-Free Fudge Pops
Can I use a different sweetener for these fudge pops?
Absolutely! While raw honey or pure maple syrup are our preferred choices for their natural sweetness and delightful flavor, you can certainly experiment with other sweeteners. Keep in mind that sugar replacements often have different sweetness levels and may affect the texture. Unlike granulated sugar, which typically has a 1:1 swap ratio, liquid sweeteners like honey or maple syrup are unique. When substituting, I recommend starting with less than the recipe calls for, tasting the mixture, and gradually adding more until it reaches your desired sweetness. For granulated sugar alternatives like stevia, erythritol, or monk fruit, consult the product’s packaging for equivalency charts, as their potency can vary significantly.
How many fudge pops does this recipe yield?
This recipe is designed to make approximately 12 delightful fudge pops. This quantity is perfect for a family to enjoy over a couple of evenings, or to share with friends at a small gathering or backyard barbecue. It’s a convenient batch size that ensures you’ll have enough to go around without making an overwhelming amount.
Can I double this fudge pops recipe?
Yes, you absolutely can! In fact, we often recommend making a double batch because these fudge popsicles disappear incredibly fast. If you’re fortunate enough to have more than one popsicle mold, doubling the recipe is a fantastic idea, ensuring you have a steady supply of these irresistible frozen treats ready for enjoyment.
How to Make Ultra-Creamy Dairy-Free Fudge Pops: Step-by-Step
Creating these heavenly dairy-free fudge pops is surprisingly simple, requiring just a few minutes of active preparation before the freezer does the rest of the work. Follow these steps for perfect results:
- Blend All Ingredients: In a high-speed blender, combine the full-fat coconut milk, cocoa powder, raw honey (or pure maple syrup), vanilla extract, and a pinch of kosher salt. Blend on high for 60-90 seconds, or until the mixture is completely smooth and thoroughly combined. For optimal flavor and sweetness, taste the mixture at this point and add more honey if you prefer a sweeter pop.
- Optional Creaminess Boost: For an exceptionally creamy texture, allow the blended mixture to sit in the blender for an additional 30 minutes after the initial blending. This rest period allows the cocoa powder to fully hydrate and the flavors to meld, resulting in an even smoother, richer pop. After resting, give it a couple more quick pulses before pouring.
- Pour into Molds & Freeze: Carefully pour the chocolate mixture into your chosen popsicle molds. Ensure they are filled but leave a small space at the top for expansion during freezing. Insert your popsicle sticks.
- Freeze Until Solid: Place the filled molds in the freezer for at least 4 hours, or preferably overnight, to ensure they are completely solid and perfectly set.
- Serve & Enjoy: To easily release the frozen fudge pops from their molds, run the outside of the mold under warm water for a few seconds. This gentle warming will loosen the pops without melting them. Pull gently and enjoy your homemade, dairy-free chocolate bliss!
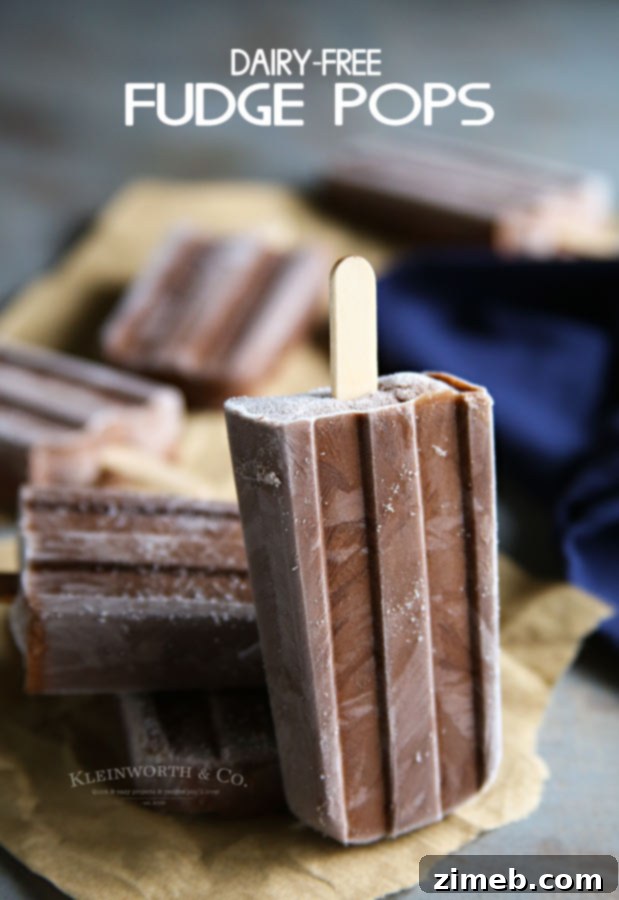
The key to sticking with a healthier lifestyle is finding joy in the journey, and that includes enjoying delicious food. These dairy-free fudge pops are an integral part of that philosophy for me. They offer a deep, satisfying chocolate experience that makes me feel like I’m indulging without any of the usual guilt or feeling of deprivation. This mental shift is incredibly powerful and contributes significantly to long-term success in healthy eating.
What is the best way to store homemade fudge pops?
For optimal freshness and to maintain their perfect texture, it’s best to keep your homemade popsicles in their molds until you are ready to serve them. This protects them from freezer burn and keeps their shape. However, if freezer space is limited or you need your molds for another batch, you can carefully remove the frozen pops from their molds. Once removed, place them in a single layer on a baking sheet lined with parchment paper for about 30 minutes to ensure they are completely solid and won’t stick together. Then, transfer them to an airtight, freezer-safe zip-top bag or container, separating layers with parchment paper if stacking. This method helps preserve their texture and flavor for up to 2-3 weeks in the freezer.
Can this fudge pop recipe be made with dairy?
While I haven’t personally tried a dairy version of this exact recipe, it is generally possible to adapt. If you prefer to use dairy, I would strongly recommend replacing the coconut milk with full-fat heavy cream. The high-fat content of heavy cream is crucial for achieving that ultra-creamy, non-icy texture that makes these fudge pops so irresistible. I do not advise using dairy alternatives with lower fat content, such as 2% milk or half and half, as these tend to result in a much icier and less satisfying pop texture. The richness of the fat is what gives these pops their signature smoothness.
Essential Ingredients for Dairy-Free Fudge Pops
Gathering these simple ingredients is the first step to creating your delightful frozen treats:
- Full-fat canned coconut milk
- High-quality cocoa powder
- Raw honey or pure maple syrup (your choice of natural sweetener)
- Pure vanilla extract
- A pinch of kosher salt
Elevate Your Homemade Fudge Pops Experience
Products I love for making the best fudge pops…
This recipe for homemade fudge pops is truly SUPER EASY and absolutely delicious. Whether you’re a seasoned pro in the kitchen or a beginner intimidated by making homemade frozen treats, you’ll be delighted by how straightforward this is. Many of these items you might already have on hand, but for those new to the world of chocolate pops, I’ve compiled a list of my absolute must-have products to ensure you create the perfect ultra-creamy treats every time:
- High-quality POP mold: Essential for perfectly shaped pops.
- Premium cocoa powder: For that deep, rich chocolate flavor.
- Full-fat coconut milk: The secret to unparalleled creaminess.
- Pure honey (or maple syrup): Your natural sweetener of choice.
- Real vanilla extract: To enhance and round out the chocolate flavor.
- Kosher salt: A pinch makes all the difference in brightening the taste.
- Powerful blender: Crucial for achieving that perfectly smooth, lump-free mixture.
- Popsicle sticks: If your mold doesn’t come with reusable sticks.
If you adore this Easy Fudge Pops recipe, you’re going to love these other fantastic dairy-free and refined sugar-free treats. Click each link below to discover more easy, printable recipes that are perfect for any occasion!
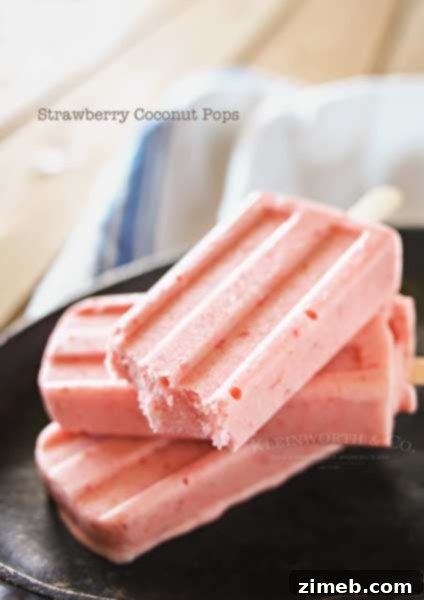
Strawberry Coconut Pops: A Burst of Fruity Creaminess
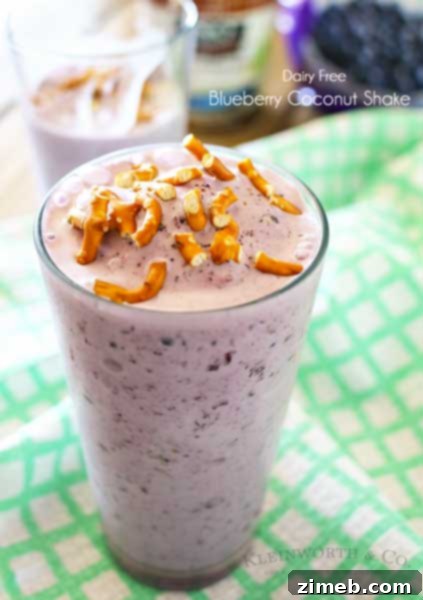
Blueberry Coconut Shake: Your New Favorite Dairy-Free Smoothie
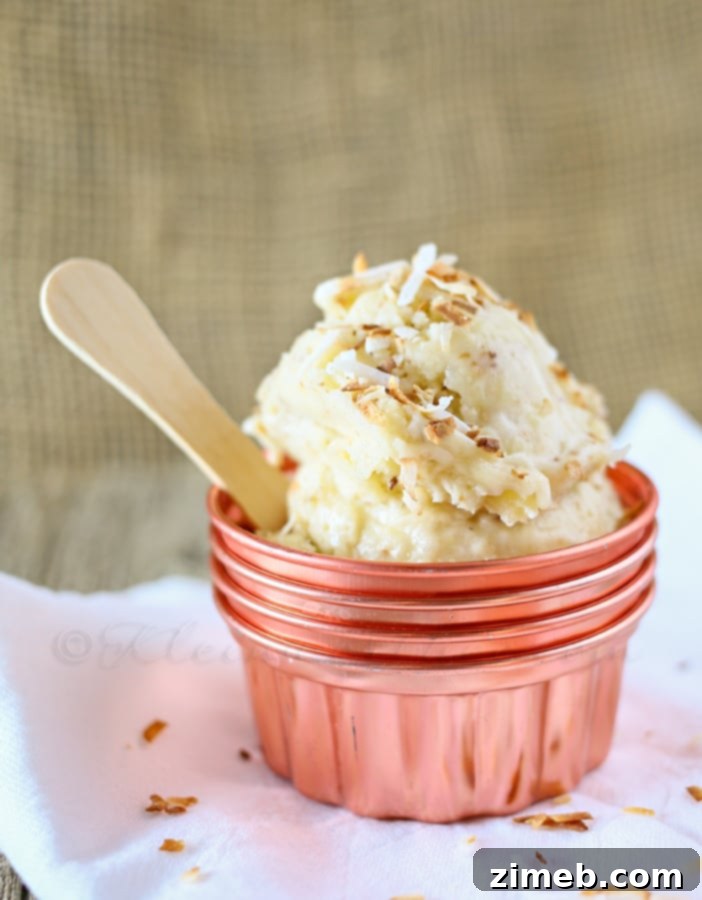
Toasted Coconut Banana Ice Cream: Naturally Sweet & Satisfying
Your Go-To Chocolate Popsicle for Summer and Beyond
If you’ve fallen in love with this Dairy-Free Fudge Pops recipe as much as I have, please show your support by writing a five-star review and sharing it with your friends and family on Facebook and Pinterest! Your feedback and shares help us bring more delicious, healthy recipes to everyone.
CONNECT WITH KLEINWORTH & CO!
Be sure to follow me on my social media channels, so you never miss a post or a delicious new recipe!
Facebook, Pinterest, Instagram, Email Subscription
Rate this Recipe
Dairy-Free Fudge Pops Recipe
Ingredients
- 26 oz full-fat coconut milk
- ⅔ cup cocoa powder
- 4 tbsp raw honey or pure maple syrup
- 2 tsp vanilla extract
- pinch of kosher salt
Instructions
-
Combine full-fat coconut milk, cocoa powder, raw honey (or maple syrup), vanilla extract, and kosher salt in a high-speed blender. Blend on high for 60-90 seconds until the mixture is completely smooth and creamy. Taste to ensure it’s sweet enough for your preference, adding more honey if desired.
-
For extra creaminess, allow the blended mixture to sit in the blender for 30 minutes. Then, pulse a couple more times before pouring into your popsicle molds.
-
Pour the mixture into pop molds, insert sticks, and freeze for at least 4 hours or preferably overnight until firm.
To easily remove the frozen pops, run the outside of the mold under warm water for a few seconds.
Nutritional information for the recipe is provided as a courtesy and is approximate. Please double-check with your own dietary calculator for the best accuracy. We at Yummi Haus cannot guarantee the accuracy of the nutritional information given for any recipe on this site.