
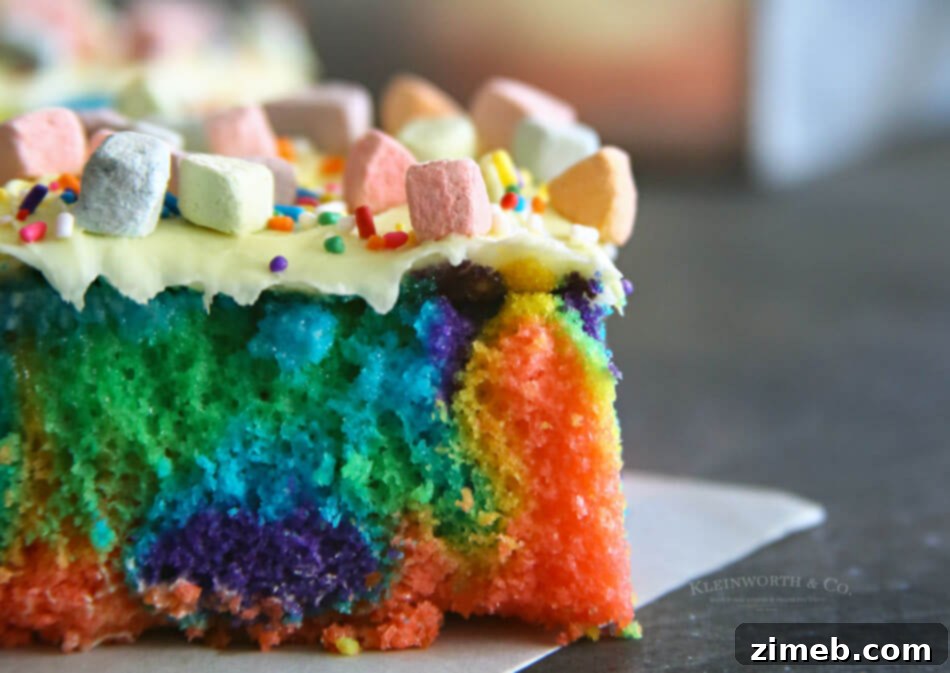
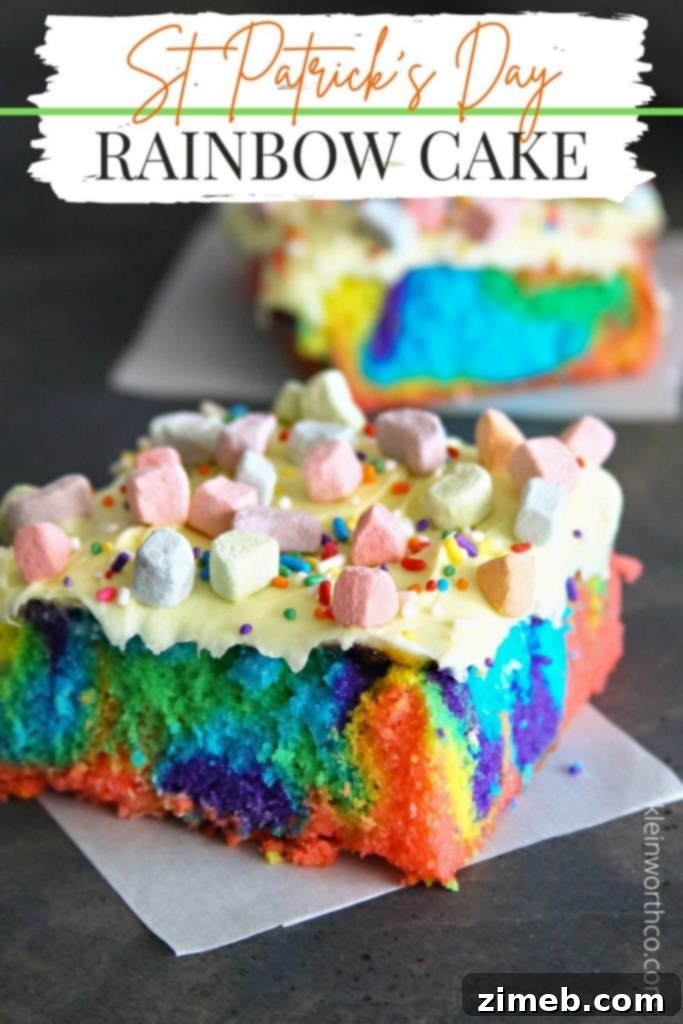
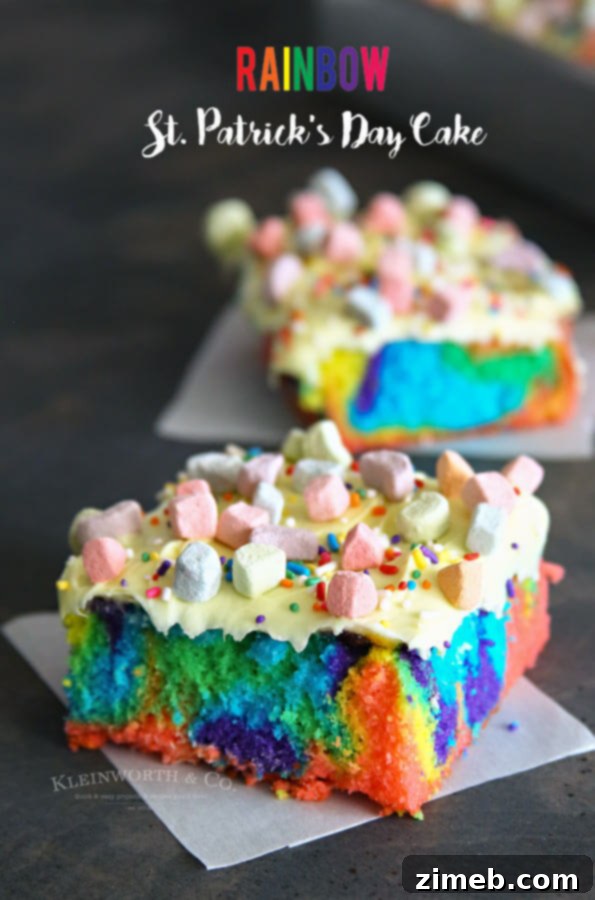
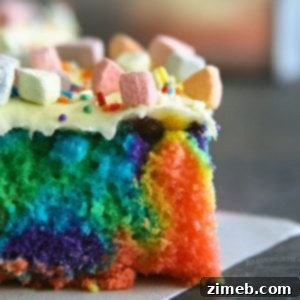
Unleash a burst of vibrant color and festive cheer with this incredibly easy Rainbow St. Patrick’s Day Cake! This show-stopping dessert is not only simple to create but also promises to be the highlight of your St. Patrick’s Day celebrations, topped generously with fluffy marshmallows for that extra touch of magic.
There’s something uniquely delightful about marshmallows, especially those miniature, whimsical ones found in certain breakfast cereals. While I’m not a regular cereal enthusiast, the sheer joy of those colorful, airy bites is undeniable. So, imagine my excitement when I discovered you could purchase bags of just marshmallows – not the official Lucky Charms brand, but charmingly similar and perfectly satisfying for any marshmallow lover.
The thought of an entire bag of these delightful little clouds immediately sparked inspiration. What grand creation could I conjure with them? Naturally, my mind turned to St. Patrick’s Day. And what pairs better with a pot of gold and lucky leprechauns than a dazzling rainbow? This joyful connection led directly to the birth of this spectacular rainbow cake, a dessert as fun to make as it is to eat. It’s truly a celebration in every slice, and the simplicity will surprise you!
This post contains some affiliate links. Click here to read my full disclosure policy.
Beyond its visual appeal, this cake embodies ease and enjoyment. Creating distinct, vibrant layers is simpler than you might think, making it a perfect project for bakers of all skill levels. The secret lies in careful layering and resisting the urge to mix. Each color maintains its integrity, ensuring a breathtaking rainbow effect that will earn you admiring “wows” from guests. Get ready to impress without the stress, because this rainbow cake is a testament to how effortless dazzling desserts can be!
Crafting Your St. Patrick’s Day Rainbow Cake: A Step-by-Step Guide
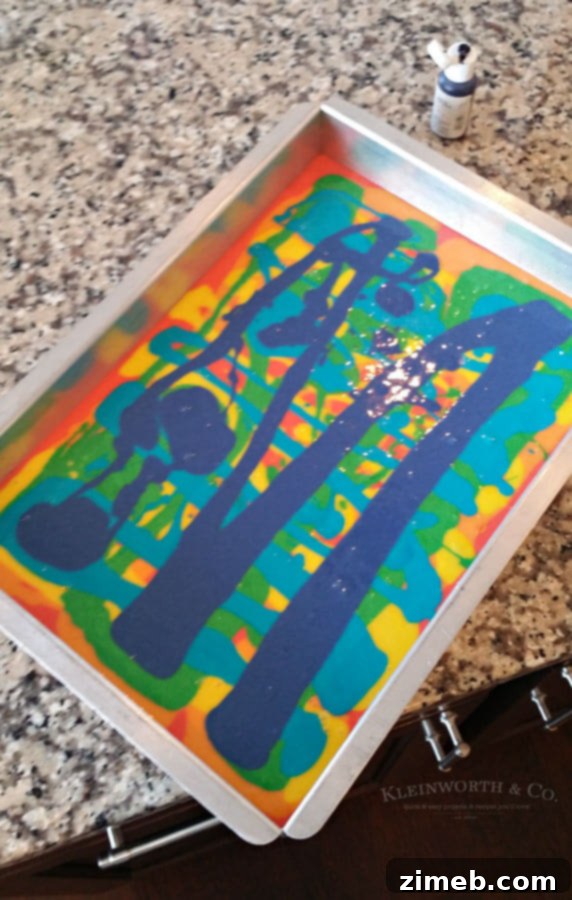
Achieving those crisp, beautiful rainbow layers is the key to this cake’s charm. The most crucial tip to remember is this: **do not mix the colors.** If you stir or blend the different colored batters together, you’ll end up with a muddy, unappealing brownish-green hue rather than a vibrant rainbow. The magic happens when each layer is gently added, allowing the colors to settle without intermingling.
To begin, spread the deepest color, typically red, evenly across the bottom of your prepared pan. This forms the base of your rainbow. Next, take your orange batter and drizzle it over the red, but do so in an alternating, random pattern. Avoid smoothing it out or pressing it into the red layer. Simply let it sit gently on top. Continue this process with yellow, green, blue, and finally purple, drizzling each new color in a distinct, separate pattern over the previous one. The beauty of this technique is its simplicity; with just one cake mix, you can create a stunning visual masterpiece that looks incredibly intricate but is surprisingly easy. Your guests will be amazed by the vivid layers, and no one needs to know just how little effort went into creating such a spectacular treat!
Frequently Asked Questions About Your Rainbow Cake
What is the best way to store leftover Rainbow St. Patrick’s Day Cake?
To keep your rainbow cake fresh and delicious, ensure it is tightly covered or placed in an airtight container. Refrigerate the cake promptly, and it will remain delightful for up to 4 days. If you’ve already added marshmallows to the entire cake, note that their texture might change slightly after refrigeration due to moisture exposure. For optimal marshmallow freshness, consider adding them just before serving if you anticipate having leftovers.
Creative Ways to Use Rainbow Sprinkles Beyond This Cake
Rainbow sprinkles are a fantastic way to add a pop of color and festivity to a wide array of treats. Don’t limit their use to just this cake! Here are some other delightful ideas where rainbow sprinkles can truly shine, transforming everyday desserts into extraordinary celebrations:
- St. Patrick’s Day Hot Chocolate Bombs: Add a festive touch to warm drinks.
- Funfetti Cake Batter Dip: Elevate this fun, dippable treat with extra color.
- Edible Sugar Cookie Dough: Mix them in for a delightful textural and visual surprise.
- Frozen Bananas: A healthy and colorful coating for a cool snack.
- Lofthouse Sugar Cookies: The classic soft cookie gets an instant party upgrade.
- Cake Batter Frosting: Fold them into your frosting for a fun, sprinkles-everywhere experience.
- Birthday Sugar Cookie Bars: The ultimate celebratory topping for these easy bars.
- Homemade Funfetti Cake: Double down on the funfetti with an extra sprinkle layer.
- More Rainbow Cake Ideas: Explore other rainbow-themed baking projects for any occasion.
Can this rainbow cake be frozen for later enjoyment?
Absolutely, this rainbow cake freezes beautifully, and it’s a practice I often utilize! When planning to freeze the cake, I recommend waiting to add the marshmallows until you are ready to serve. The reason for this is that the texture of marshmallows can change slightly after being exposed to the moisture of either the refrigerator or freezer. Freezing the unfrosted or frosted-but-unmarshmallowed cake will preserve its quality. Wrap the cooled cake tightly in plastic wrap, then an additional layer of aluminum foil, and store it in the freezer for up to 2-3 months. Thaw overnight in the refrigerator before frosting and adding your fresh marshmallows and sprinkles.
Simple Steps to Make This Easy Rainbow Cake
- Preheat your oven according to the specific instructions provided on your chosen box cake mix. This is crucial for even baking.
- Prepare a 9×13 inch metal baking pan by thoroughly spraying it with cooking spray. This ensures your cake releases easily. Set the pan aside.
- In a large mixer bowl, combine all the ingredients required by your box cake mix – typically oil, water, and eggs. Beat them until they are just combined and smooth, taking care not to overmix.
- Divide the prepared cake batter evenly into 6 separate bowls. Each bowl will represent a color of the rainbow.
- Add several drops of food coloring to each bowl, ensuring you have one distinct color for each bowl: red, orange, yellow, green, blue, and purple. Mix each color thoroughly until you achieve vibrant hues.
- Carefully begin to drizzle the colored batter into your prepared pan. Start with the red batter, spreading it gently to cover the entire bottom of the pan. Then, without stirring or mixing, drizzle the orange batter over the red in a random, free-form pattern. Continue this process with the remaining colors: yellow, then green, followed by blue, and finally purple. Allow the layers to stack naturally without blending them together.
- Bake the cake according to the time and temperature instructions on your cake mix package. Once baked, remove it from the oven and allow it to cool completely in the pan on a wire rack before proceeding to the next step.
- Once the cake is fully cooled, generously spread your chosen frosting over the top. Then, for the ultimate festive touch, sprinkle generously with the cereal marshmallows and rainbow sprinkles.
Essential Tools and Ingredients for Your Rainbow Cake Creation
This rainbow cake recipe is designed to be incredibly easy and deliciously fun to make. Whether you’re a seasoned baker who already has these items on hand or a beginner feeling a little nervous about making your first homemade cake, rest assured, you’re going to love the process and the results! To help you get started, I’ve compiled a list of the key ingredients and handy tools that I find absolutely indispensable when bringing this vibrant cake to life. Having these on hand will make your baking experience smooth and enjoyable.
- White Cake Mix: A high-quality white cake mix provides a neutral base, allowing your vibrant food colors to truly pop. Ensure you have all the additional ingredients specified on the box, such as oil, water, and eggs.
- 9×13 Baking Pan: This standard pan size is perfect for creating a sheet cake that serves many and showcases the rainbow layers beautifully.
- Red Food Coloring: Essential for the first vibrant layer of your rainbow.
- Orange Food Coloring: To bridge the gap between red and yellow with a cheerful hue.
- Yellow Food Coloring: For a bright and sunny stripe in your cake.
- Green Food Coloring: To capture the essence of St. Patrick’s Day and the heart of the rainbow.
- Blue Food Coloring: Adding a cool, calm layer to your vibrant spectrum.
- Purple Food Coloring: The final, regal touch to complete your beautiful rainbow.
- Frosting: Whether you prefer store-bought convenience or a homemade recipe, a smooth, white frosting provides the perfect canvas for your toppings.
- Rainbow Sprinkles: These add a playful texture and a sparkling finish. Choose classic jimmies or nonpareils for the best effect.
- Cereal Marshmallows: The star topping! Make sure to get bags of just the marshmallows, not the cereal, for that authentic, whimsical St. Patrick’s Day feel.
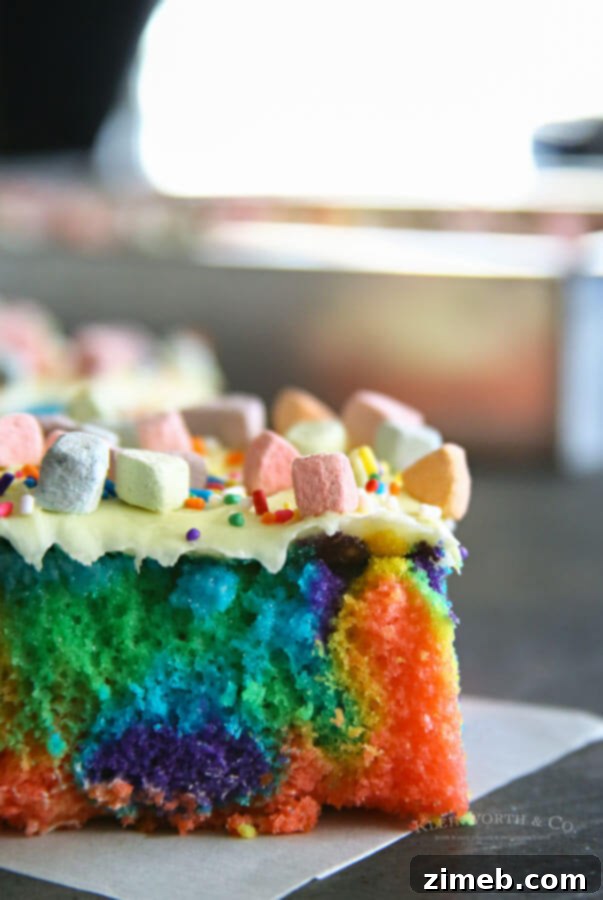
The Ultimate Rainbow St. Patrick’s Day Cake
Selecting the Best Sprinkles for Your Vibrant Cake
Choosing the right sprinkles is more important than you might think for achieving a vibrant, non-bleeding finish on your cake. Just because a package says “sprinkles” doesn’t always mean it’s the ideal type for this application.
Many people mistakenly use colored sanding sugar, often labeled as sprinkles. While sanding sugar is beautiful, it behaves very differently from traditional sprinkles (like jimmies or nonpareils). When sanding sugar comes into contact with moisture – such as being mixed into a moist cake batter or frosting, or when a frosted cake is placed in the refrigerator – it will sweat. This causes the color to bleed, resulting in a faded or messy appearance rather than crisp, bright specks of color.
For this rainbow cake, and generally for any dessert where sprinkles are incorporated into wet ingredients or will be refrigerated, opt for traditional wax-based sprinkles or “jimmies,” and nonpareils. These hold their color much better and will ensure your rainbow cake maintains its festive, picture-perfect look long after it’s decorated.
Isn’t this just the most adorable cake you’ve ever seen? It’s so easy to create and absolutely perfect for your St. Patty’s Day festivities!
If you adore this Easy Rainbow St. Patrick’s Day Cake recipe as much as we do, you’re sure to fall in love with these other fantastic treats! Please click each link below to discover more easy, printable recipes that are perfect for any occasion!
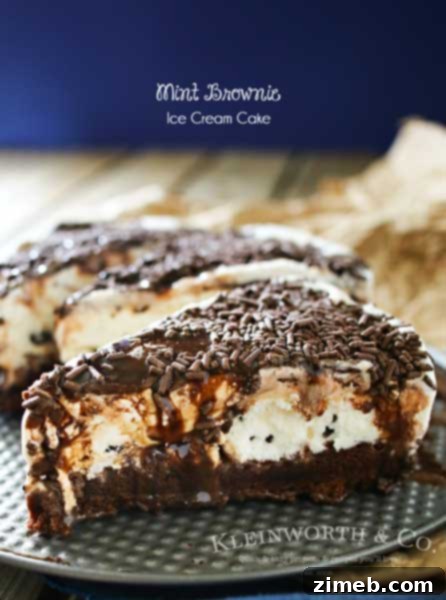
Mint Brownie Ice Cream Cake
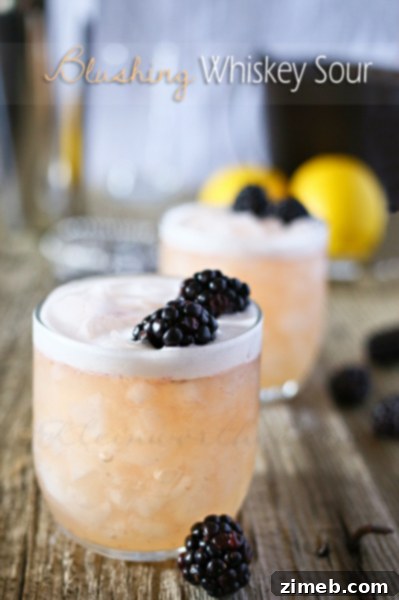
Blushing Whiskey Sour
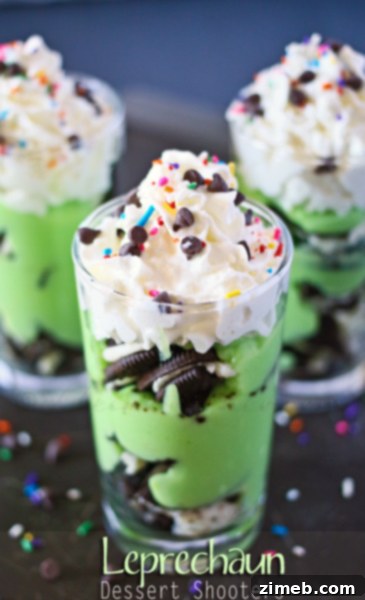
Leprechaun Dessert Shooters
If you’re as enchanted by this recipe for Rainbow St. Patrick’s Day Cake as I am, please show your love by leaving a five-star review below! Your feedback helps us grow and share more delicious creations. Don’t forget to help spread the festive joy by sharing this recipe with friends and family on Facebook and Pinterest!
CONNECT WITH YUMMI HAUS!
Be sure to follow me on my social media channels, so you never miss a post or a new recipe!
Substack, Facebook, Pinterest, Instagram, Email Subscription
Rate This Recipe
Rainbow St. Patrick’s Day Cake
Ingredients
- 1 box white cake mix – plus all ingredients specified on the box instructions (e.g., oil, water, eggs)
- Food Coloring – red, orange, yellow, green, blue & purple for vibrant layers
- 1 can pre-packaged frosting (or a batch of your favorite homemade frosting if preferred)
- Cereal Marshmallows – specifically the marshmallows, not the entire box of cereal
- Rainbow Sprinkles
Instructions
-
Preheat your oven precisely according to the directions provided on your chosen box cake mix.
-
Lightly spray a 9×13 inch metal baking pan with cooking spray to prevent sticking, then set it aside.
-
In a large mixer bowl, combine all the dry and wet ingredients for the cake mix as specified on the package. Beat them together until a smooth, uniform batter is achieved, being careful not to overmix.
-
Ladle out equal portions of the prepared cake batter into 6 separate small bowls, one for each color of the rainbow.
-
Mix several drops of distinct food coloring into each bowl – creating red, orange, yellow, green, blue, and purple batters. Stir each color well until fully incorporated and vibrant.
-
Carefully drizzle the colored batters into the prepared pan. Begin with the red batter, gently spreading it to cover the bottom surface of the pan. Next, drizzle the orange batter over the red in a random pattern, but **do not stir or mix** the colors; simply let them layer on top of each other. Continue with the remaining colors in order: yellow, green, blue, and finally purple, using the same drizzling technique.
-
Bake the cake according to the specific time and temperature instructions provided on your cake mix package. Once baking is complete, remove the pan from the oven and allow the cake to cool completely on a wire rack before you apply any frosting.
-
Once the cake is thoroughly cooled, spread a generous layer of frosting evenly over the top. Finish by liberally adding the fluffy cereal marshmallows and a shower of rainbow sprinkles for a truly festive look.
Nutritional information for this recipe is provided as a courtesy and is approximate. Please always double-check with your own dietary calculator for the most accurate and personalized information. We at Yummi Haus cannot guarantee the exact accuracy of the nutritional information given for any recipe on this site.