
Mastering Lightning Photography: 10 Essential Tips to Capture the Storm’s Majesty
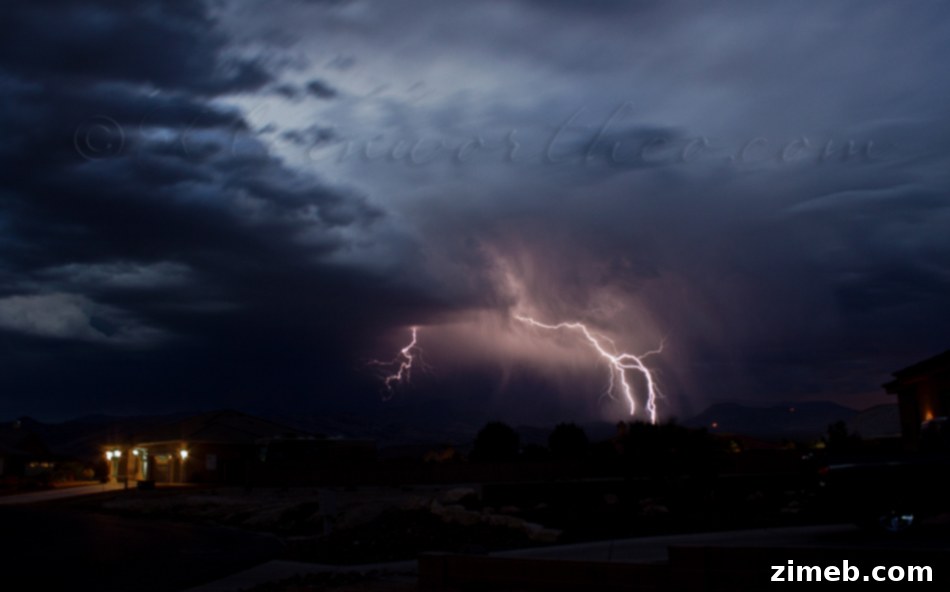
The raw, untamed power of a summer thunderstorm, with its spectacular flashes of lightning, offers an unparalleled photographic challenge and an immense reward. For photographers, capturing these fleeting moments of electrical brilliance is both an art and a science, demanding precision, patience, and the right techniques. While lightning strikes in an instant, making them notoriously difficult to photograph, the resulting images are often breathtaking testaments to nature’s grandeur. I’ve long been captivated by lightning photography, drawn to the challenge of immortalizing such a dynamic and powerful phenomenon. Over time, I’ve honed my approach, and while every photographer may have their unique methods, these ten tips represent the most successful strategies I’ve discovered through my own experiences. This guide is designed to help you confidently approach storm photography, transforming fleeting light into stunning, lasting images.
Unlocking the Secrets to Stunning Storm Photography
Embarking on your journey to photograph lightning requires a blend of preparation, technical understanding, and an appreciation for environmental factors. These tips are structured to guide you through every critical aspect, from initial setup to the final post-processing touches, ensuring your efforts yield spectacular results.
1. Start with a Dark Sky: Timing is Everything
Successful lightning photography fundamentally relies on capturing intense bursts of light against a dark backdrop. Therefore, timing your shoot to coincide with a relatively dark sky is paramount. I’ve attempted shoots as early as 6-7 p.m. during summer, only to find the lingering twilight still too bright. The fundamental reason for this is your camera’s shutter speed will be open for an extended duration – often 15 to 30 seconds or even longer. If there’s too much ambient light, your sensor will become oversaturated, resulting in a completely blown-out, white image with no detail. Wait until dusk has fully settled, and the sky is deep enough to allow those brilliant flashes to truly stand out without overwhelming your exposure. This strategic patience ensures that each captured bolt is crisp, contrasting sharply with the nocturnal canvas.
2. Use a Sturdy Tripod and Seek Shelter
Given the necessity of long exposure times, a stable platform is non-negotiable for sharp lightning photographs. A robust tripod is essential to keep your camera perfectly still, preventing any blur from camera shake. Position your tripod on a firm, level surface to avoid any movement, especially if winds pick up during the storm. Additionally, think about your personal safety and the protection of your equipment. Choose a location that offers some cover, such as an overhang or inside your vehicle, to shield you and your gear from rain. The last thing you want is to abandon a promising photography session because you’re getting soaked, or worse, risking damage to your valuable camera equipment. Prioritizing stability and shelter ensures you can focus on capturing the storm without unnecessary distractions or risks.
3. Employ a Wide-Angle Lens for Broad Coverage
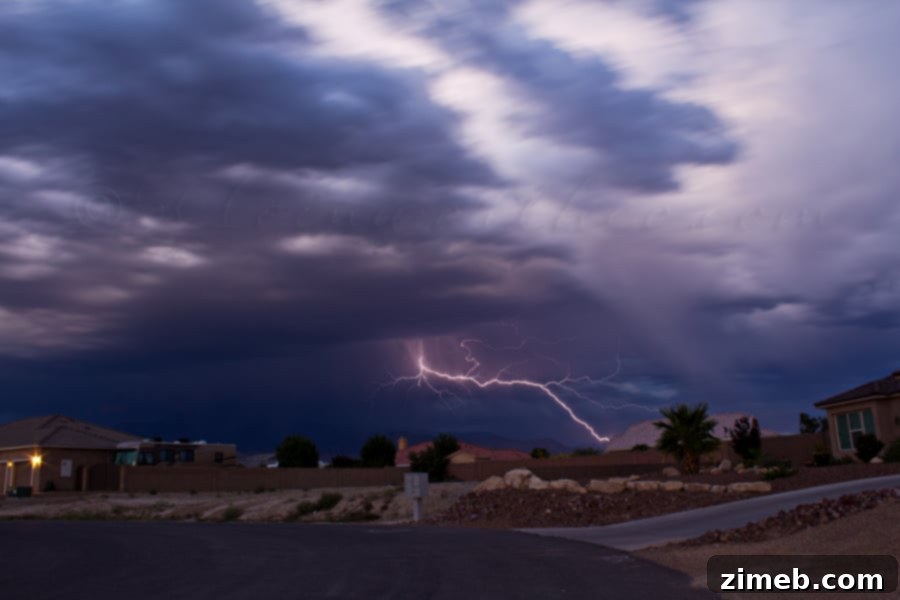
When it comes to lens choice, a wide-angle lens is your best friend for lightning photography. I often use my kit lens (18-55mm) set to its widest focal length, typically 18mm, because it offers the broadest field of view I have available. Lightning strikes are inherently unpredictable; you never know precisely where a bolt will appear in the sky. A wide-angle lens significantly increases your chances of catching a strike within your frame, even if it’s not exactly where you anticipated. There’s nothing more disheartening than witnessing a spectacular strike just outside the boundaries of your shot. While wide-angle lenses might sometimes introduce slight distortions at the edges, the benefit of comprehensive coverage far outweighs this minor drawback. For these types of dynamic shots, a lens that allows you to encompass more of the scene ensures you miss fewer moments and capture the full scope of the storm.
4. Find an Open View with Engaging Foreground
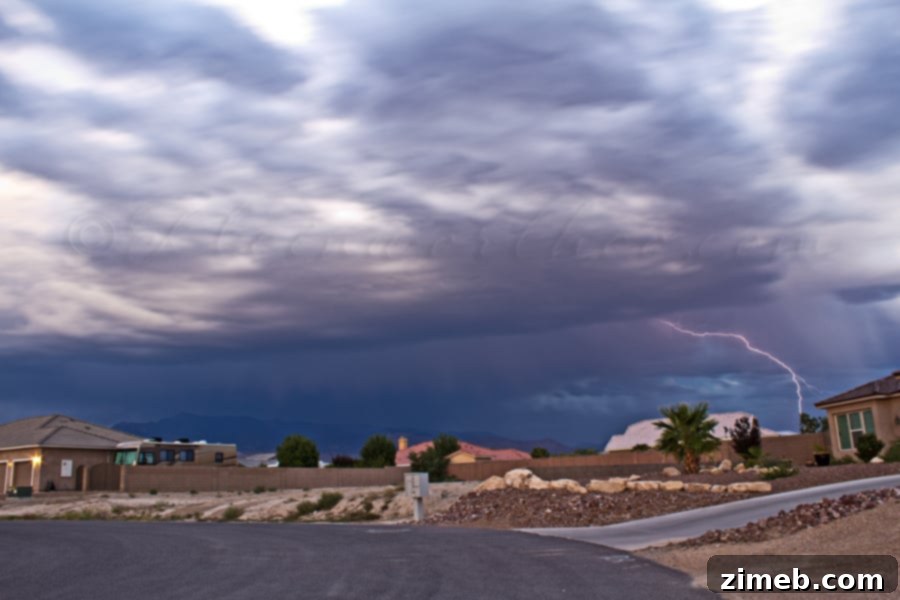
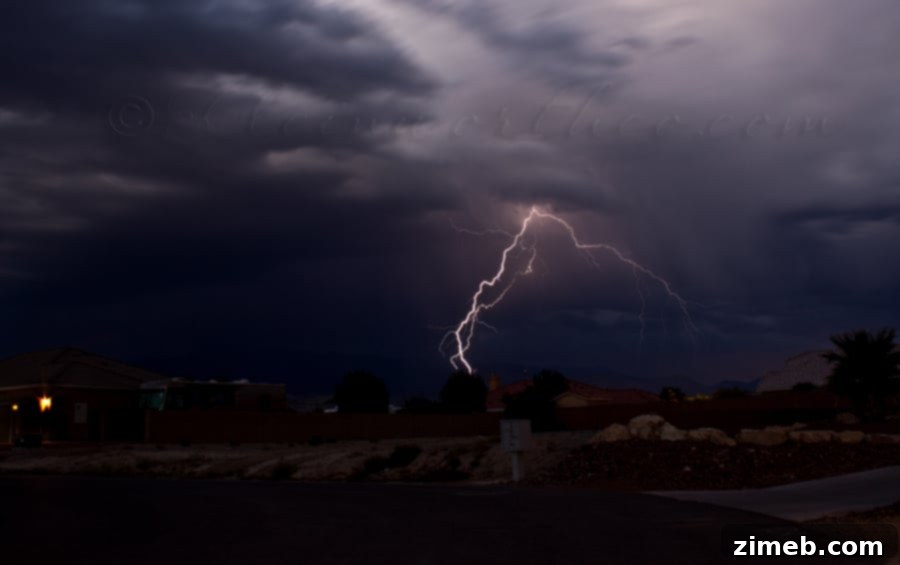
While an open, unobstructed view of the sky is crucial for maximizing your chances of catching lightning, don’t shy away from incorporating interesting foreground elements. Many locations, especially those outside of vast desert landscapes, might not offer completely open vistas. However, capturing the lightning’s dramatic glow through silhouetted trees or over distant cityscapes can add incredible depth, scale, and storytelling to your images. These elements provide context, contrasting the immense power of the storm with the familiar features of the landscape. The challenge lies in finding a wide-open view that *also* includes compelling foreground interest, especially if you also need shelter. Experiment with different vantage points, looking for compositions that frame the lightning within a broader, more engaging scene, turning a simple bolt into a truly special photograph.
5. Set Your ISO Low for Optimal Image Quality
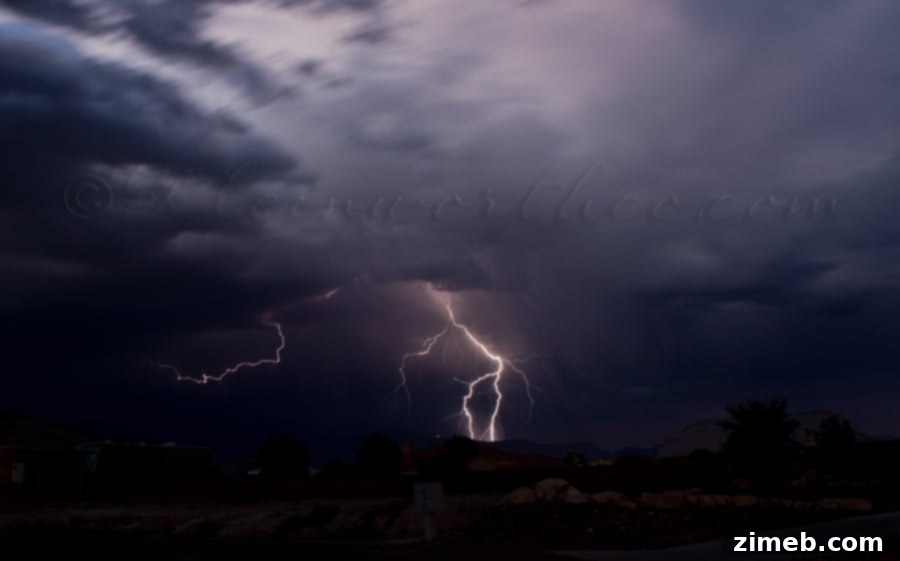
To achieve clean, sharp images with minimal noise, always set your ISO to the lowest possible native setting, typically ISO 100 or 200. Since you’ll be using long exposure times to gather light from the lightning strikes, your camera’s sensor will have ample time to record the available light. Increasing the ISO would only introduce digital noise, which appears as graininess, especially in the darker areas of your image. A low ISO ensures that the vibrant details of the lightning and the subtle textures of the night sky are rendered with the highest fidelity and clarity. This setting is fundamental for producing professional-quality lightning photographs that truly pop without distracting artifacts.
6. Choose an Appropriate Aperture (f/7 or f/8)
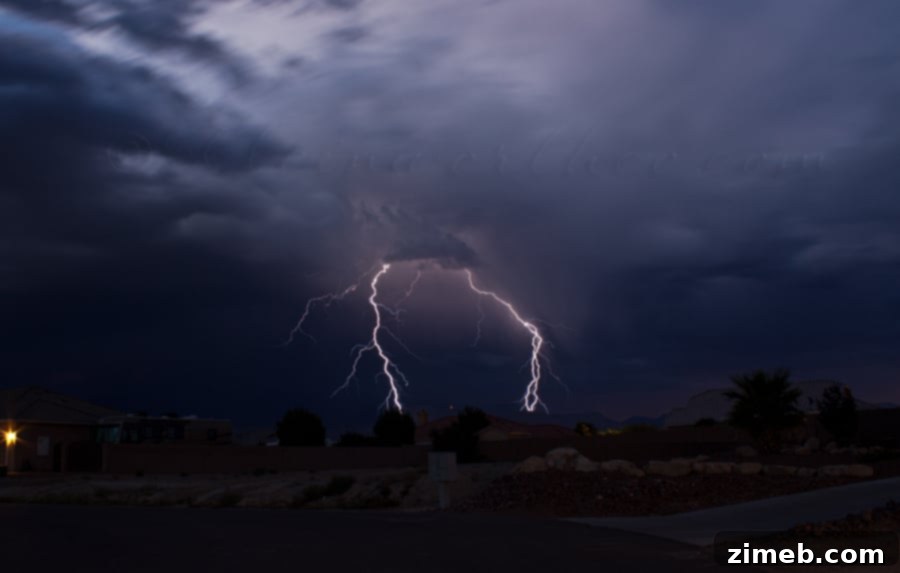
The aperture setting is crucial for controlling your depth of field and ensuring that all critical elements within your frame are in sharp focus. I generally recommend setting your aperture to f/7 or f/8. This f-stop provides a good balance, offering sufficient depth of field to keep both your foreground elements (if any) and the distant lightning sharp, without making the image too dark. I’ve learned from experience that setting the aperture too wide (e.g., f/2.8 or f/4) can result in a beautifully focused foreground but a disappointingly blurry lightning strike in the distance, or vice-versa. Achieving focus across the entire scene, from the nearest point of interest to infinity, is imperative for compelling lightning photographs. A mid-range aperture like f/7 or f/8 is your best bet for capturing everything you intend to see in crisp detail.
7. Master Your Shutter Speed: 30 Seconds or Bulb Mode
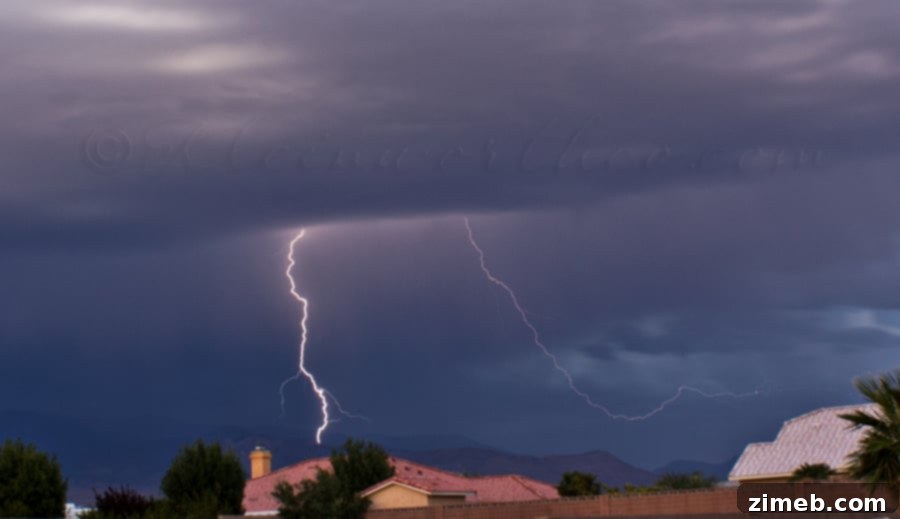
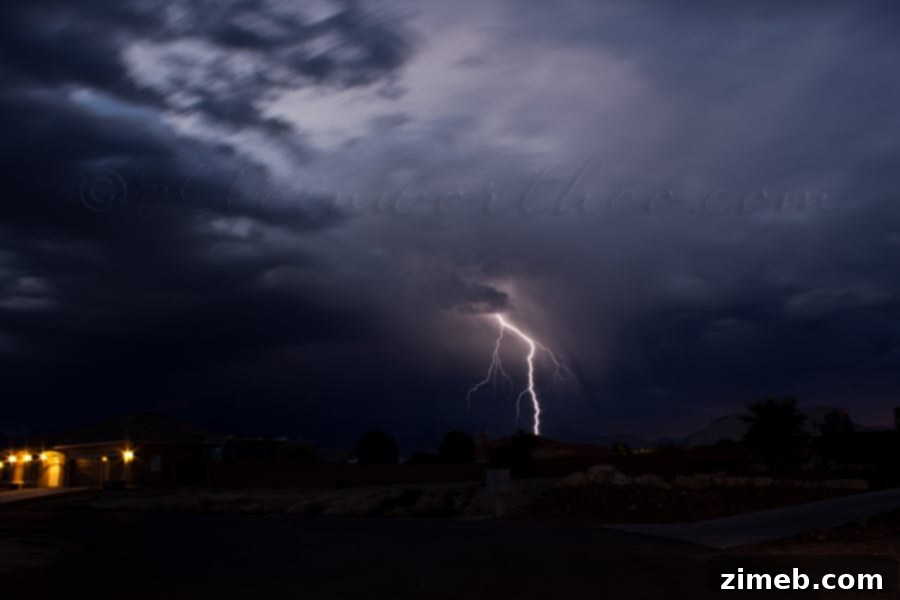
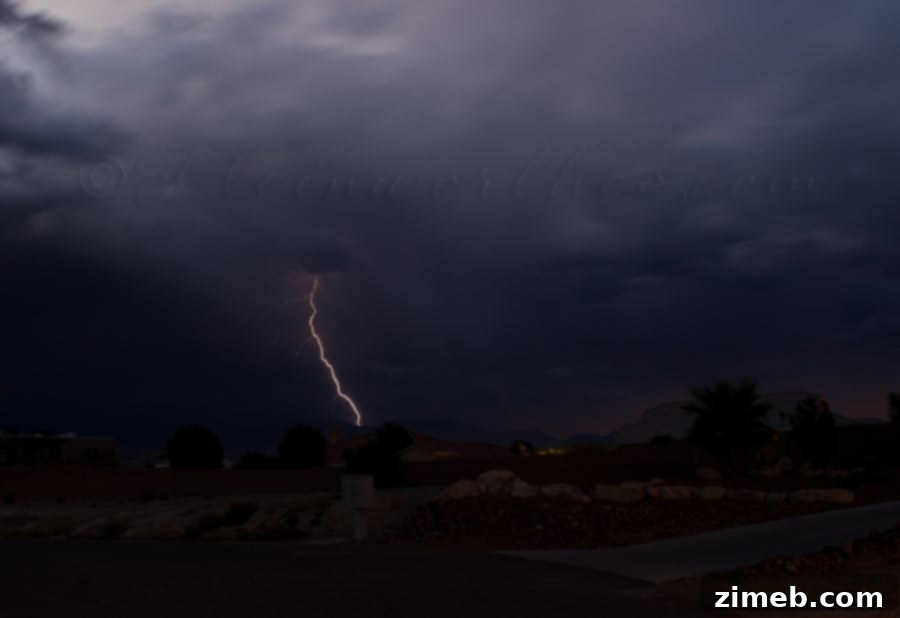
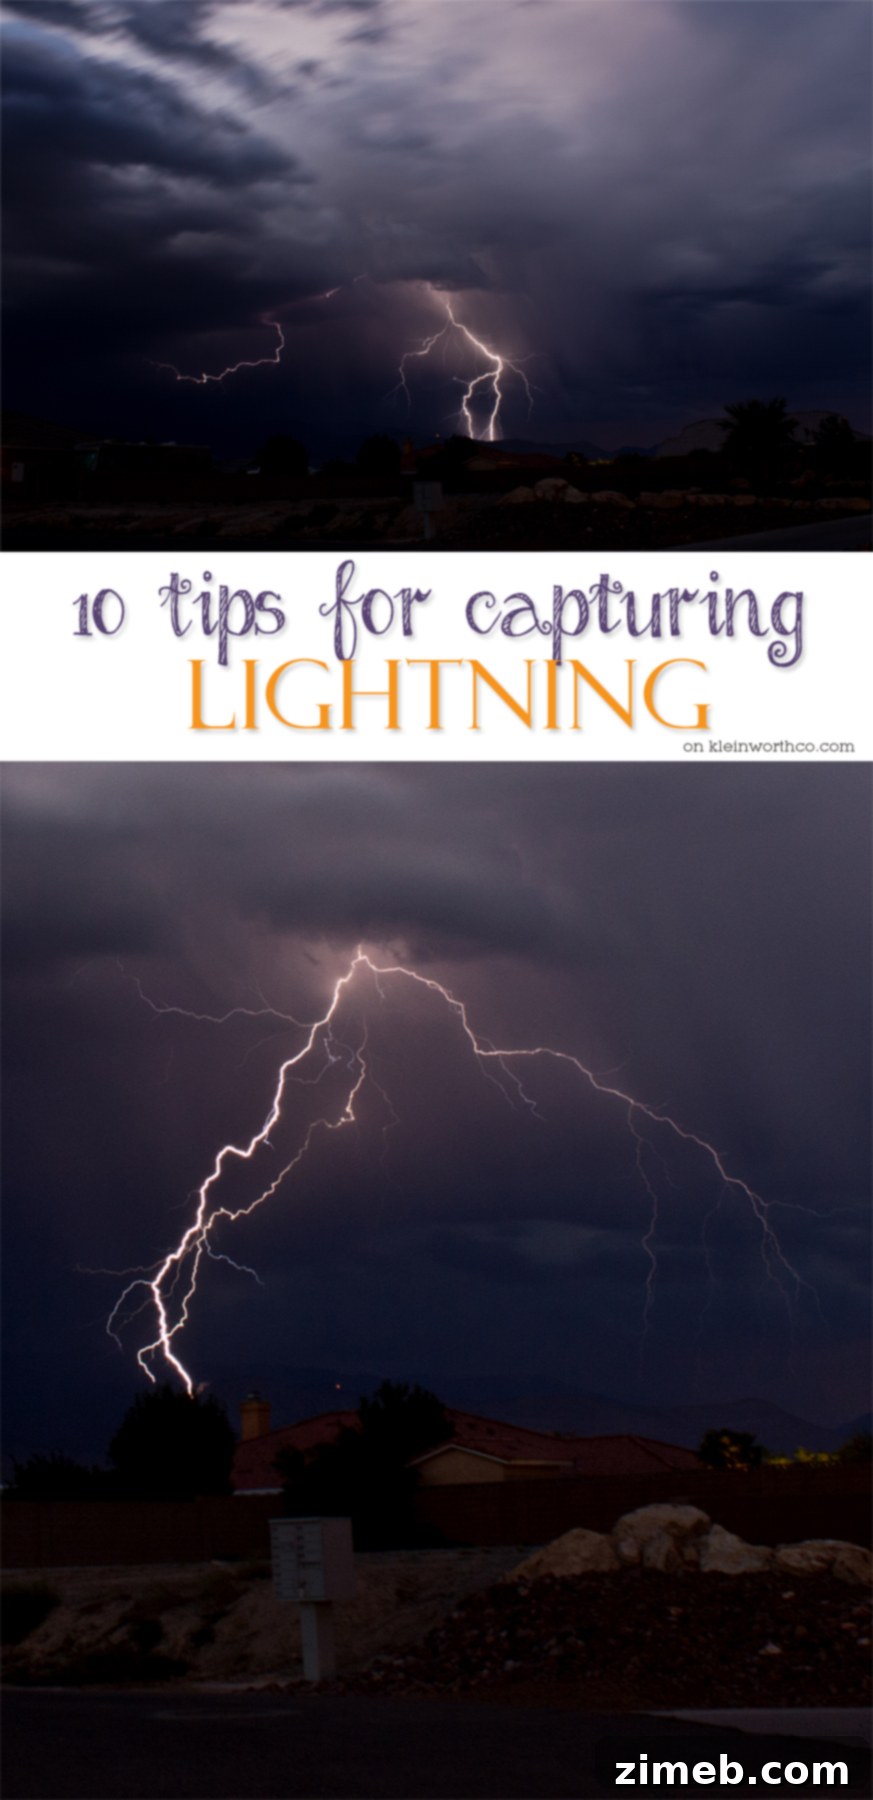
Your shutter speed is the key to actually “catching” the lightning. For actively stormy nights, I typically set my shutter speed to 30 seconds. This duration allows the camera to record any lightning strike that occurs within that half-minute window. During particularly active storms, you might capture multiple bolts in a single 30-second exposure, creating dramatic, multi-branched displays. For less frequent lightning, or when you desire even longer exposures to capture more activity or light trails, you can switch to Bulb mode. This setting, often engaged with a remote shutter release, allows you to keep the shutter open for as long as you hold the button, giving you ultimate control. All the images featured in this article were taken during one incredibly active evening where bolts were frequent enough for 30-second exposures to consistently yield results. Be prepared with charged spare batteries; a long night of continuous shooting can quickly drain your power. I’ve spent four hours or more with my shutter constantly open, simply enjoying the spectacle while my camera diligently worked.
8. Focus Manually for Precision
In low-light conditions, your camera’s autofocus system will struggle, if not completely fail, to lock onto subjects. Therefore, manual focus is essential for lightning photography. This process can be a bit challenging, but it’s critical for sharp results. Start by finding a distant object in your foreground, if available, and manually adjust your focus to it. Take a few test shots. Then, use your camera’s live view function and zoom in to the maximum magnification on your screen to meticulously check that the object is crisp and in perfect focus. Once you’ve achieved critical sharpness, do not touch the focus ring unless you absolutely have to move your camera. Losing your precise focus means repeating the entire process, and potentially missing incredible lightning strikes while you re-adjust. A clear, sharp image makes all the difference, so invest the time upfront to get your focus right.
9. Cultivate Patience: The Unseen Element
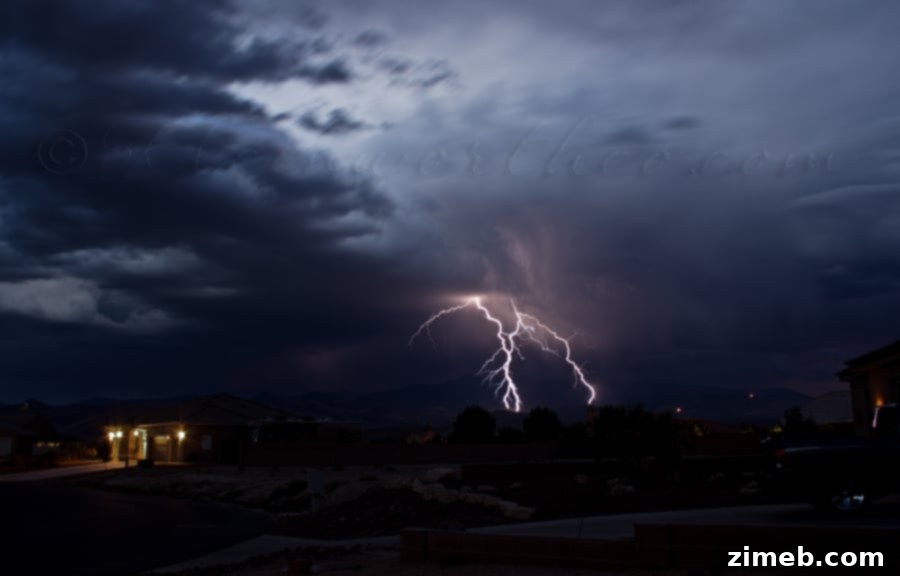
Patience is arguably the most crucial, yet often overlooked, ingredient in successful lightning photography. Even during active storms, you won’t always capture multiple bolts in every 30-second exposure. Lightning is unpredictable, and there will be lulls. Don’t get discouraged by empty frames. Just keep shooting. For those looking for more dramatic, multi-bolt images, an advanced technique involves layering multiple lightning strikes from different frames during post-processing to create a single, super-charged image. While this is a popular method, I personally prefer to keep my images as true to the single-shot reality as possible, reflecting exactly what the camera captured in that specific exposure without compositing. My philosophy leads directly to the next point: capturing the true essence of the storm.
10. Don’t Over-Process: Enhance, Don’t Fabricate
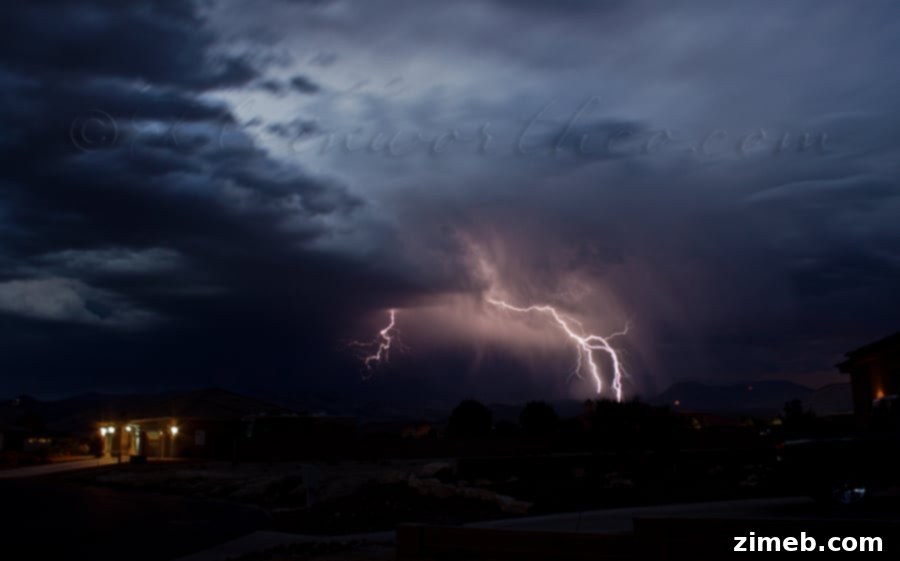
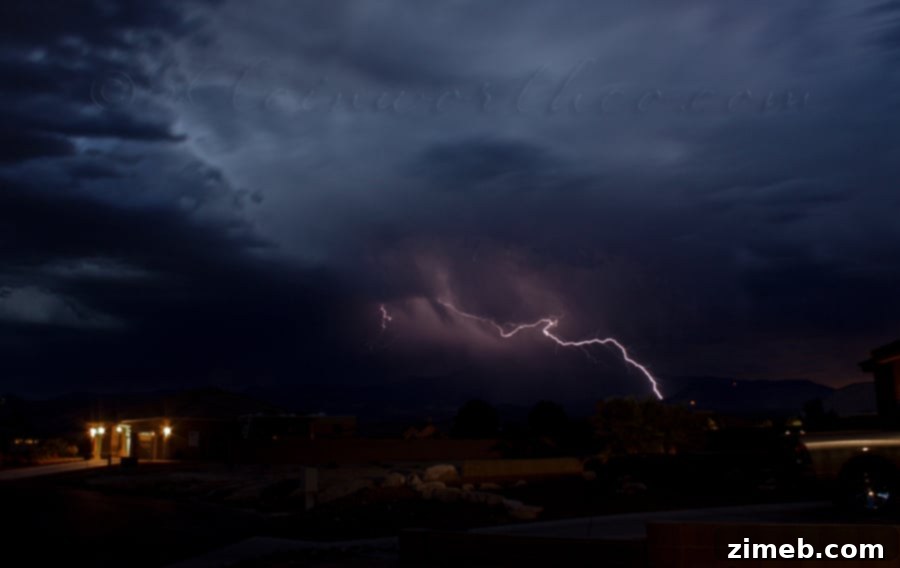
Post-processing lightning images should aim to enhance the natural beauty of what you captured, not to create something entirely artificial. For all the images you see here, my workflow is minimal: I open them in Adobe Camera Raw (ACR) and primarily adjust clarity and, occasionally, temperature. Long exposures can sometimes pick up artificial lights from houses or streetlights, rendering them with an orange or yellow cast. I find these colors often detract from the primary focus—the lightning itself—so I always try to tone down these artificial light sources to maintain the storm’s natural drama. Beyond that, I apply a touch of sharpening, and that’s usually it. While I sometimes crop an image to refine the composition, as evident in some examples, I generally prefer to retain a significant portion of the foreground. This provides a sense of scale, anchoring the majestic power of the storm against the familiar landscape of the neighborhood. This approach is a matter of personal artistic taste, allowing the raw beauty of the lightning to shine through with subtle, effective enhancements.
Capture the Storm’s Fury!
Armed with these 10 tips for capturing lightning, you’re now ready to embark on your storm photography adventure. Remember that practice makes perfect, and every storm offers a new opportunity to refine your skills. Stay safe, be patient, and most importantly, enjoy the awe-inspiring spectacle of nature’s electrical displays. Happy shooting!