4th of July Sugar Cookies
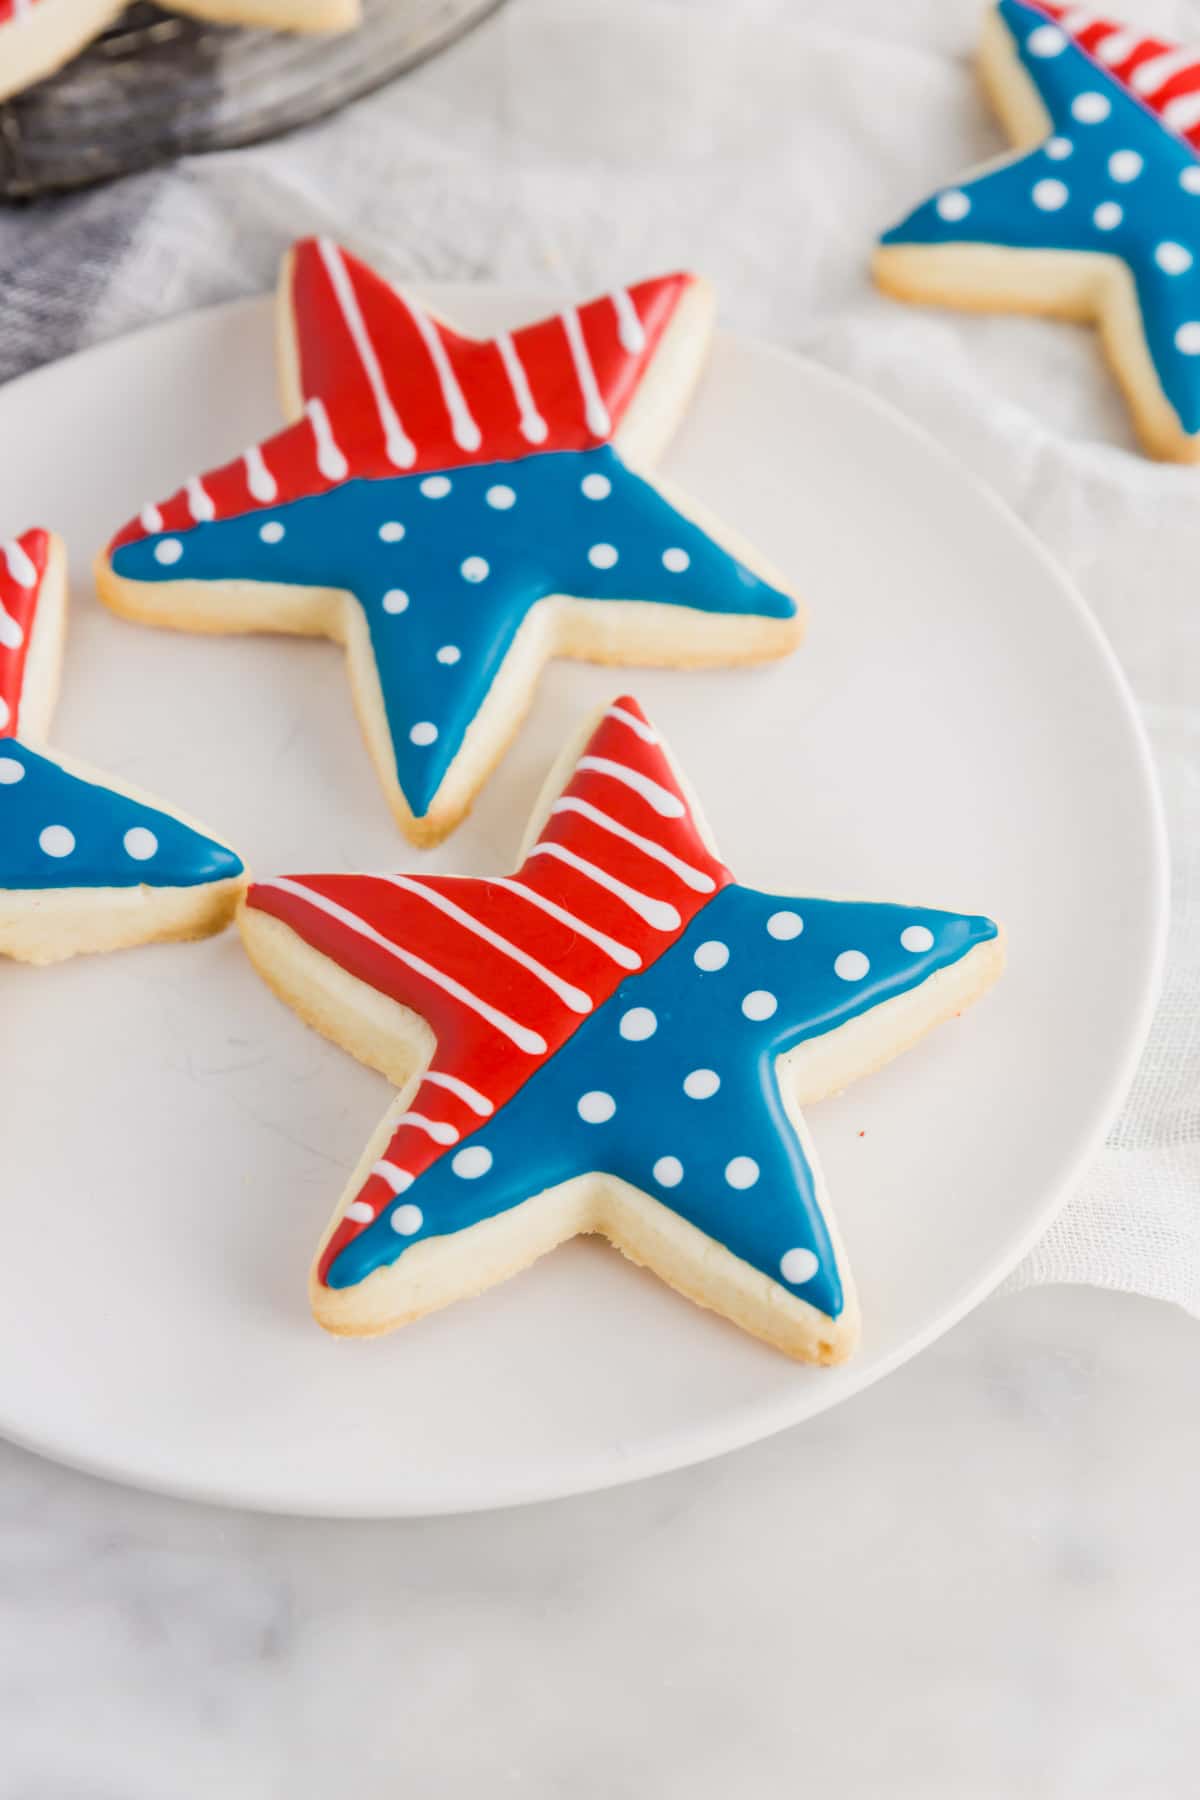
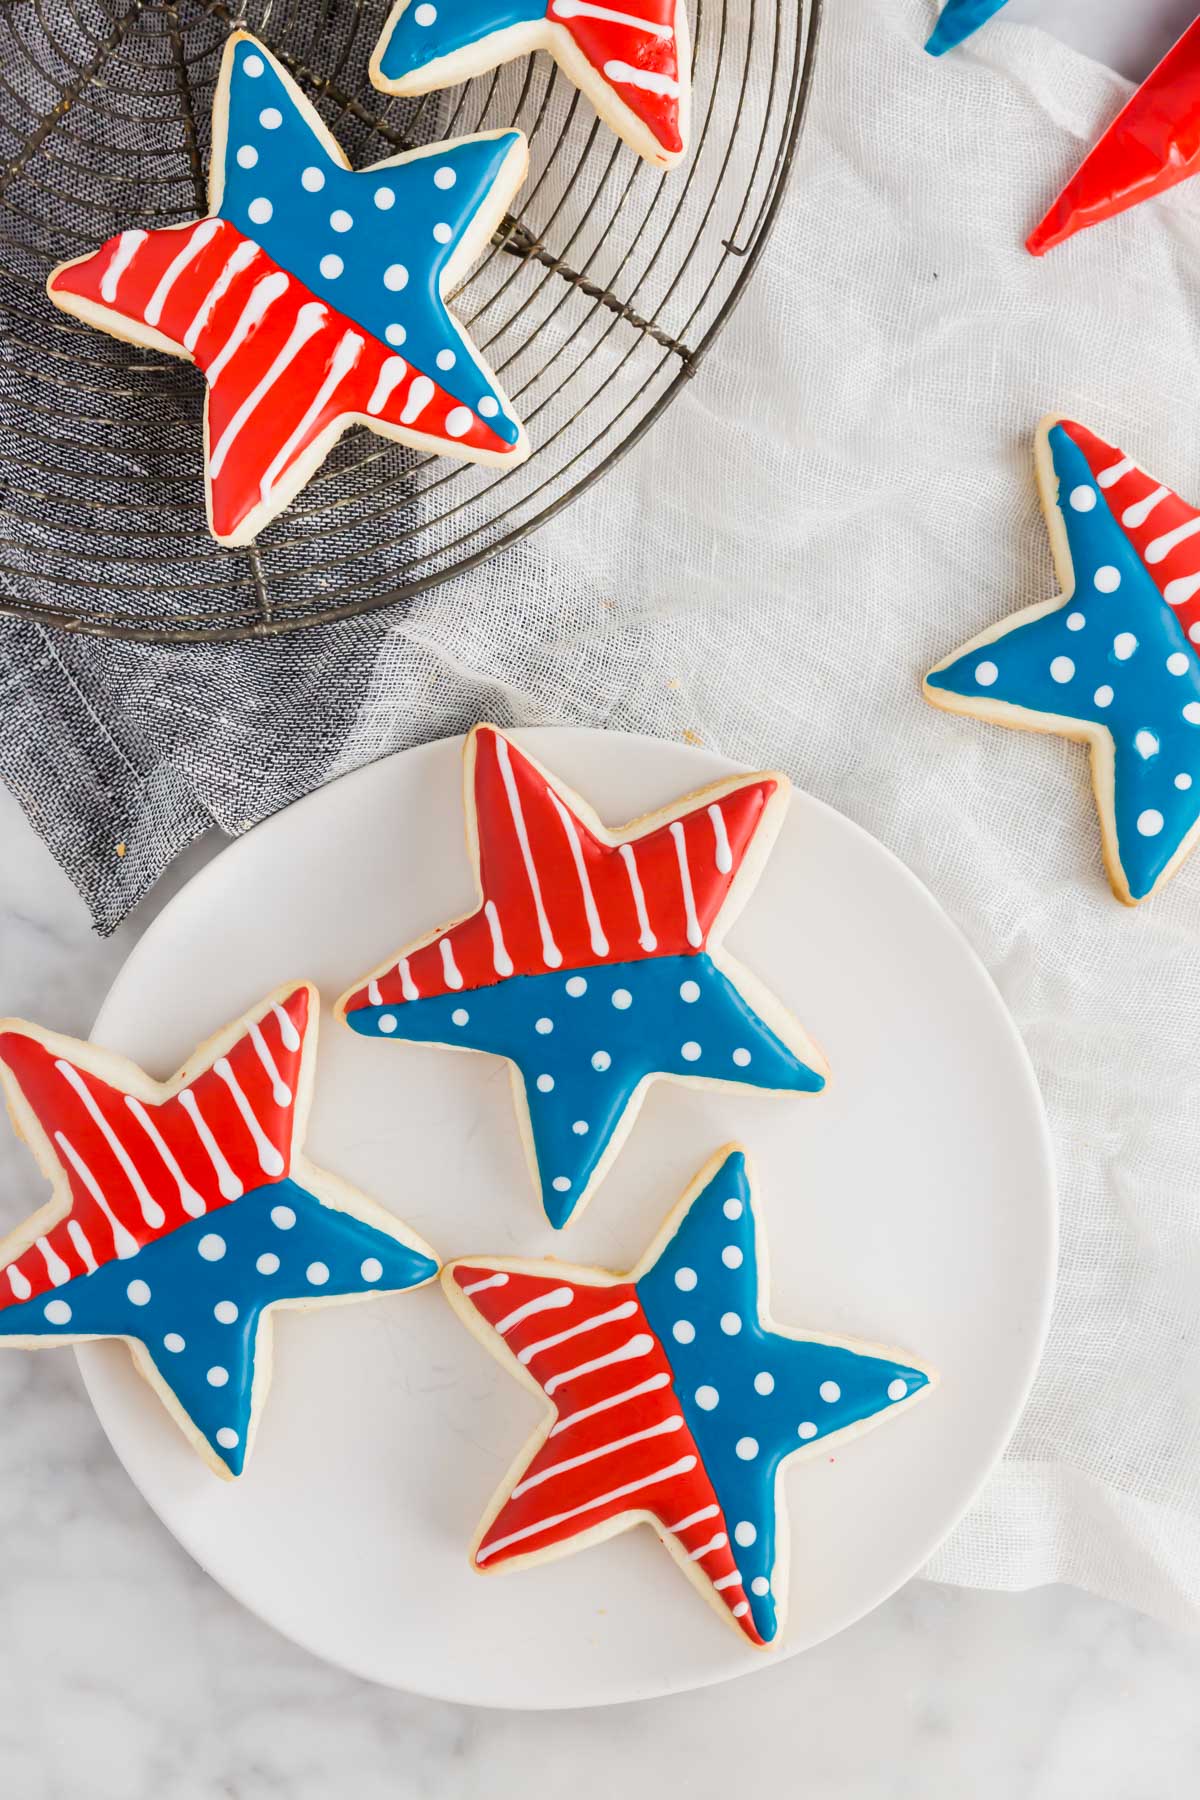
These gluten-free 4th of July sugar cookies are decorated with red, white, and blue royal icing in a star and stripes flag design using wet-on-wet technique.
- Prep1 hr
- Cook10 min
- Total5 hr 10 min
- Yield15 cookies
3 Jul 2011
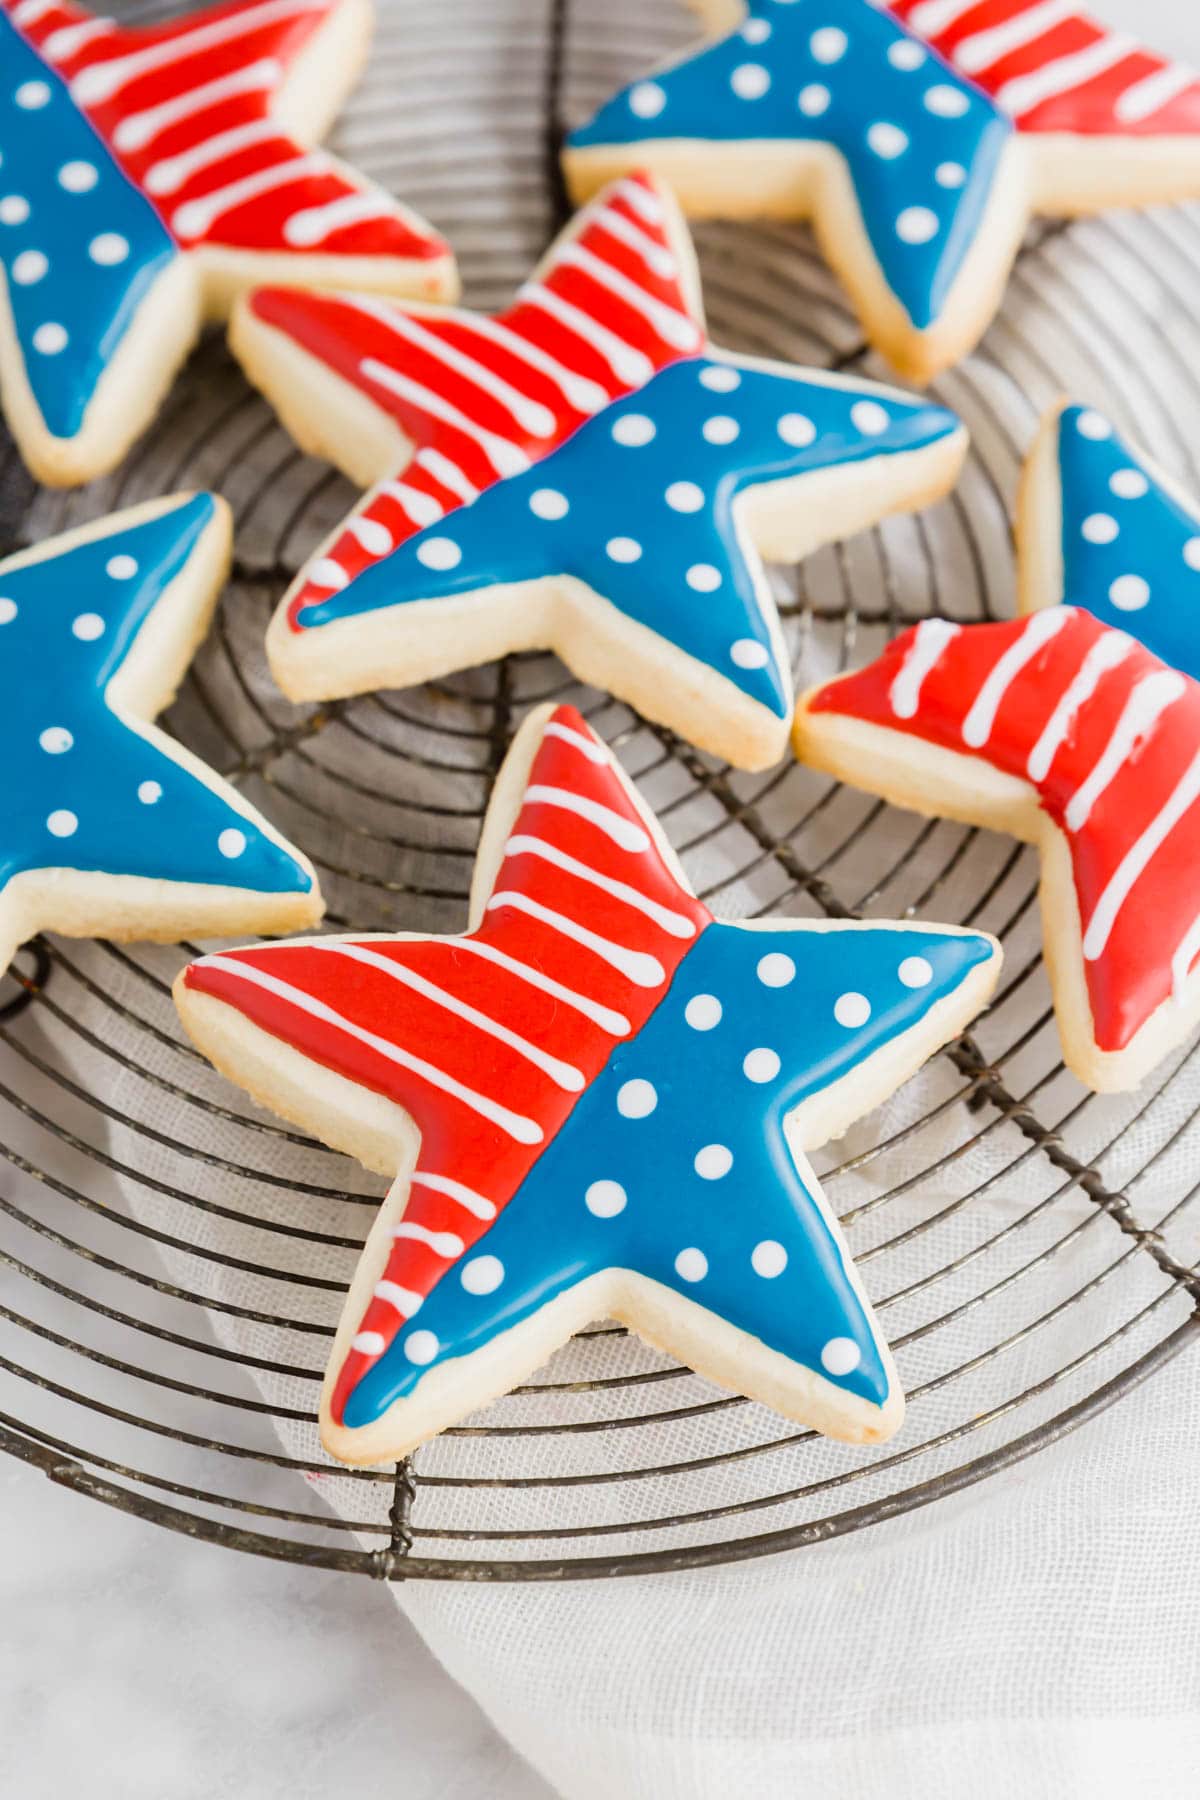
These gluten-free 4th of July sugar cookies are cut-out cookies decorated with red, white, and blue royal icing in a star and stripes design. The sugar cookie dough rolls out smoothly and holds its shape during baking, which makes them perfect for patriotic designs.
The wet-on-wet royal icing technique creates the flag pattern without complicated piping skills. You outline and fill each section, then immediately add stripes or dots while the icing is still wet so everything blends together into a smooth surface.
Why You’ll Love this Recipe
- The wet-on-wet icing technique is easier than it looks. You don’t need advanced decorating skills or steady hands. Just fill sections and immediately add stripes or dots while wet, and they blend together naturally for a smooth, professional finish.
- One sugar cookie dough works for any holiday or occasion. This versatile recipe isn’t just for 4th of July. Use different cookie cutters and icing colors to make these for birthdays, Christmas, Valentine’s Day, or any celebration. See my Gluten-Free Sugar Cookies post for more decorating ideas and variations.
- Royal icing dries completely hard so cookies travel well. Unlike buttercream that can smudge or melt, royal icing sets up firm and stable. You can stack, package, and transport these cookies without worrying about ruining the designs.
Ingredient Notes
- Butter – Softened butter is key for this recipe. It should feel pliable when you press it but not greasy or melted. Room temperature butter creams properly with the sugar and creates dough that’s easy to handle and roll without being sticky.
- Powdered Sugar – Powdered sugar gives these cookies their fine, tender crumb. Unlike granulated sugar, it dissolves instantly and creates a smooth dough that rolls out beautifully. The result is cookies that hold clean edges when you cut them.
- Gluten-Free Flour Blend – This recipe has been tested with Bob’s Red Mill 1-to-1 Gluten-Free Baking Flour and King Arthur Measure for Measure, both of which already contain xanthan gum.
- Meringue Powder for Royal Icing – Royal icing requires meringue powder to dry hard and glossy. It’s a dried egg white product that’s shelf-stable and safe to eat without cooking. Look for it in the baking aisle or cake decorating section.
- Gel Food Coloring – Use gel food coloring rather than liquid food coloring for royal icing. Gel colors are more concentrated and won’t thin out your icing. Americolor brand is gluten-free and gives vibrant colors with just a small amount. You’ll need red and blue for this design.
- Water for Royal Icing Consistency – Start with the water amount in the recipe, then adjust to get 8-10 second consistency. Test by drizzling icing from a spoon back into the bowl. If it takes 8-10 seconds to disappear back into the surface, you’ve got the right thickness.
Decorating Tip
Work fast when adding stripes or dots to wet icing, or they won’t blend properly. Once you fill a section with base color icing, you have about 30-60 seconds to add your stripes or dots before the surface starts to set. If you wait too long, the details will sit on top instead of sinking in to create that smooth, blended look. Fill one section at a time and add details immediately.
FAQs
Can I use a reusable pastry bag?Yes, you can. Reusable pastry bags normally have a larger whole in them already, so you’ll need to use a pastry tip. I recommend a #3 tip for this design.
What if I don’t want to use royal icing?Buttercream works if you’re serving them immediately, but it stays soft and smudges easily. Royal icing is better for cookies you need to stack, transport, or give as gifts since it dries completely hard.
What kind of gel food coloring should I use?I like Americolor gel food coloring. The colors are very saturated and come in a squeeze bottle. You do not want to use liquid food coloring that you find at the grocery store. You can find gel food coloring at a craft store or online.
Do I need special piping equipment?Not at all. Disposable pastry bags work great, just cut a small opening at the tip. Test the flow on parchment before you start decorating. The hole should let icing flow with gentle pressure but not pour out on its own.
Expert Tips
- Use powdered sugar, not flour, when rolling out the dough. Sprinkle powdered sugar on your counter and rolling pin to prevent sticking. Adding more flour will toughen the cookies, but powdered sugar dissolves and keeps them tender.
- Aim for uniform 1/4-inch thickness across the entire dough. Rolling pin guides or bands help you get consistent thickness. When some cookies are thicker than others, the thin ones burn while thick ones stay raw in the middle.
- Pull cookies from the oven when edges just start to turn golden. Don’t wait for the tops to brown or they’ll be overbaked. Edges should be barely tan while centers still look pale (but NOT shiny!). They firm up as they cool on the pan.
- Make your base icing first, then divide and color it. Mix the full batch of royal icing, split into three bowls, add your red and blue gel colors, then adjust water in each bowl separately. This way all three colors end up the same consistency.
- Start with tiny cuts on pastry bag tips. Snip just a small bit off the tip, test the flow on parchment, then cut more if needed. A hole that’s too small is fixable. A hole that’s too big means starting over with a new bag.
How to Decorate 4th of July Sugar Cookies
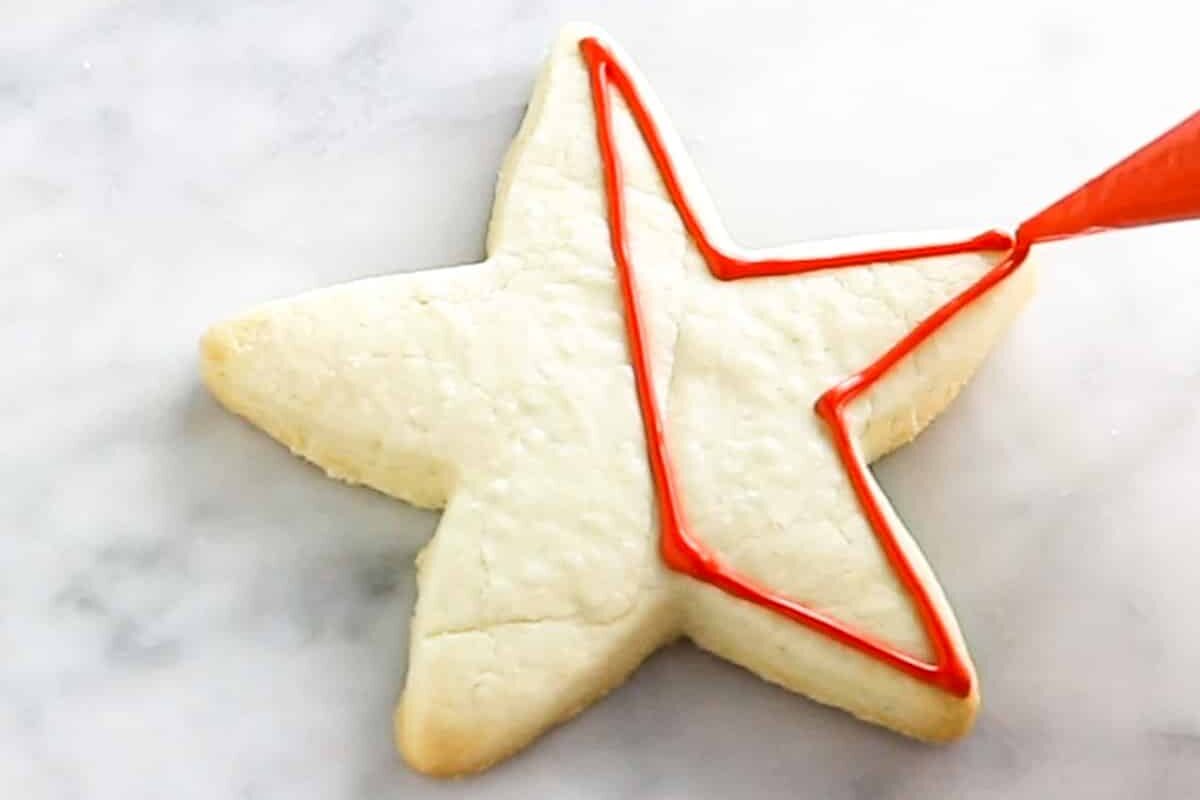 Outline the red section . Use red royal icing to outline half of the star cookie, following the edge of the cookie to create a barrier that will hold the flooding icing in place.
 Fill with red icing . Immediately fill the outlined section with red icing, using a back-and-forth motion to cover the entire area. The icing should flood all the way to the edges of your outline.
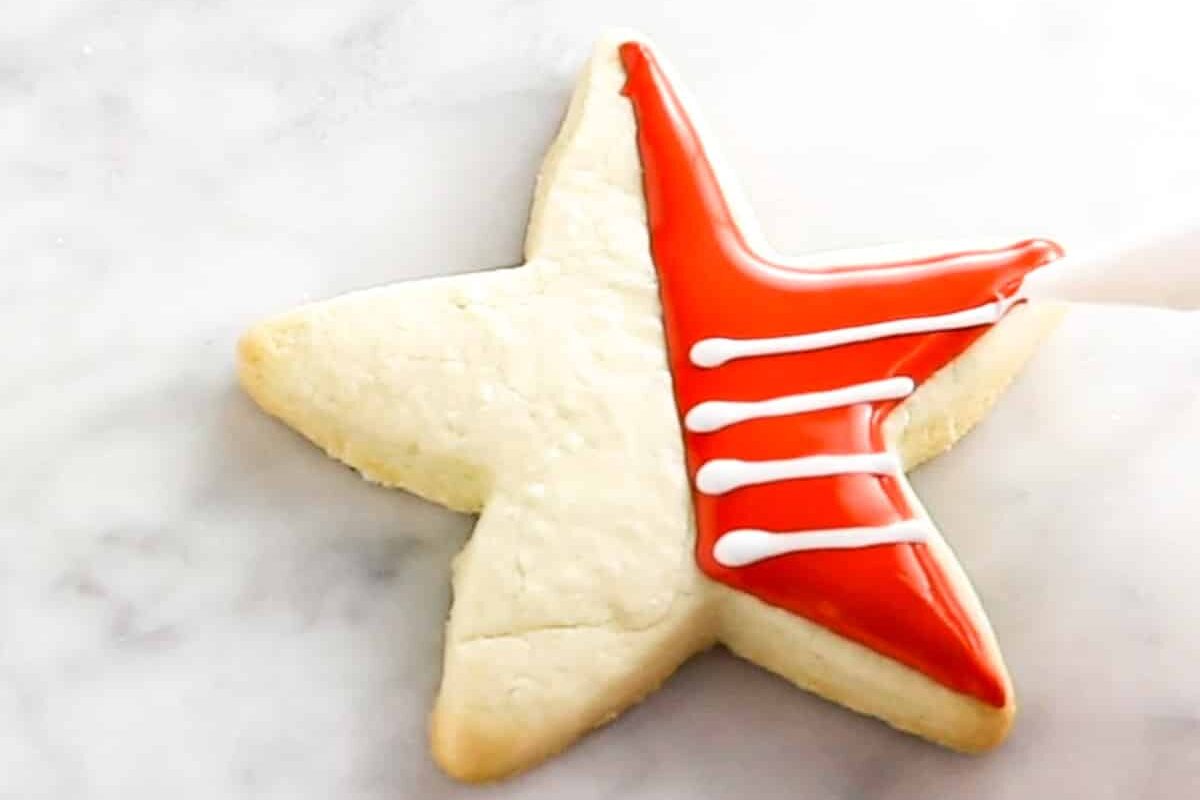 Add white stripes to wet red icing . While the red icing is still wet, pipe horizontal white stripes across the red section. The white will sink slightly into the red, creating a smooth, blended surface.
 Outline the blue section . Outline the other half of the star with blue royal icing, creating a barrier between the red and blue sections. This keeps the colors from bleeding together.
 Fill with blue icing . Fill the outlined blue section with blue icing, covering the entire area completely. Work quickly so the icing stays wet for the next step.
 Add white dots to wet blue icing . While the blue icing is still wet, squeeze small white dots across the blue section to represent stars. The dots will sink slightly into the blue base, creating a smooth, uniform surface.
Storage Instructions
- Make Ahead: Cookie dough can be wrapped tightly and refrigerated for 3 days or frozen for 3 months. Thaw frozen dough in the refrigerator overnight before rolling. Baked undecorated cookies freeze well for 2 months when layered with parchment in airtight containers.
- Room Temp: Keep undecorated cookies in an airtight container at room temperature up to 1 week. Once decorated with royal icing, they last up to 2 weeks at room temperature as long as the icing has dried completely hard.
- Freeze: Freeze undecorated baked cookies with parchment between layers for up to 2 months. Let them come to room temperature before decorating. Don’t freeze cookies that are already decorated – the icing can crack or weep moisture when thawed.
Serving Suggestions
Build a full patriotic dessert table for your 4th of July party by making these star cookies the hands-on centerpiece guests can admire up close. Anchor the table with a Gluten-Free Sugar Cookie Flag Cake as the main showpiece since it feeds a crowd, then surround it with these individual decorated cookies arranged on a platter.
Set out Frozen Watermelon Rosé Slushies for adults to sip while the kids eat popsicles.
Balance all the sweets with savory sides like Roasted Corn and Bacon Red Potato Salad and Easy Cabbage Dill Coleslaw . Package individual cookies in clear cellophane bags tied with red, white, and blue ribbon so guests can take them home as party favors.
More gluten-free cookies to try
All Cookies
Gluten-Free Gingerbread Cookies
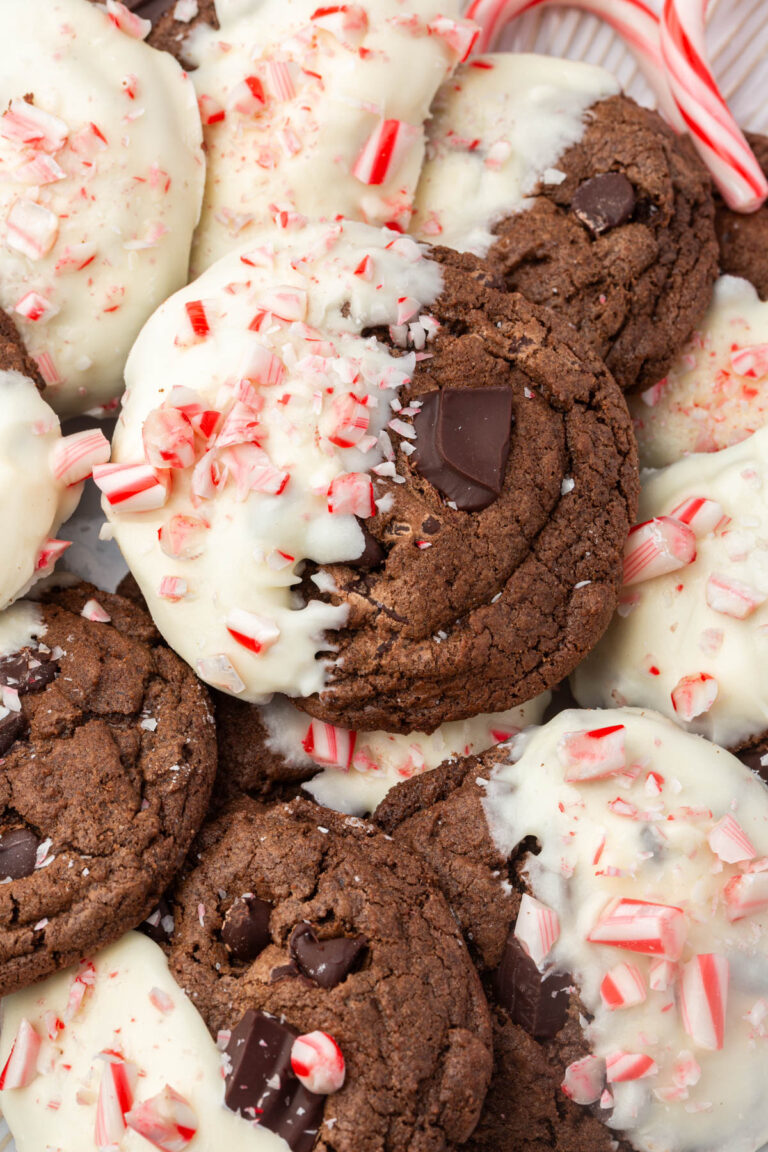
Gluten-Free Chocolate Peppermint Cookies
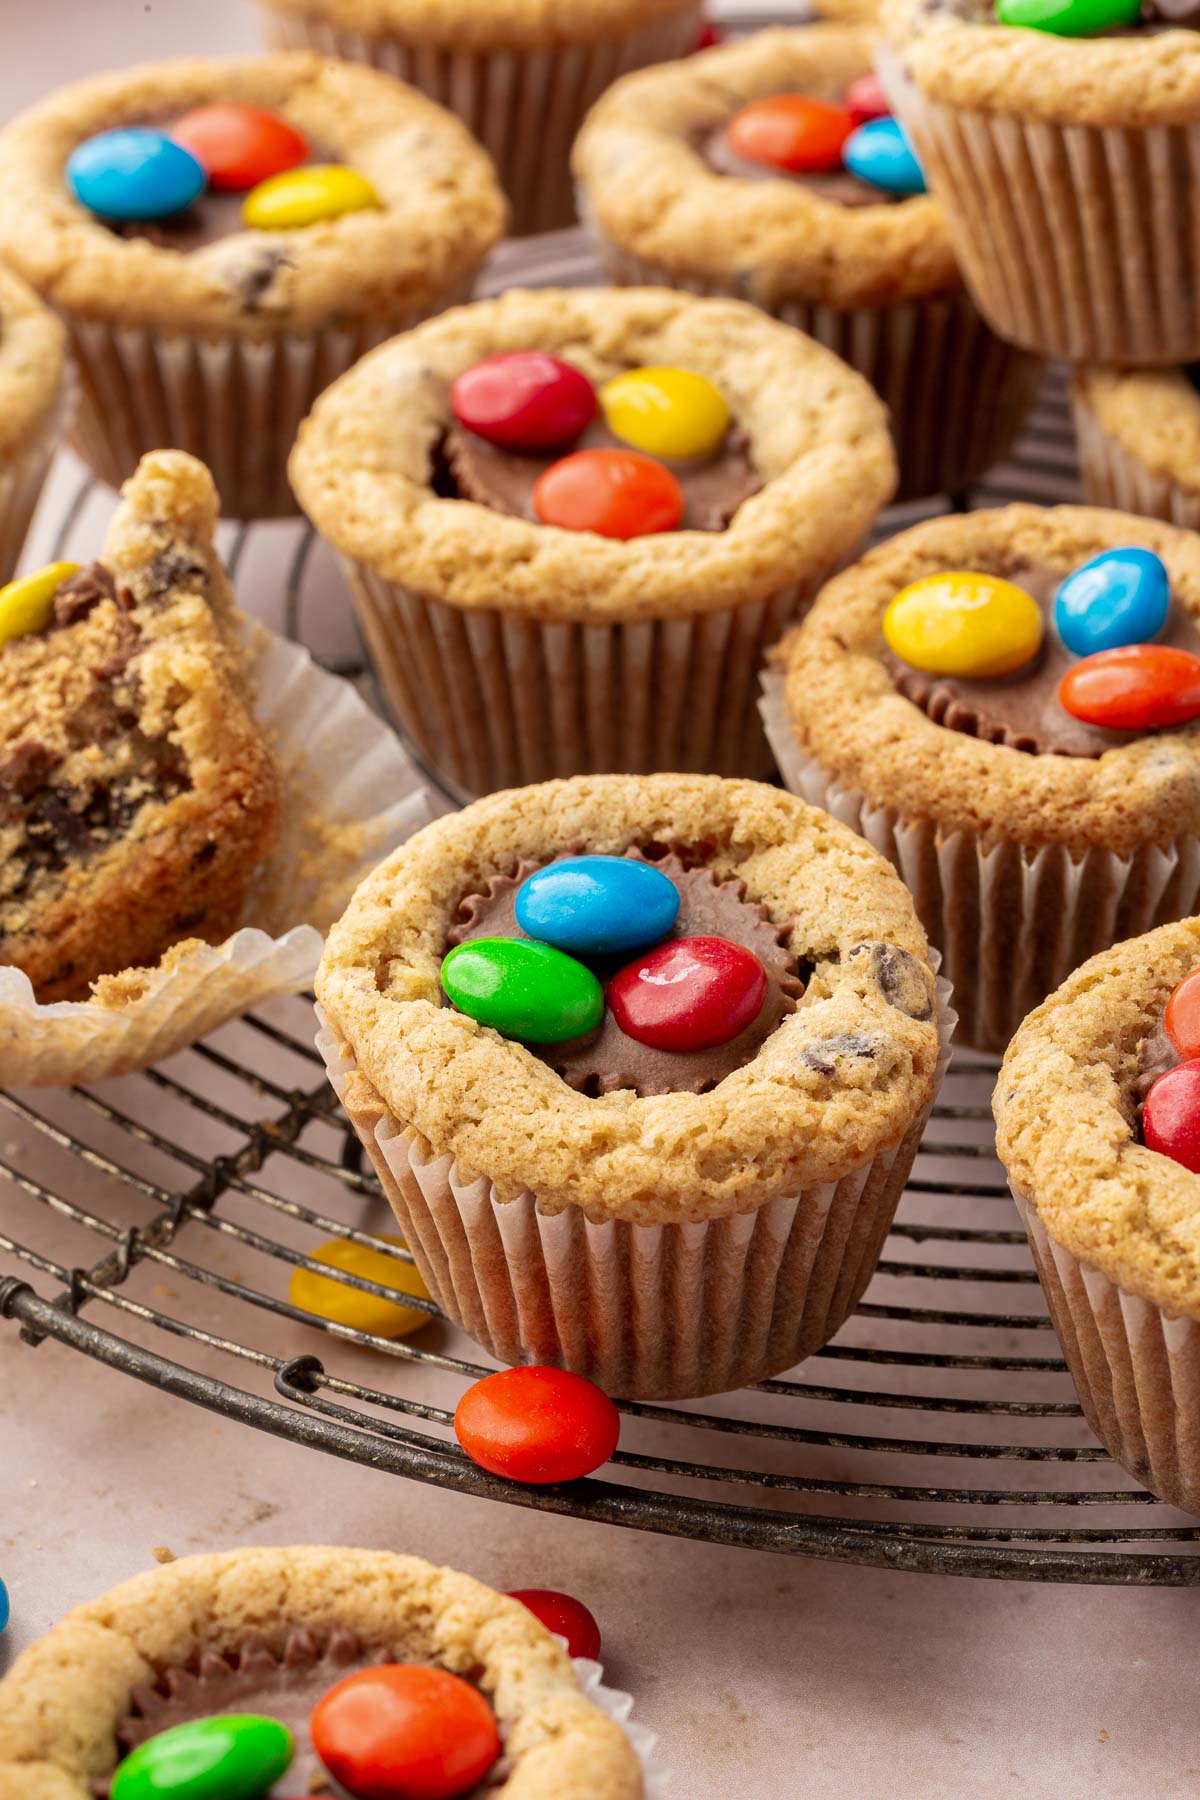
Gluten-Free Peanut Butter Cup Cookies
Did you make this recipe?
I’d love to know! Please rate it and leave a comment below. You can also share your pictures and tag @adashofmegnut on Instagram.
Method
For the Sugar Cookies:
-
1
Make the cookie dough. In a large bowl, cream 1 cup unsalted butter and 1 cup powdered sugar with an electric mixer until light and fluffy, about 2-3 minutes. Add 1 large egg, 2 teaspoon vanilla extract, and 1 teaspoon salt. Beat until well combined.
-
2
Add flour gradually. Add 2 ¼ cups gluten-free flour blend to the butter mixture 1/2 cup at a time, mixing after each addition until no streaks remain.
-
3
Chill the dough. Turn dough out onto parchment paper and pat into a circle about 1 inch thick. Refrigerate for 1 hour until firm.
-
4
Roll and cut. Preheat oven to 375°F (190°C). Dust work surface and rolling pin with powdered sugar. Roll dough to 1/4-inch thickness. Cut with star-shaped cookie cutters.
-
5
Bake. Place cookies on parchment-lined baking sheets. Bake for 9-11 minutes until edges are lightly golden but tops are not browned. Cool completely on wire racks before decorating.
For the Royal Icing:
-
6
Make royal icing. In a stand mixer with whisk attachment, combine 4 cups powdered sugar, 2 tablespoons meringue powder, 5 tablespoons water, and 1 teaspoon vanilla extract. Mix on medium-high speed for 7-10 minutes until well blended and matte. This is your base consistency.
-
7
Color and thin icing. Divide icing into three bowls. Leave one white, color one red, and one blue with Americolor gel food coloring. Add water gradually to each bowl until you reach 8-10 second consistency (drizzled icing sinks back into bowl in 8-10 seconds).
To Decorate:
-
8
Fill pastry bags. Transfer each color to separate pastry bags. Cut very small holes at the tips.
-
9
Decorate cookies. Outline half the star with red icing to create a barrier. Fill that half with red icing. Immediately draw white stripes over the wet red icing. Outline the other half with blue icing, fill with blue icing, then immediately add white dots over the wet blue icing.
-
10
Let dry. Allow cookies to dry at least 4 hours (overnight is best) before stacking or packaging.
Cook next
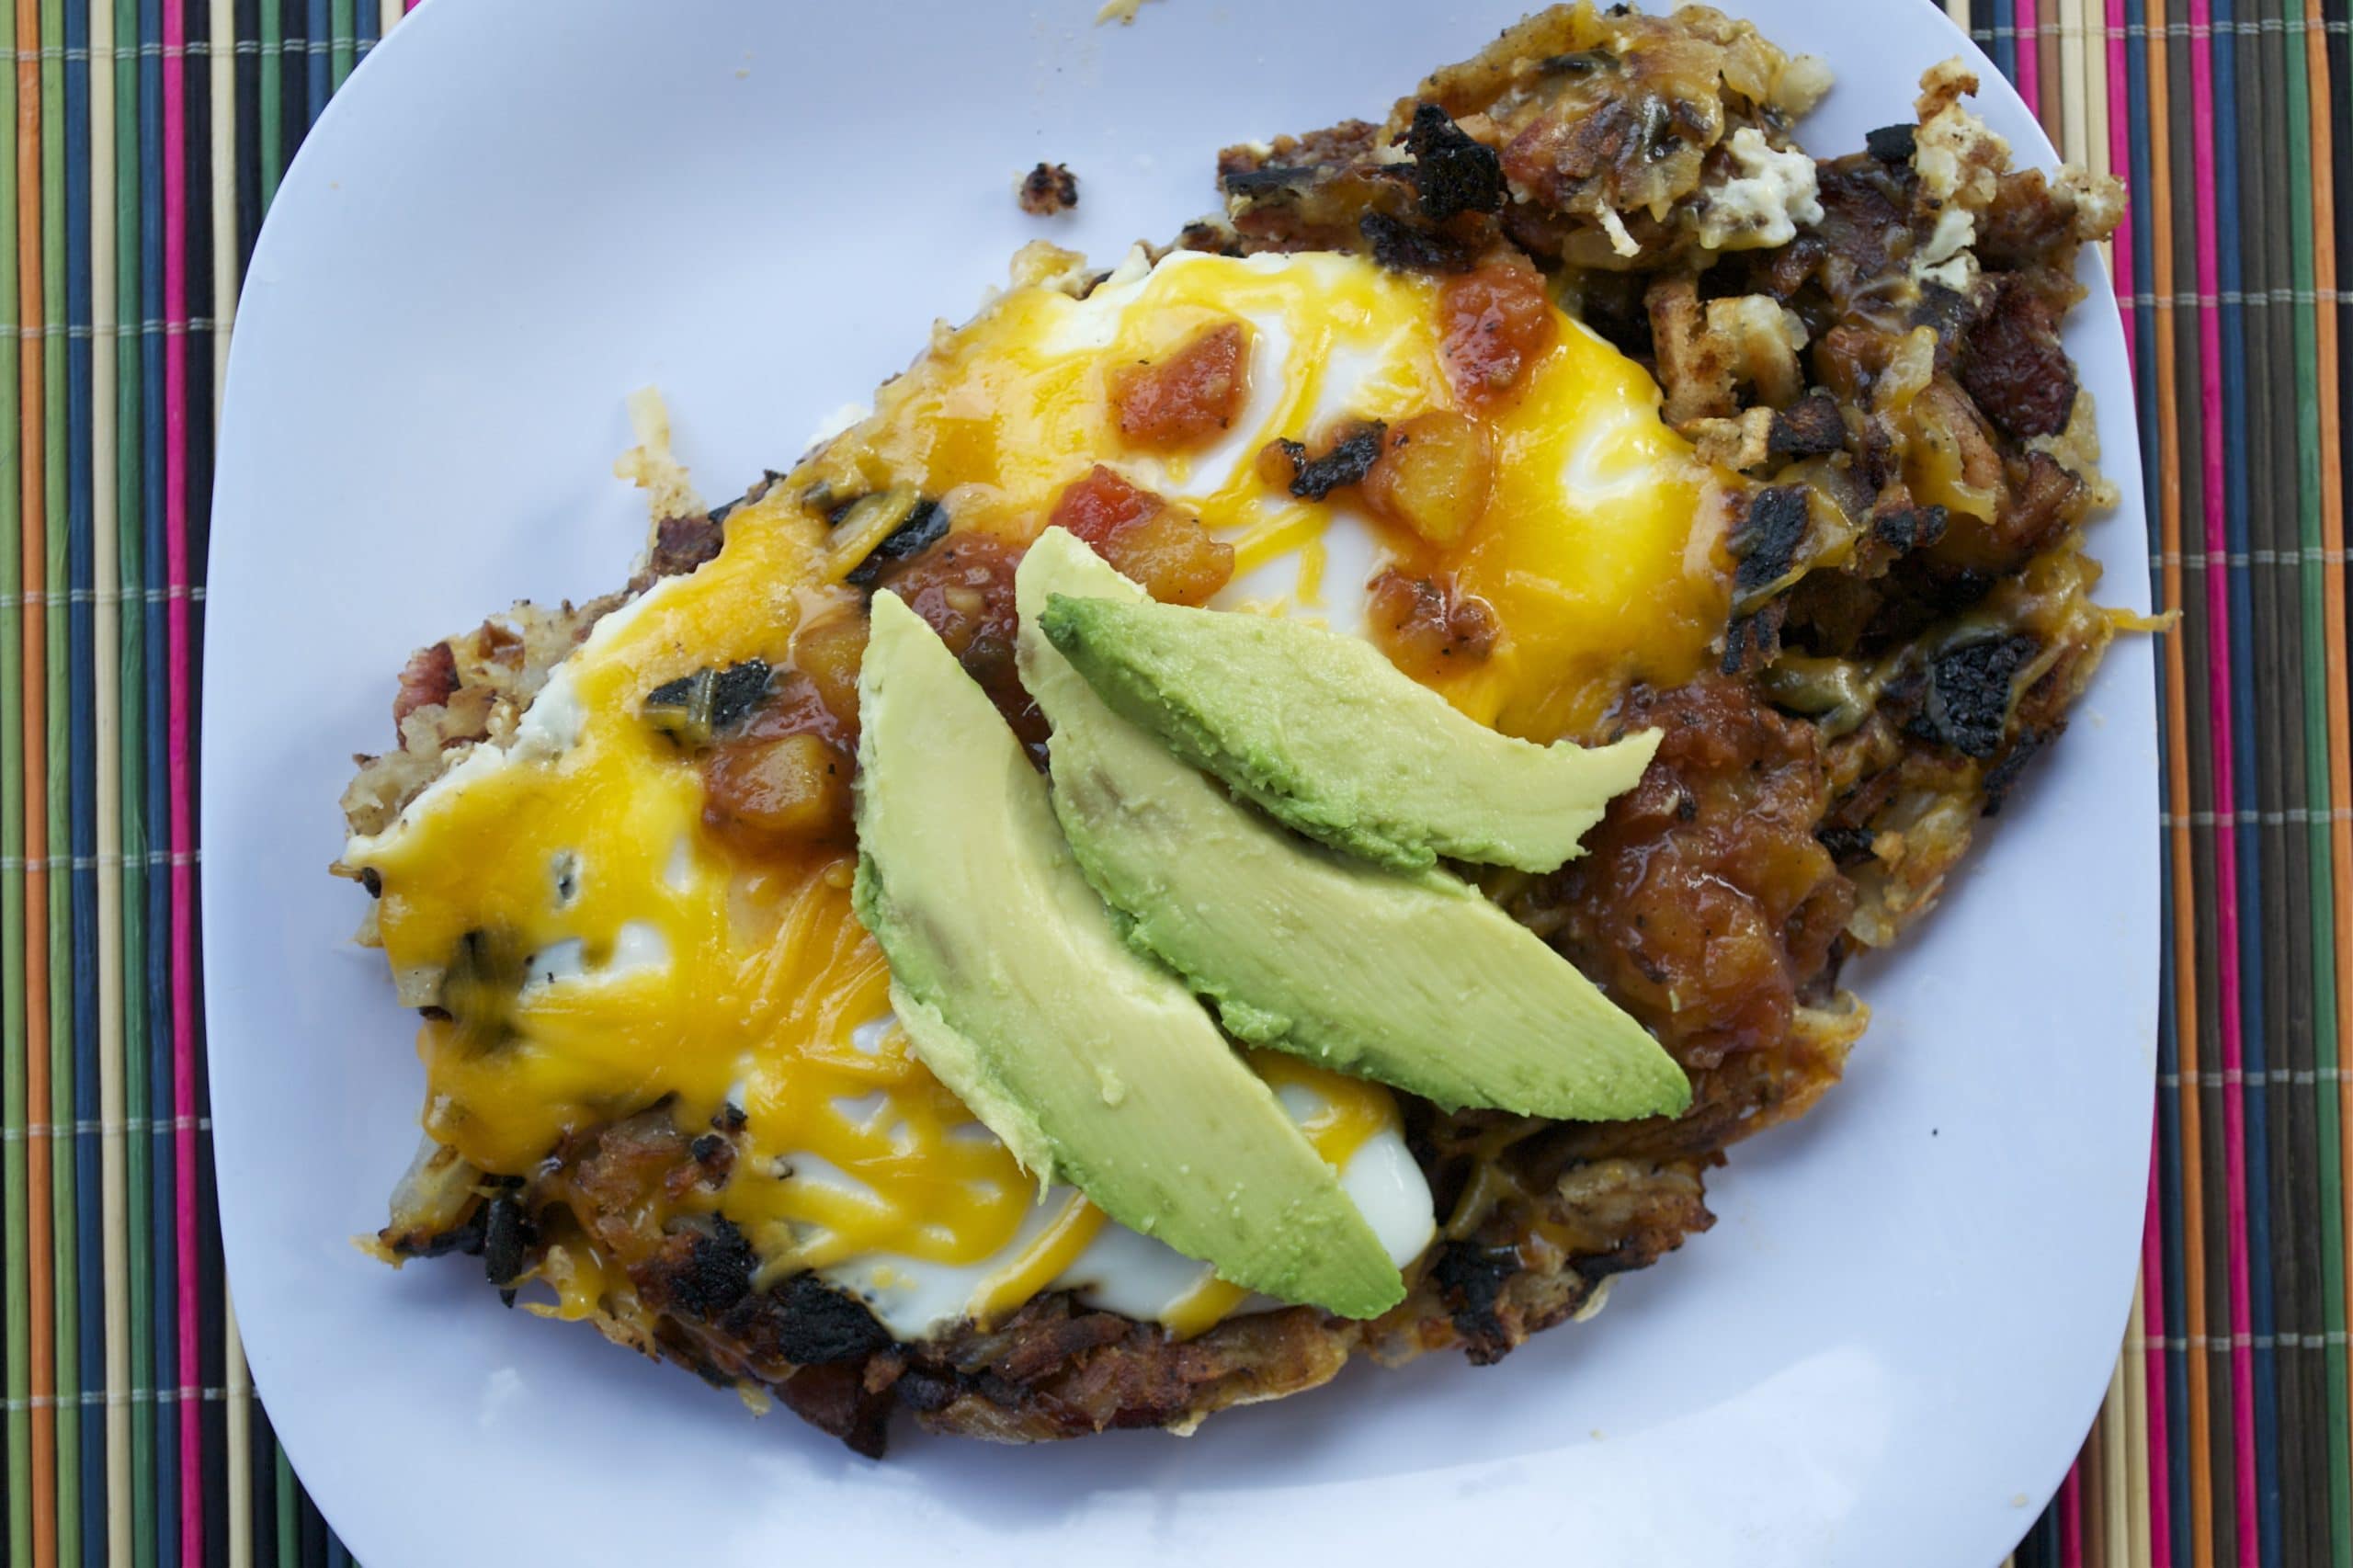 Gluten-FreeRecipeHash Brown Egg SkilletThis hash brown egg skillet is a great gluten free breakfast or brunch recipe for the weekend. It's easily cu…
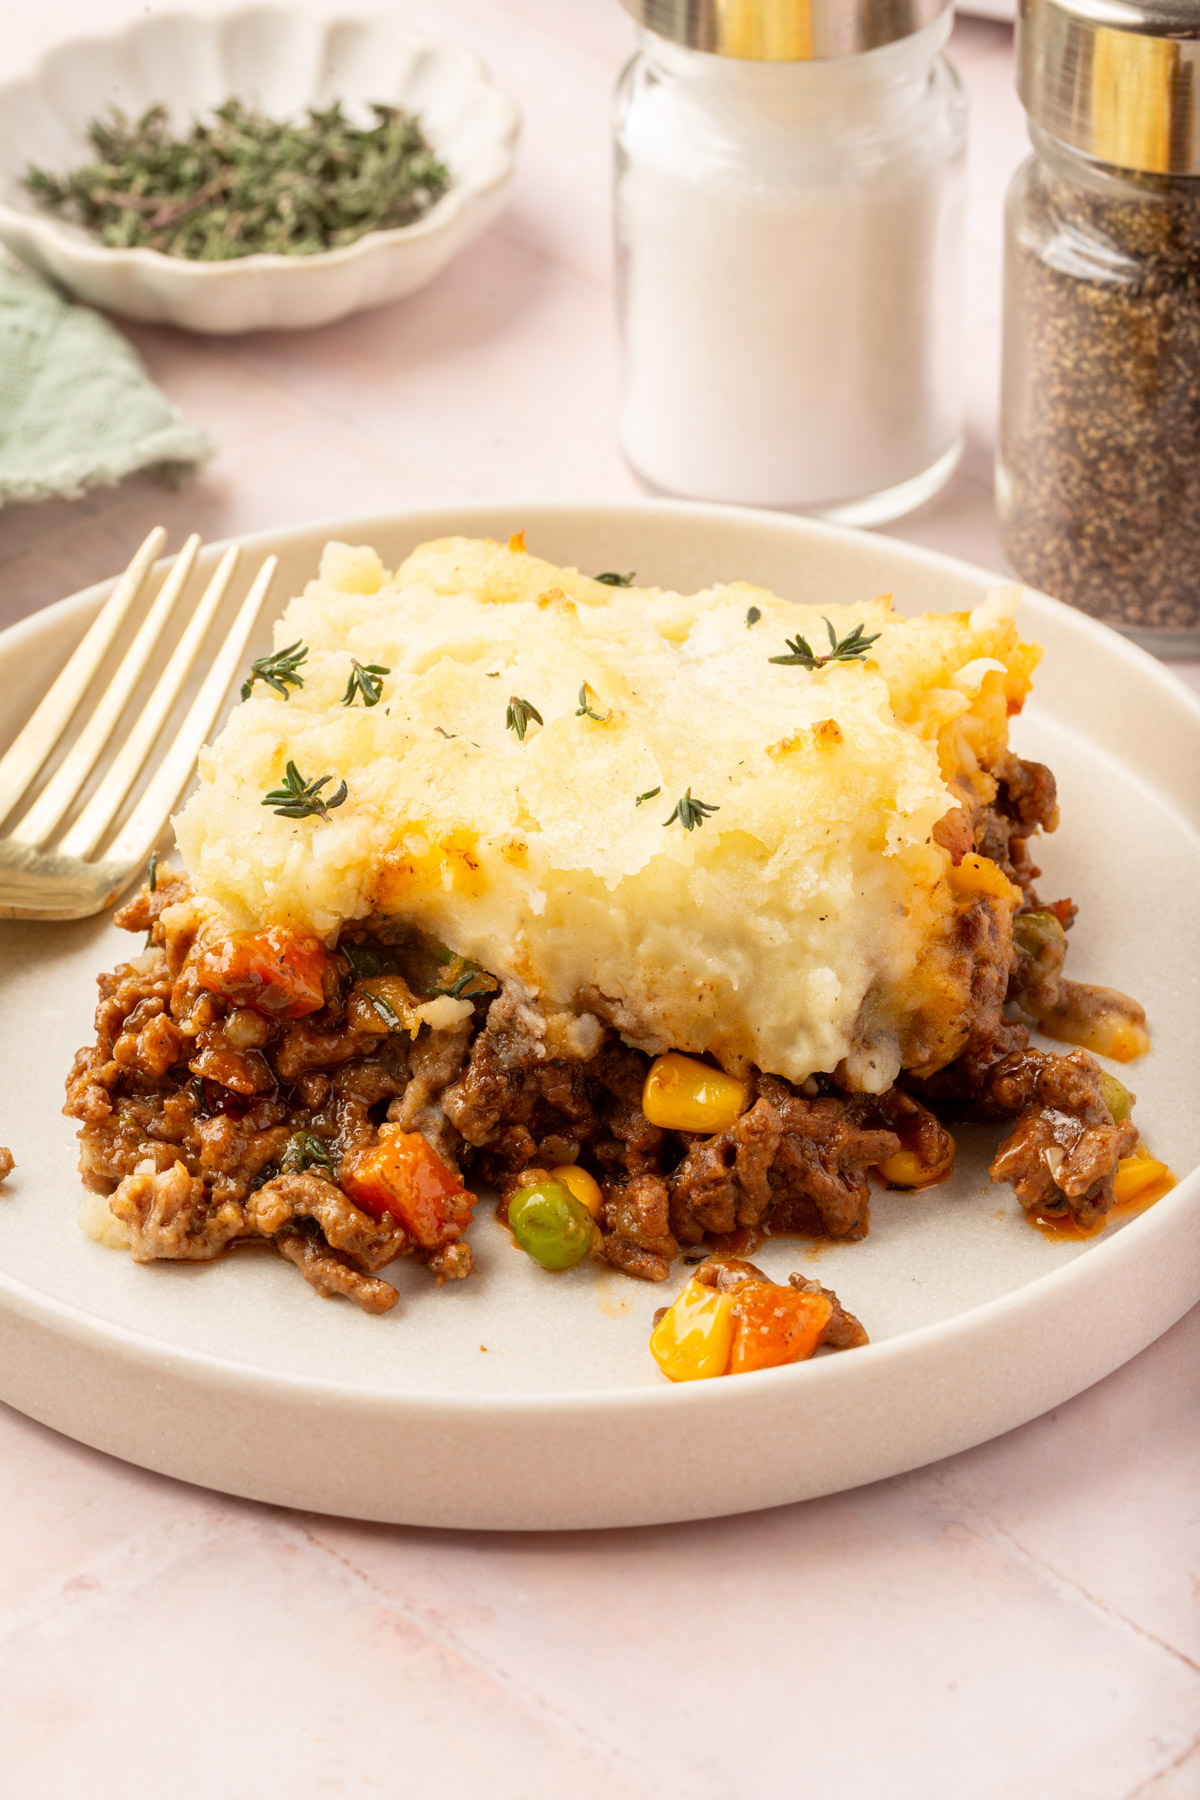 Main courseRecipeGluten-Free Shepherd’s PieCozy, hearty, and completely gluten-free! This Gluten-Free Shepherd’s Pie is the perfect comfort food, made w…
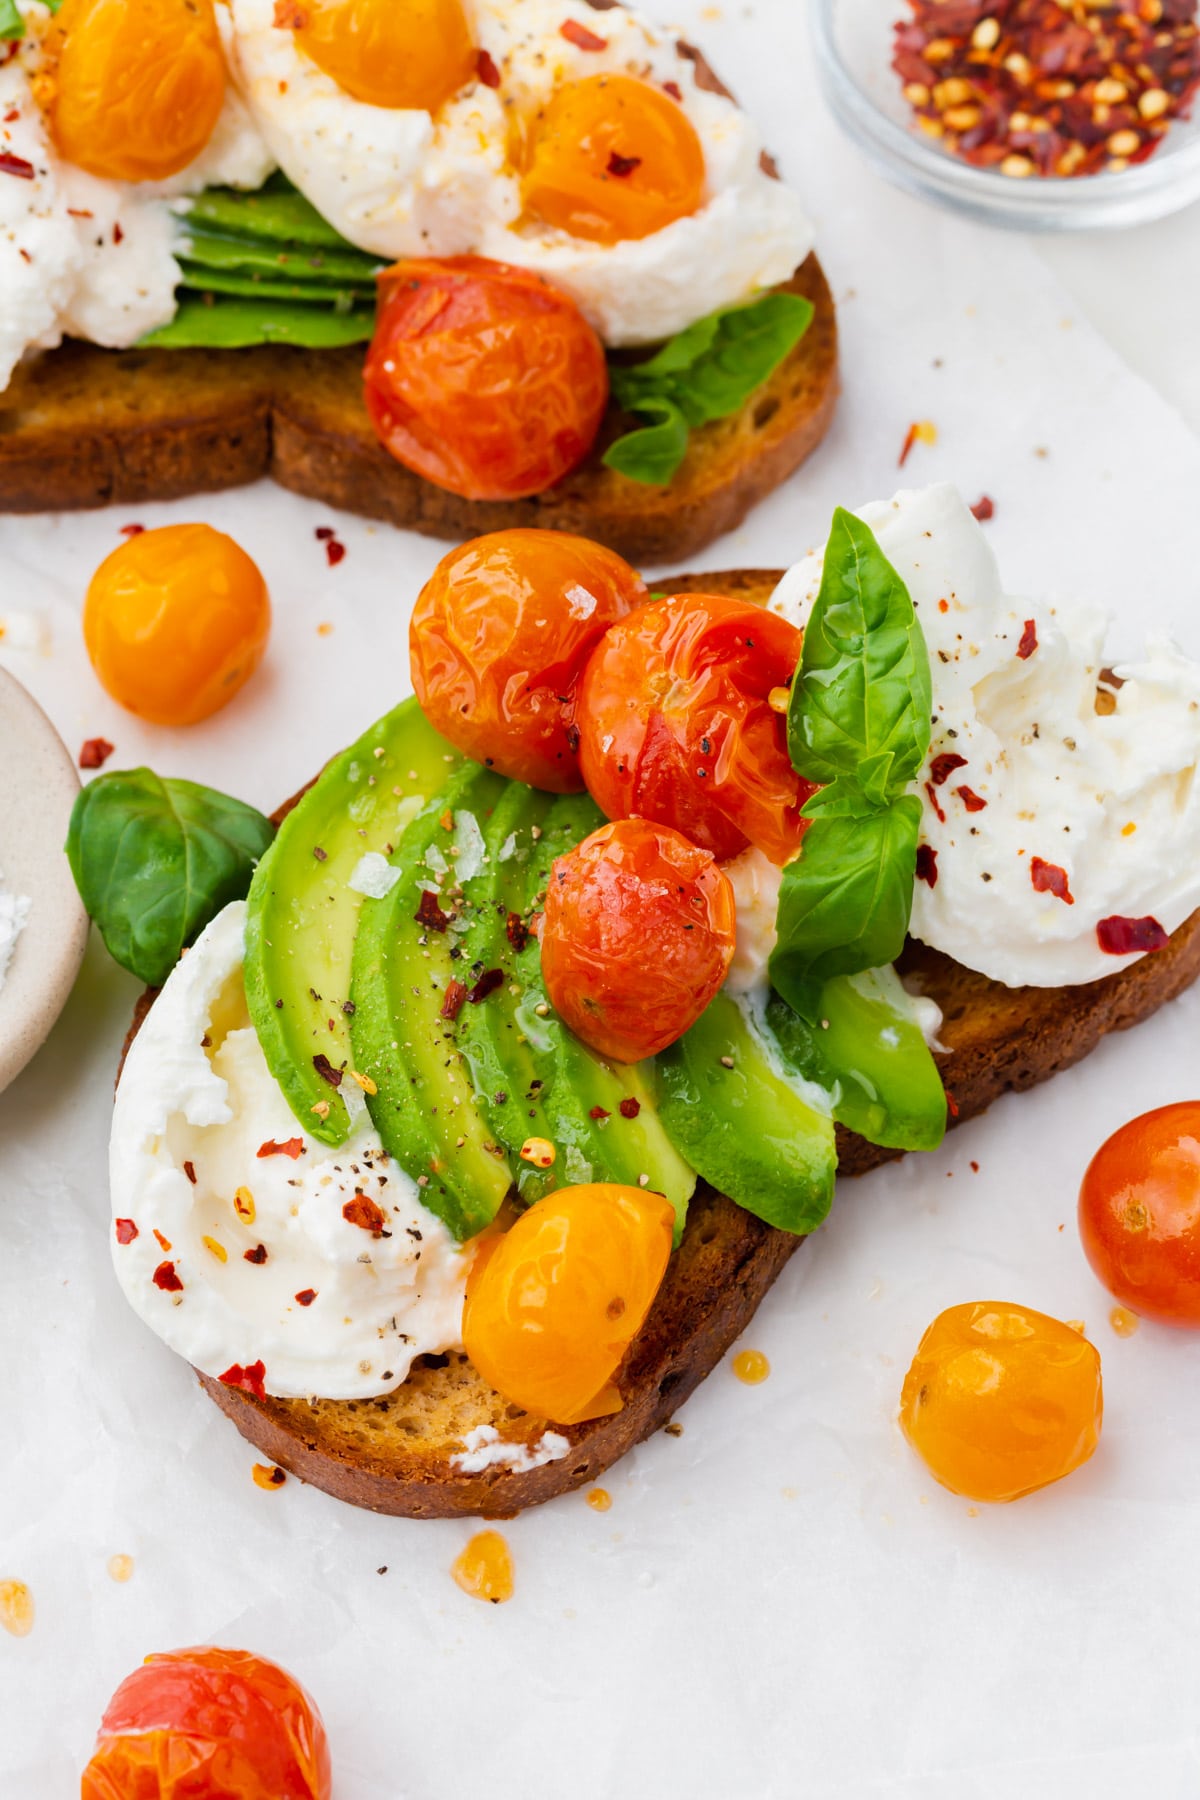 Gluten-FreeRecipeGluten-Free Avocado Burrata ToastThis is not your average avocado toast. Gluten-free sourdough topped with creamy burrata, sliced avocado, and…
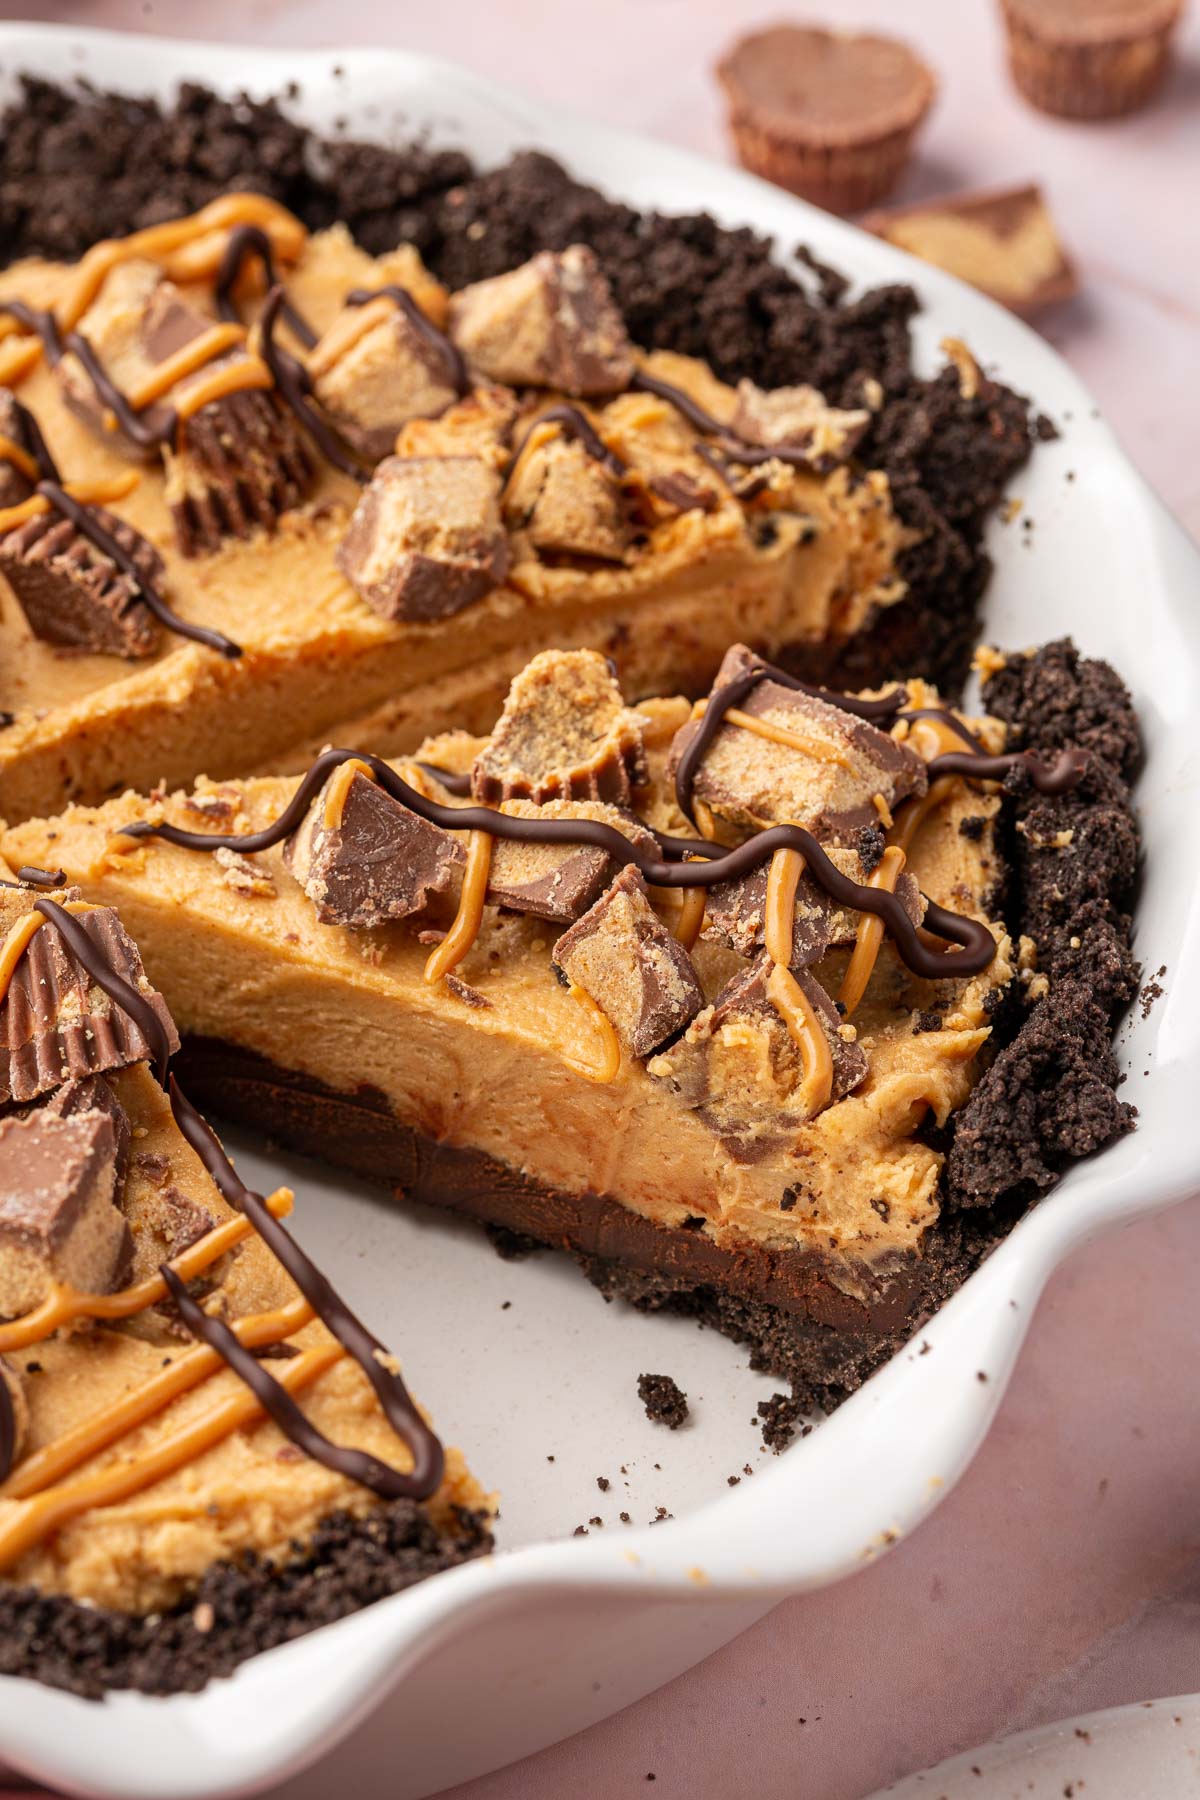 Gluten-FreeRecipeGluten-Free Oreo Peanut Butter PieThis gluten-free chocolate peanut butter pie starts with a crunchy Oreo cookie crust, then layers smooth dark…
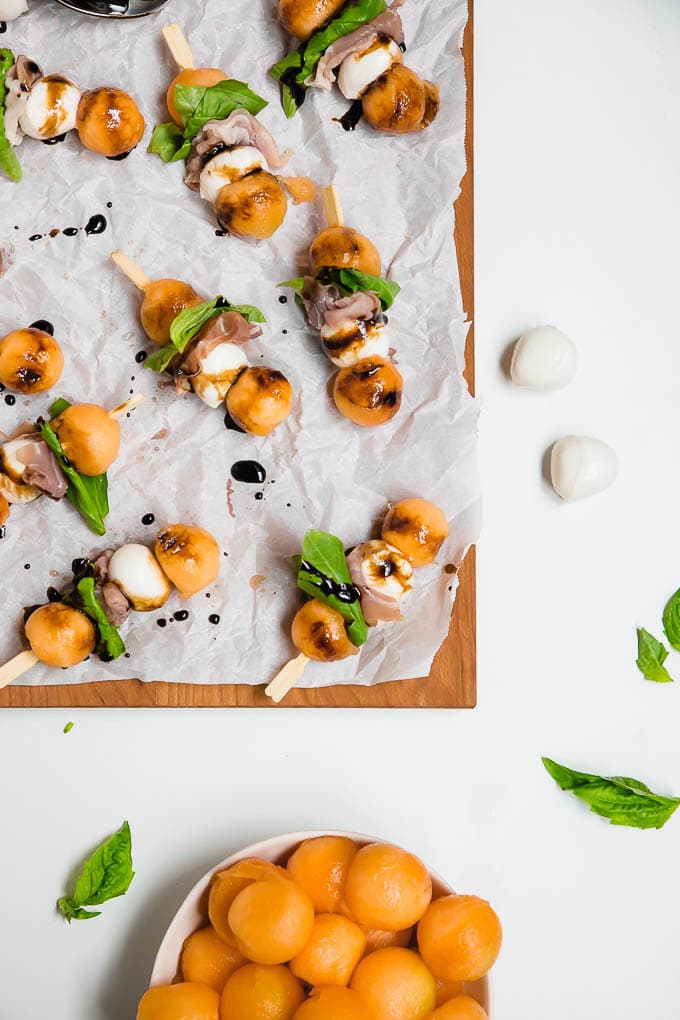 Gluten-FreeRecipeProsciutto Melon Mozzarella SkewersThese cantaloupe prosciutto mozzarella skewers are a five-ingredient no-cook appetizer that comes together in…
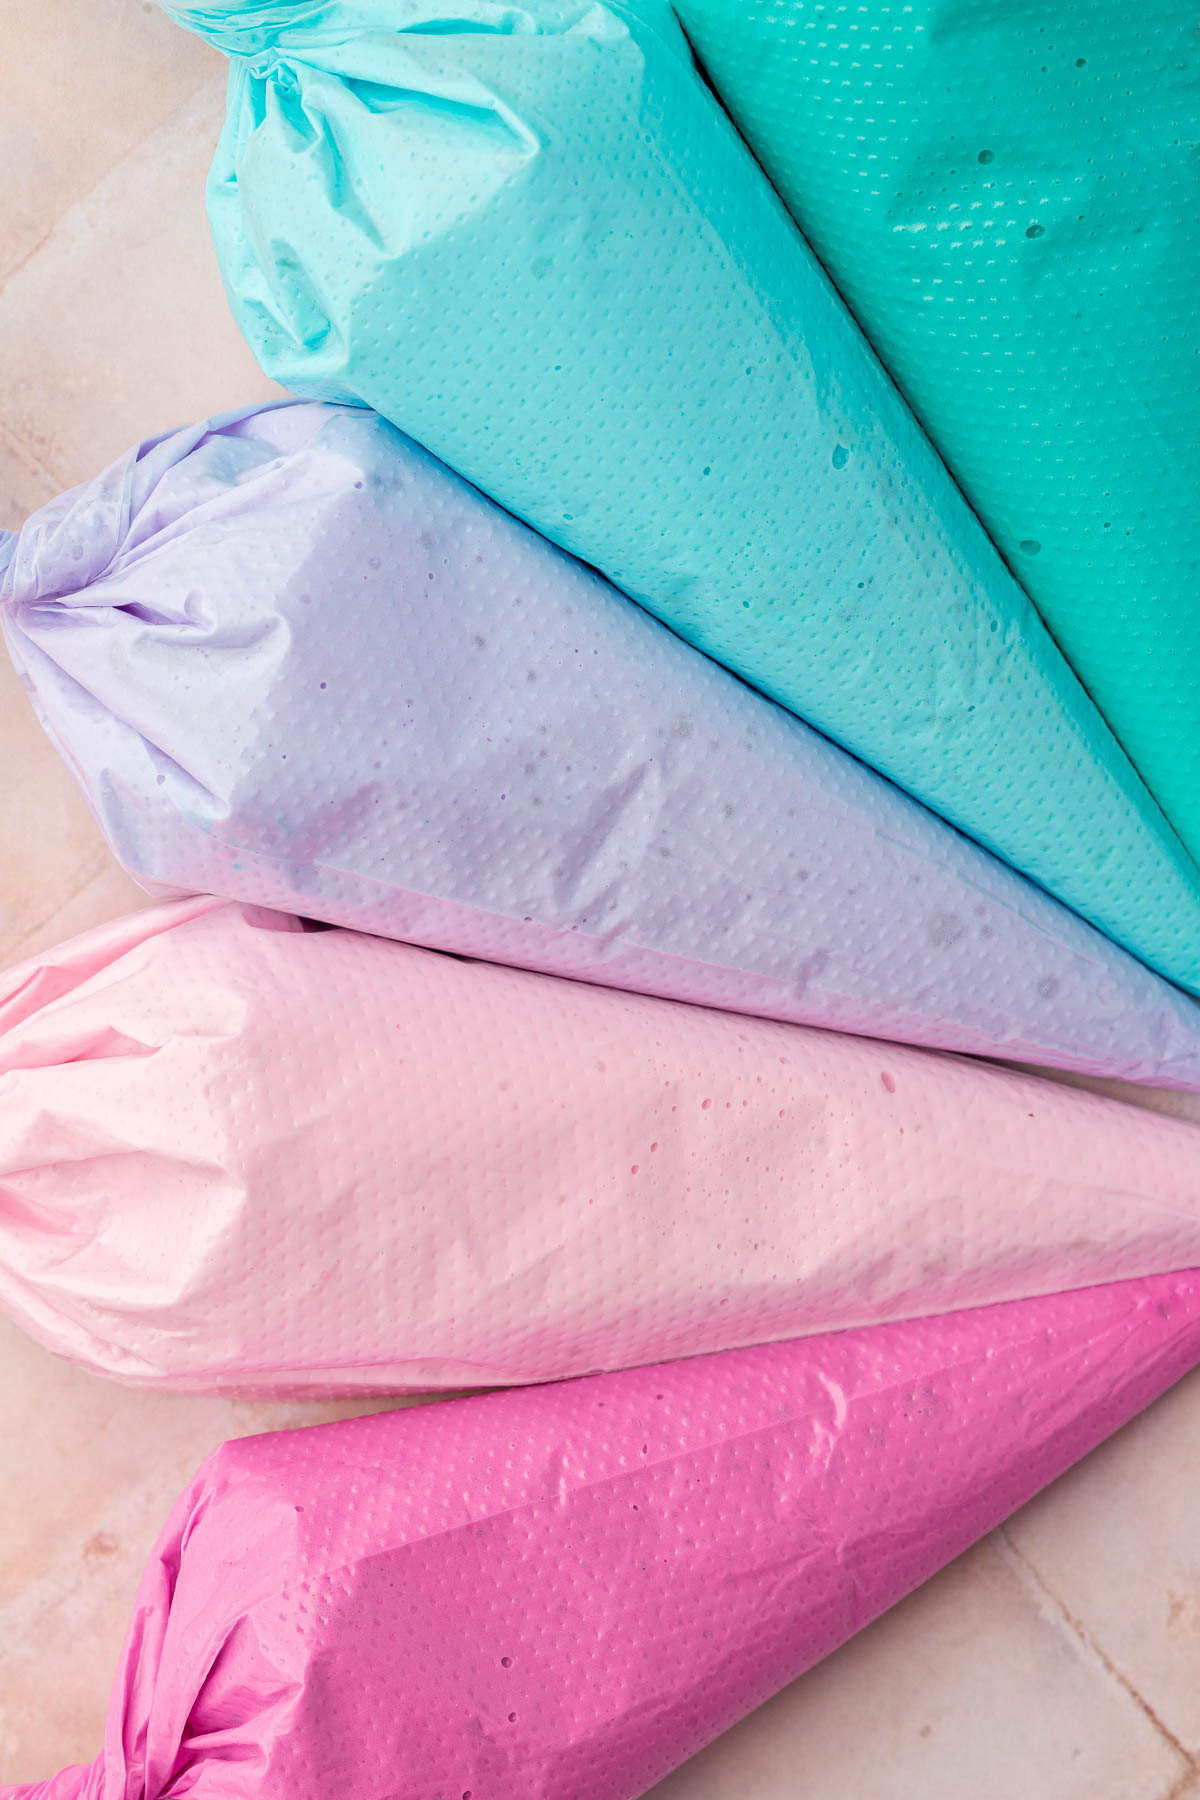 Gluten-FreeRecipeRoyal IcingThis royal icing recipe is made with meringue powder instead of raw egg whites, so there's no risk of salmone…
 Gluten-FreeRecipeBacon Wrapped Dates with Goat CheeseBacon wrapped dates with goat cheese are always the first appetizer to disappear at parties. They're sweet, s…
 Gluten-FreeRecipeGluten-Free BlondiesRich, gooey, and perfectly soft in the center, these gluten-free blondies are studded with white chocolate ch…