Avocado Ice Cream
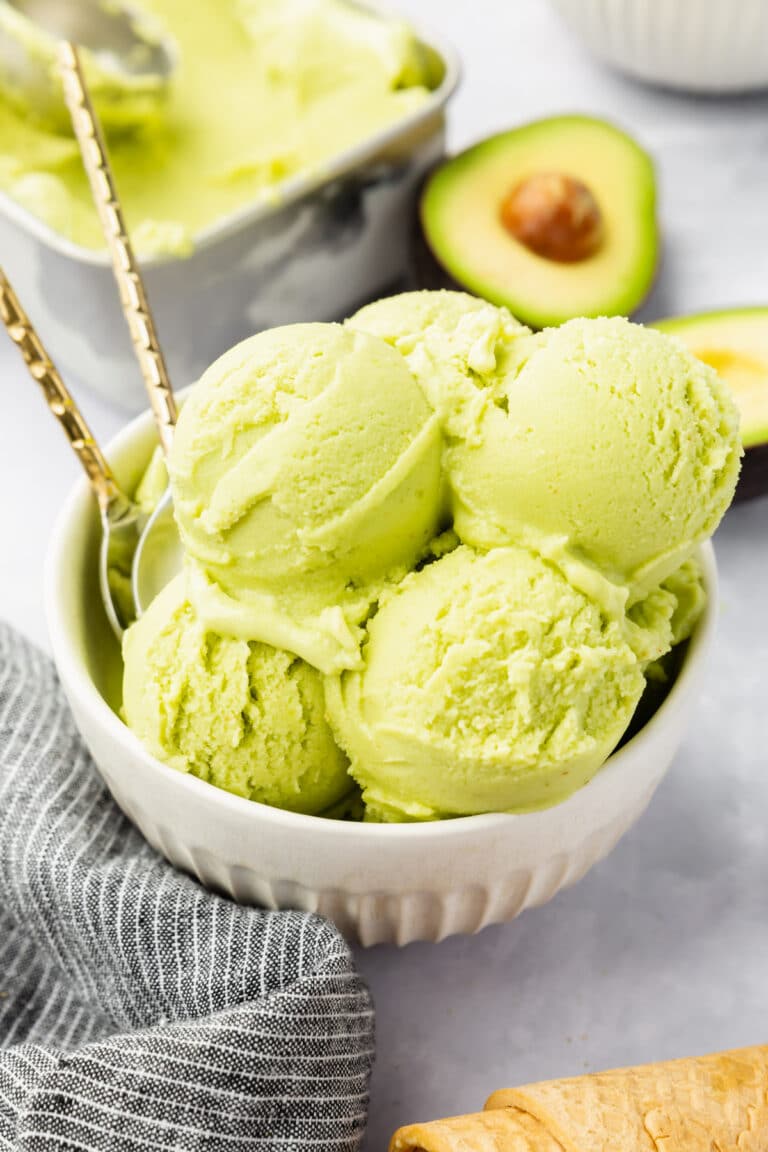
Creamy avocado ice cream with a subtle, buttery flavor. This Philadelphia-style ice cream (no eggs!) uses ripe avocados for richness and is ready to scoop in 4 hours. Naturally gluten-free and made with just seven simple ingredients.
- Prep45 min
- Total3 hr 45 min
- Yield8 servings
8 Oct 2012
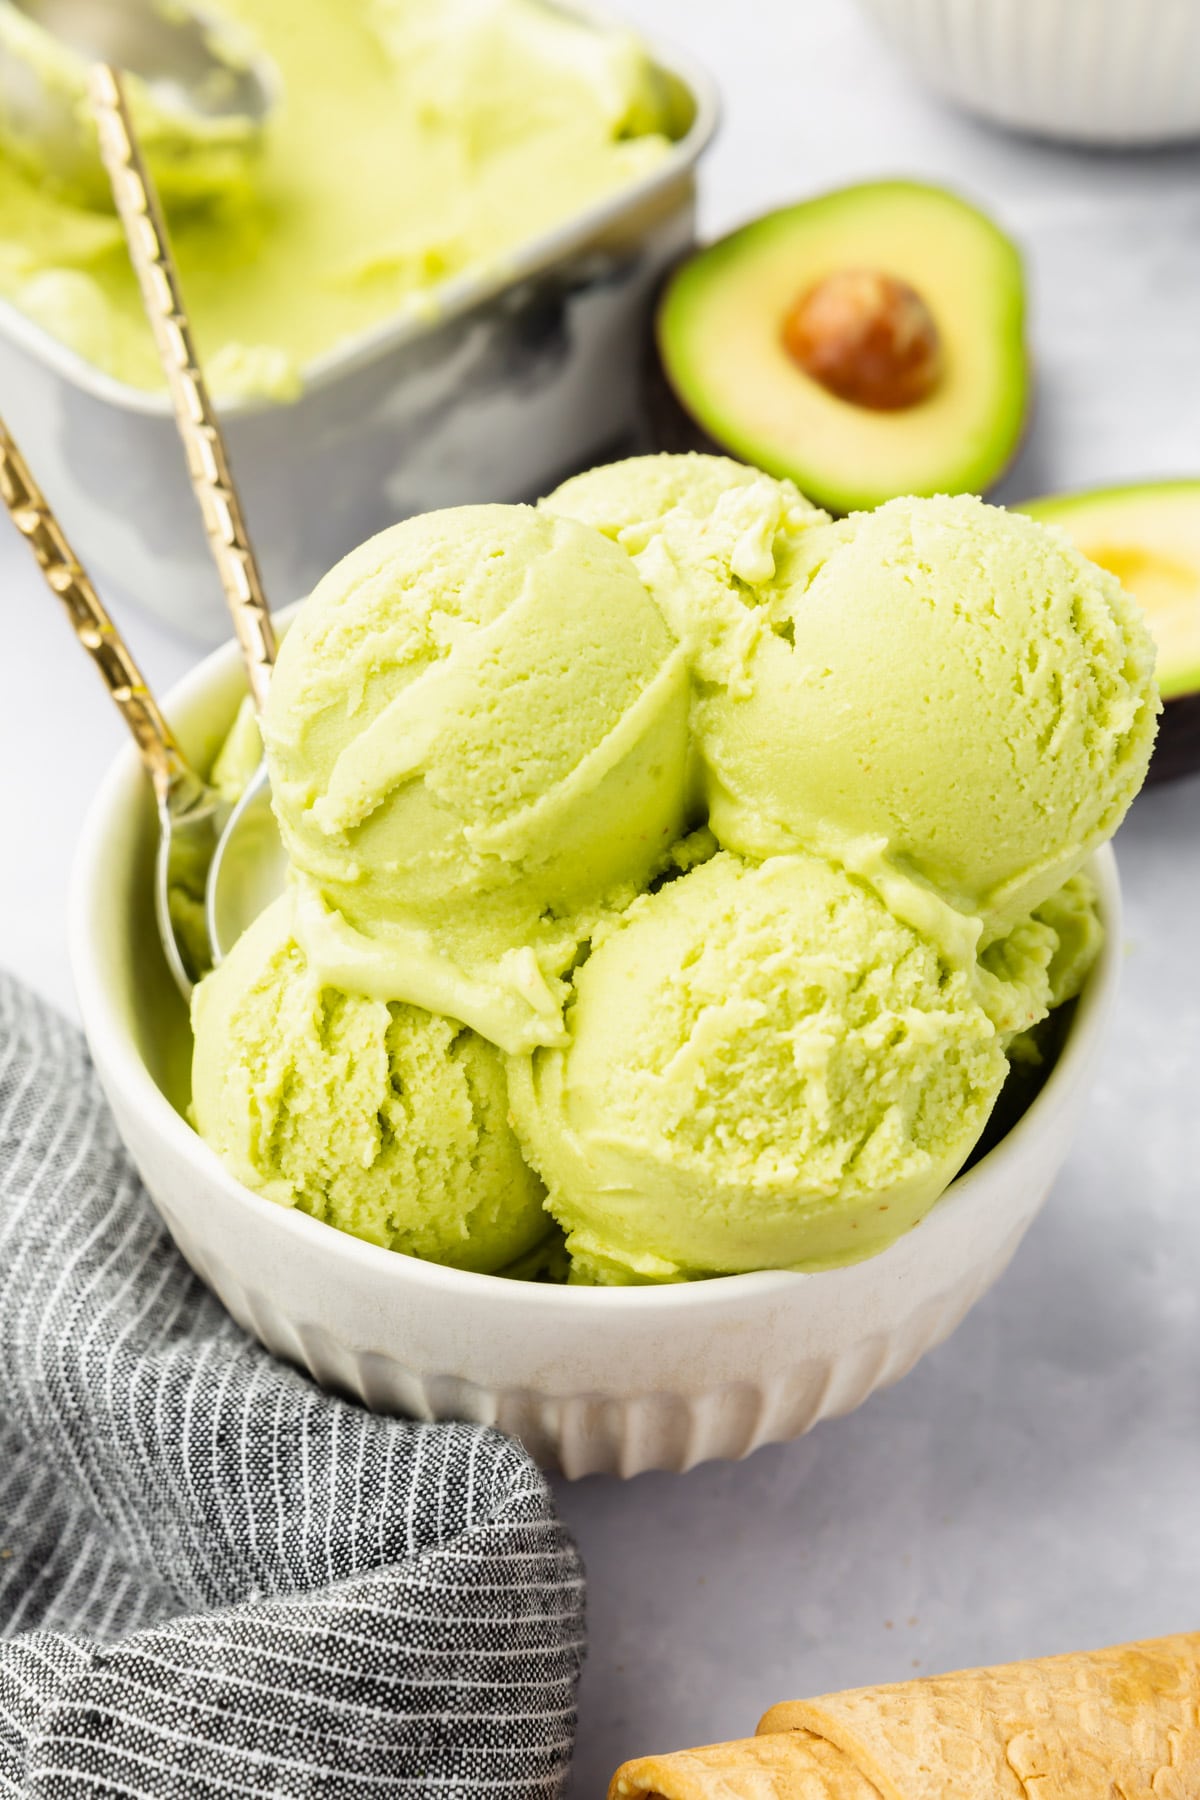
This avocado ice cream has a creamy, buttery texture and subtle avocado flavor that tastes nothing like guacamole. It’s a Philadelphia-style ice cream (no eggs required) that’s ready to scoop after about 4 hours in the freezer.
The ripe avocados give you that rich, smooth texture without needing egg yolks. All you need is seven simple ingredients and an ice cream maker, and you’ll have homemade ice cream that’s naturally gluten-free.
Why You’ll Love this Recipe
- No eggs required. This Philadelphia-style ice cream base skips the custard step entirely. The buttery avocados provide all the richness and creaminess you need.
- Just 7 ingredients. No candy thermometer, no tempering eggs, no complicated custard. Just blend, chill, churn, and freeze. It’s one of the simplest ice cream recipes you can make.
- Subtle flavor that works. The avocado taste is mild and earthy, not overpowering. The vanilla and honey balance it out so it tastes like a sophisticated dessert, not like you’re eating guacamole.
Ingredients
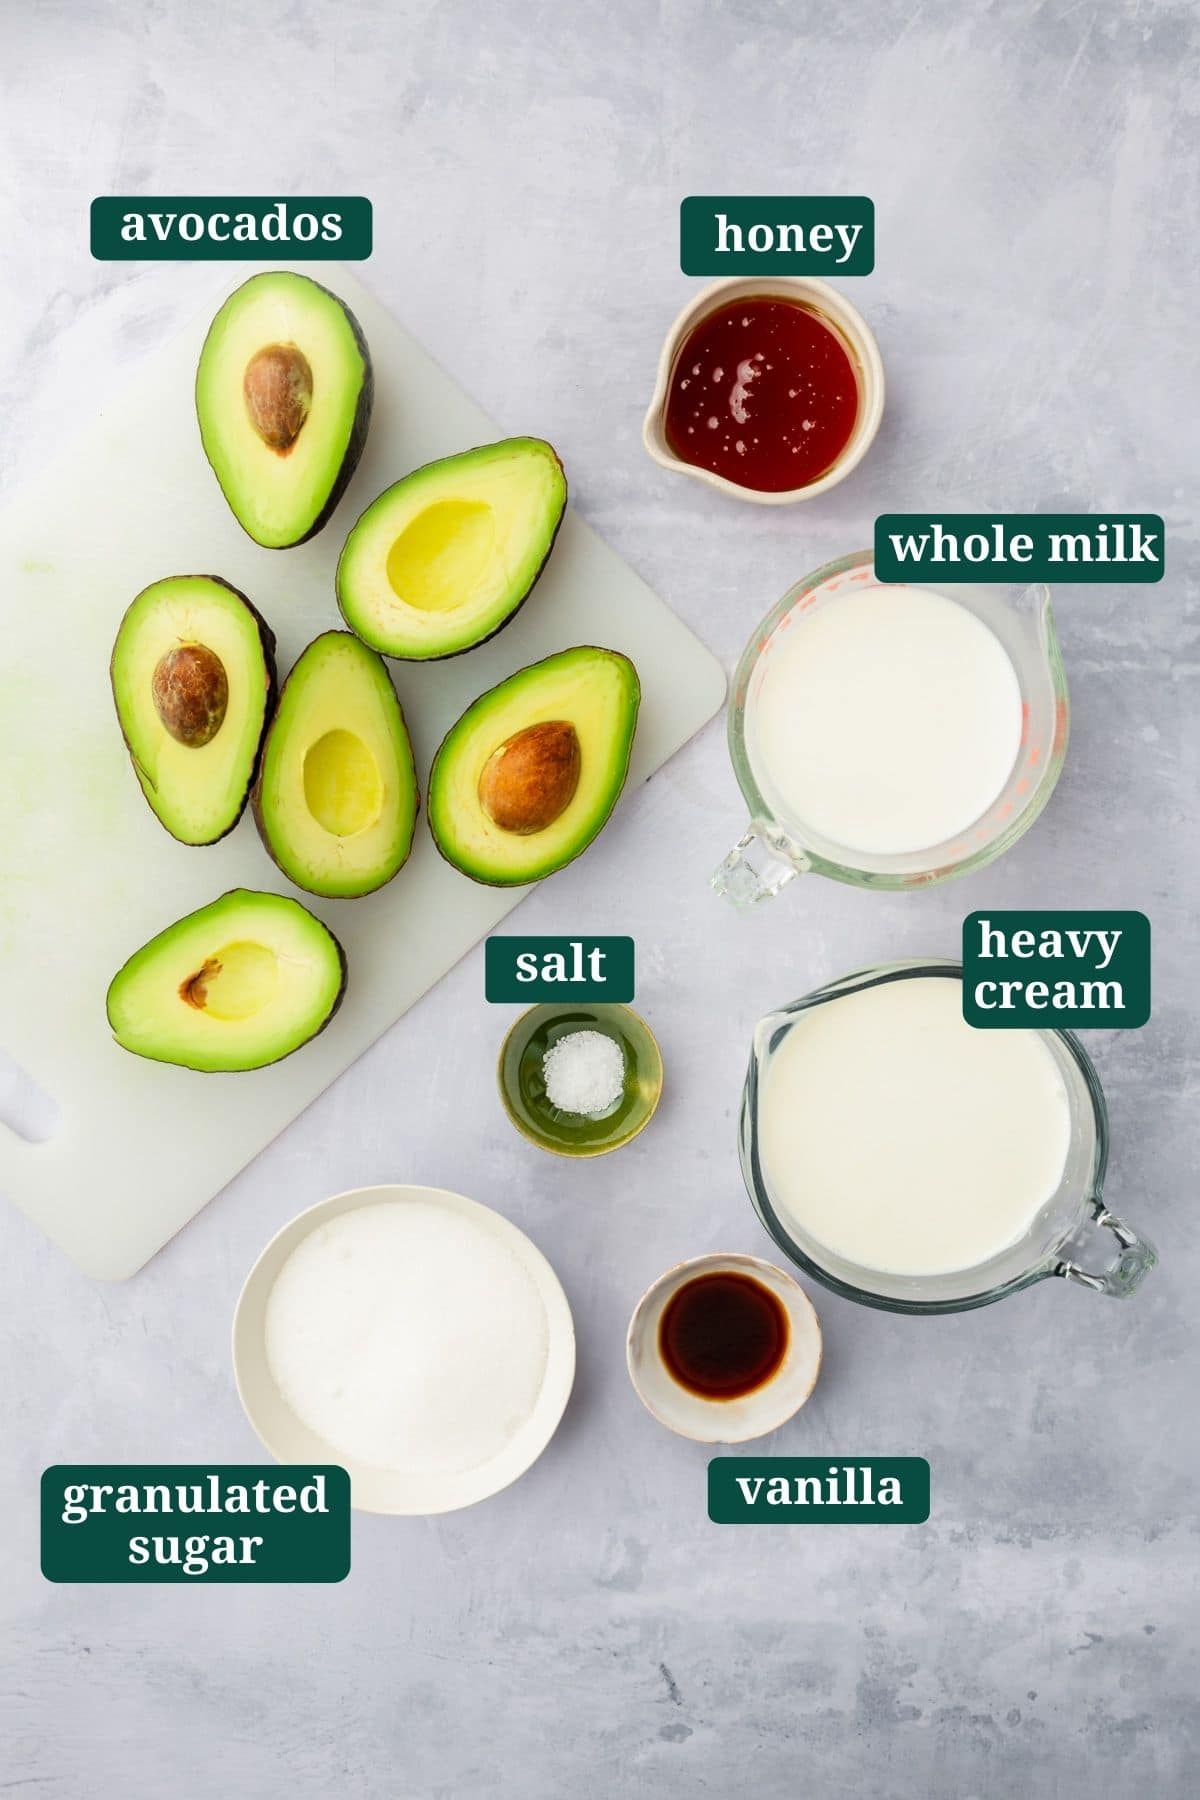
Ingredient Notes
- Avocados – You want to use ripe avocados in this recipe. Avocados are a great substitution for eggs in this recipe, resulting in a really creamy texture. For best results with this recipe, weigh your avocados using the metric weight I have provided in the instructions.
- Honey – A liquid sweetener helps prevent ice crystals from forming as the ice cream freezes. You can substitute corn syrup if you prefer, but honey adds a subtle flavor that works well with avocado.
- Salt – I tend to use kosher salt, but sea salt or table salt would work in this recipe. Salt helps bring out the sweetness in the ice cream.
- Heavy Cream and Whole Milk. Use full-fat dairy for the creamiest texture. Lower-fat milk or cream will make the ice cream icy instead of smooth.
Tip
Chill the base completely before churning. Your ice cream base and the ice cream maker bowl both need to be very cold (at least 40°F or colder) or the ice cream won’t churn properly. Refrigerate the base for at least 30 minutes, or overnight if you have time.
Recipe FAQs
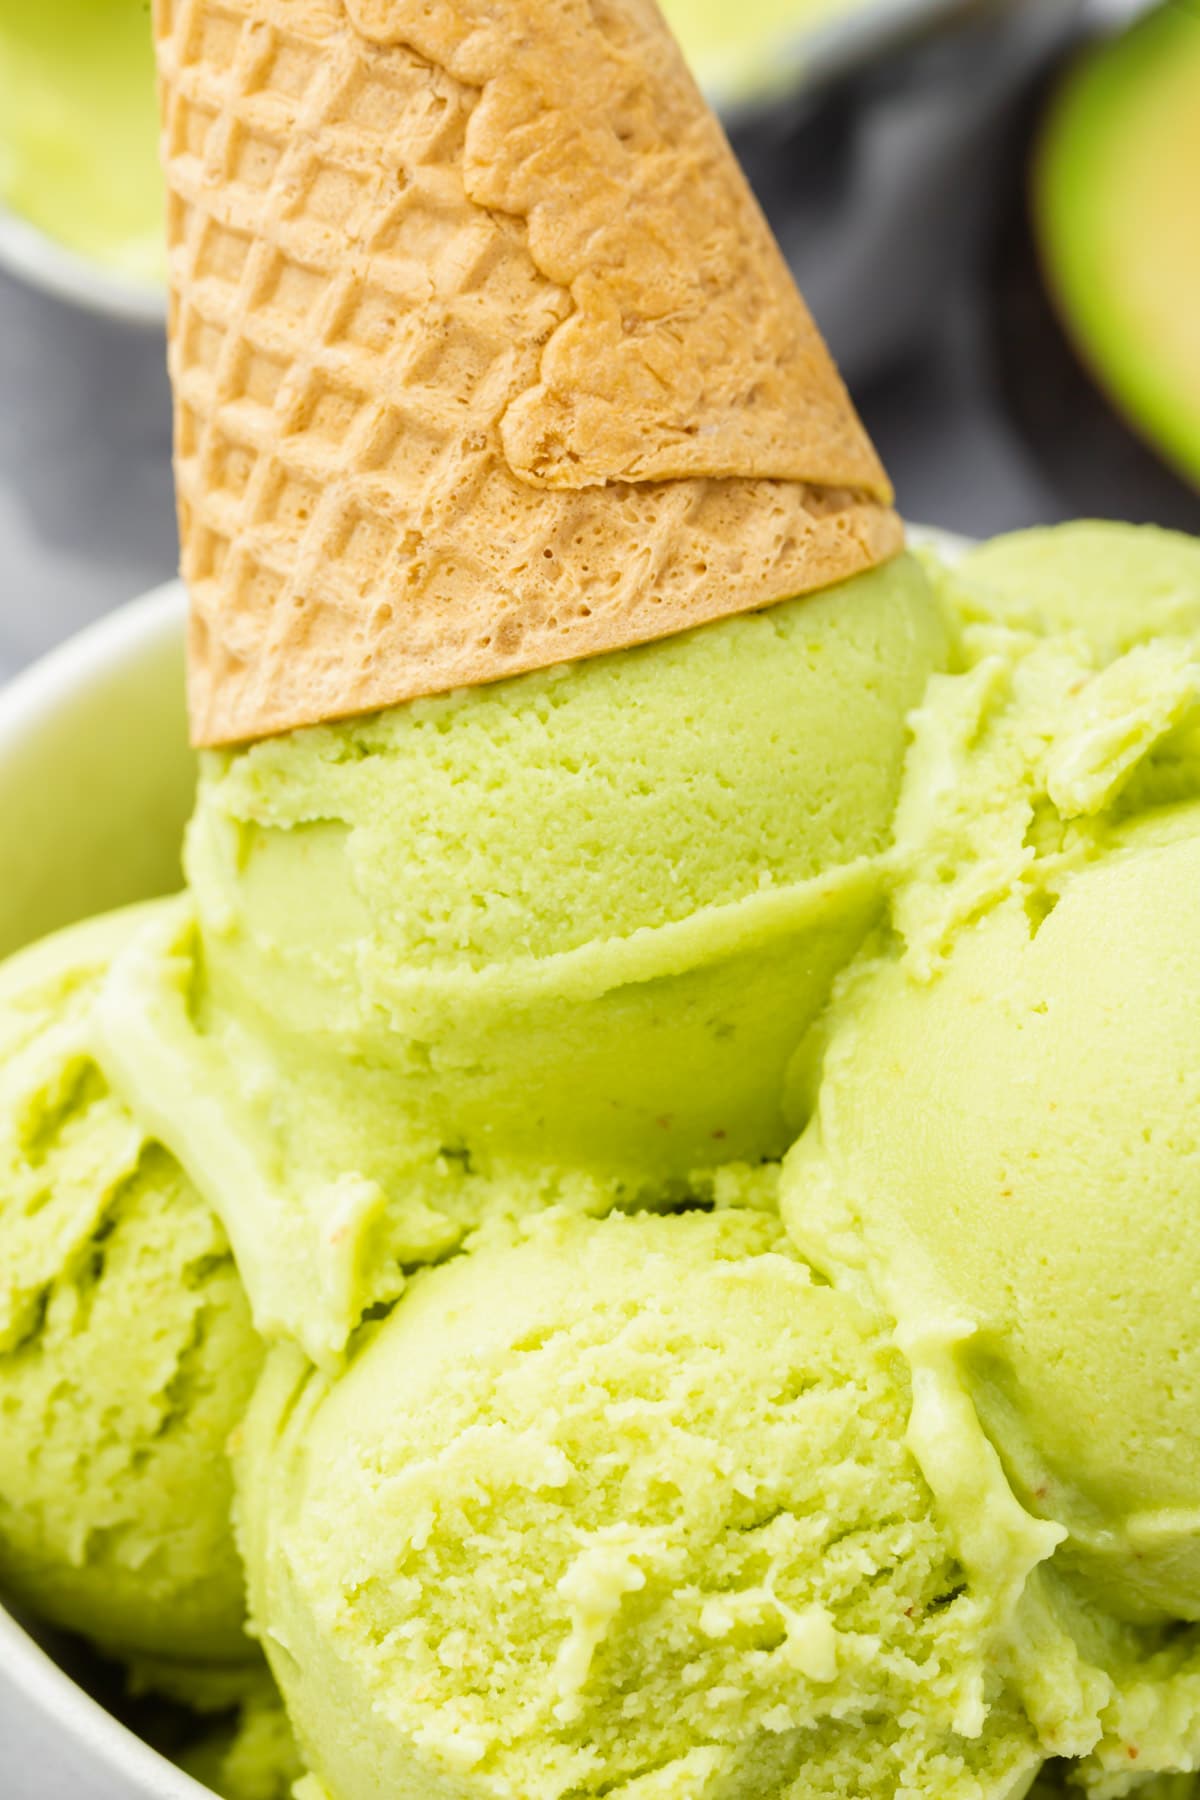
What does avocado ice cream taste like?It tastes creamy, buttery, and mildly earthy with a subtle avocado flavor. It doesn’t taste like guacamole at all. The vanilla and honey balance out the avocado, so you get a smooth, rich dessert with just a hint of that distinctive avocado taste.
Can I make this without an ice cream maker?No, you really need an ice cream maker for this recipe. Without one, the texture will be icy and grainy instead of smooth and creamy. The constant churning is what incorporates air and creates that soft, scoopable texture.
Can I make this recipe dairy-free?Yes, I have tested out a dairy-free version of this recipe! In place of the whole milk and heavy cream, you can use 2 cans (15 oz each) of coconut cream. You don’t have to separate out the coconut milk from the cream, just use the full can.
Can I make this recipe vegan?Yes. Follow the dairy-free instructions above and replace the honey with corn syrup or an additional 1/4 cup of vegan granulated sugar. Note that some white sugars are processed with bone char, so look for a brand labeled vegan if using extra sugar.
Expert Tips
- Weigh your avocados for consistency. Avocados vary in size dramatically. Use a kitchen scale to measure 360g of avocado flesh for the best results every time.
- Churning time varies by machine. This takes 25-45 minutes depending on your ice cream maker and how cold your base is. The ice cream is ready when it looks like soft-serve and pulls away from the sides of the bowl.
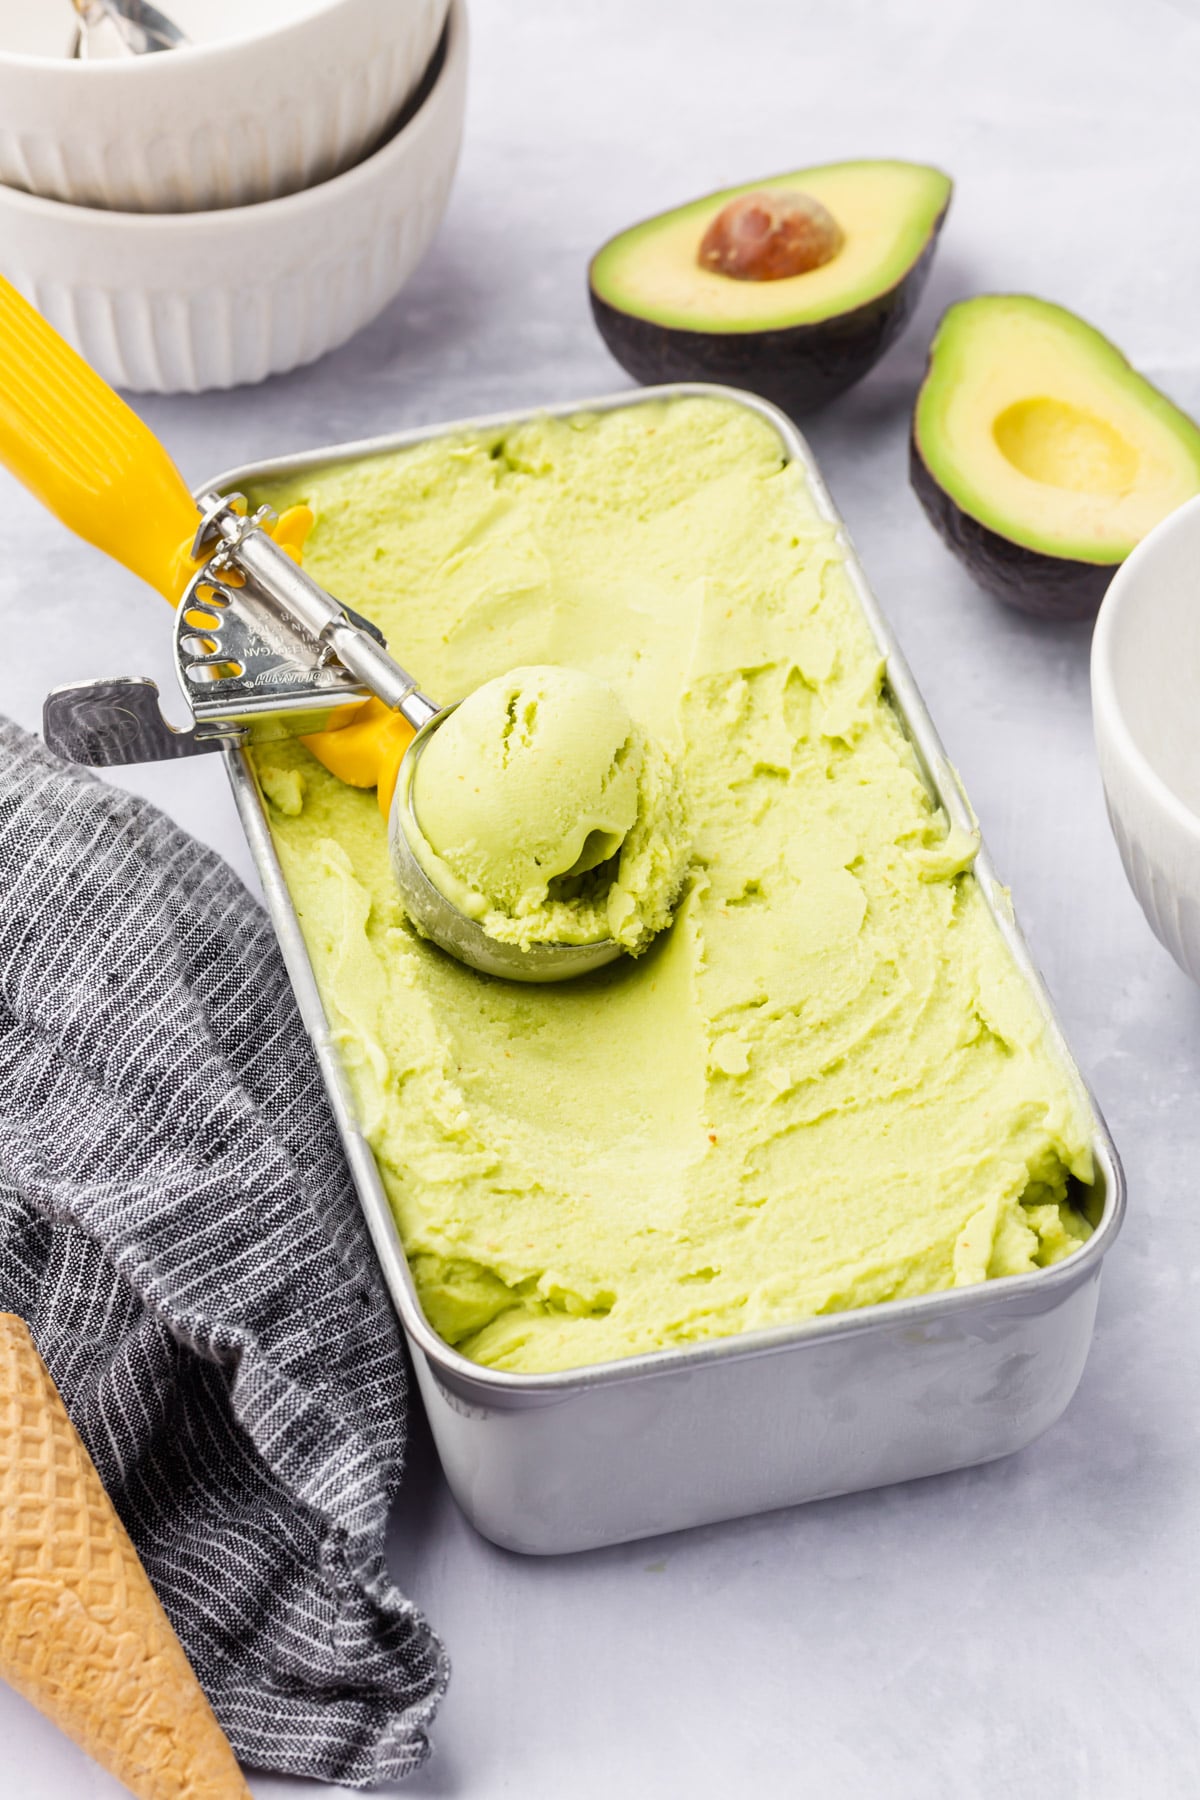
- Let it soften before serving. Homemade ice cream freezes harder than store-bought. Let it sit at room temperature for 5-10 minutes before scooping so it’s easier to serve.
Storage Instructions
Make Ahead: You can make the ice cream base up to 1 day ahead and store it in the fridge before churning. Give it a good whisk before pouring into the ice cream maker.
Freeze: Store in a freezer-safe airtight container for up to 2 weeks for best texture. Press parchment paper or plastic wrap directly on the surface to prevent ice crystals from forming. After a week, the ice cream may develop ice crystals but is still safe to eat.
Serving Suggestions
Serve this avocado ice cream with Fresh Strawberry Ice Cream when you want contrasting colors and flavors at a summer gathering. Pair it with Chocolate Peanut Butter Ice Cream for a fun mix of light and rich flavors that complement each other.
More gluten-free ice creams to try
All Frozen Treats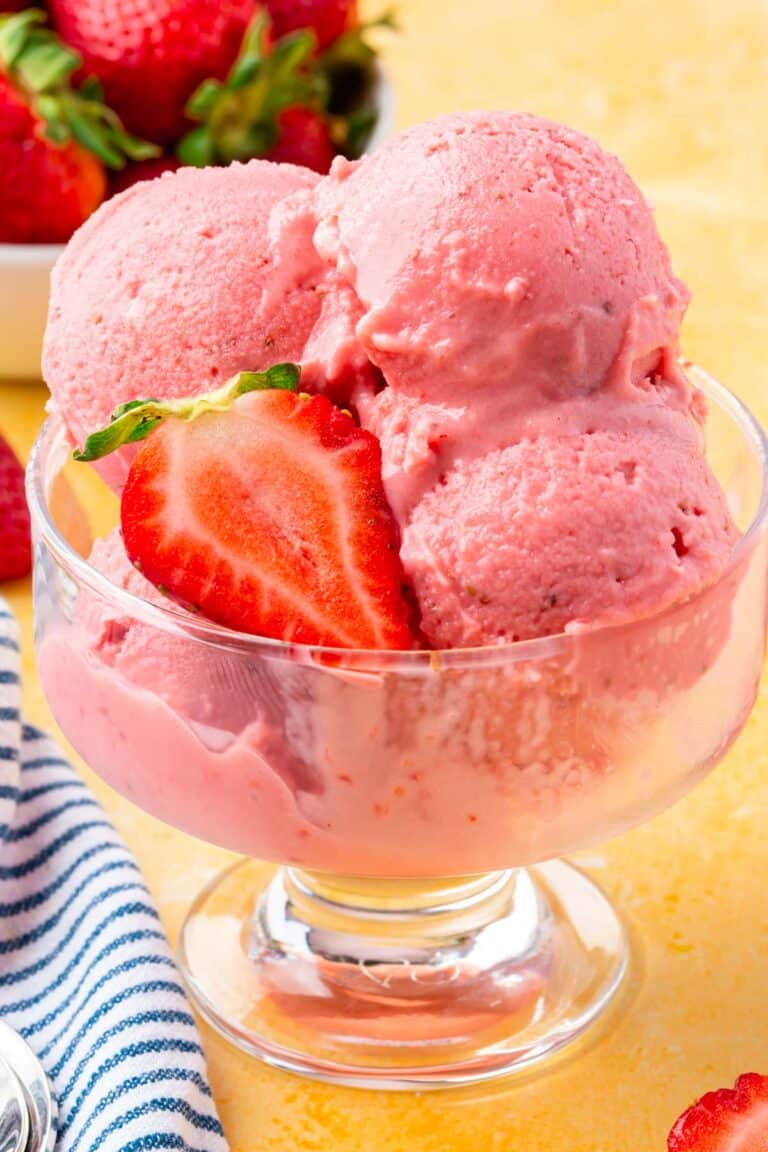
Did you make this recipe?
I’d love to know! Please rate it and leave a comment below. You can also share your pictures and tag @adashofmegnut on Instagram.
Method
-
1
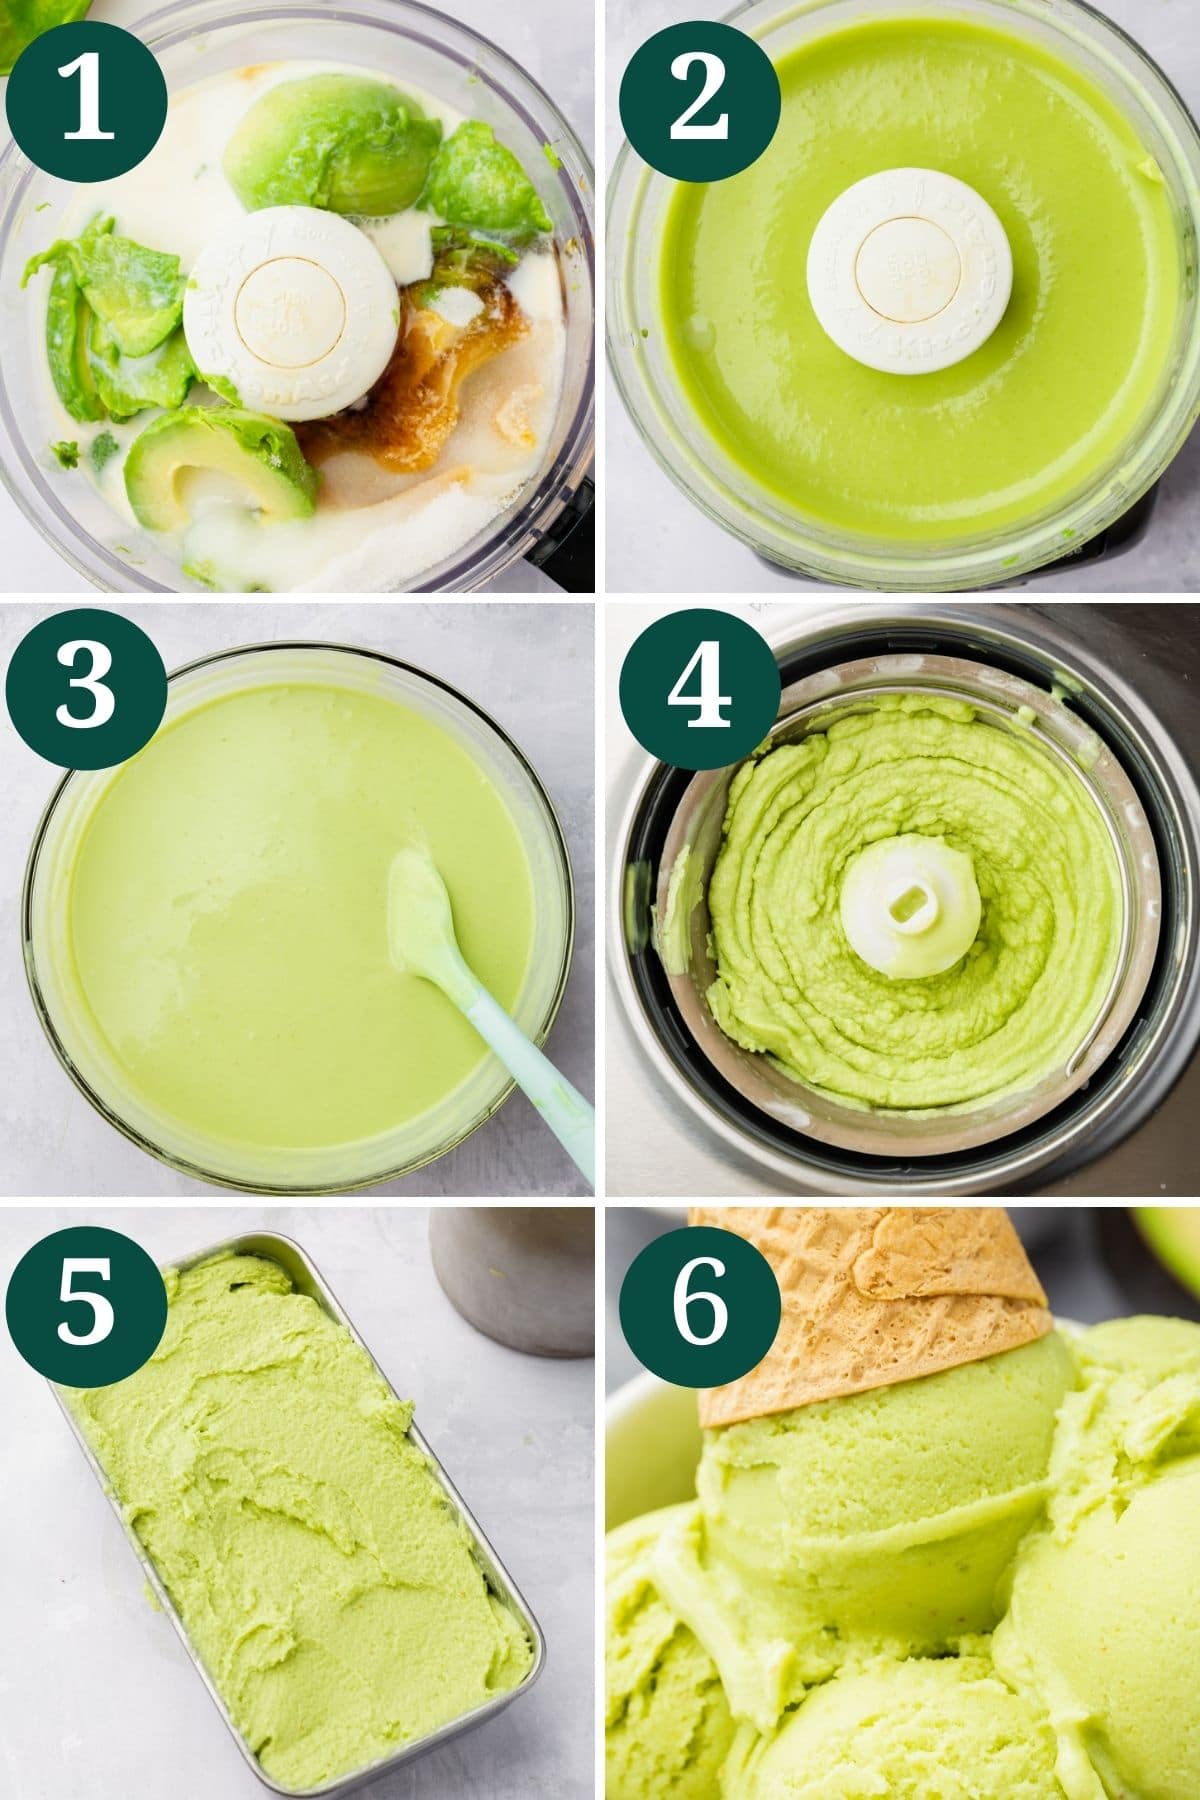
Add the flesh of 3 ripe avocados, 1 cup whole milk, ¾ cup granulated sugar, ¼ cup honey or corn syrup, 2 teaspoons vanilla extract and ½ teaspoon salt to the bowl of a food processor or blender.
-
2
Pulse until the avocado is smooth and the ingredients are combined.
-
3
Place the avocado puree into a large mixing bowl and add 2 cups heavy cream. Whisk until smooth and the heavy cream is fully integrated.
-
4
Pour the ice cream mixture into the bowl of an ice cream machine and freeze according to the manufacturer's instructions. Mine typically takes between 25-45, but this will depend on the machine that you use.
-
5
Once the ice cream is churned, transfer the mixture to a loaf pan or other freezer-safe container. Cover and freeze for at least 3 hours, or until firm.
-
6
Set out at room temperature for a few minutes to soften slightly before scooping.
Cook next
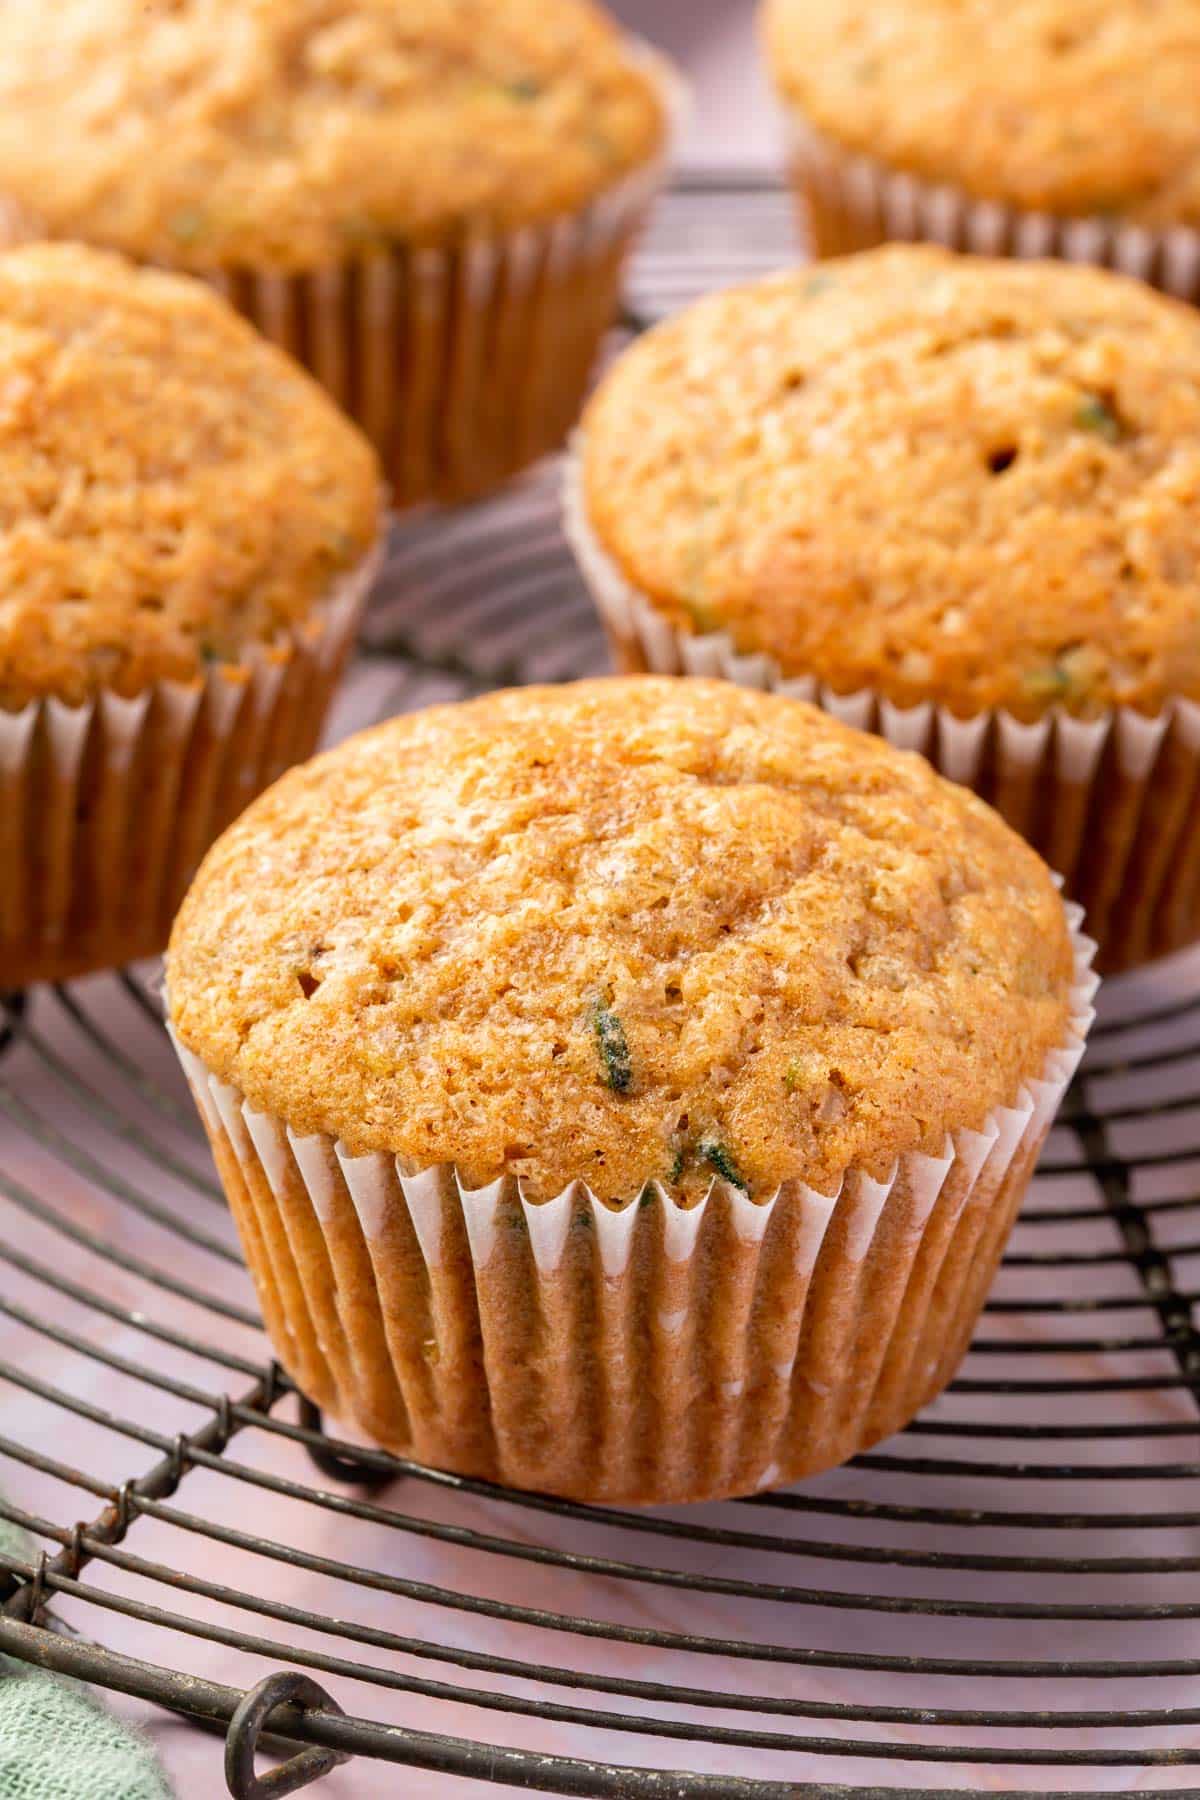 Gluten-FreeRecipeGluten-Free Zucchini MuffinsMoist gluten-free zucchini muffins ready in 30 minutes! These fluffy muffins are perfect for using up garden…
 Gluten-FreeRecipeSheet Pan Sausage, Green Beans, and PotatoesThis flavorful one-pan meal featuring smoky andouille sausage, green beans, and potatoes is always a family f…
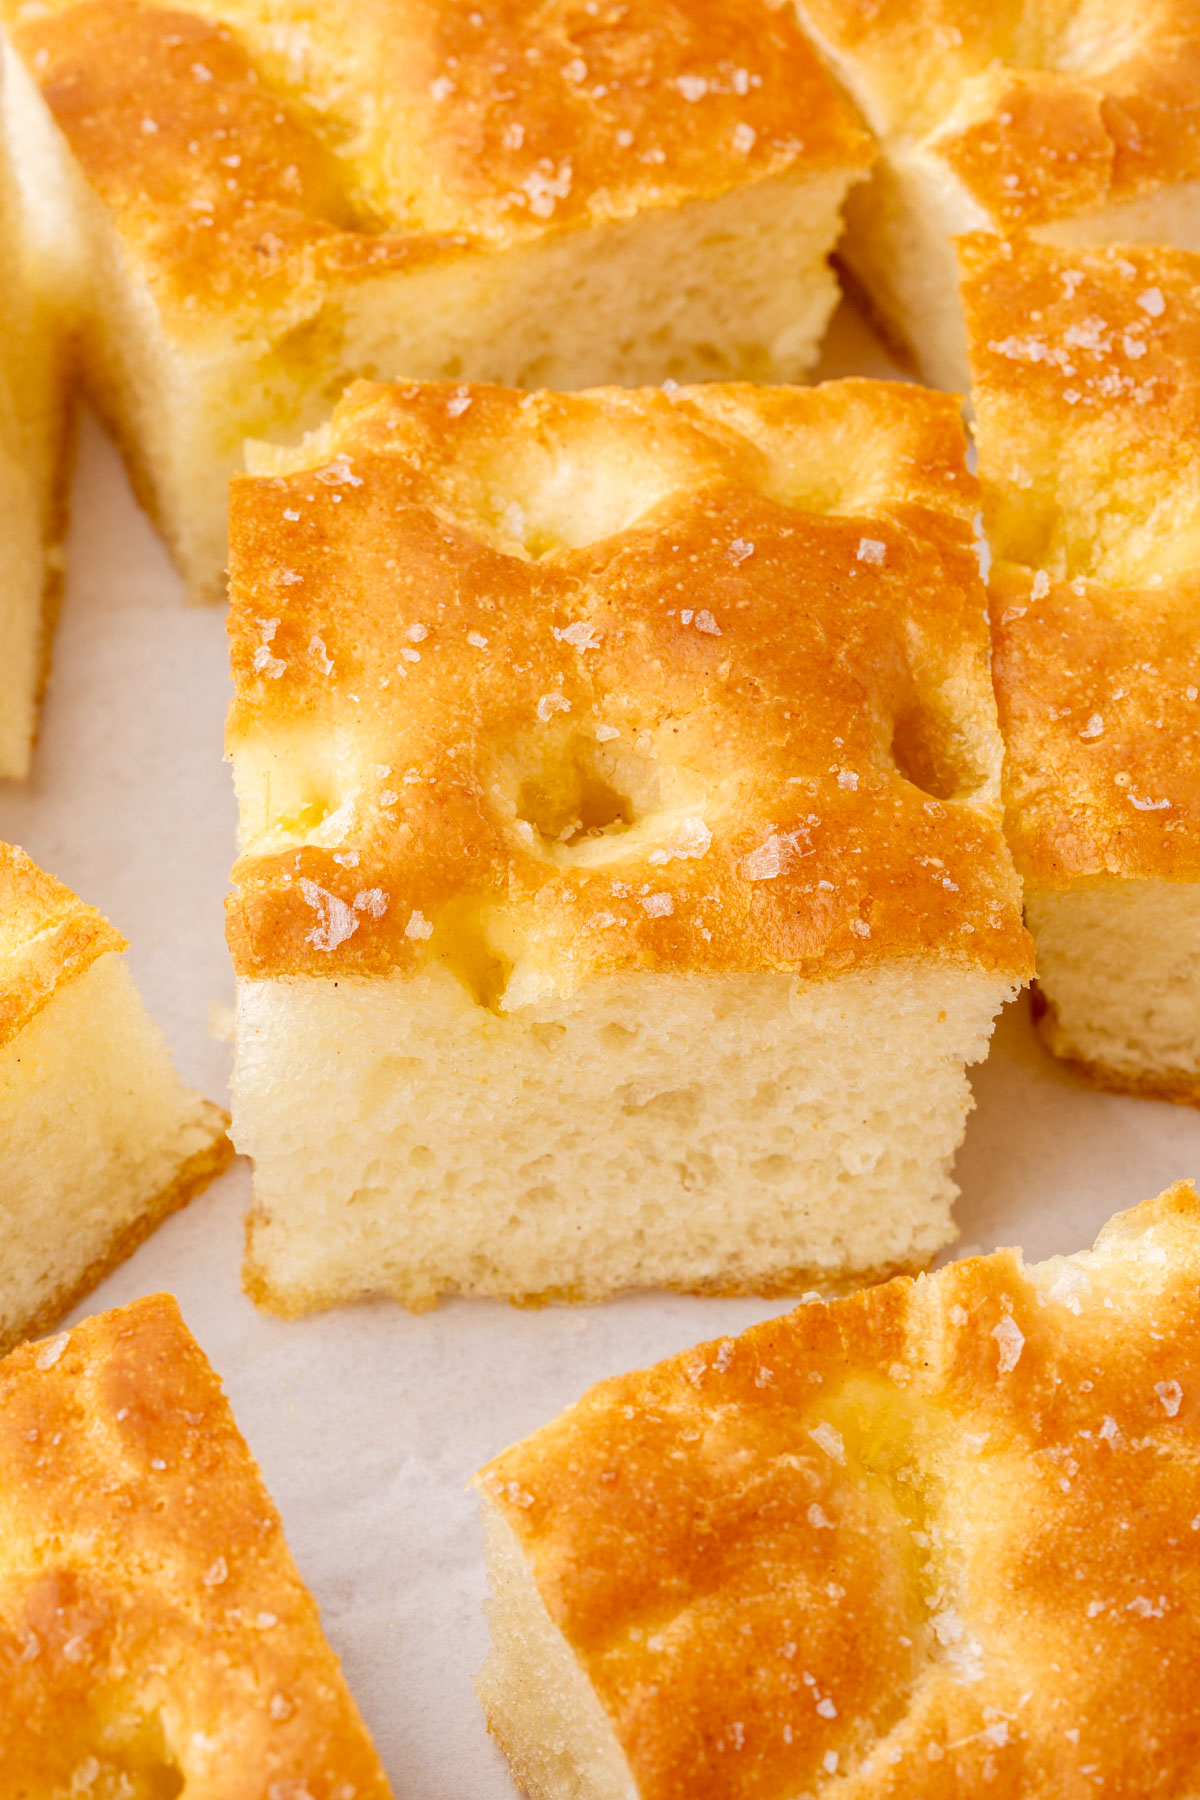 Gluten-FreeRecipeGluten-Free FocacciaGluten-free focaccia made with Caputo Fioreglut Gluten-Free flour that delivers a tender, chewy crumb and cri…
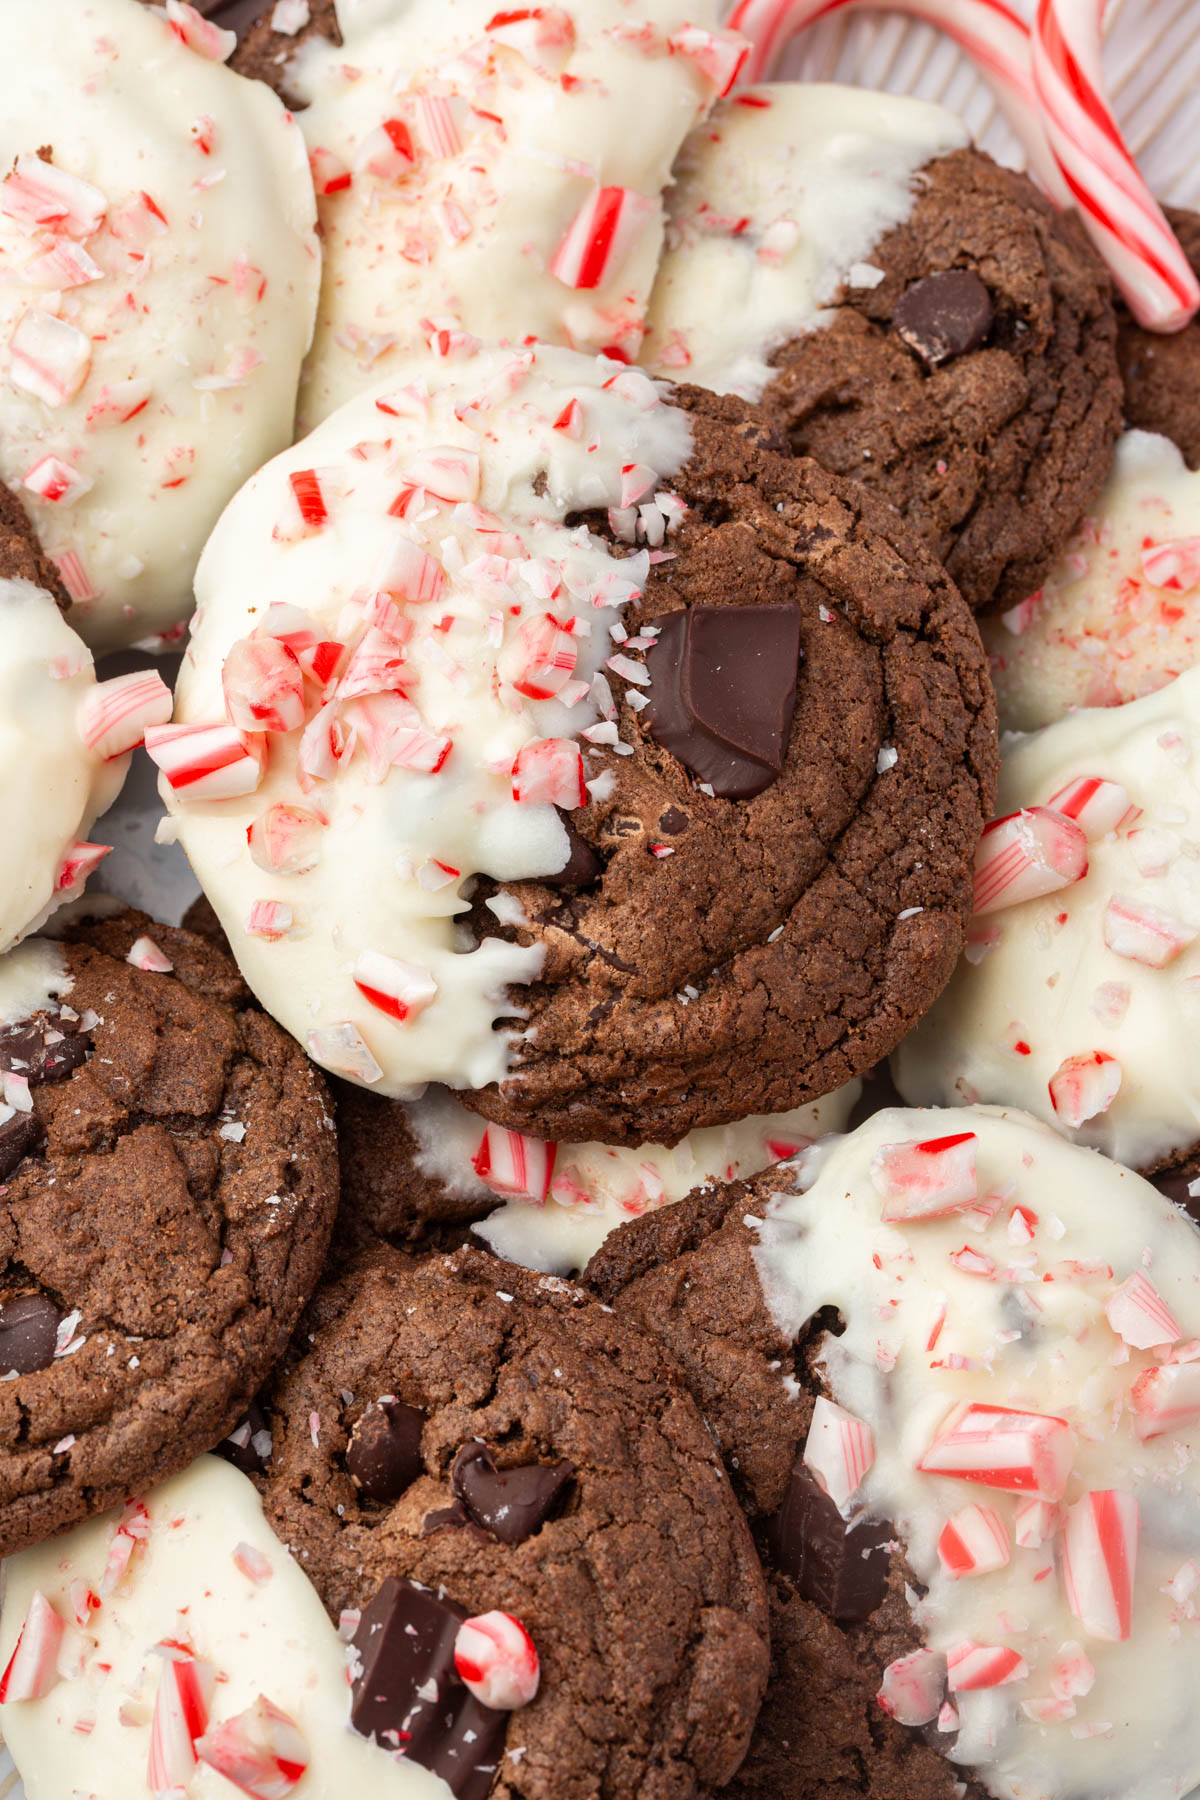 Gluten-FreeRecipeGluten-Free Chocolate Peppermint CookiesRich, fudgy double chocolate cookies with peppermint, dipped in white chocolate and topped with crushed candy…
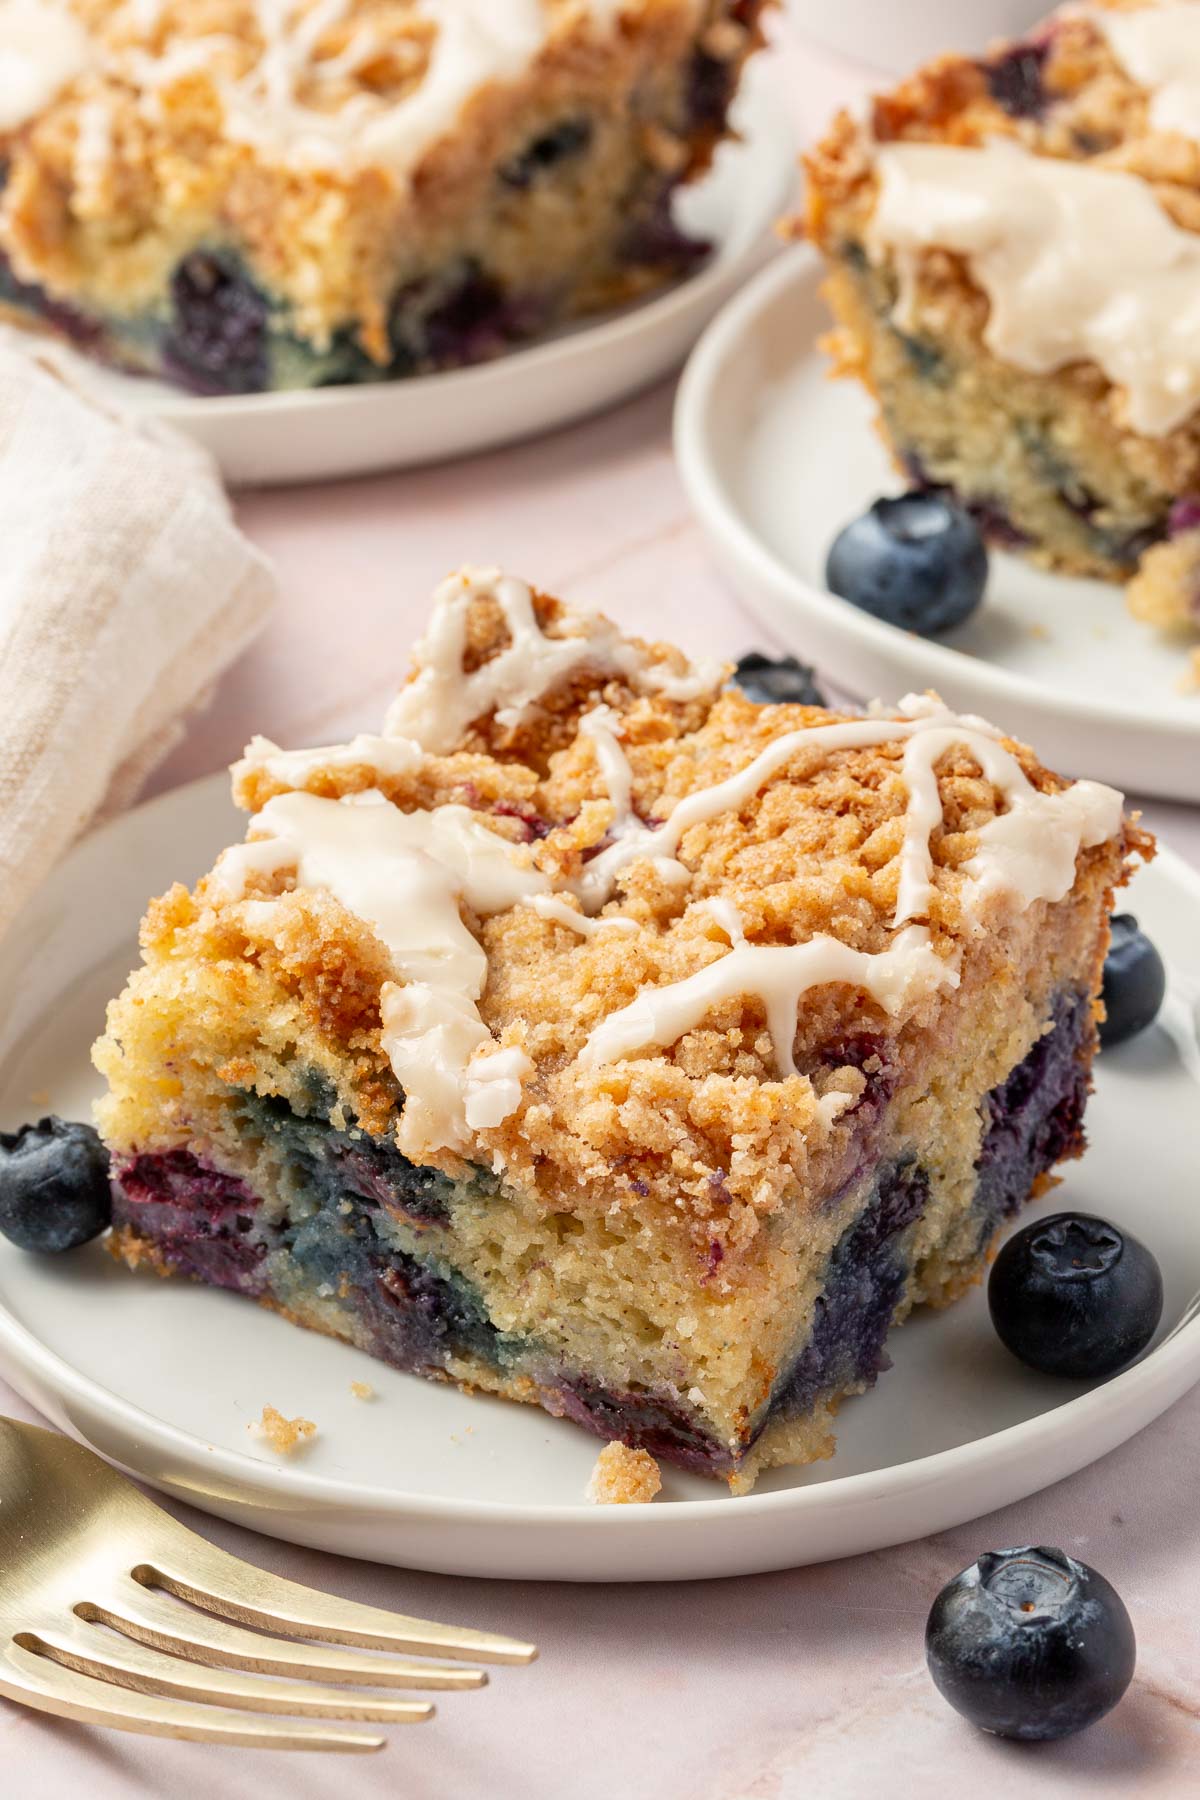 Gluten-FreeRecipeGluten-Free Blueberry Sour Cream Coffee CakeThis gluten-free blueberry coffee cake is moist with a buttery streusel topping and sweet vanilla glaze. Each…
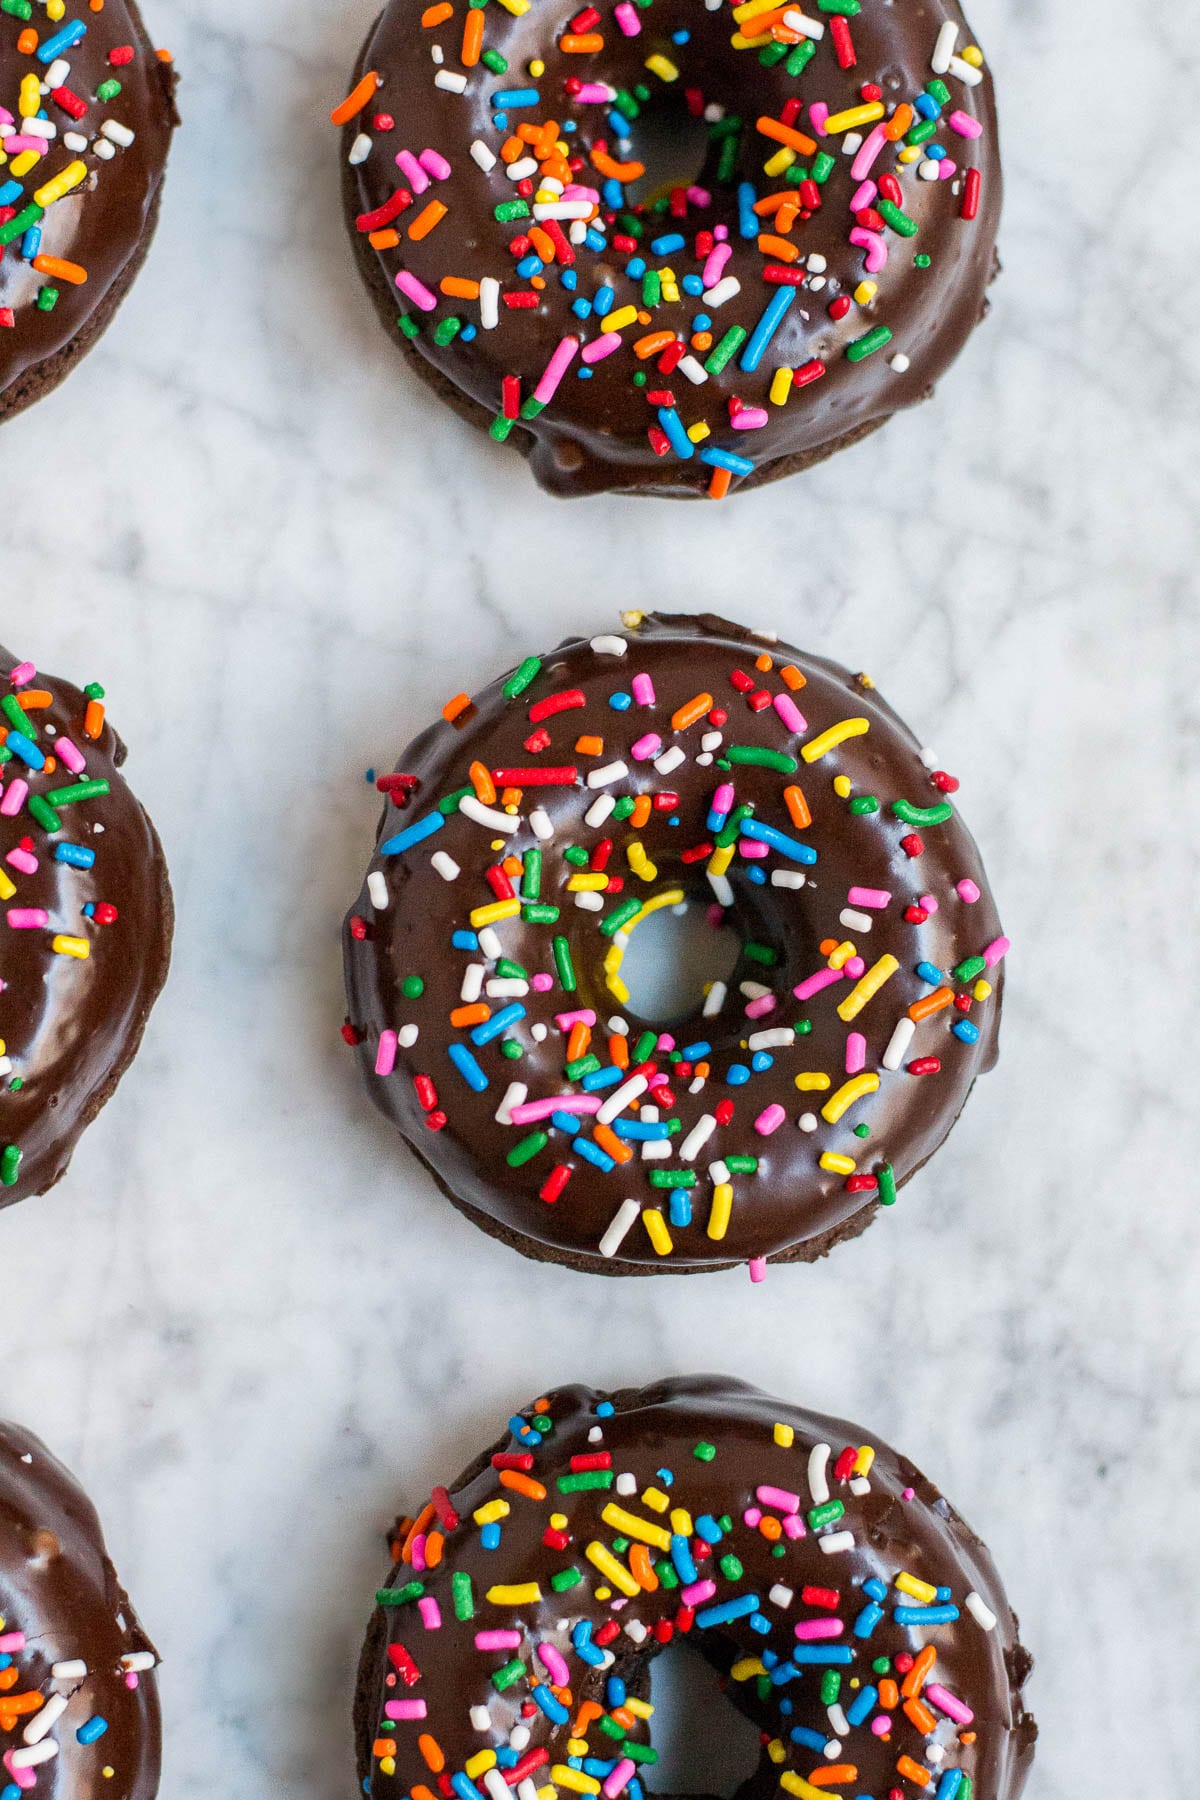 Gluten-FreeRecipeGluten-Free Baked Chocolate Sprinkle DonutsThese gluten-free baked chocolate donuts are soft, fluffy, and taste just like chocolate cake. Dipped in a ri…
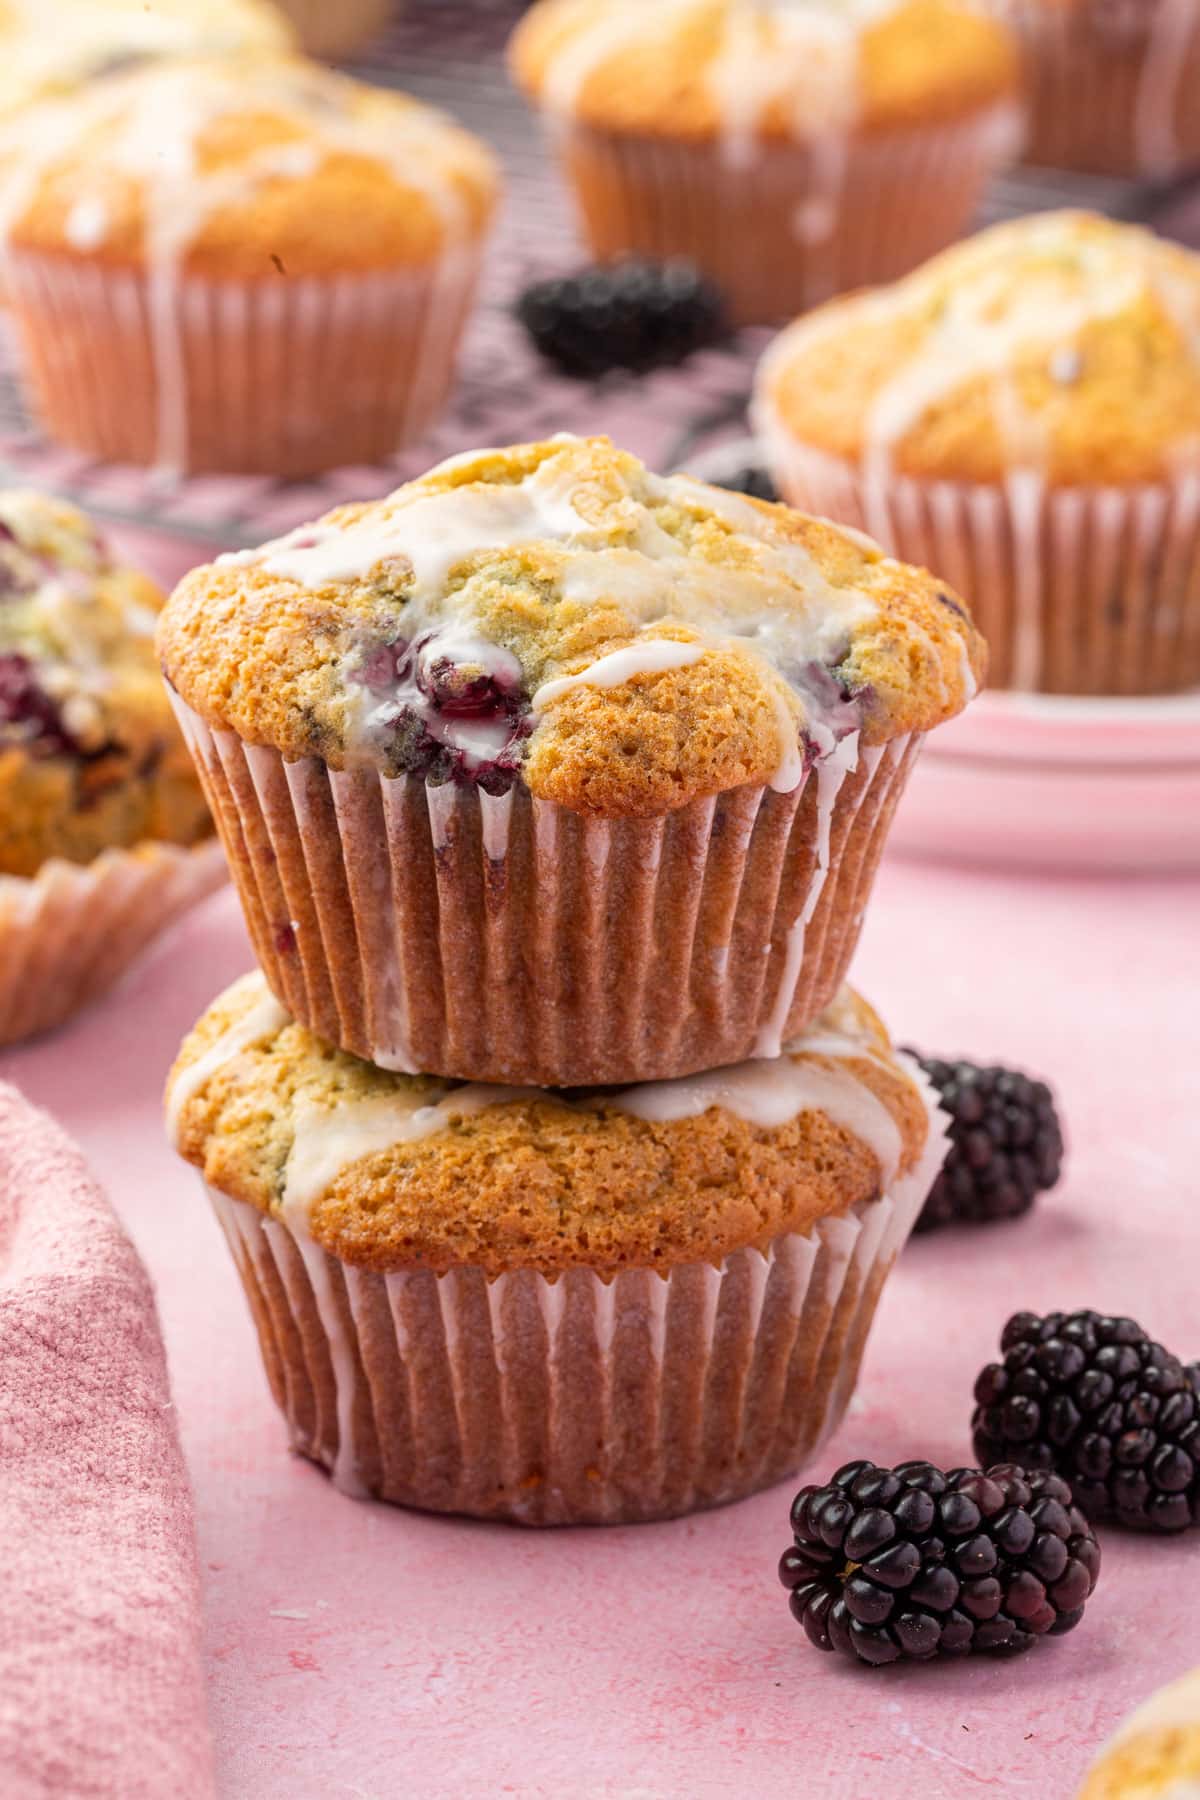 Gluten-FreeRecipeGluten-Free Blackberry MuffinsThese gluten-free blackberry muffins are fluffy and packed with fresh berries. Lemon zest mixed with the suga…
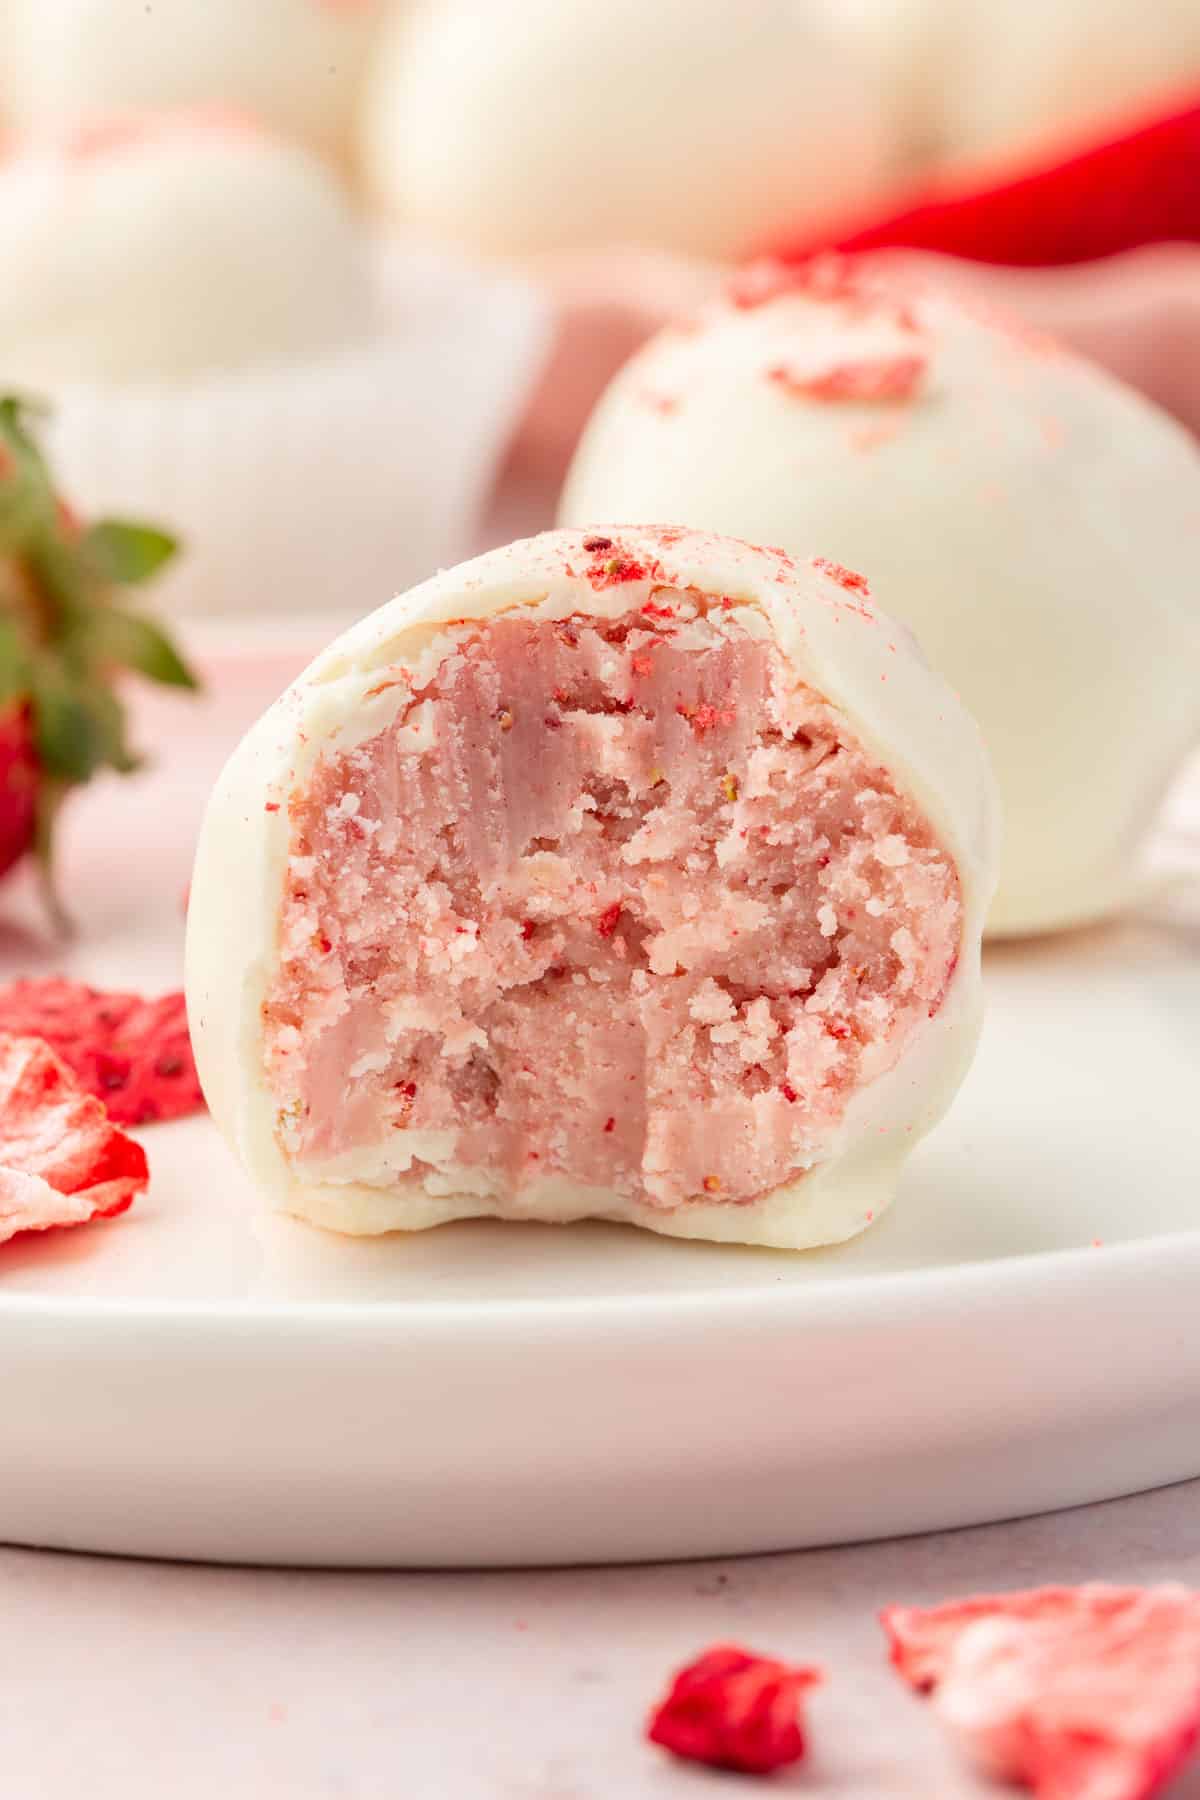 Gluten-FreeRecipeStrawberry TrufflesThese white chocolate strawberry truffles taste like they came from a fancy chocolate shop, but they're only…