Gluten-Free Cherry Pie
Gluten-free cherry pie with a sweet-tart filling and a buttery, flaky crust. Half the cherries are cooked down with cornstarch for a thick, sliceable filling, and the other half are folded in fresh. The filling needs to cool completely before assembly, so plan ahead. Works with fresh or frozen cherries.
- Prep45 min
- Cook1 hr 15 min
- Total5 hr
- Yield8 servings
6 Sep 2024
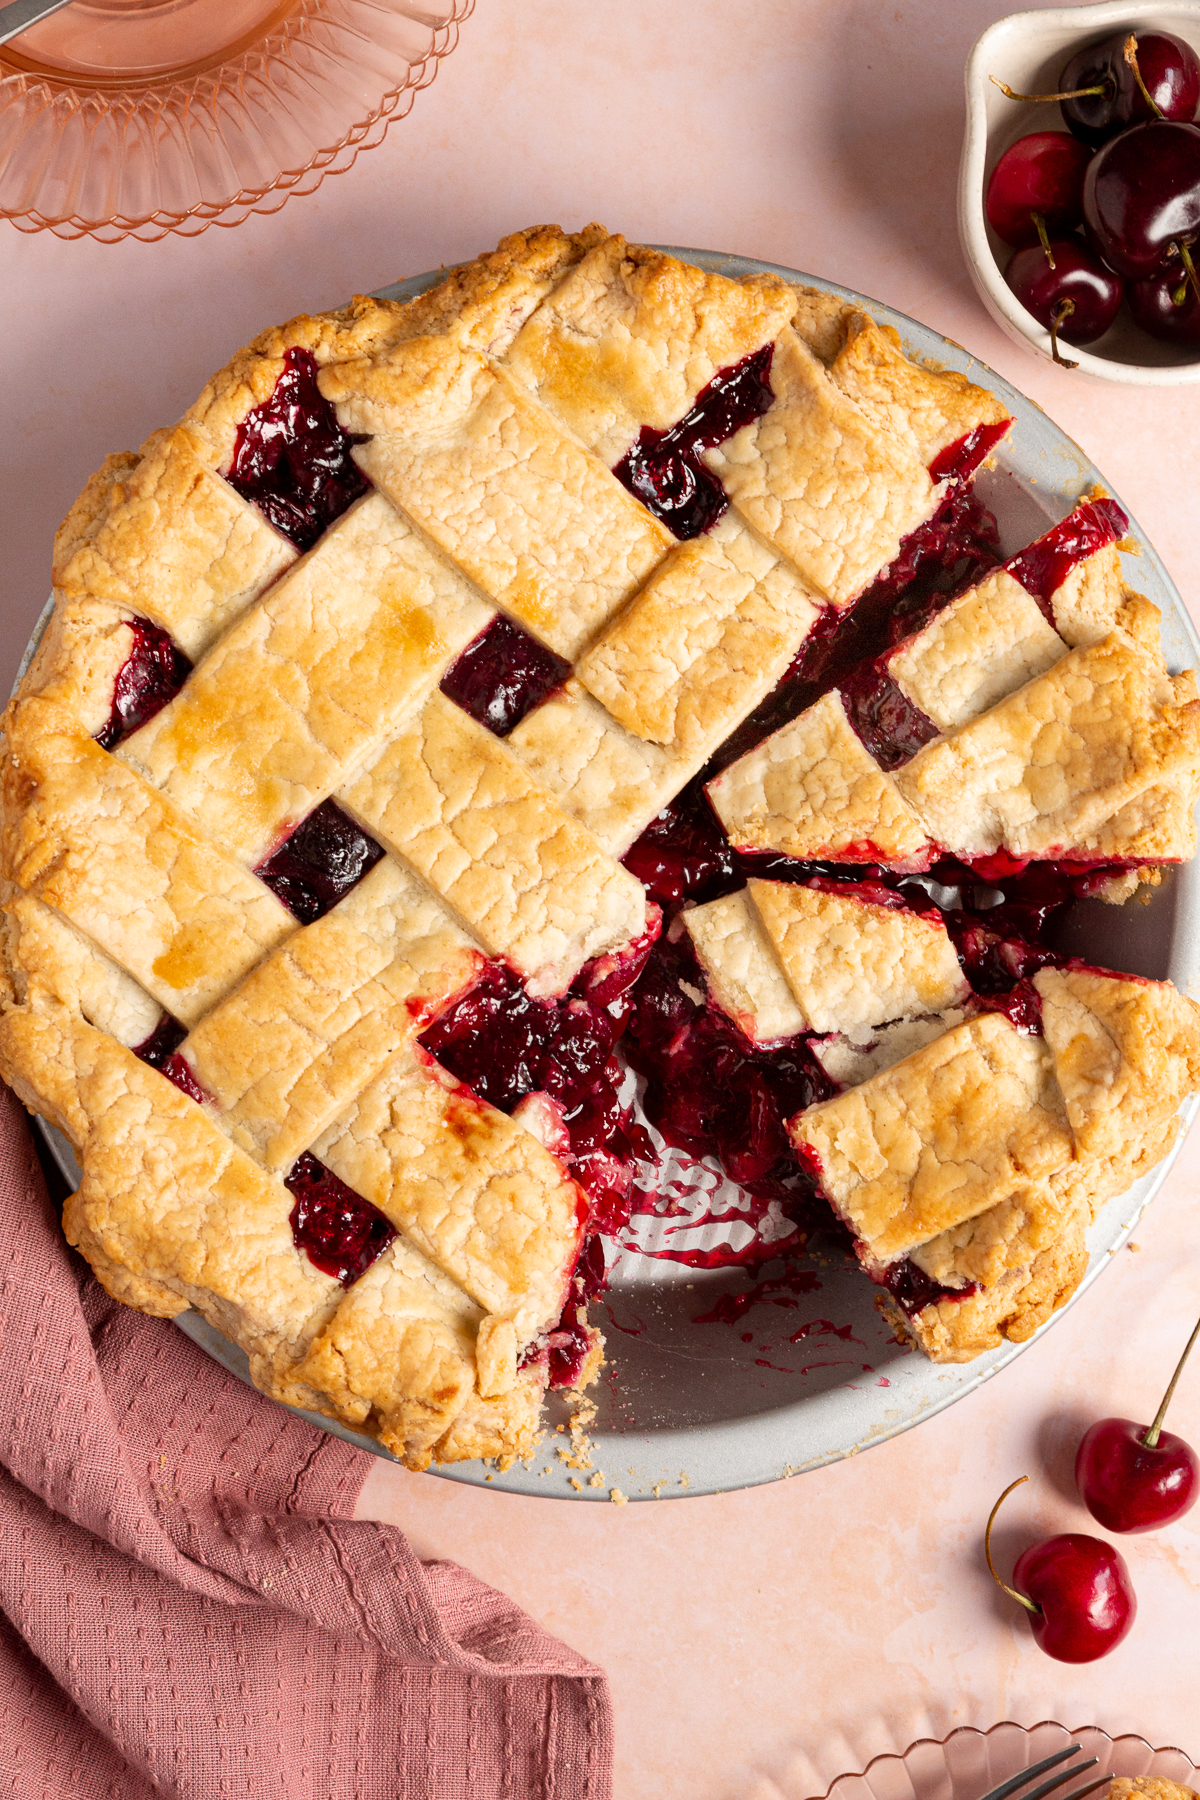
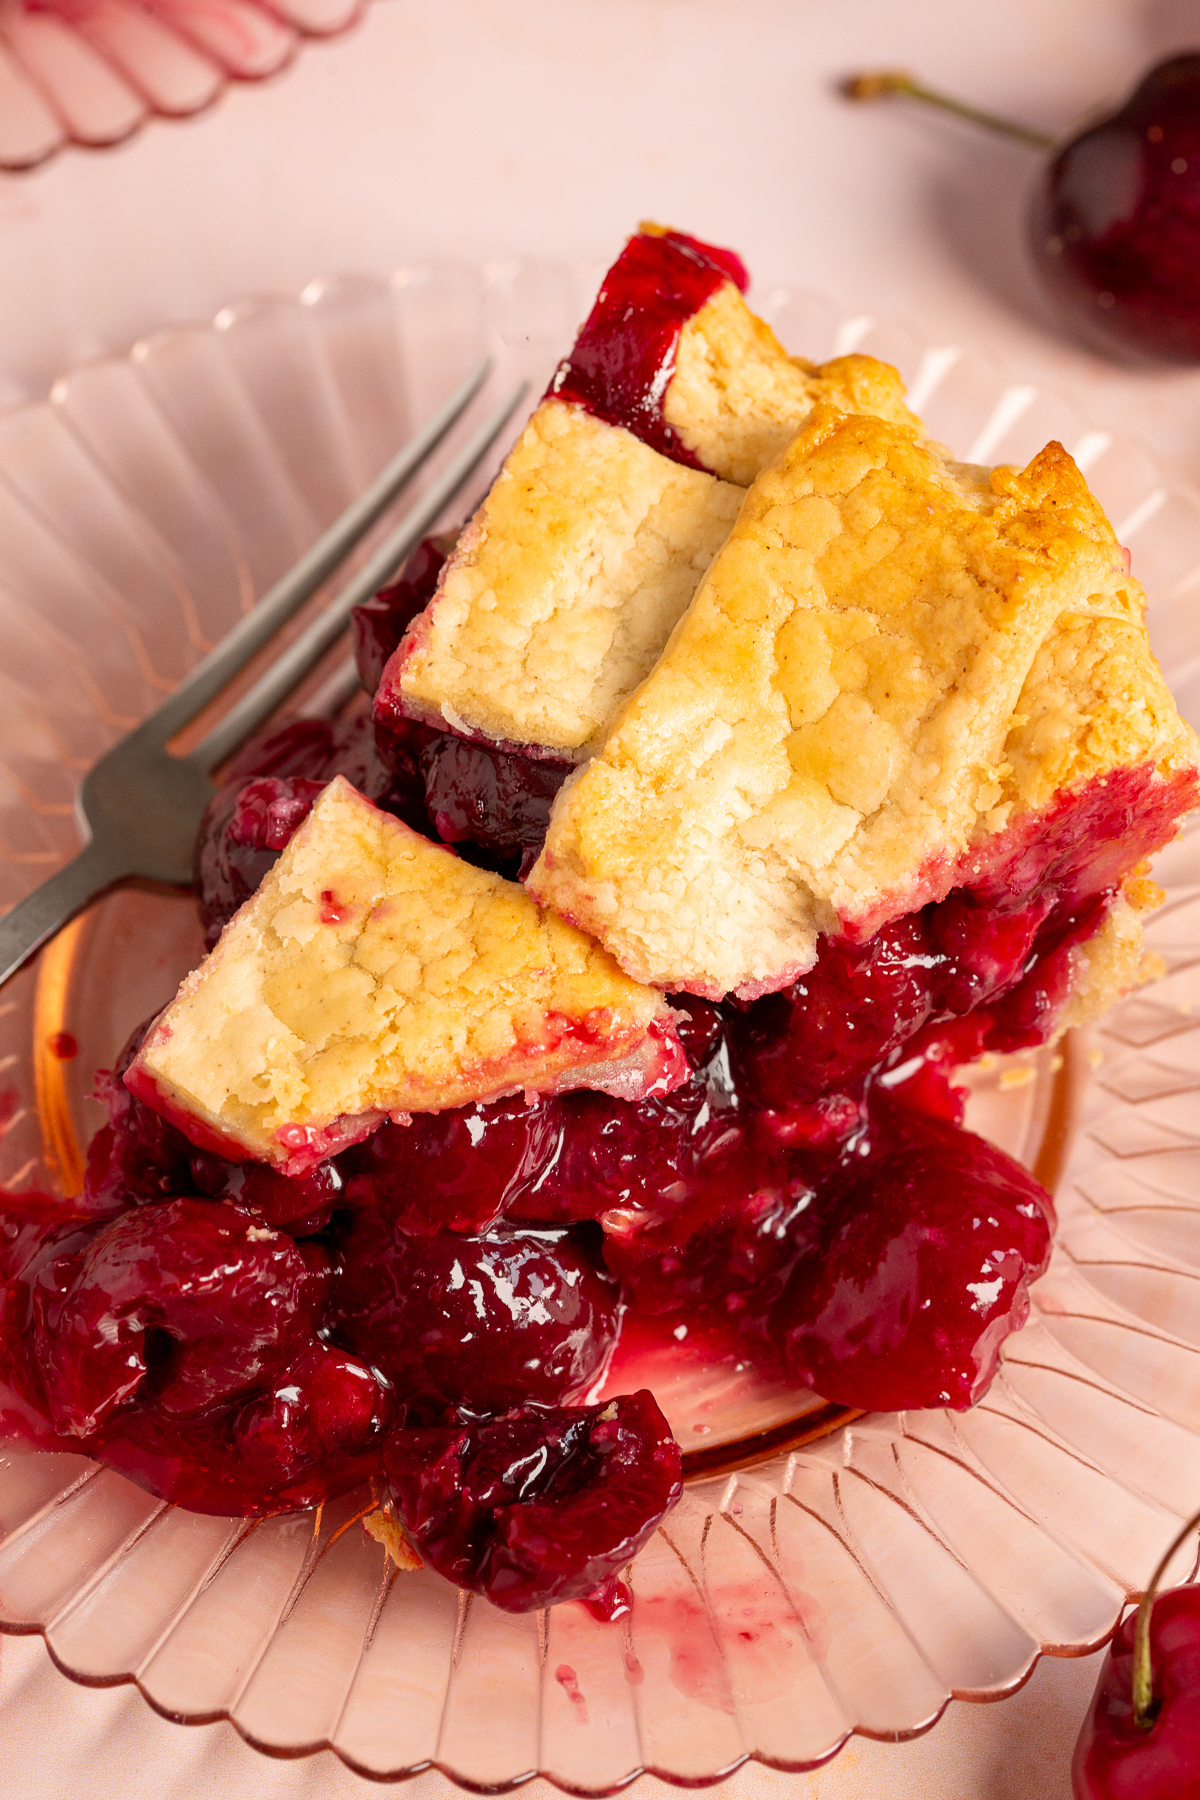
This gluten-free cherry pie has a sweet-tart filling and a buttery, flaky homemade crust. Half the cherries get cooked down with sugar, lemon juice, and cornstarch until thick and glossy, then the other half get folded in fresh so you get jammy texture with pops of whole fruit in every bite. A little almond extract ties it all together.
I went to culinary school for pastry, and getting a gluten-free pie crust to behave like a traditional one took more trial and error than anything else I learned there. After 13 years of baking gluten-free, this is one of the recipes I’m proudest of. I actually made this cherry pie as one of my daughter’s monthly pie milestone photos during her first year, since she was born so close to Pi Day and we were planning a pie-themed first birthday for her.
I top mine with a lattice crust, but a full top crust or my gluten-free streusel topping works too. Serve warm with vanilla ice cream or a dollop of whipped cream.
Why You’ll Love this Recipe
- Flexible topping. Lattice crust, full top crust, or my gluten-free streusel topping all work here, so you can match it to your skill level or mood.
- Make-ahead friendly. The pie crust and cherry filling can both be prepared a day ahead, so assembly day is just rolling and baking.
- Works with fresh or frozen cherries. Fresh are best in summer, but thawed and drained frozen cherries work year-round for holiday baking.
Ingredients
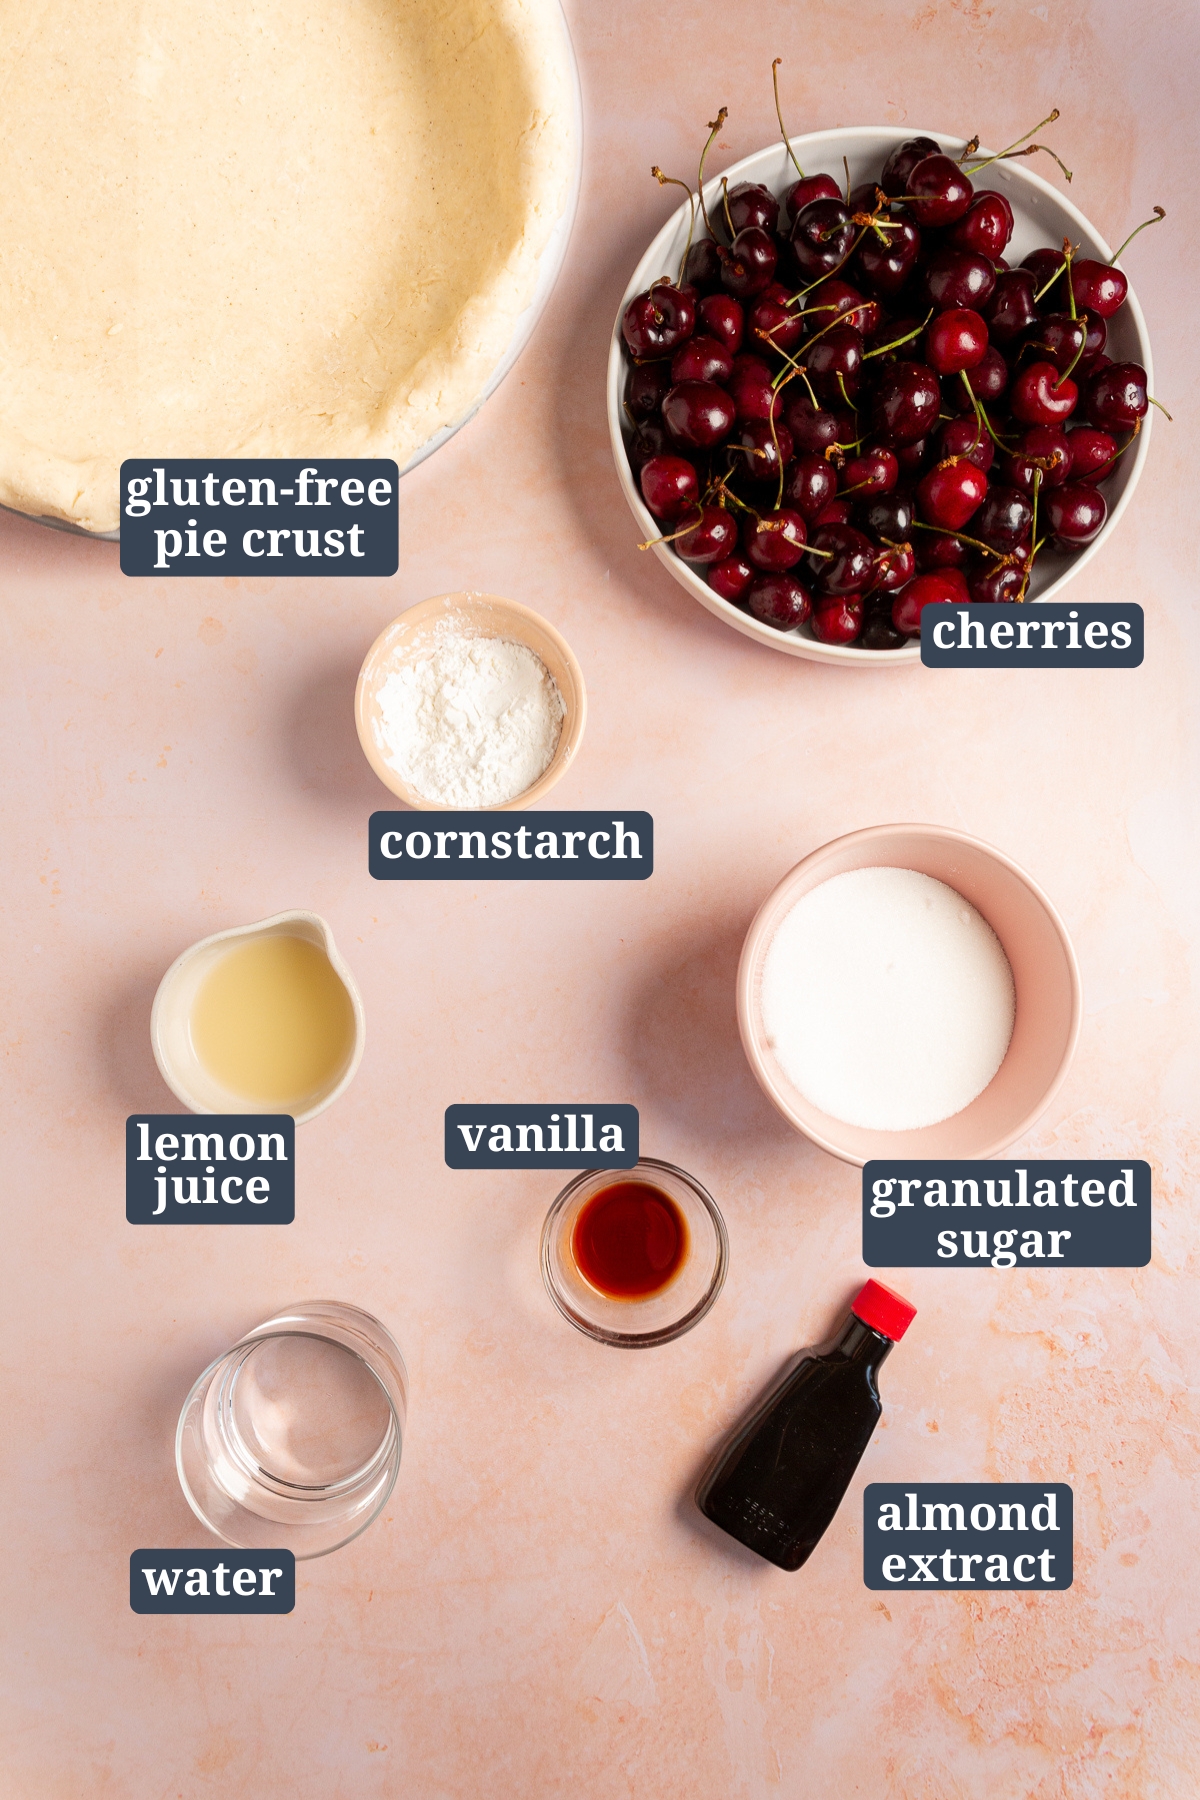
Ingredient Notes
- Gluten-Free Pie Crust – I use my homemade gluten-free pie crust , which makes two 9-inch crusts (one for the bottom, one for the lattice top). If you go store-bought, most frozen GF crusts can’t be rolled out for a lattice, so top with my gluten-free streusel instead.
- Cherries – You’ll need about 2 ½ pounds of fresh cherries, which gives you roughly 5 cups once pitted and halved. I use sweet cherries like Bing or Rainier. If fresh aren’t in season, frozen work fine. Thaw them completely and drain off the liquid before using.
- Cornstarch This is what thickens the filling. Whisk it with the water into a slurry before adding it to the cherries so it doesn’t clump. Arrowroot starch works as a substitute.
- Almond Extract – Cherry and almond are a classic pairing and a small amount goes a long way. Use ½ teaspoon. If you don’t like almond flavor or have a nut allergy, leave it out and add a little more vanilla instead.
A cherry pitter is worth it!
I’m normally opposed to kitchen gadgets that have only one purpose, but a cherry pitter is the exception (the cherry pitter I use can pit 6 cherries at a time!). If you don’t have a cherry pitter, you can use a straw or a chopstick to push the pits out, though it may take a bit more time. Either way, slice each cherry in half after pitting to catch any pits you missed.
Step-by-Step Instructions
Making this gluten-free cherry pie is easier than it seems! Follow along with these step-by-step photos to see exactly how each part of the process comes together. From preparing the cherries to weaving the perfect lattice crust, these visuals will guide you through every stage to help you bake a delicious pie.
For the ingredient list with measurements, full instructions, printable recipe, and additional notes, please scroll down to the recipe card.
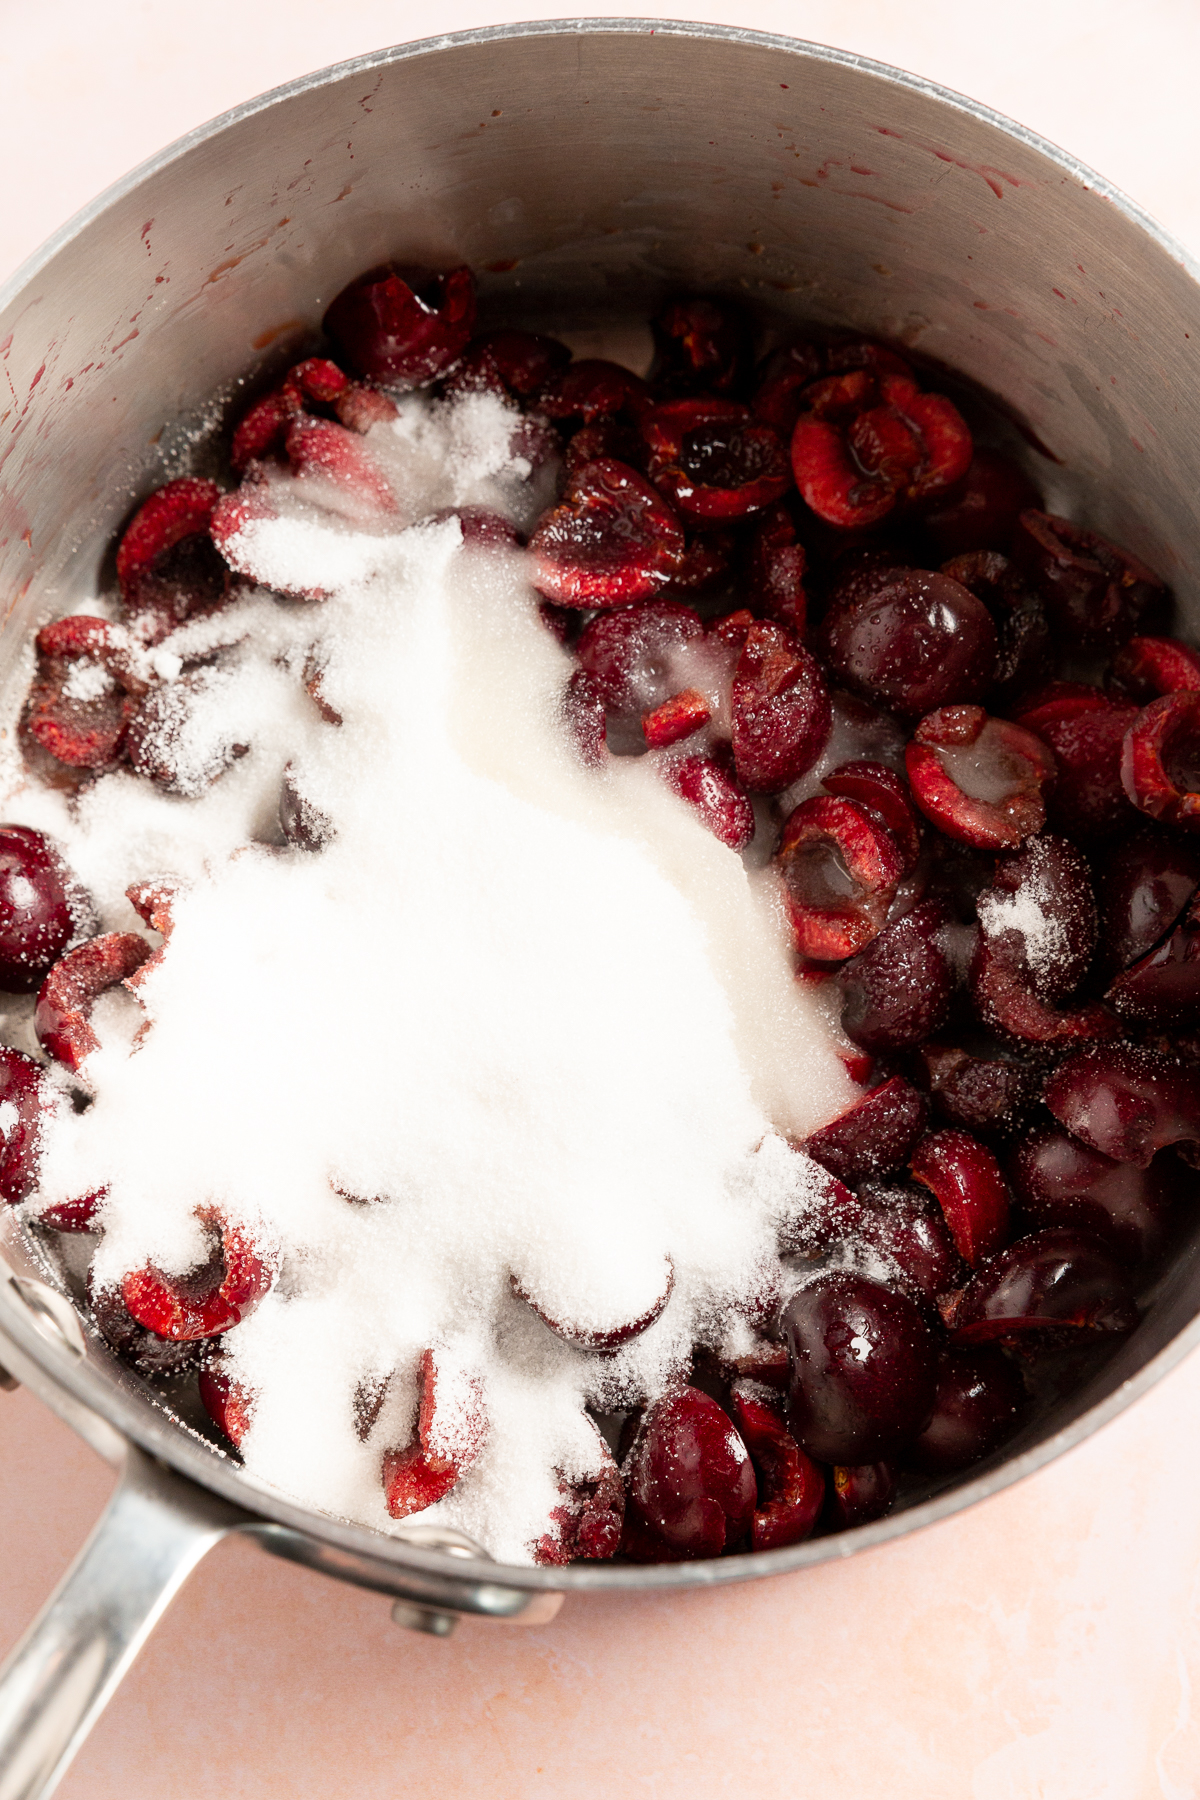 Add half of your cherries, the granulated sugar and lemon juice to a saucepan over medium low heat. Stir to combine and cook until the sugar dissolves.
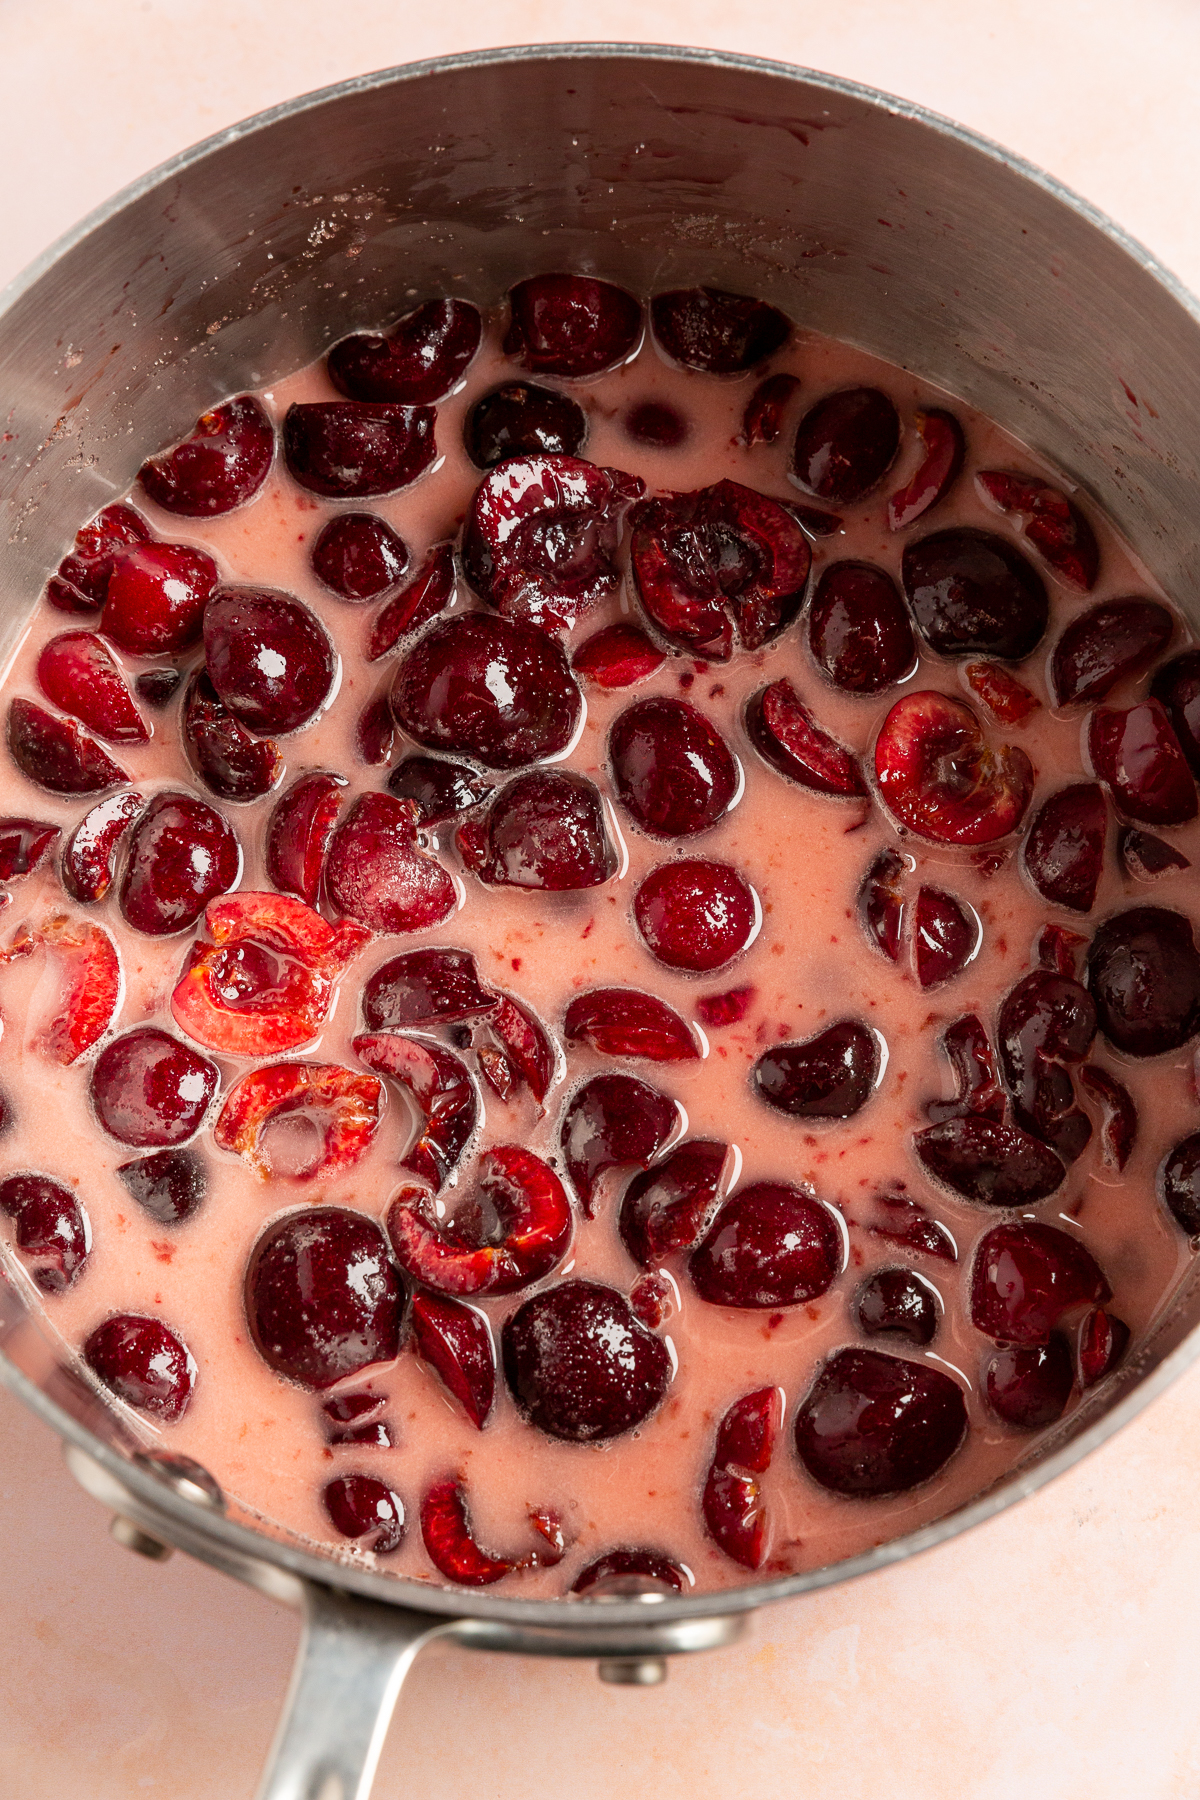 Add the cornstarch slurry to the cherries. This will thicken the cherry filling.
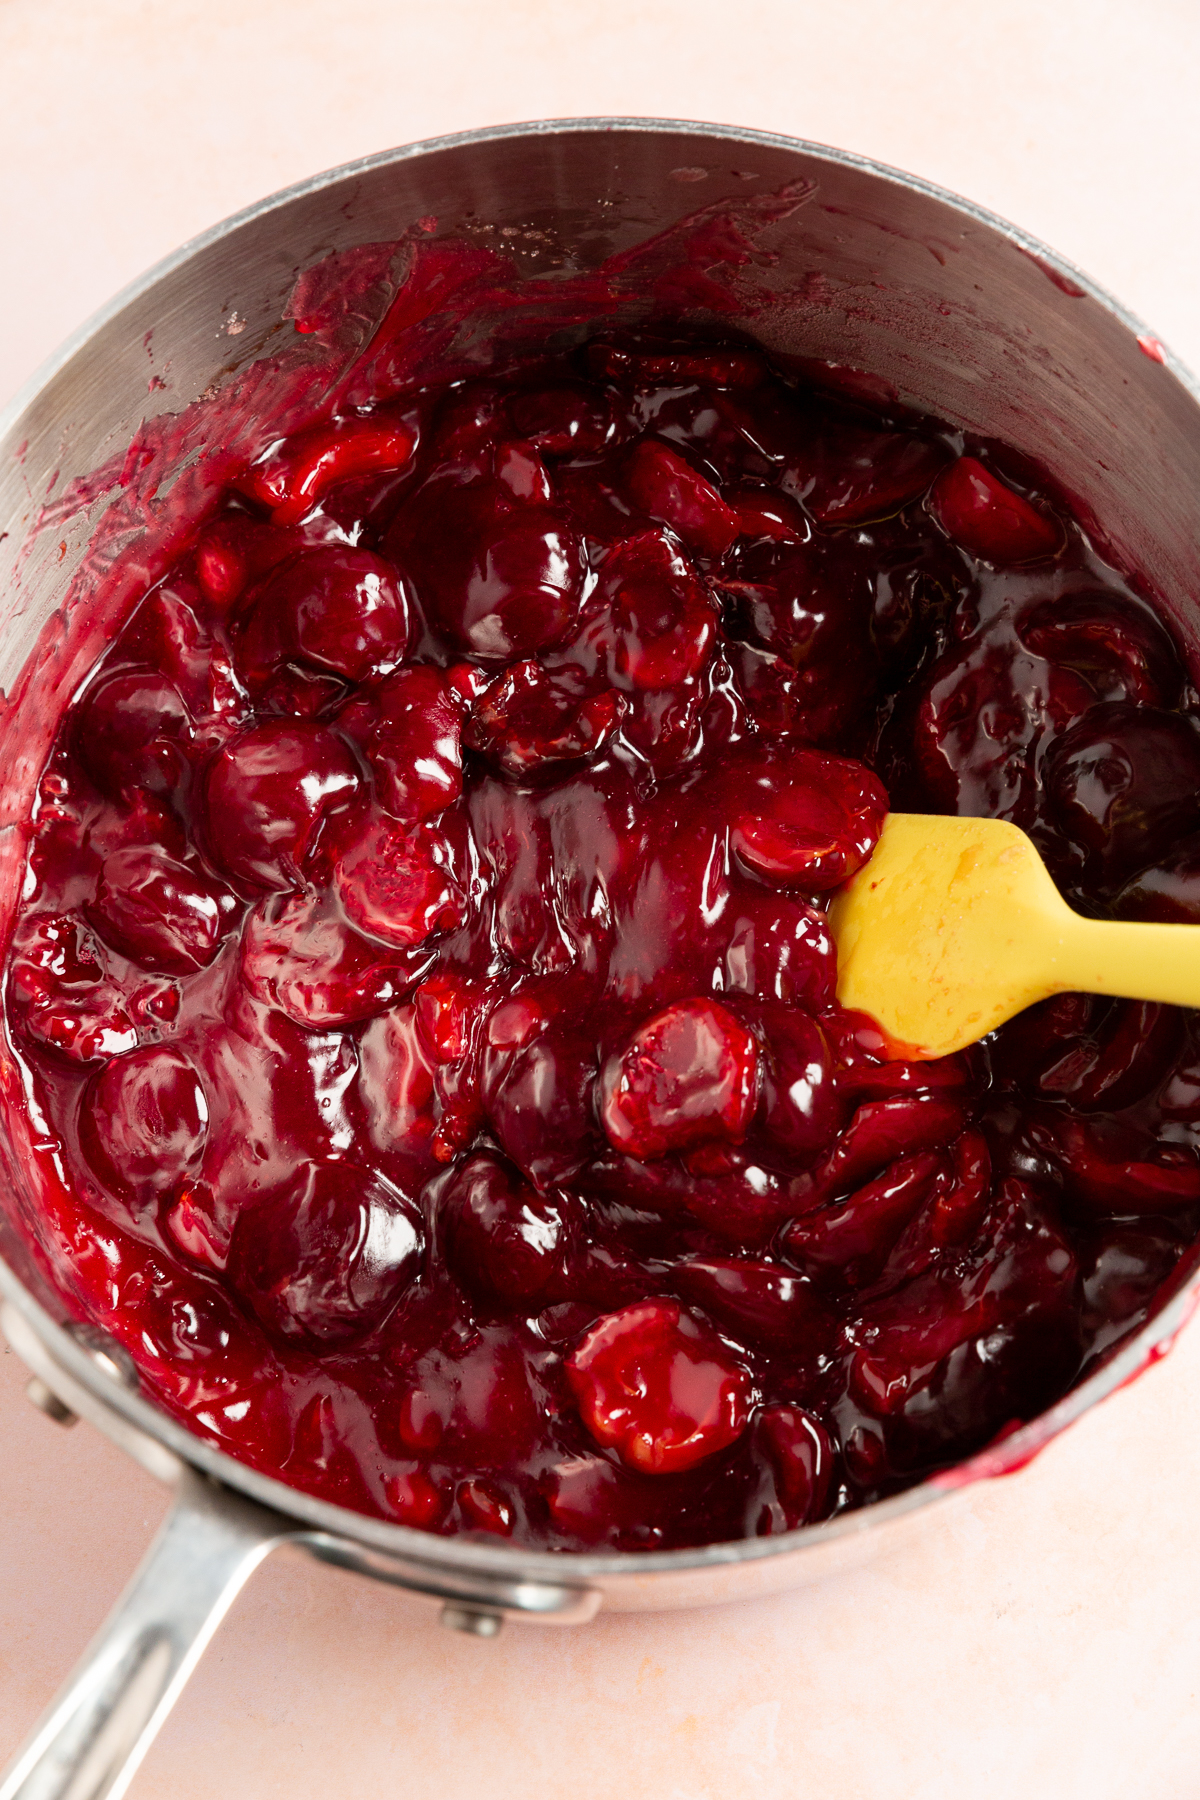 Continue cooking until the cherry mixture becomes thick and glossy. Keep stirring to prevent it from sticking to the bottom of the pan. Remove it from the heat and add in the almond extract, vanilla extract and the remaining cherries.
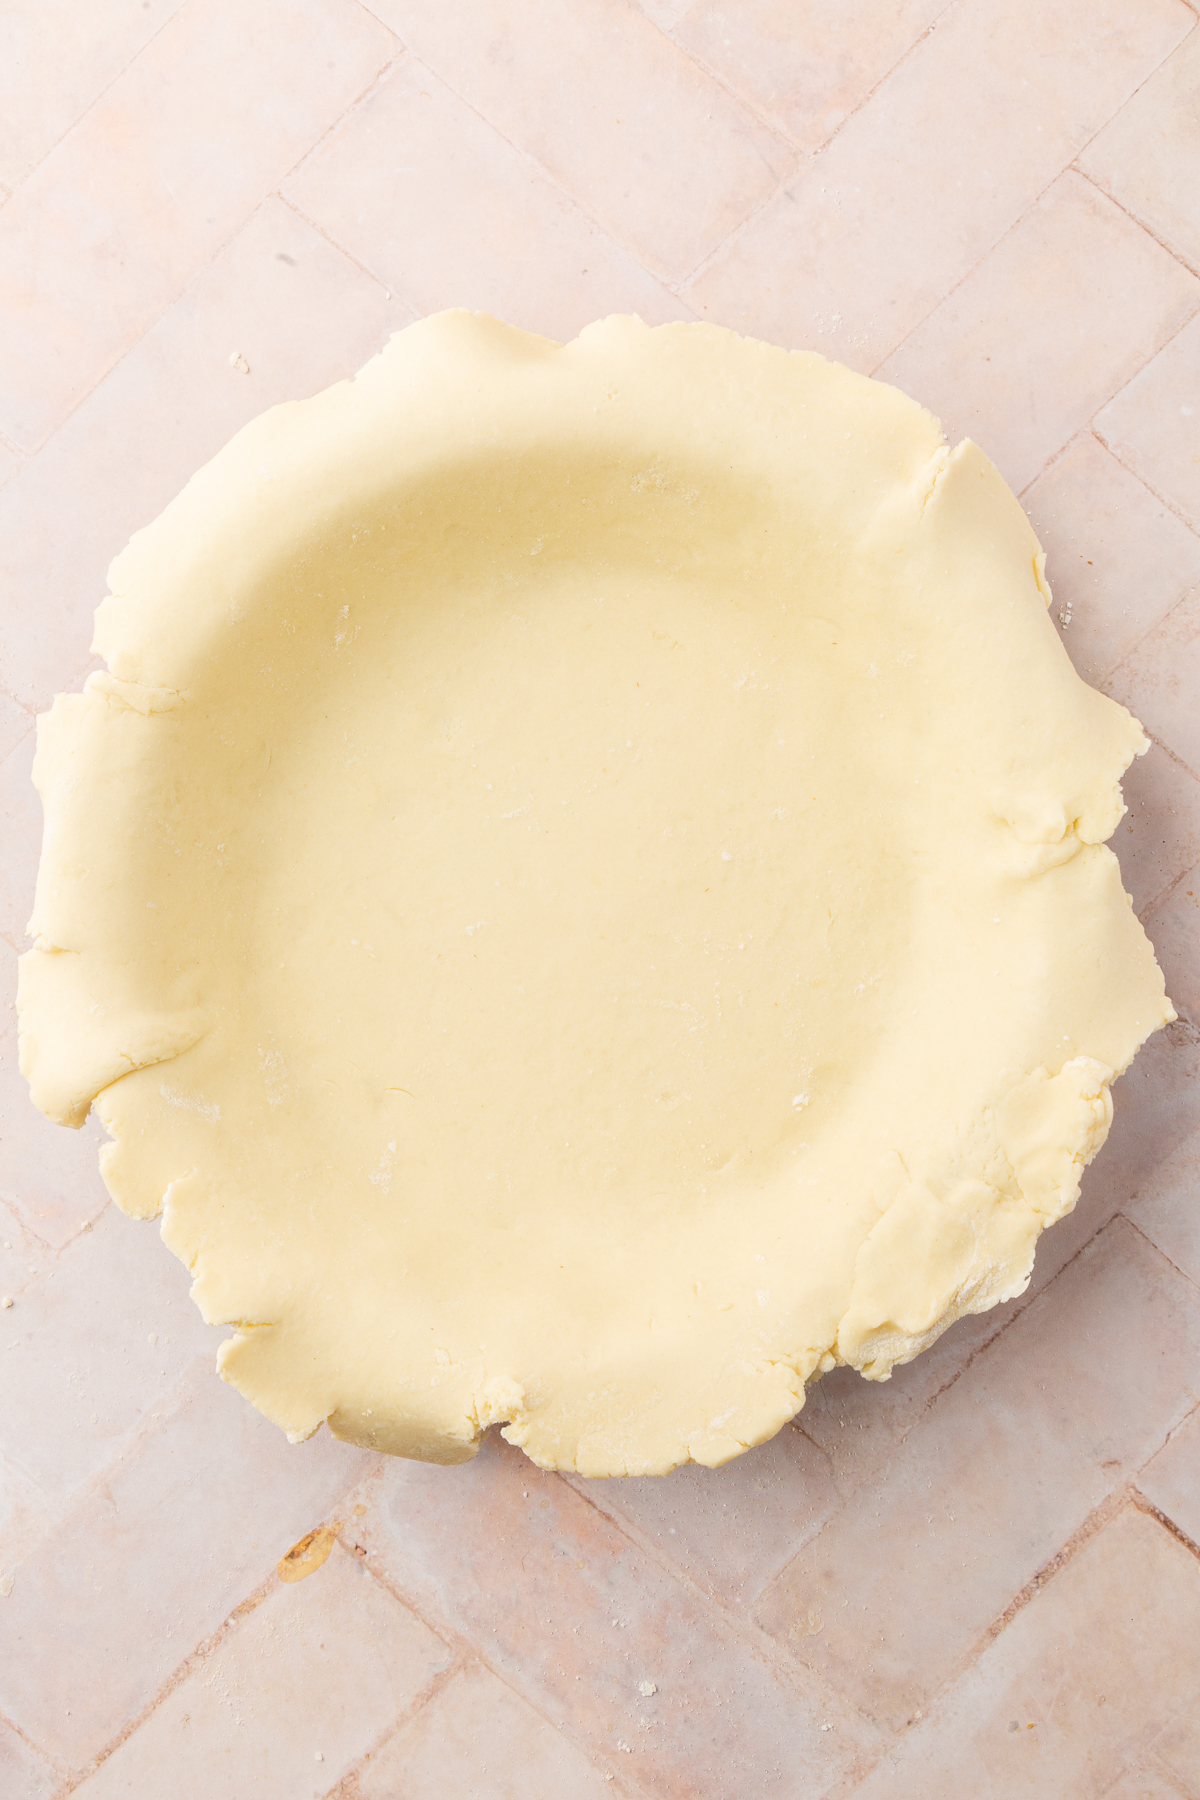 Roll out your pie crust and lay it into your pie dish, making sure to press it gently to ensure there are no gaps between the dough and the pie pan.
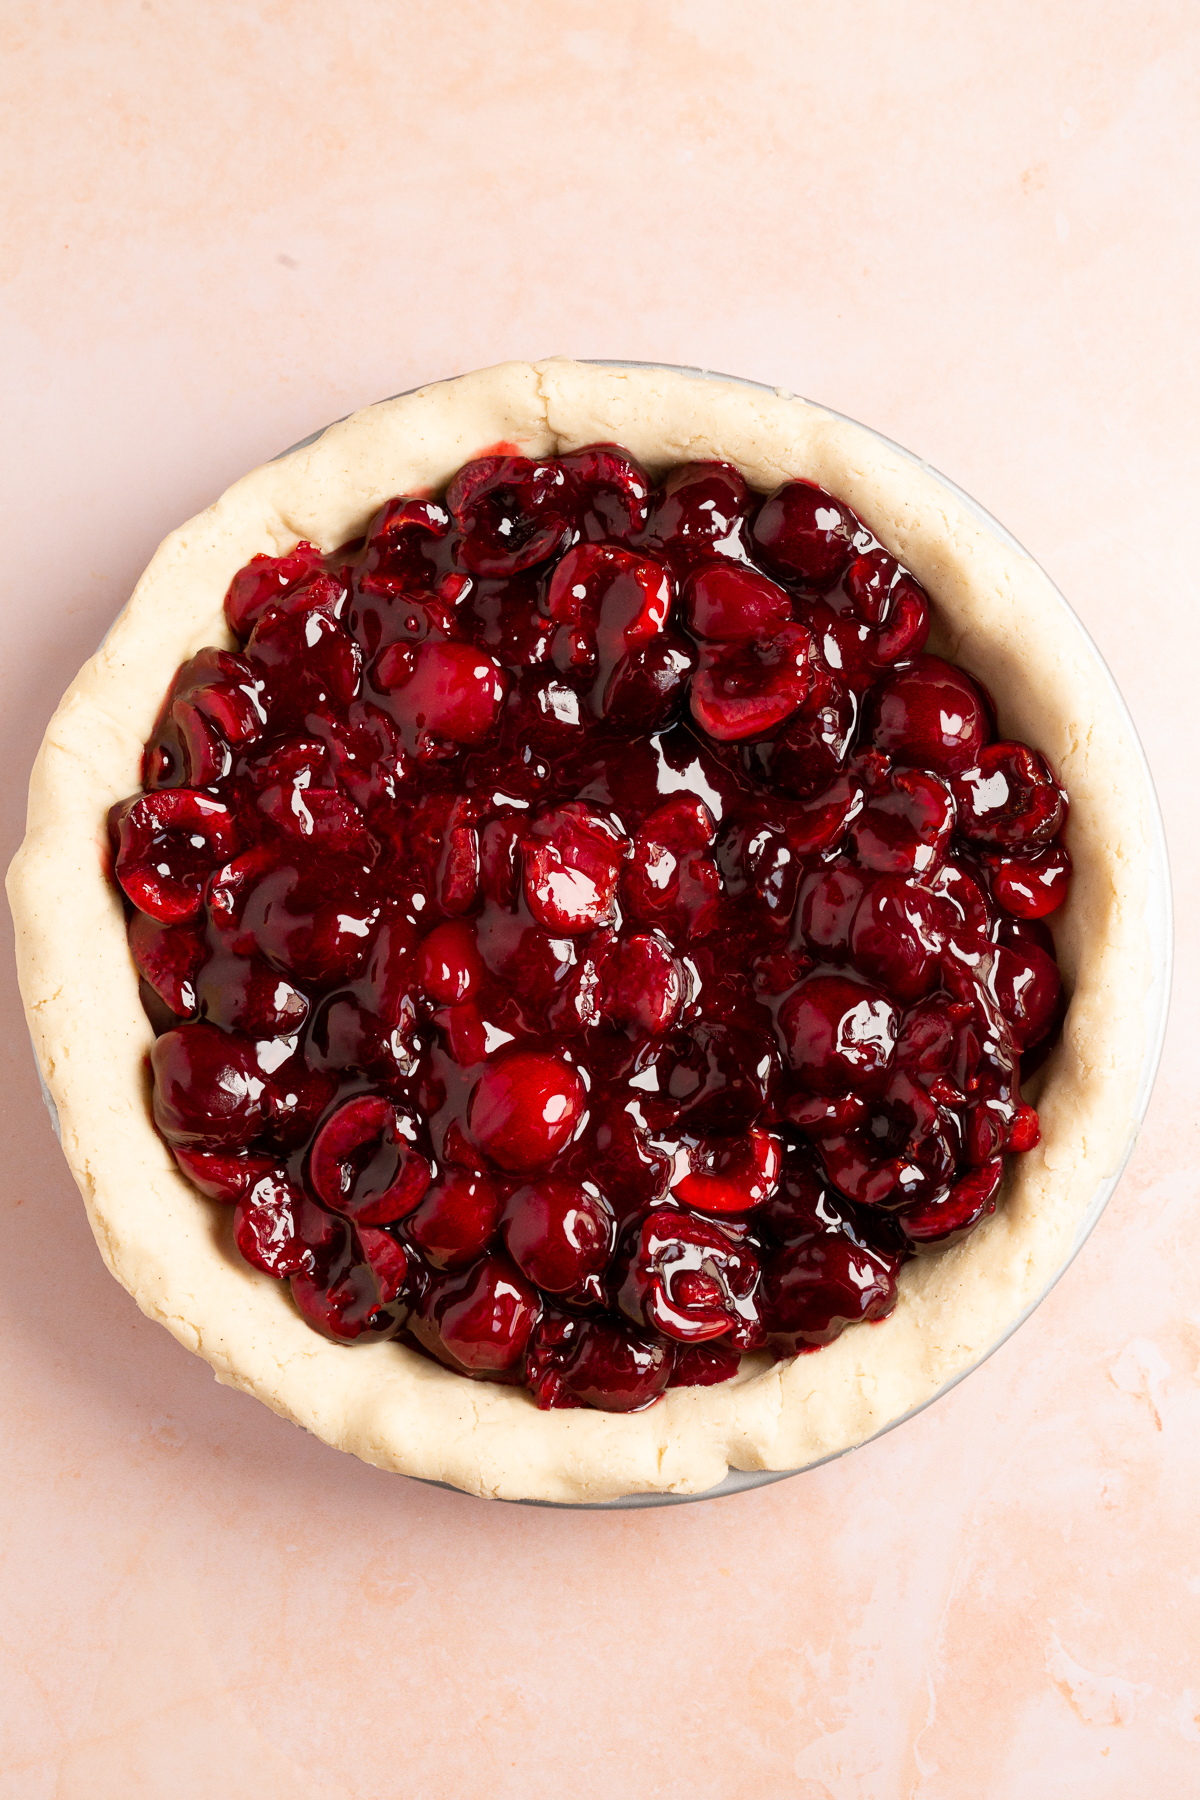 Pour the cooled cherry filling into your prepared pie crust, spreading it evenly for a full and delicious cherry pie.
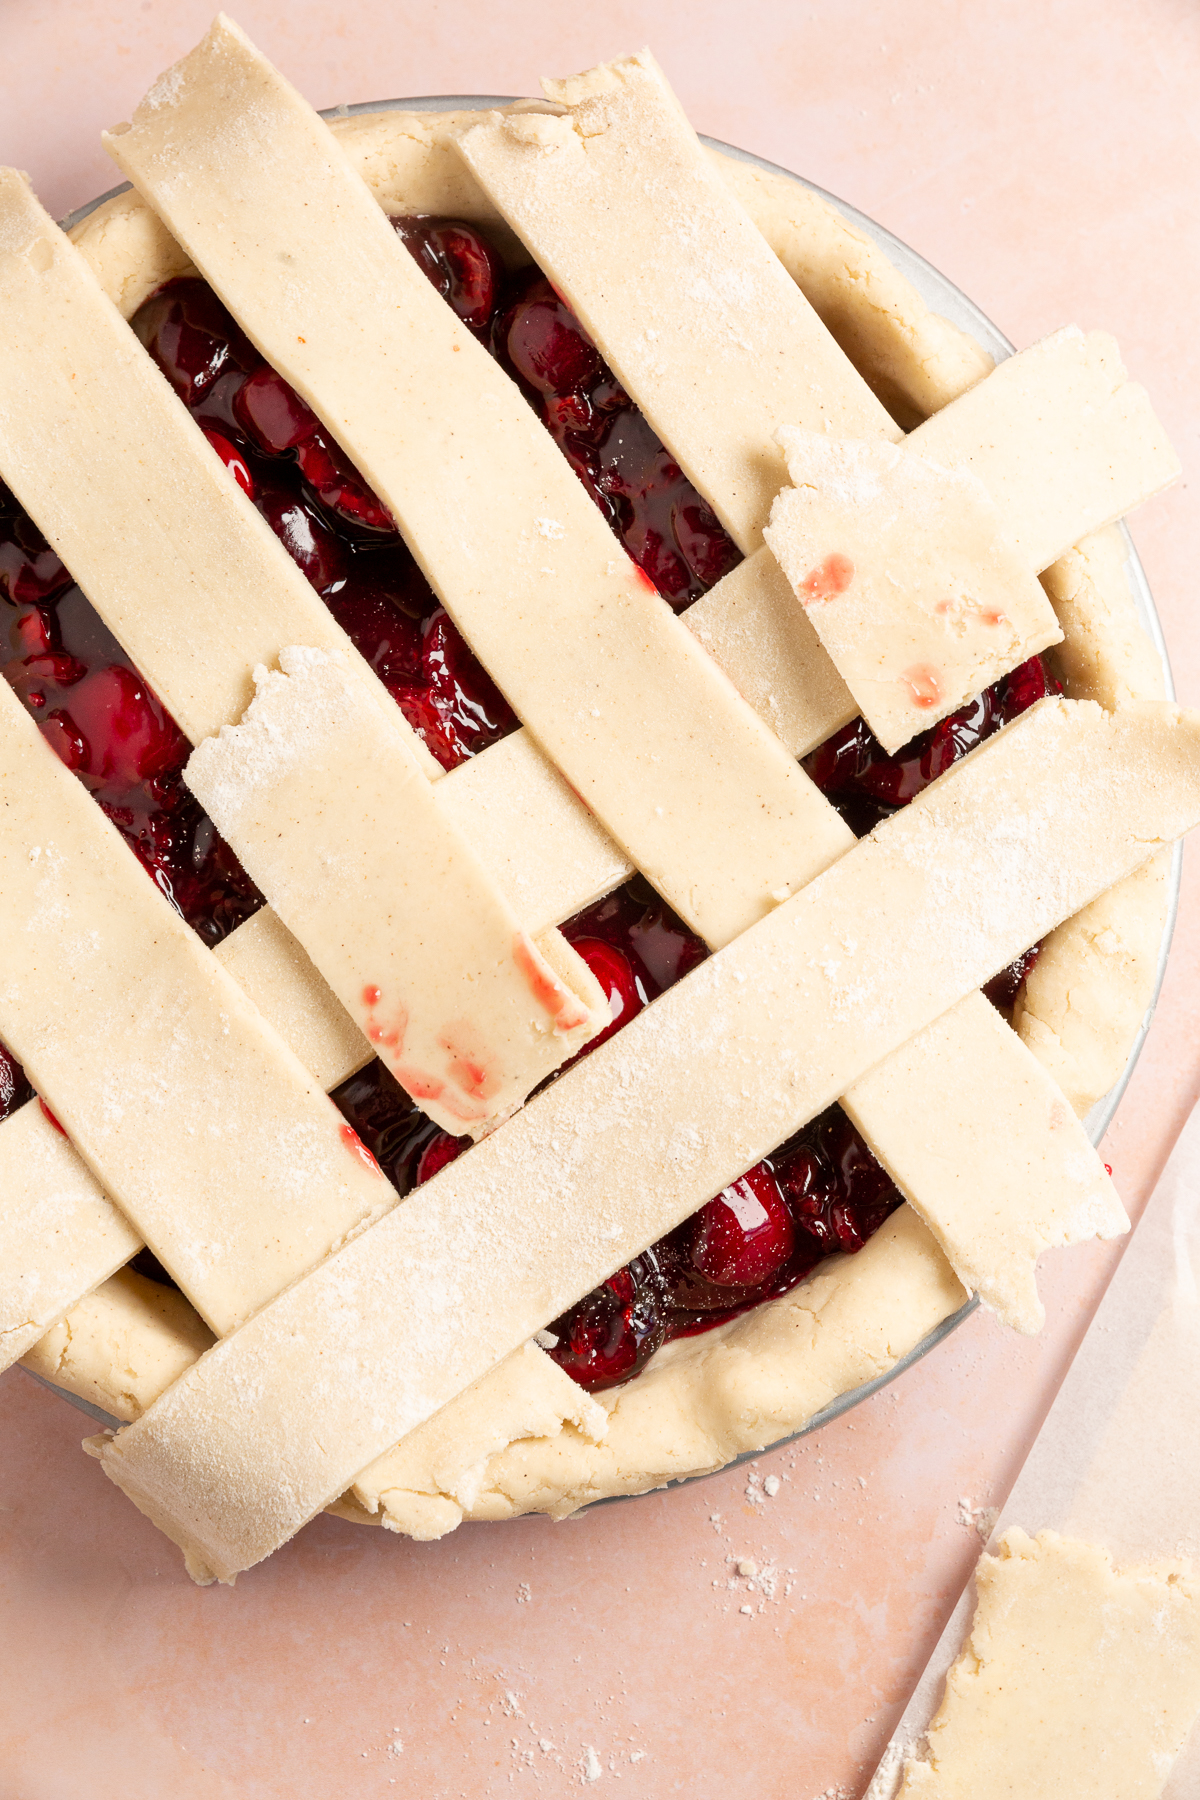 Begin laying your lattice strips across the pie filling. Space them evenly to create the classic lattice pattern on top of the pie. Weave the lattice by folding back alternating strips and laying new strips across.
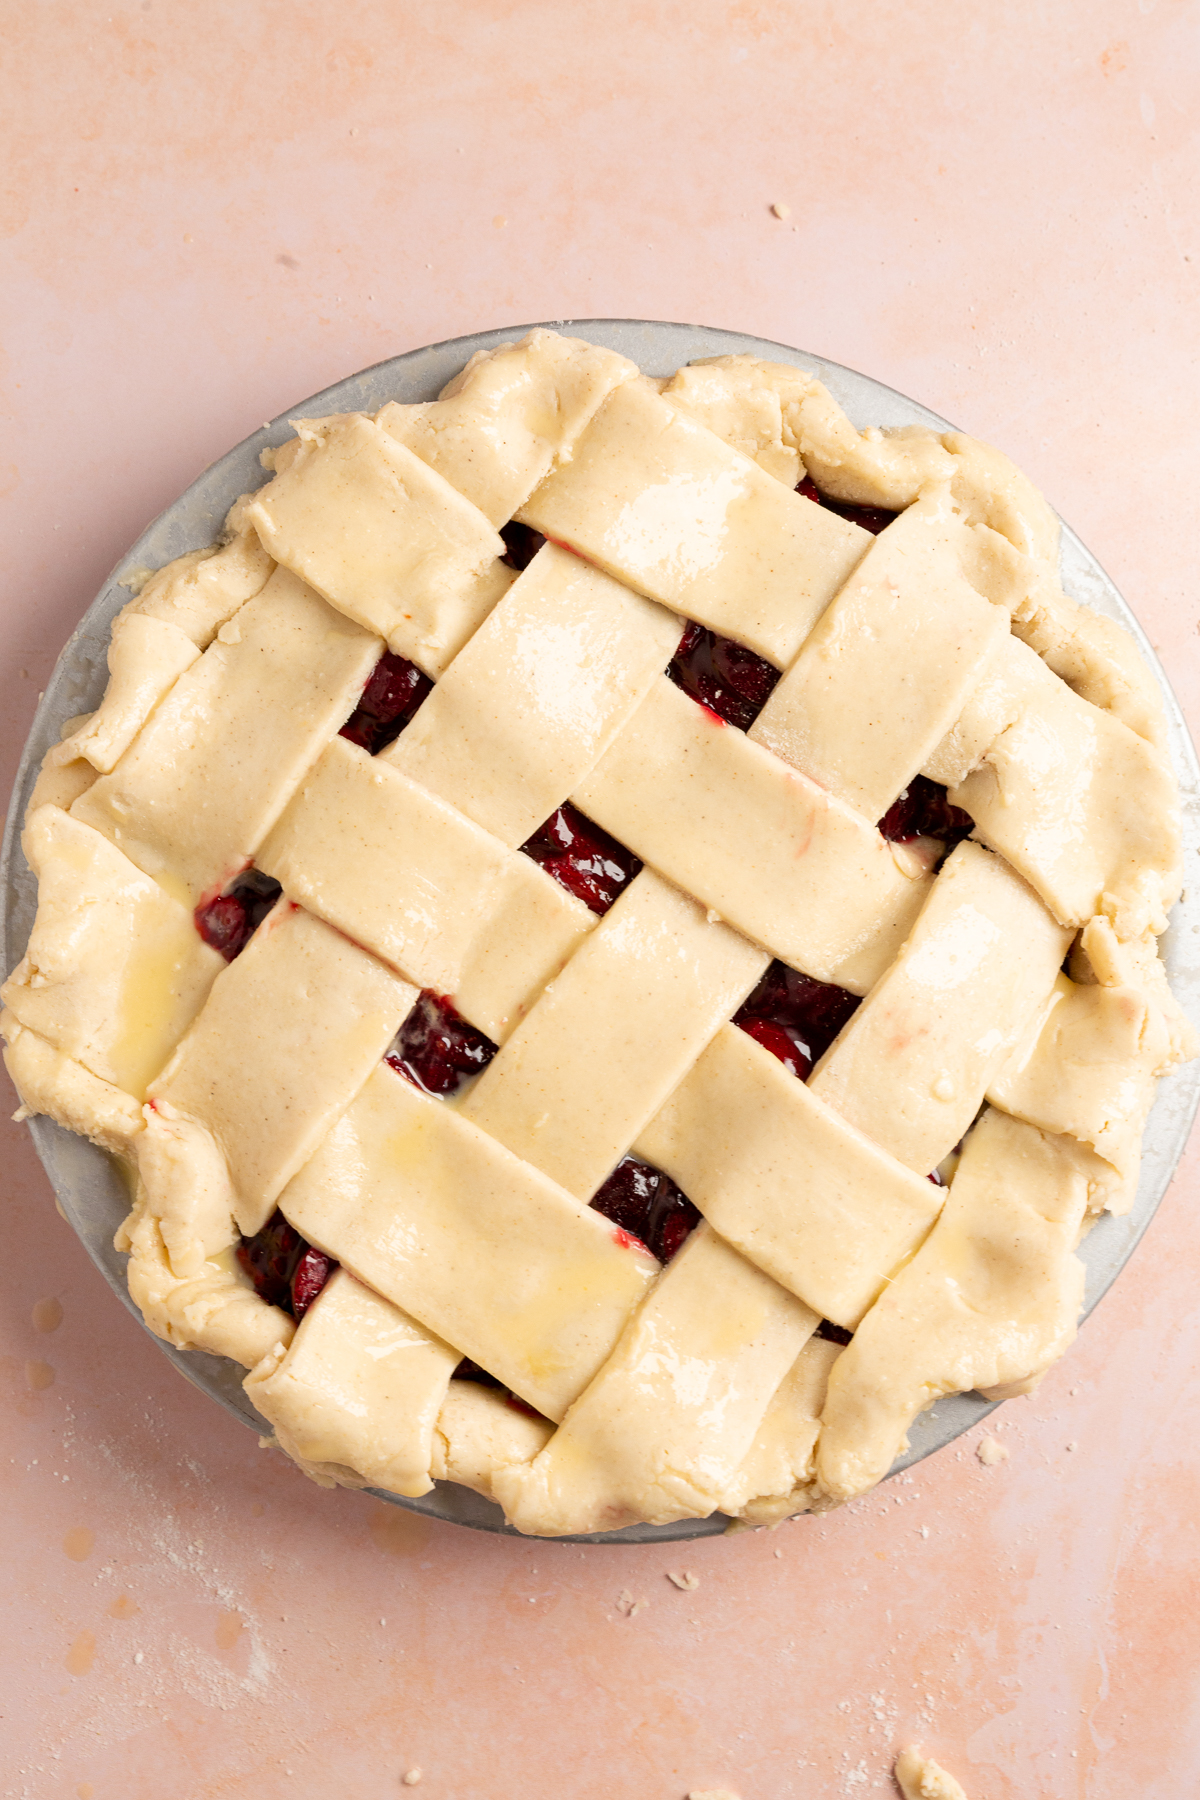 Once you’ve finished your lattice top, press the strips into the edge to seal them. Roll the excess under itself to create a thick edge and then crimp the edges. Brush the top of the pie with an egg wash.
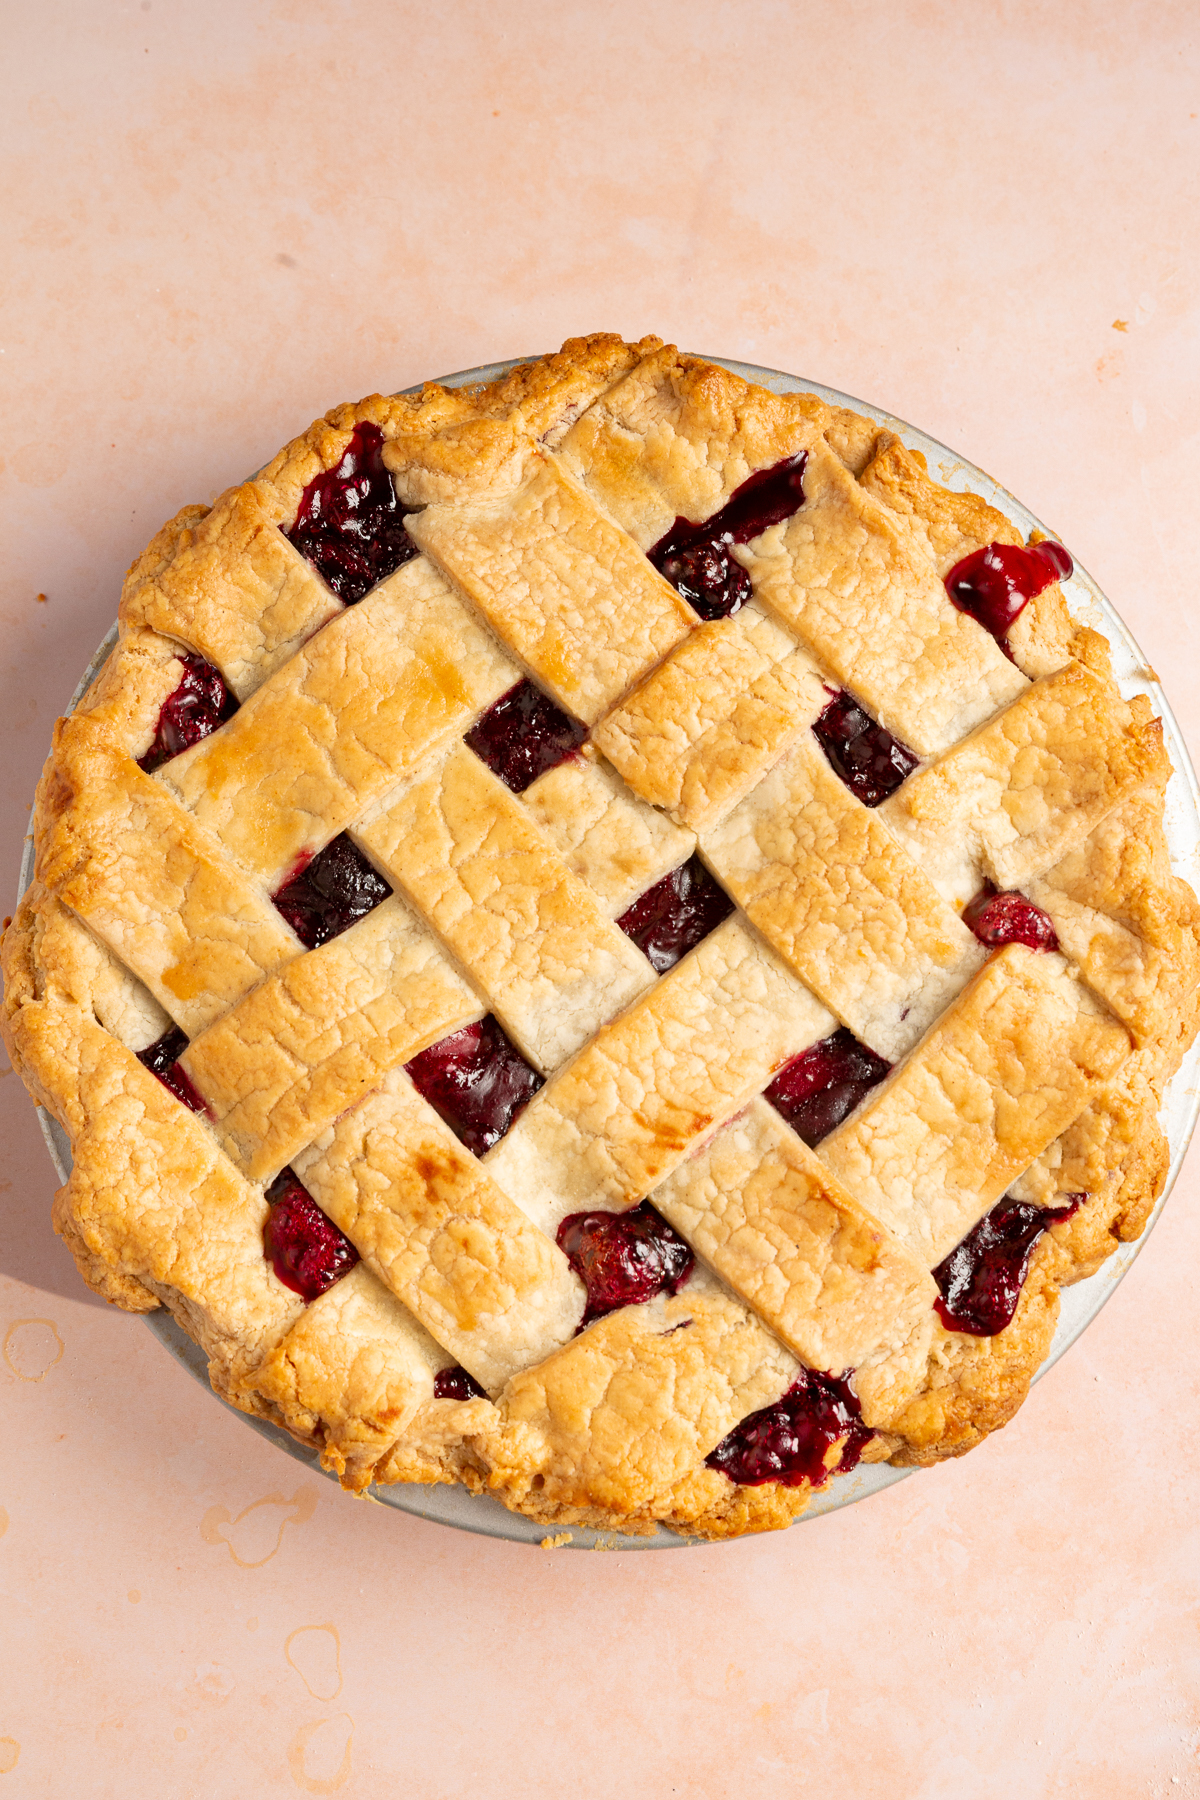 Bake the cherry pie until it is golden brown and the cherry filling is bubbling. If the crust begins to brown too much, put some aluminum foil over the edges or the whole top as needed.
Recipe FAQs
What if I don’t have a cherry pitter?If you don’t have a cherry pitter, you can use a sturdy straw or a chopstick to push the pits out of the cherries. It might take a bit more time, but it works well in a pinch.
Can I substitute almond extract with something else?If you’re not a fan of almond extract, you can leave it out or substitute it with an equal amount of vanilla extract.
Is a lattice crust necessary for the top of the pie?No, a lattice crust is not required. You can cover the pie with a full top crust instead. Just be sure to cut a few slits in the top to allow steam to escape during baking. Alternatively, you could use a gluten-free streusel topping for a different texture and flavor.
How do I know when the pie is done baking?The pie is done when the crust is golden brown and the filling is bubbling. If the edges of the crust start to brown too quickly, you can cover them with foil to prevent burning.
Expert Tips
- Cool the filling completely before assembling. If you pour warm filling into the crust, the butter in the dough will melt before it hits the oven and you’ll lose all that flakiness. I make the filling the night before and refrigerate it.
- Bake on a sheet pan. Cherry filling bubbles over. Every time. A sheet pan underneath saves you from a smoking oven and a messy cleanup.
- Don’t skip the egg wash. Brushing the lattice with egg wash gives it that deep golden color and a slight sheen. Without it, the crust looks pale and dry.
- Let the pie cool for at least 2 hours before cutting. The filling needs time to set. I know it’s tempting to cut into it right away, but if you do, the filling will run right out of every slice.
Storage Instructions
Room temperature – Cover with plastic wrap or foil. Keeps up to 2 days.
Refrigerate – Tightly covered, up to 5 days.
Freeze – Cool completely, wrap tightly in plastic wrap then foil. Freezes up to 3 months. Thaw overnight in the refrigerator.
Reheat – I recommend reheating individual slices instead of the whole pie. Warming a whole pie requires the entire pie to heat through, which can take a while and may cause the crust to overcook. Warm individual slices in the oven at 350°F for 5-10 minutes or microwave for 20-30 seconds.
Serving Suggestions
I always serve this with vanilla ice cream. Always. If I’m feeling extra, my homemade strawberry ice cream is incredible with it in the summer when both fruits are in season.
This was part of our pie lineup for my daughter’s first birthday party (pie-themed, because she was born right around Pi Day). I made this cherry pie, my gluten-free key lime pie , my gluten-free Oreo pudding pie , and my gluten-free blueberry pie . We just set them all out and let people grab slices of whatever they wanted. That same spread works for Thanksgiving,
Method
Make the Pie Dough:
-
1
Prepare a full batch of my Homemade Gluten-Free Pie Crust. Cut the dough into two pieces and wrap each individually with plastic wrap. Refrigerate until ready to use.
Prepare the Filling:
-
2
Pit 2 ½ pounds whole fresh cherries and slice them in half. Divide into two equal portions.
-
3
In a medium saucepan over medium heat, combine half the cherries with ¾ cup granulated sugar and 2 tablespoons lemon juice. Stir and cook until the sugar dissolves.
-
4
In a small bowl, whisk together ¼ cup cornstarch and ½ cup water until smooth.
-
5
Pour the cornstarch slurry into the saucepan and stir constantly. Bring to a boil, then reduce heat and cook 2-3 minutes until thick and glossy.
-
6
Remove from heat. Stir in 1 teaspoon vanilla extract and ½ teaspoon almond extract.
-
7
Pour the cooked cherry mixture over the reserved fresh cherries and stir to combine. Let the filling cool completely. I refrigerate mine overnight.
Assemble the Pie:
-
8
Preheat the oven to 425°F (220°C).
-
9
Roll out one disk of chilled pie dough on a piece of parchment paper that has been dusted with gluten-free flour. You’ll want to roll it out to about 12-inches for a 9-inch pie plate.
-
10
Once rolled out, place the pie plate upside down on the pie dough. Using the parchment paper, flip the pie plate over so that the pie dough lands in the pie plate. Remove the parchment paper.
-
11
Use your hands to lift the pie dough so that it fits to the edge of the pie plate. Be sure not to stretch it, as it may break and crack. Leave about 1-2 inches of overhang around the edges of the pie plate, trimming off any excess.
-
12
Pour the cooled cherry filling into the crust.
-
13
Roll out the second disk of dough into a large circle, about 12-inches in diameter. Cut it into 1-inch strips using a pizza cutter or a knife. Lay half of the strips horizontally over the pie. Fold back every other strip halfway and lay one strip perpendicular. Unfold the strips over the perpendicular strip and repeat with the remaining strips to create a lattice pattern.
-
14
Trim any strips that hang too far over the edge. Tuck the overhanging dough from the bottom crust and strips under itself to create a thick edge. Crimp with your fingers or press with a fork.
Egg Wash and Bake:
-
15
In a small bowl, beat 1 large egg with 1 tablespoon water to create the egg wash. Brush the egg wash over the lattice crust and the edges of the pie.
-
16
Place the pie on a baking sheet to catch any drips. Bake at 425°F (220°C) for 15 minutes. Reduce the oven temperature to 375°F (190°C) and continue baking for 45 minutes to 1 hour, or until the crust is golden brown and the filling is bubbling. If the pie is browning too quickly, place aluminum foil over the top of the pie to protect the lattice topping and edges from burning.
-
17
Remove the pie from the oven and cool on a wire rack for at least 2 hours before slicing and serving. The filling needs this time to set.
Cook next
 Gluten-FreeRecipeApple Cider CaramelsThese apple cider caramels are chewy, buttery caramels flavored with reduced apple cider and warm spices like…
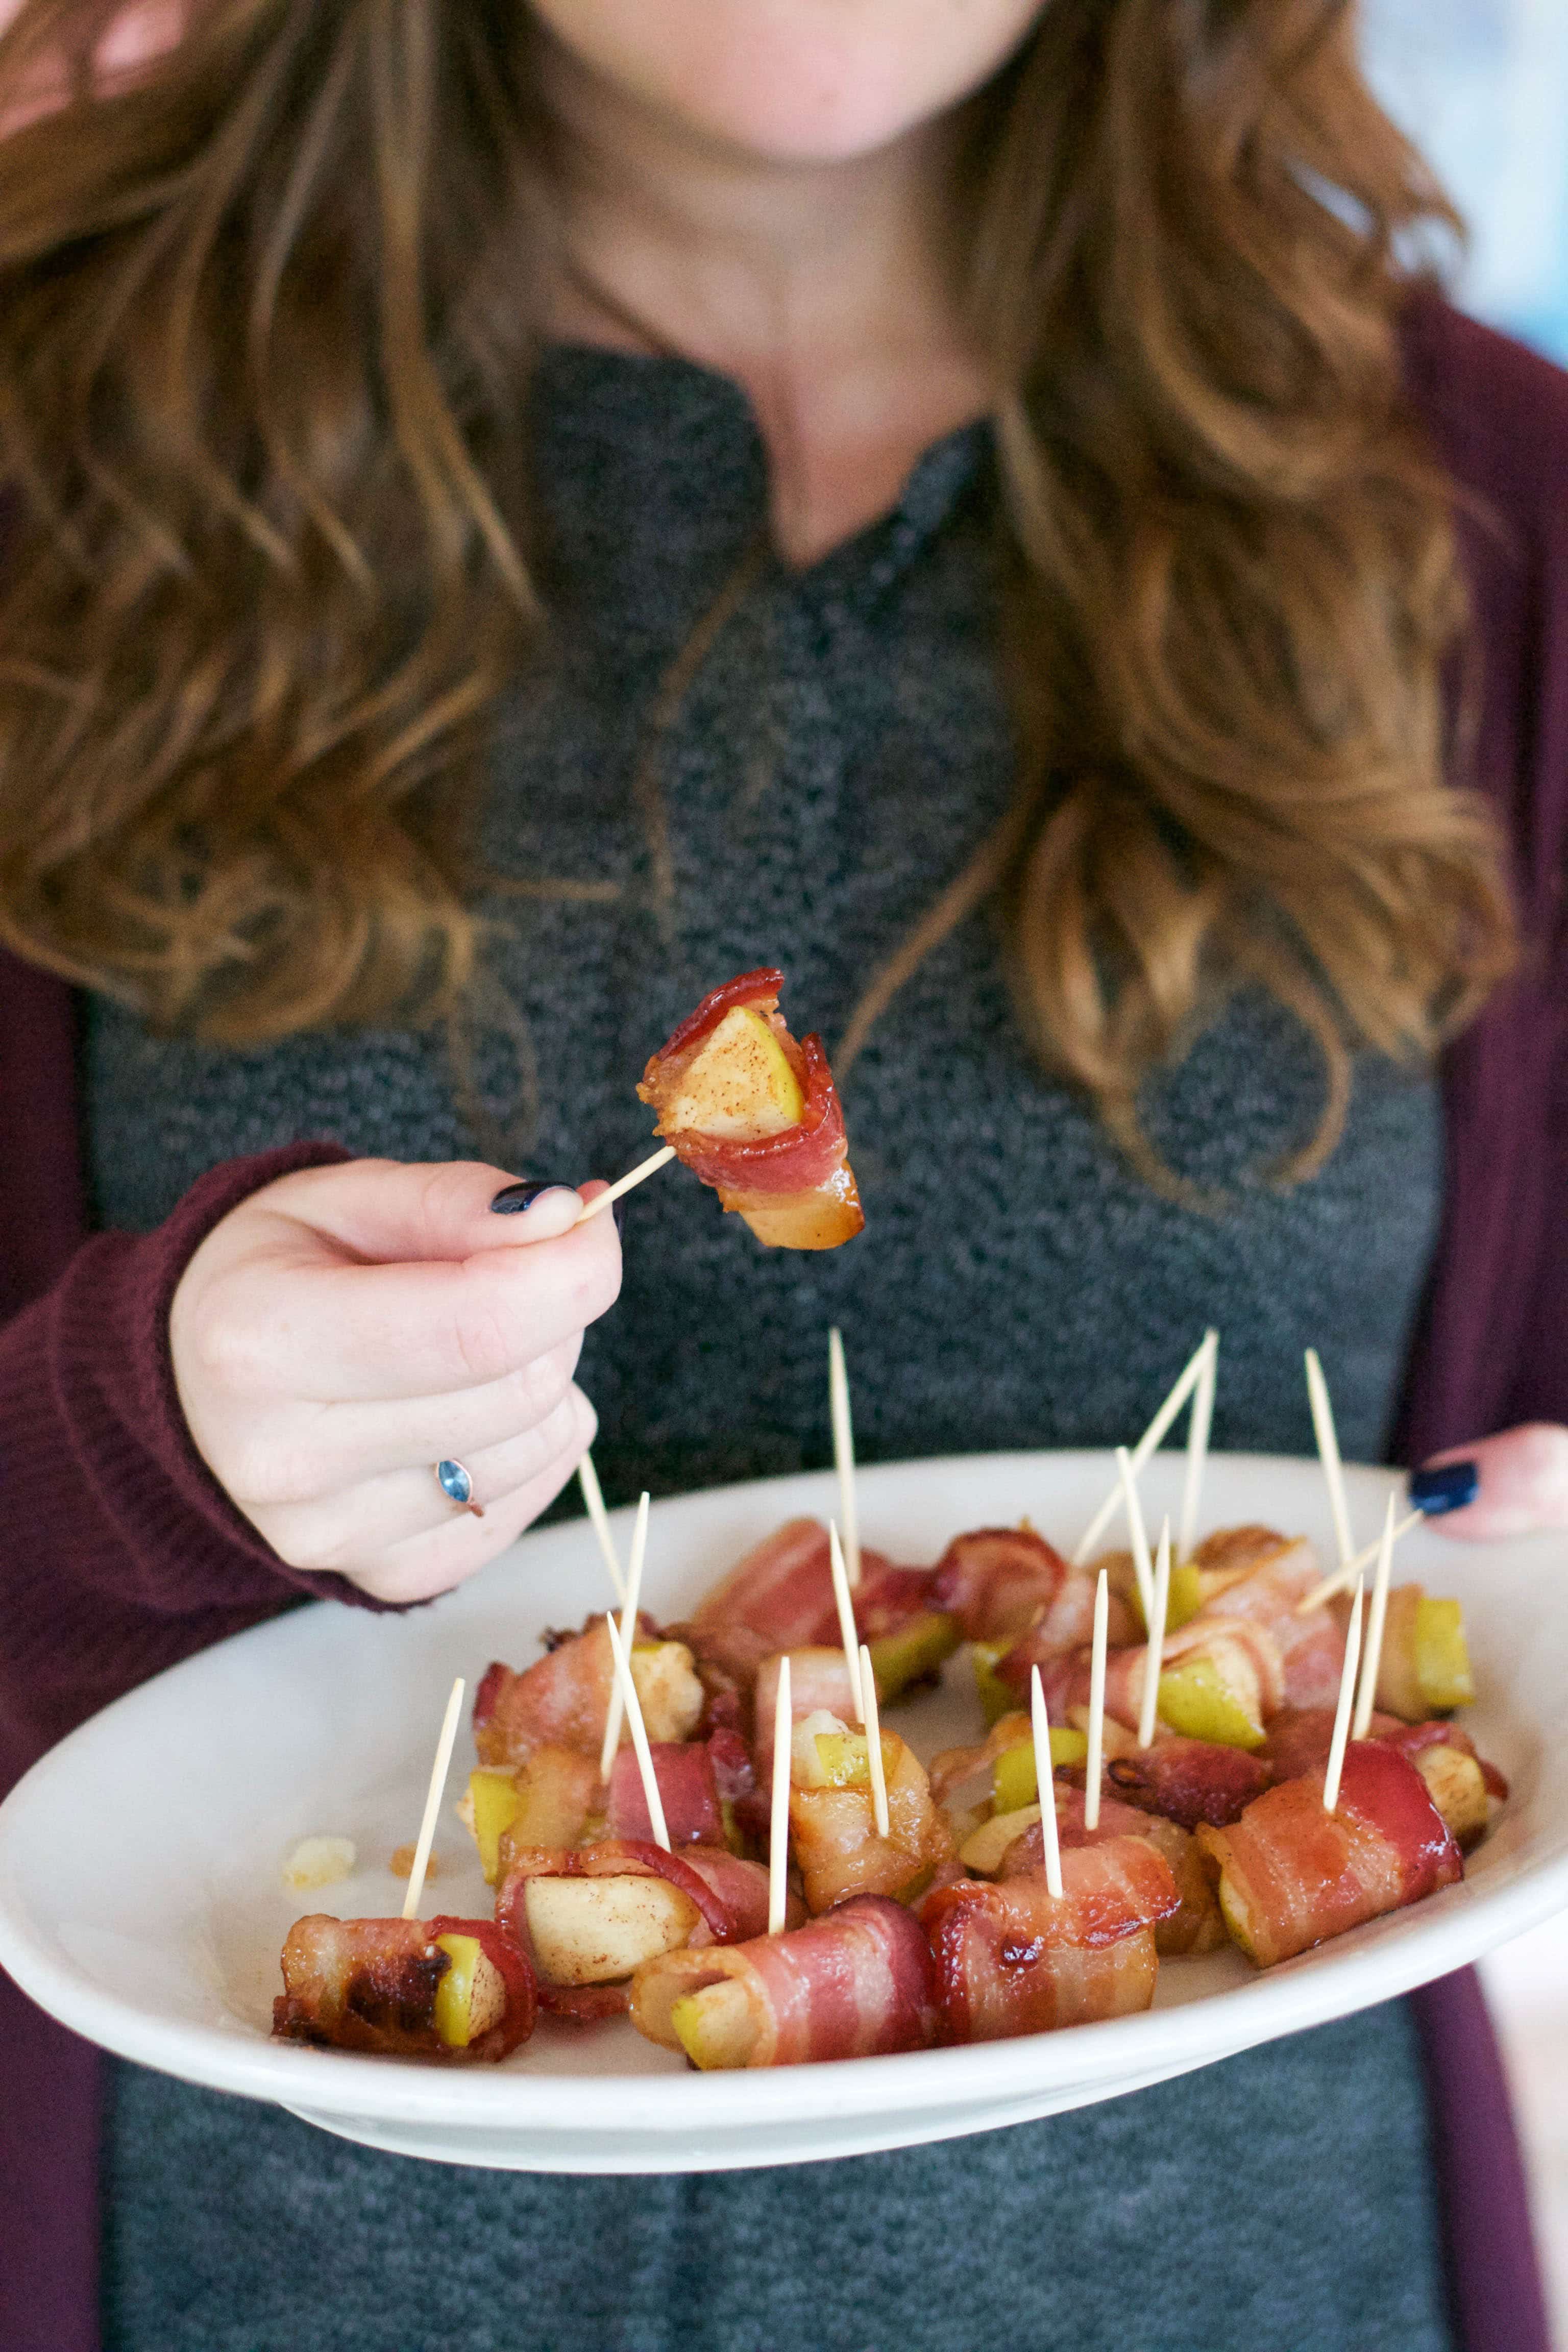 Gluten-FreeRecipeBrown Sugar Bacon Wrapped ApplesThis brown sugar bacon wrapped apples recipe uses only four ingredients to make the ultimate appetizer. They'…
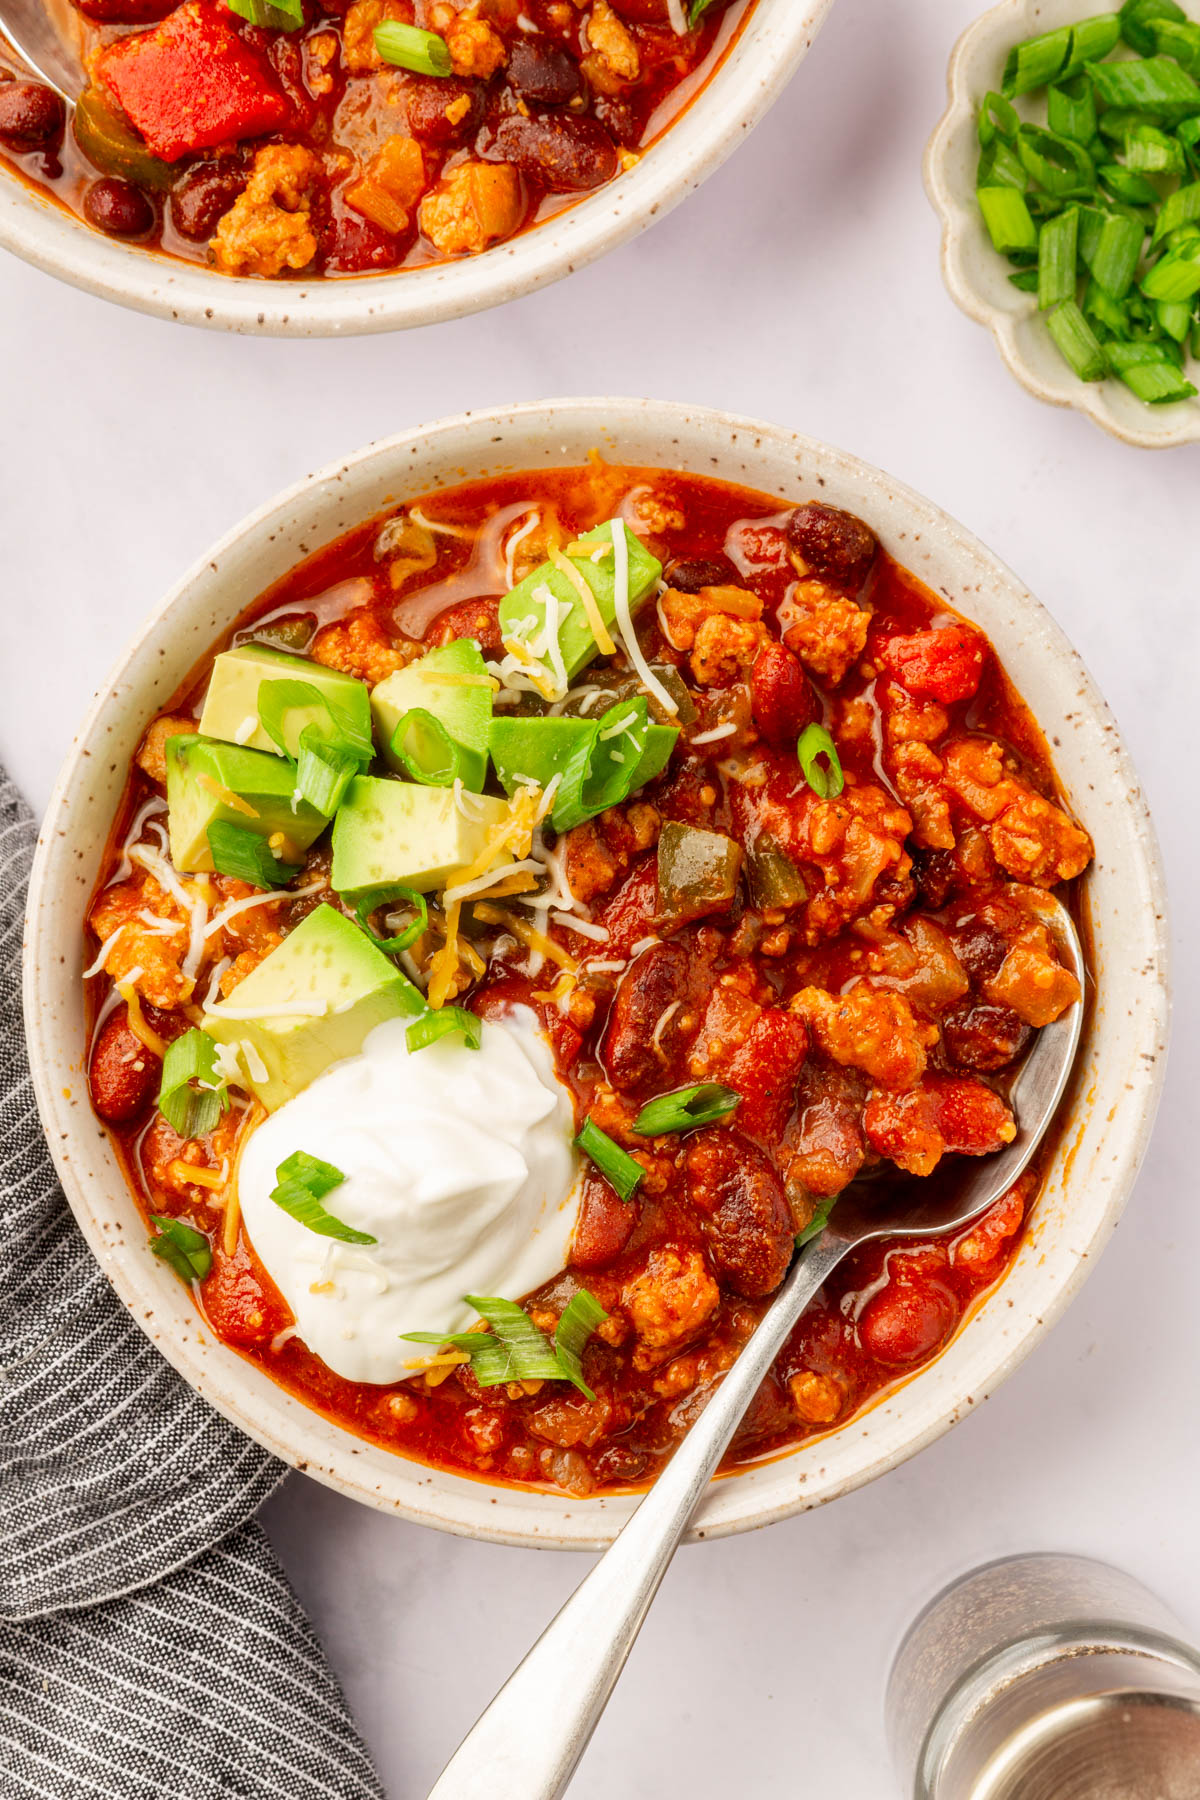 Gluten-FreeRecipeSlow Cooker Turkey ChiliThis crockpot turkey chili is made with ground turkey, two kinds of beans, and a blend of individual spices w…
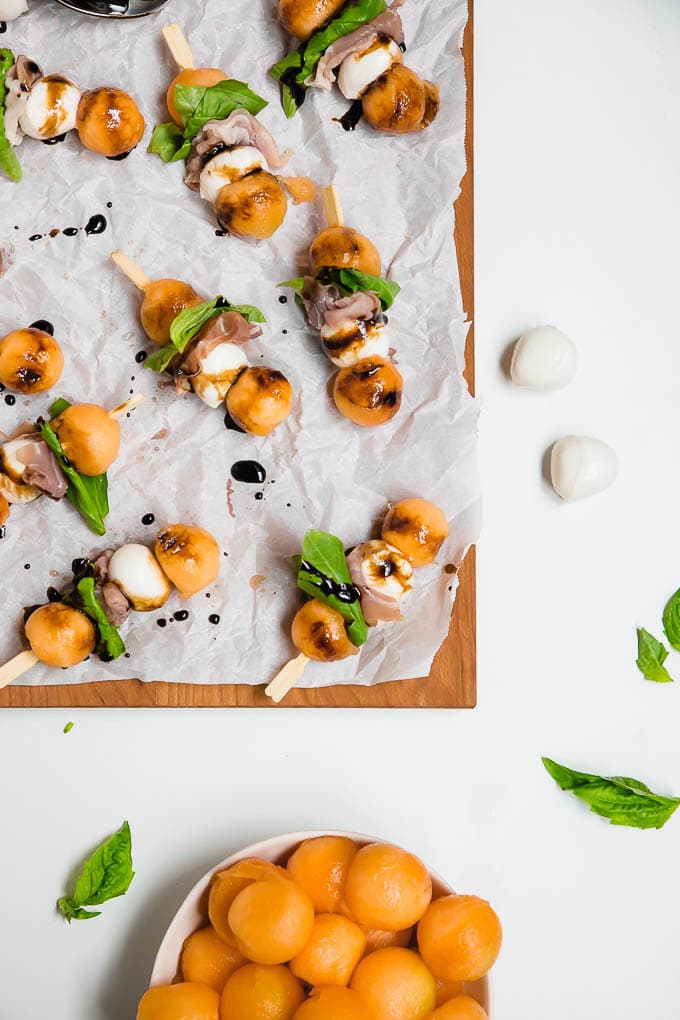 Gluten-FreeRecipeProsciutto Melon Mozzarella SkewersThese cantaloupe prosciutto mozzarella skewers are a five-ingredient no-cook appetizer that comes together in…
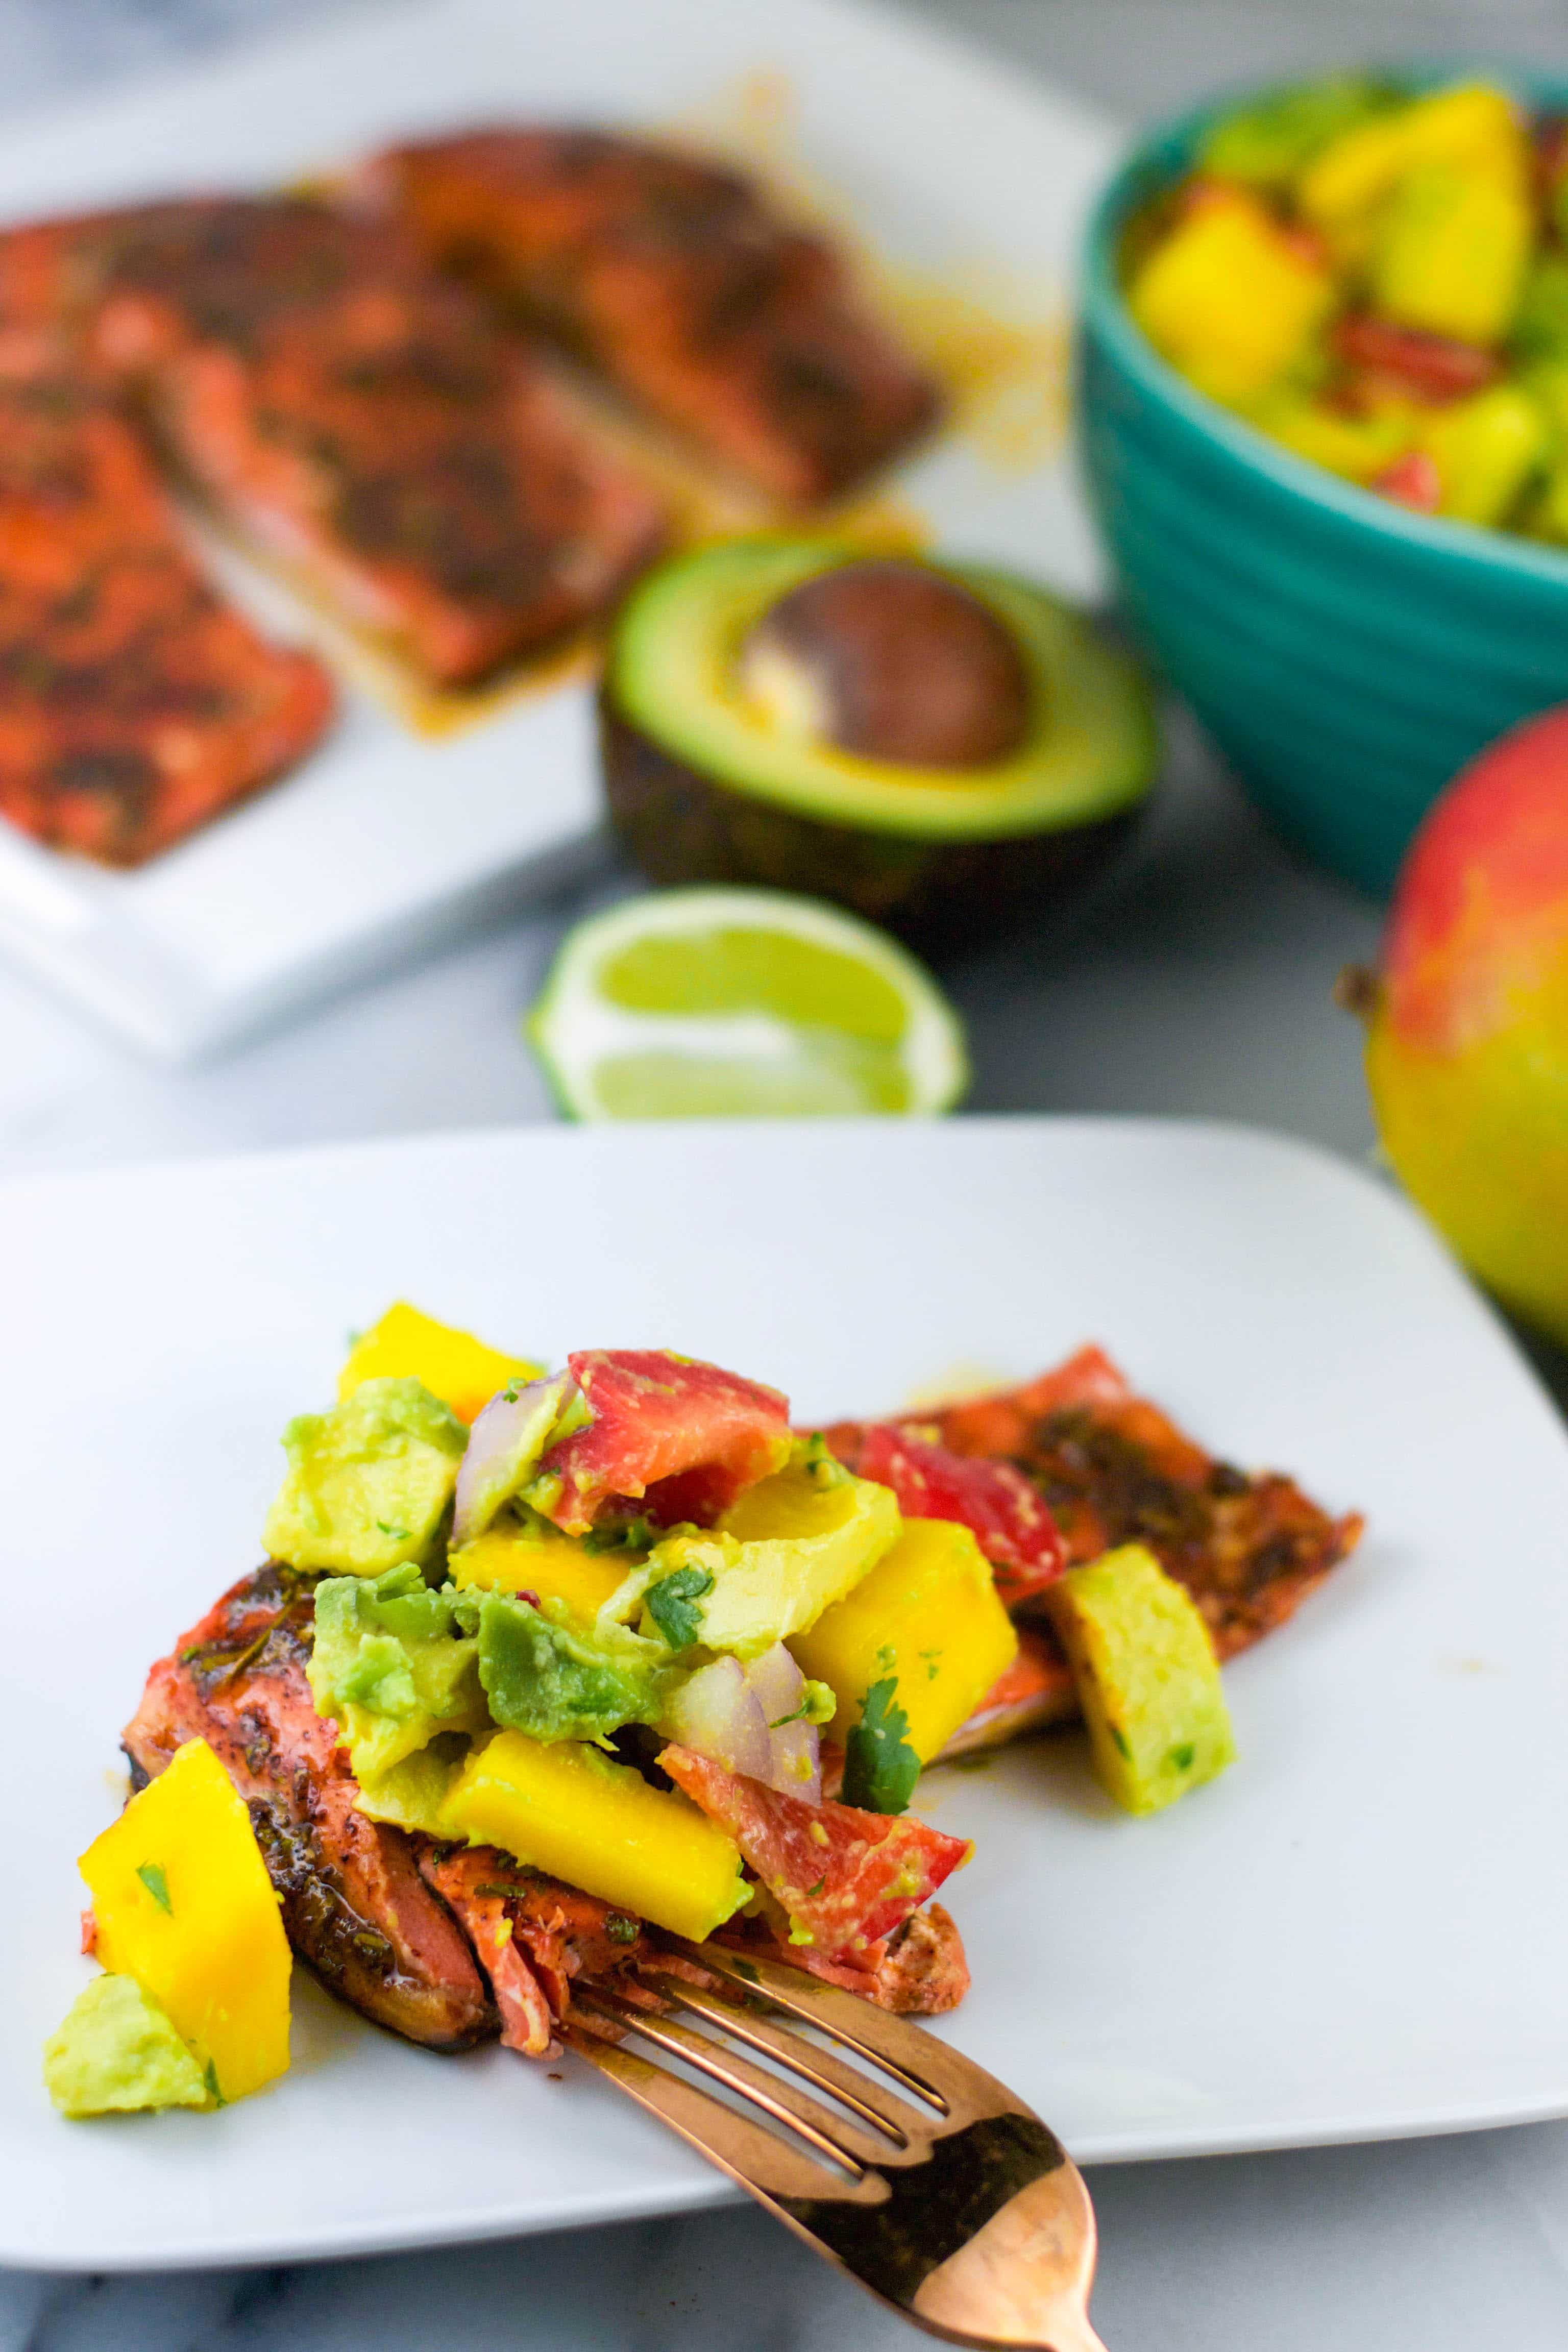 Gluten-FreeRecipeHoney Glazed Salmon with Mango Avocado SalsaThis honey glazed salmon is topped with a fresh avocado mango salsa and on the table in about 20 minutes. The…
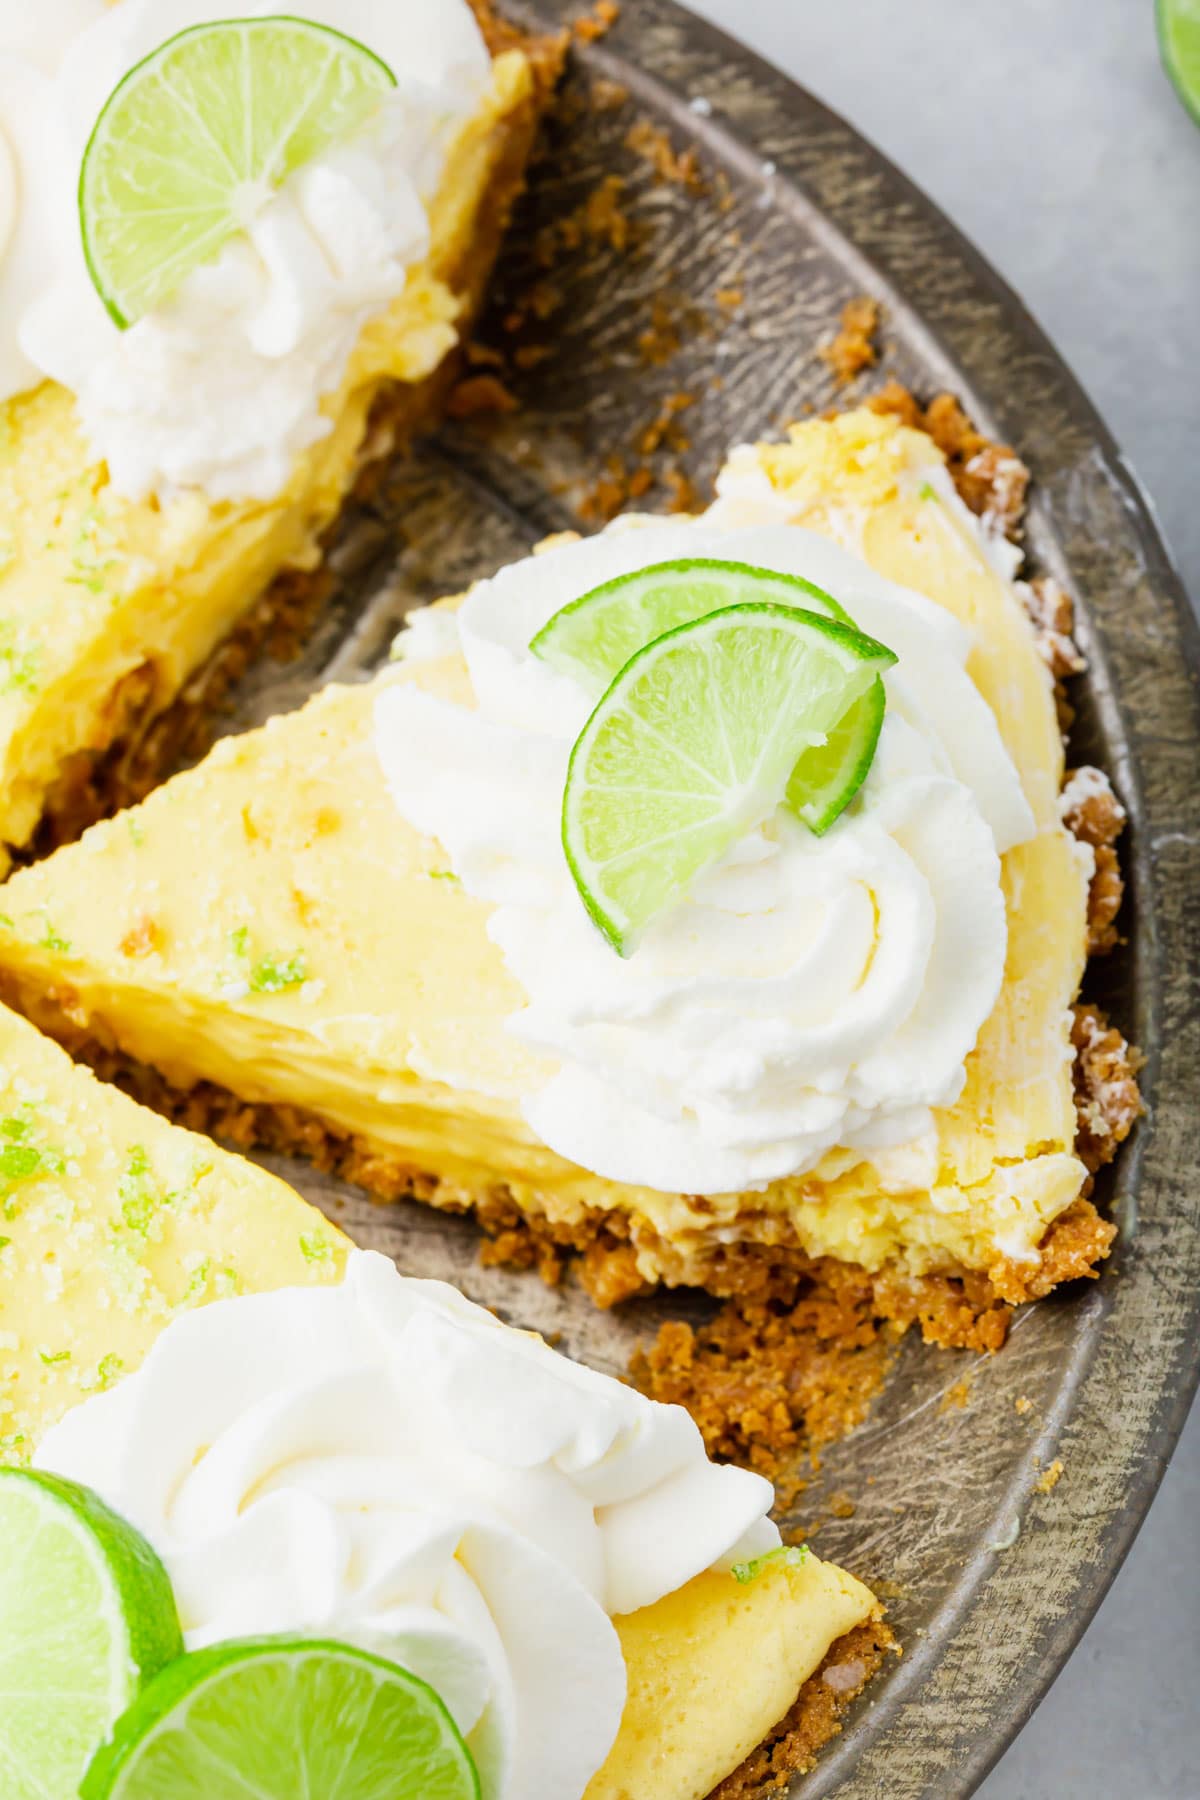 Gluten-FreeRecipeGluten-Free Key Lime PieThis gluten-free key lime pie recipe is made with simple ingredients and is such a crowd pleaser! With a swee…
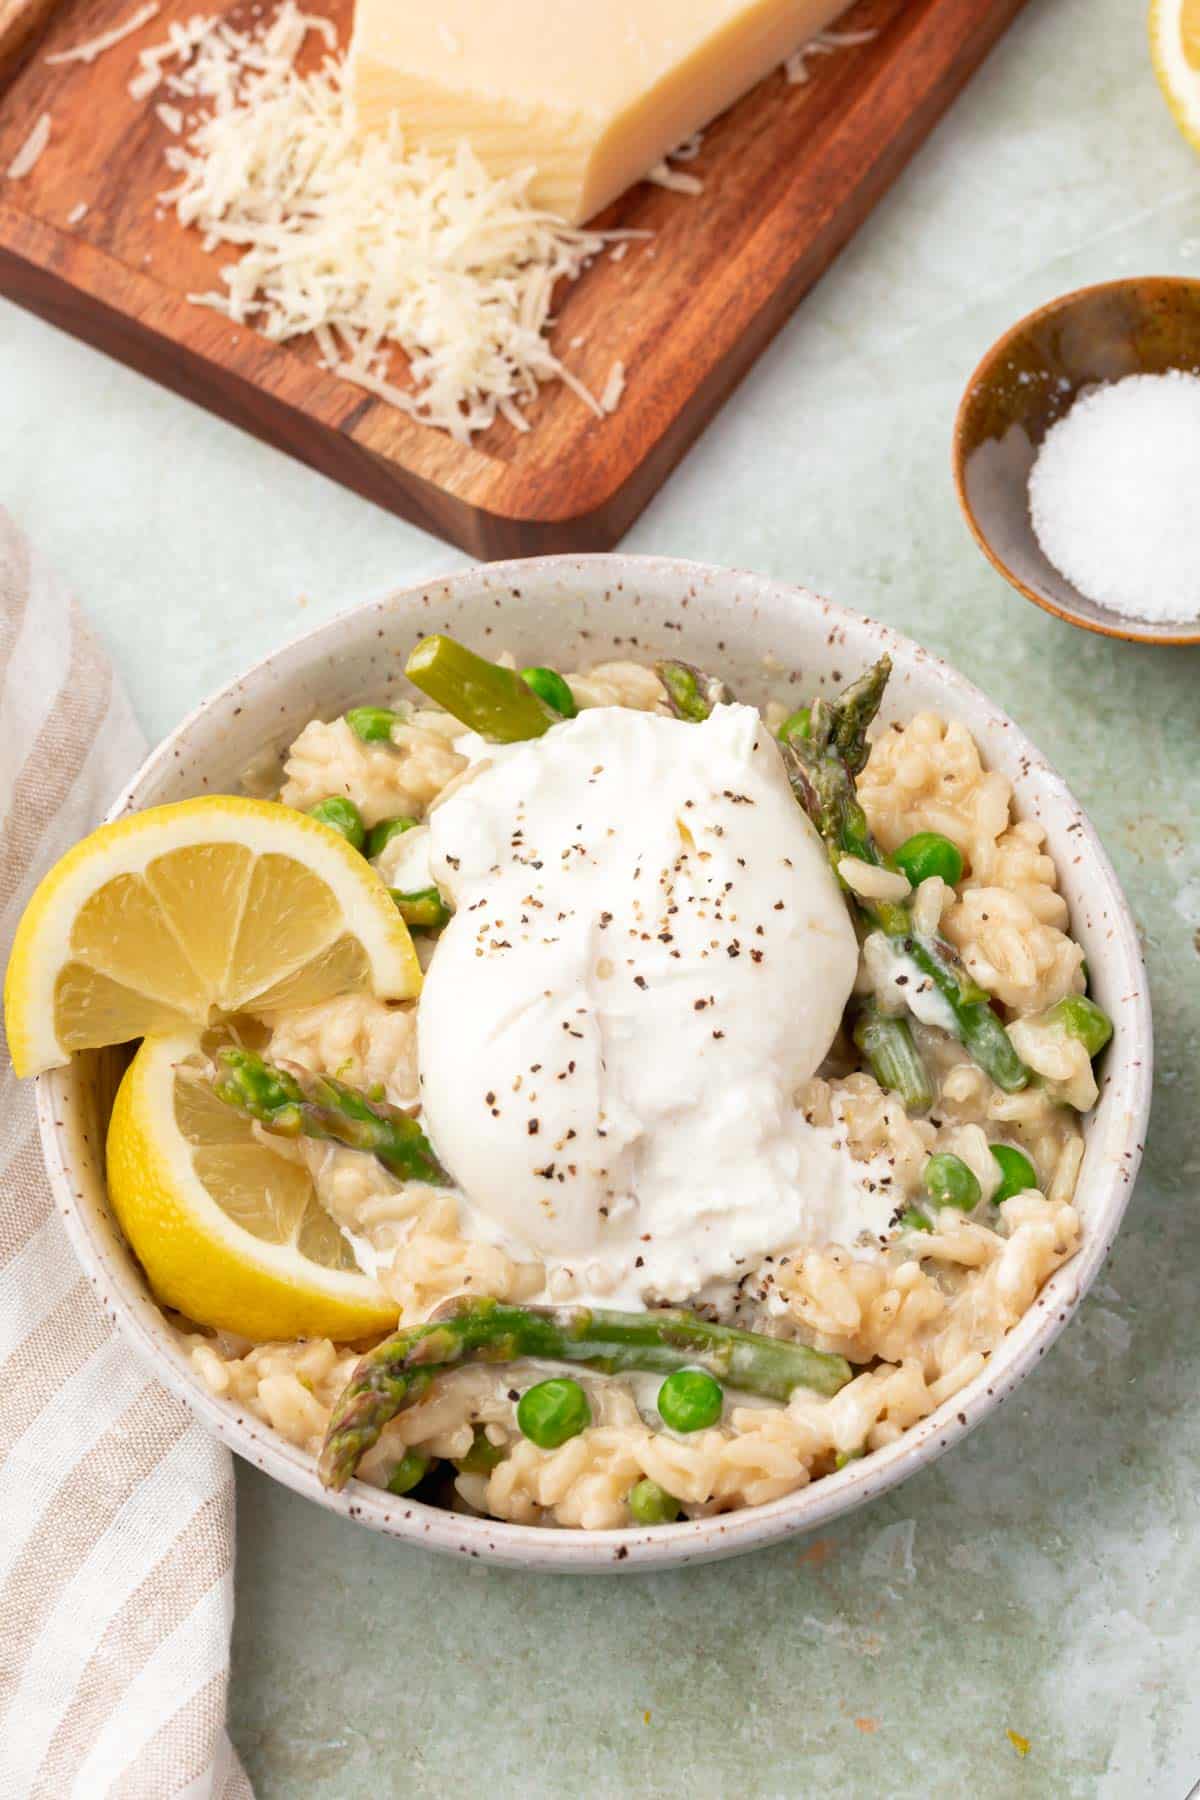 Gluten-FreeRecipeAsparagus and Pea Risotto with BurrataThis asparagus and pea risotto is made with arborio rice, white wine, vegetable broth, parmesan, and a squeez…
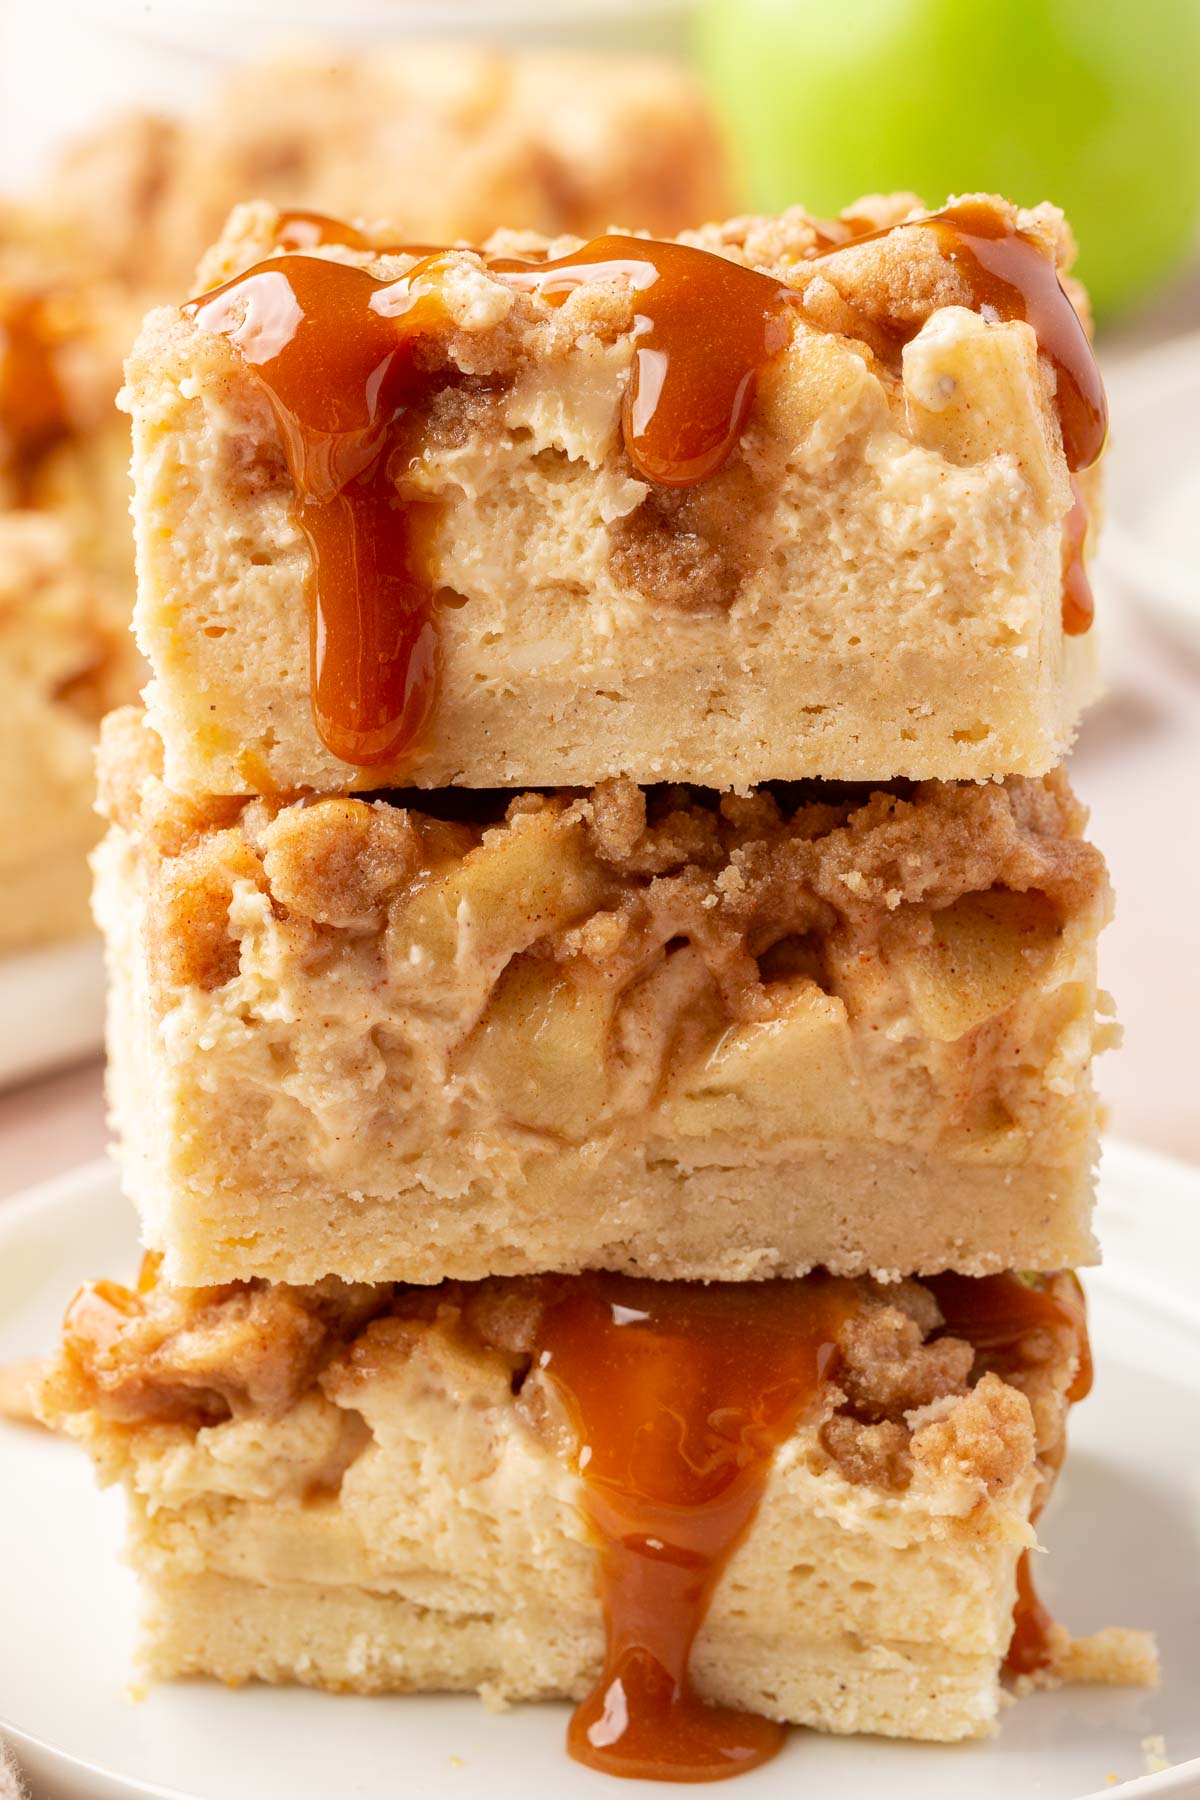 Gluten-FreeRecipeGluten Free Caramel Apple Cheesecake BarsThese gluten-free caramel apple cheesecake bars have a simple shortbread base paired with a smooth cheesecake…