Apple Cider Caramels
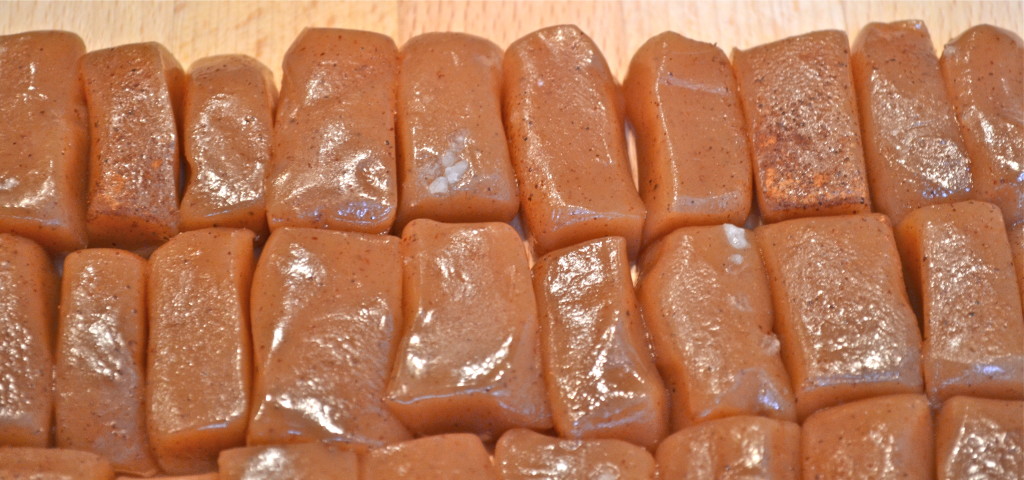
These apple cider caramels are chewy, buttery caramels flavored with reduced apple cider and warm spices like cinnamon and nutmeg, topped with flaky sea salt.
- Prep10 min
- Cook1 hr 30 min
- Total2 hr 40 min
- Yield80 caramels
1 Nov 2012
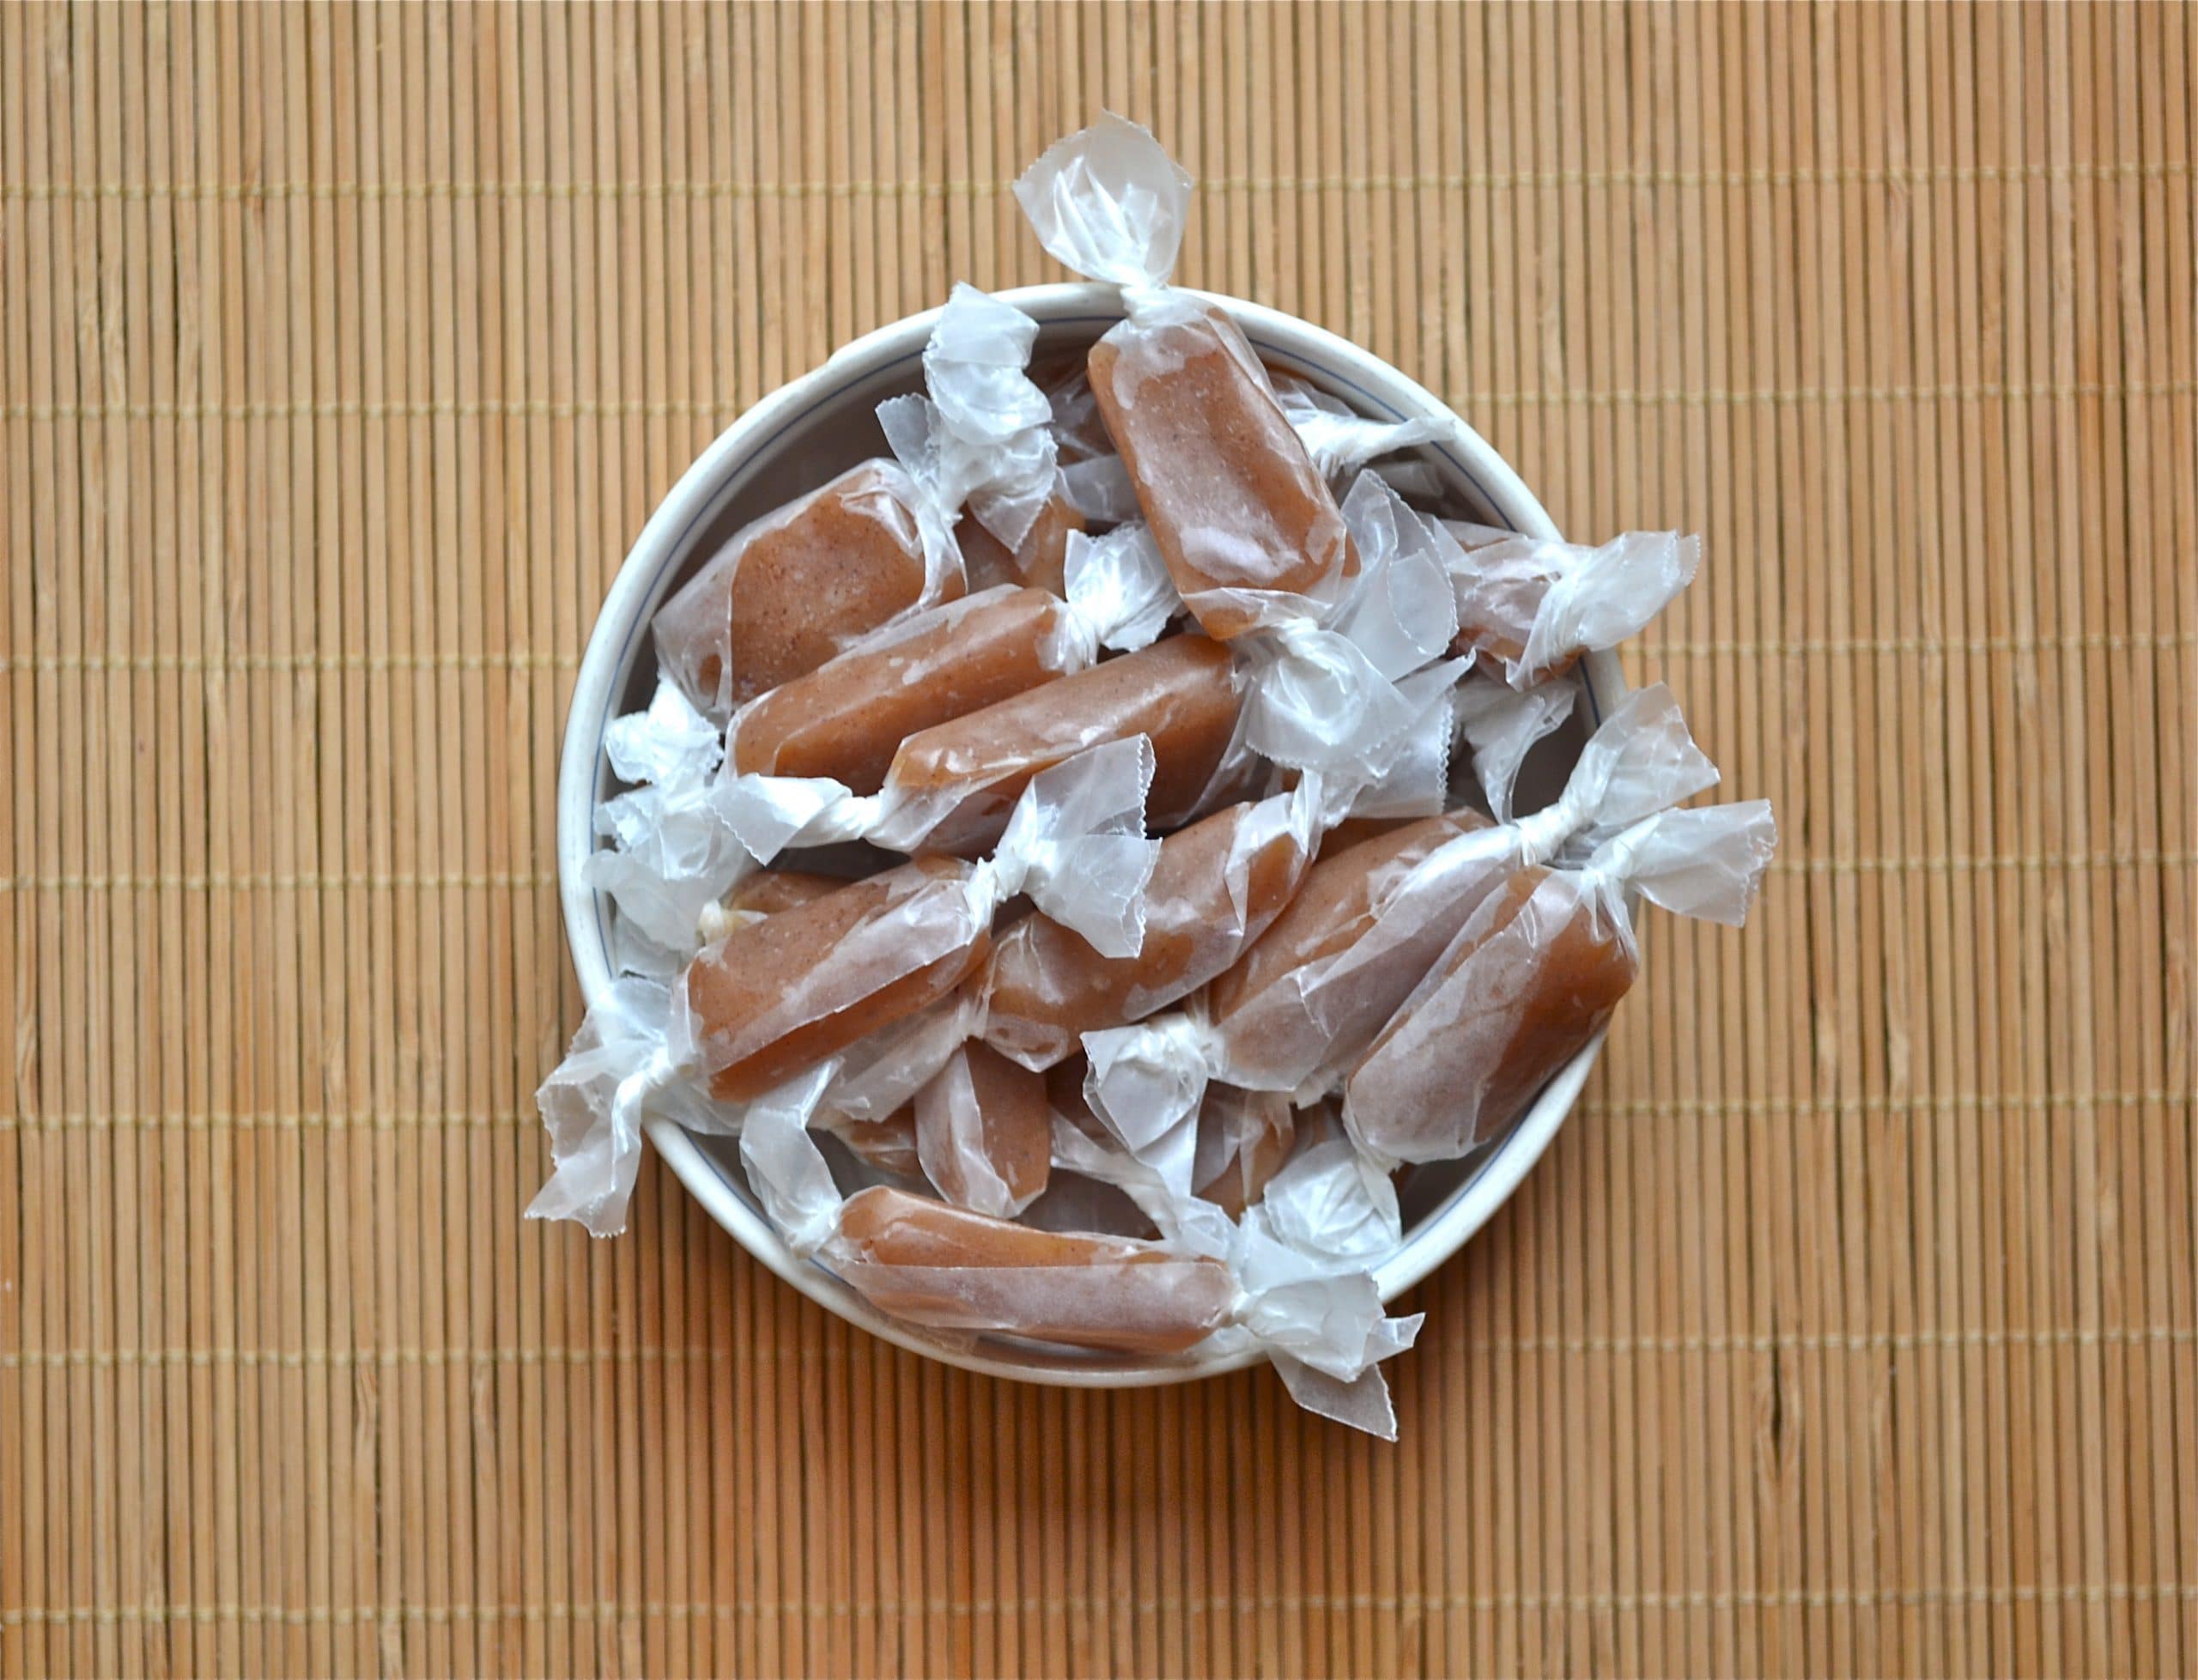
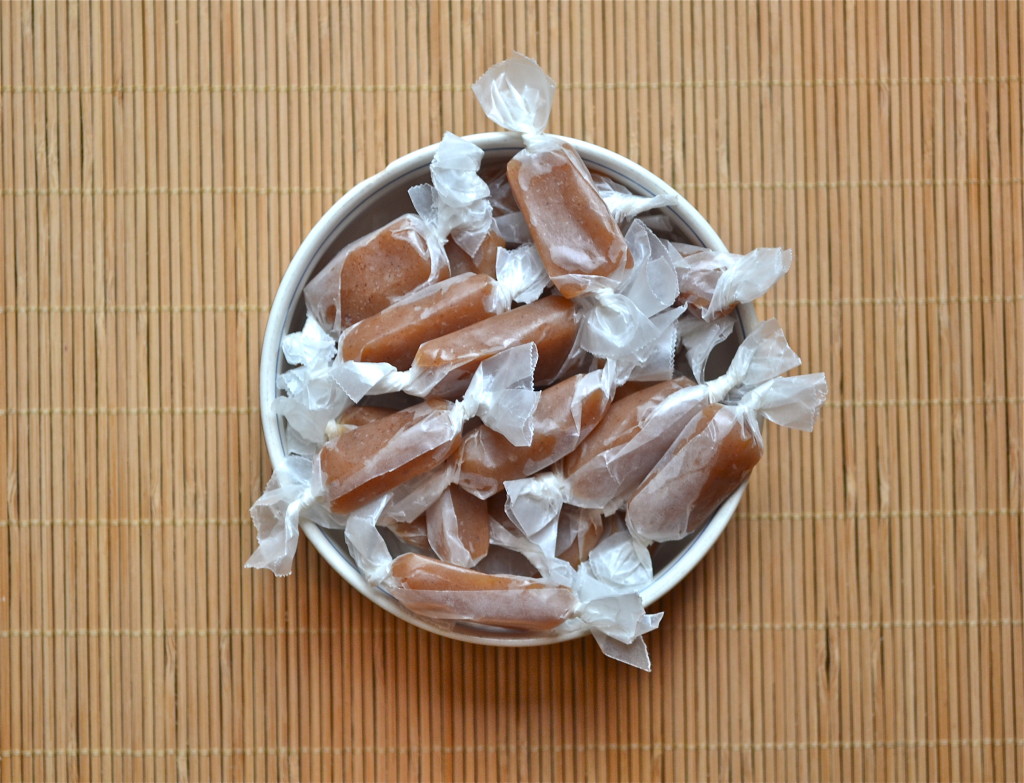
Apple cider caramels are chewy, buttery caramels flavored with reduced apple cider and warm spices like cinnamon and nutmeg. They taste like caramel with a tangy apple kick and just enough sea salt on top to balance the sweetness.
This recipe takes about 2 hours because you reduce apple cider first, then cook the caramel mixture slowly to reach the right temperature. You’ll need a candy thermometer to get it right, but once you understand the process it’s just about patience and stirring.
Why You’ll Love this Recipe
- Deep apple flavor from reducing 2 cups of apple cider down to just 1/3 cup, which concentrates the taste into every single caramel without making them watery
- Makes 80 caramels so the time investment pays off with enough homemade candy to package as gifts, keep in your fridge for weeks, or share at holiday gatherings
- Naturally gluten-free with no special substitutions needed since caramels are made from cream, sugar, butter, and spices that are all gluten-free to begin with
Ingredient Notes
- Apple Cider: Use real apple cider, not apple juice. Apple juice is filtered and sweetened and won’t give you the tangy depth of flavor you need. The cider reduces from 2 cups down to 1/3 cup, which concentrates the apple flavor into every caramel.
- Heavy Cream: Heavy cream has enough fat to create smooth, creamy caramels. Don’t substitute with milk or half-and-half, which don’t have enough fat and will make the caramels grainy or too soft.
- Spices: Ground cinnamon, nutmeg, and allspice add warmth without overwhelming the apple cider flavor. Make sure your spices are fresh since old spices taste dull and won’t bring much flavor to the caramels.
- Sugar and Corn Syrup: Granulated sugar provides sweetness while light corn syrup prevents crystallization so your caramels stay smooth instead of grainy. Don’t skip the corn syrup or substitute it with honey, which will change the texture.
- Unsalted Butter: Use unsalted butter so you can control the salt level in the caramels. Salted butter varies by brand and could make your caramels too salty.
- Sea Salt: Flaky sea salt on top adds texture and balances the sweetness. Sprinkle it on while the caramel is still slightly warm so it sticks.
Equipment
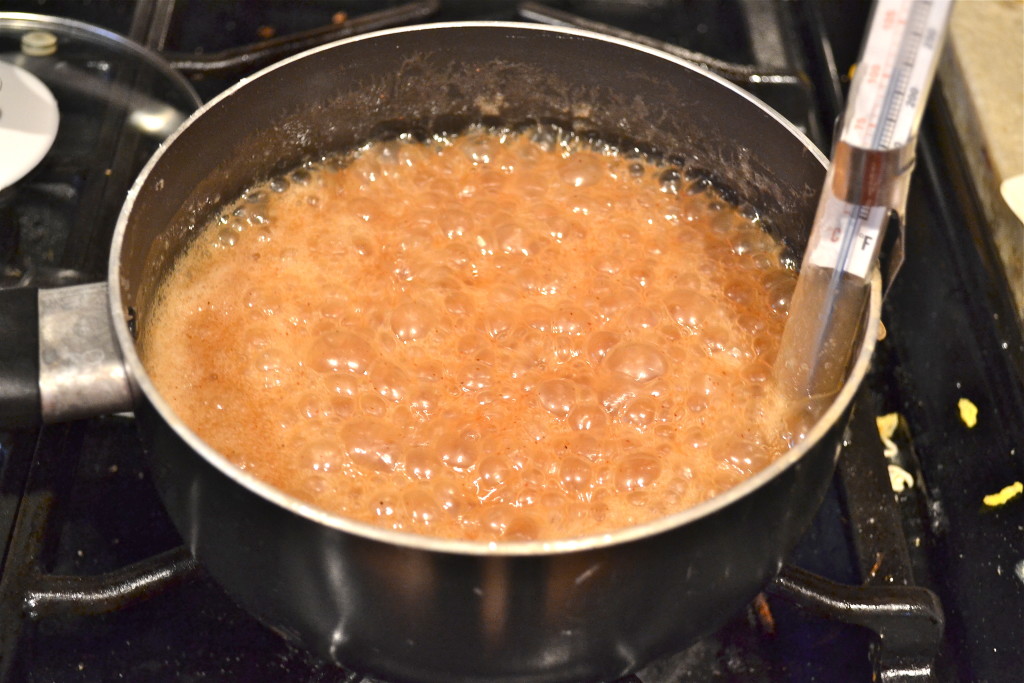
You need a candy thermometer for this recipe. The caramel must reach exactly 250°F or it won’t set properly. Guessing the temperature will result in caramels that are either too soft and sticky or too hard and impossible to chew.
Recipe FAQs
Do I need a candy thermometer for this recipe?Yes. Caramel must reach exactly 250°F to set properly. Without a thermometer you’re guessing, which will result in caramels that are either too soft and sticky or too hard to chew.
How long do these actually take to make?About 2 hours total. You’ll spend 30-40 minutes reducing the apple cider, then another hour cooking the caramel to the right temperature. Plus cooling time in the refrigerator until the caramels set.
Expert Tips
- Use a large pot. The caramel mixture bubbles up significantly when boiling. Use a pot that’s at least 4 quarts to prevent boiling over, which can be dangerous with hot sugar.
- Watch the cider reduction carefully. Apple cider reduces from 2 cups to 1/3 cup in about 30-40 minutes. Check it frequently toward the end because it can go from perfect to burnt quickly.
- Add salt while caramels are still warm. Sprinkle sea salt on top of the caramel in the pan when it’s cooled slightly but still tacky. If you wait until it’s completely set, the salt won’t stick.
- Oil your knife before cutting. Rub a thin layer of neutral oil on your knife blade before cutting the caramels into squares. This prevents the caramel from sticking to the knife and makes clean cuts easier.
Storage Instructions
Make Ahead: Reduce the apple cider up to 3 days in advance and keep it refrigerated in an airtight container. Bring it to room temperature before adding it to the cream mixture.
Room Temp: Don’t store caramels at room temperature for more than a day or two. They’ll get too soft and sticky, especially in warm or humid conditions.
Refrigerate: Store wrapped caramels in an airtight container in the refrigerator for up to 2 weeks. The cold keeps them firm and chewy. Let them sit at room temperature for 5-10 minutes before eating if you prefer softer caramels.
Freeze: Freeze wrapped caramels in a freezer-safe container for up to 3 months. Thaw them in the refrigerator overnight before serving.
Serving Suggestions
Package these apple cider caramels in small gift boxes or cellophane bags tied with ribbon for homemade holiday gifts that actually look professional and taste better than store-bought. Make them part of a fall dessert spread by serving them alongside Gluten-Free Apple Crisp or Gluten-Free Baked Stuffed Apples so guests can experience apples in completely different forms throughout the meal.
Turn them into a full autumn treat box by including Gluten-Free Apple Fritters , a jar of Apple Cider Vinaigrette for salads, and a bottle of ingredients for Apple Cider Moscow Mules . The apple cider theme ties everything together for a thoughtful gift basket that celebrates fall flavors without feeling repetitive since each item uses apples in a unique way.
More gluten-free candy & chocolate to try
All Candy
Did you make this recipe?
I’d love to know! Please rate it and leave a comment below. You can also share your pictures and tag @adashofmegnut on Instagram.
Method
-
1
Reduce the cider. Pour 2 cups apple cider into a medium saucepan and bring to a boil over medium-high heat. Reduce heat to medium and simmer until reduced to 1/2 cup, about 30-40 minutes. Set aside to cool slightly.
-
2
Prep your pan. Line an 8x8-inch pan with parchment paper, leaving overhang on two sides for easy removal. Lightly spray with cooking spray.
-
3
Make the caramel base. In a large, heavy-bottomed pot (at least 3 quarts), combine the reduced apple cider, 1 cup heavy cream, 1 ½ cups granulated sugar, ¼ cup light corn syrup, ½ cup unsalted butter, ½ tablespoon ground cinnamon, ¼ teaspoon nutmeg, ¼ teaspoon allspice, and 1 teaspoon salt.
-
4
Bring to a boil. Cook over medium heat, stirring constantly, until the butter melts and the mixture comes to a boil.
-
5
Cook to temperature. Attach a candy thermometer to the pot. Continue cooking, stirring frequently, until the mixture reaches 248°F (firm ball stage). This takes about 15-20 minutes. The mixture will be thick and bubbling.
-
6
Finish and pour. Remove from heat and stir in ½ teaspoon vanilla extract. Immediately pour into the prepared pan. Let sit for 5 minutes, then sprinkle with ½ teaspoon flaky sea salt.
-
7
Cool completely. Let the caramels cool at room temperature for 30 minutes, then refrigerate for at least 2 hours until completely firm.
-
8
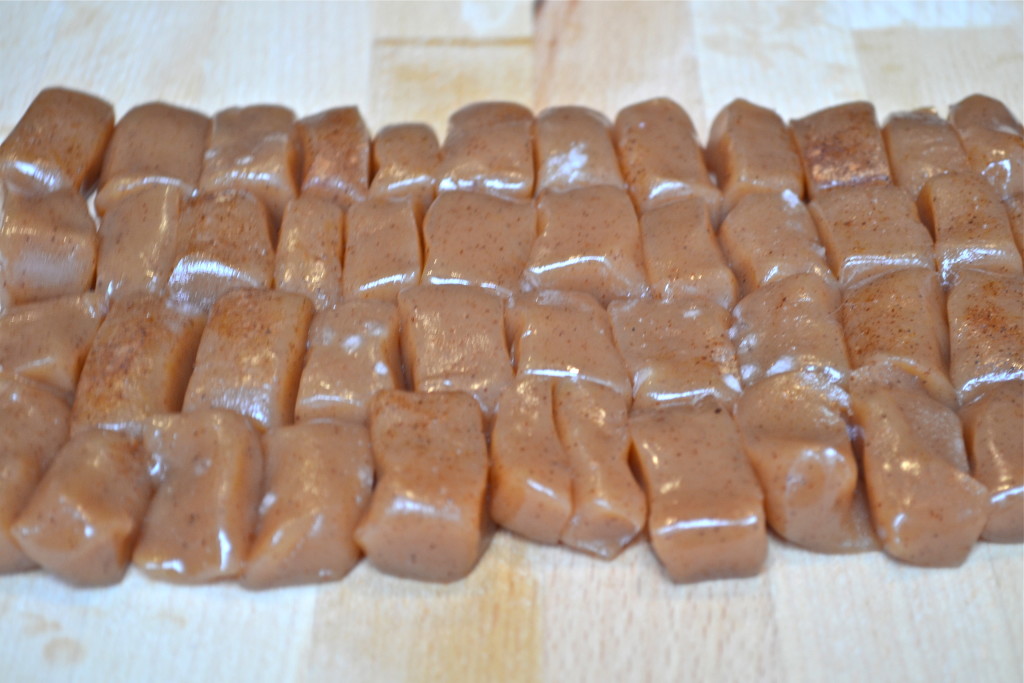
Cut and wrap. Lift the caramel block out using the parchment overhang. Cut into 1-inch squares (about 64 pieces). Wrap individually in wax paper or parchment squares.
Filed under
Cook next
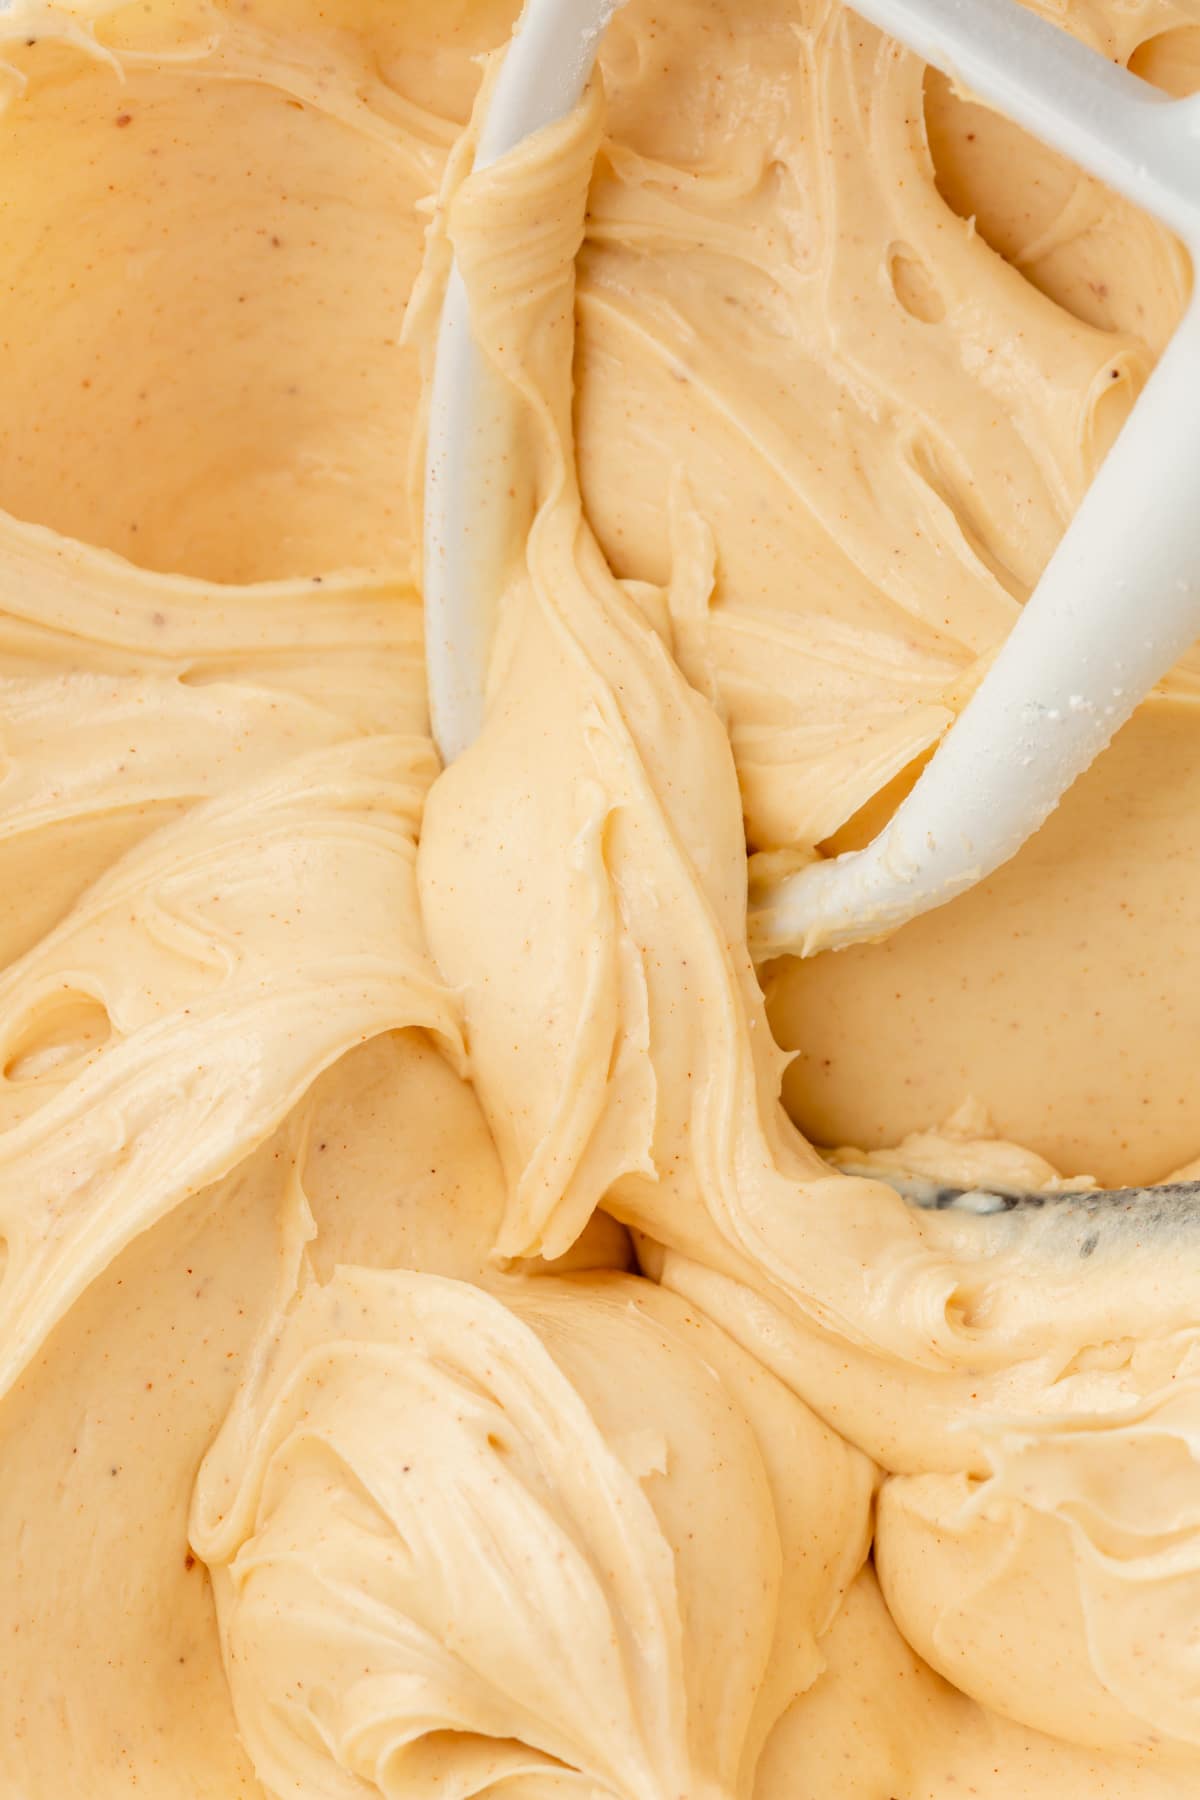 Gluten-FreeRecipeBrown Butter Cream Cheese FrostingThis brown butter cream cheese frosting is so luscious and creamy. Brown butter gives your average cream chee…
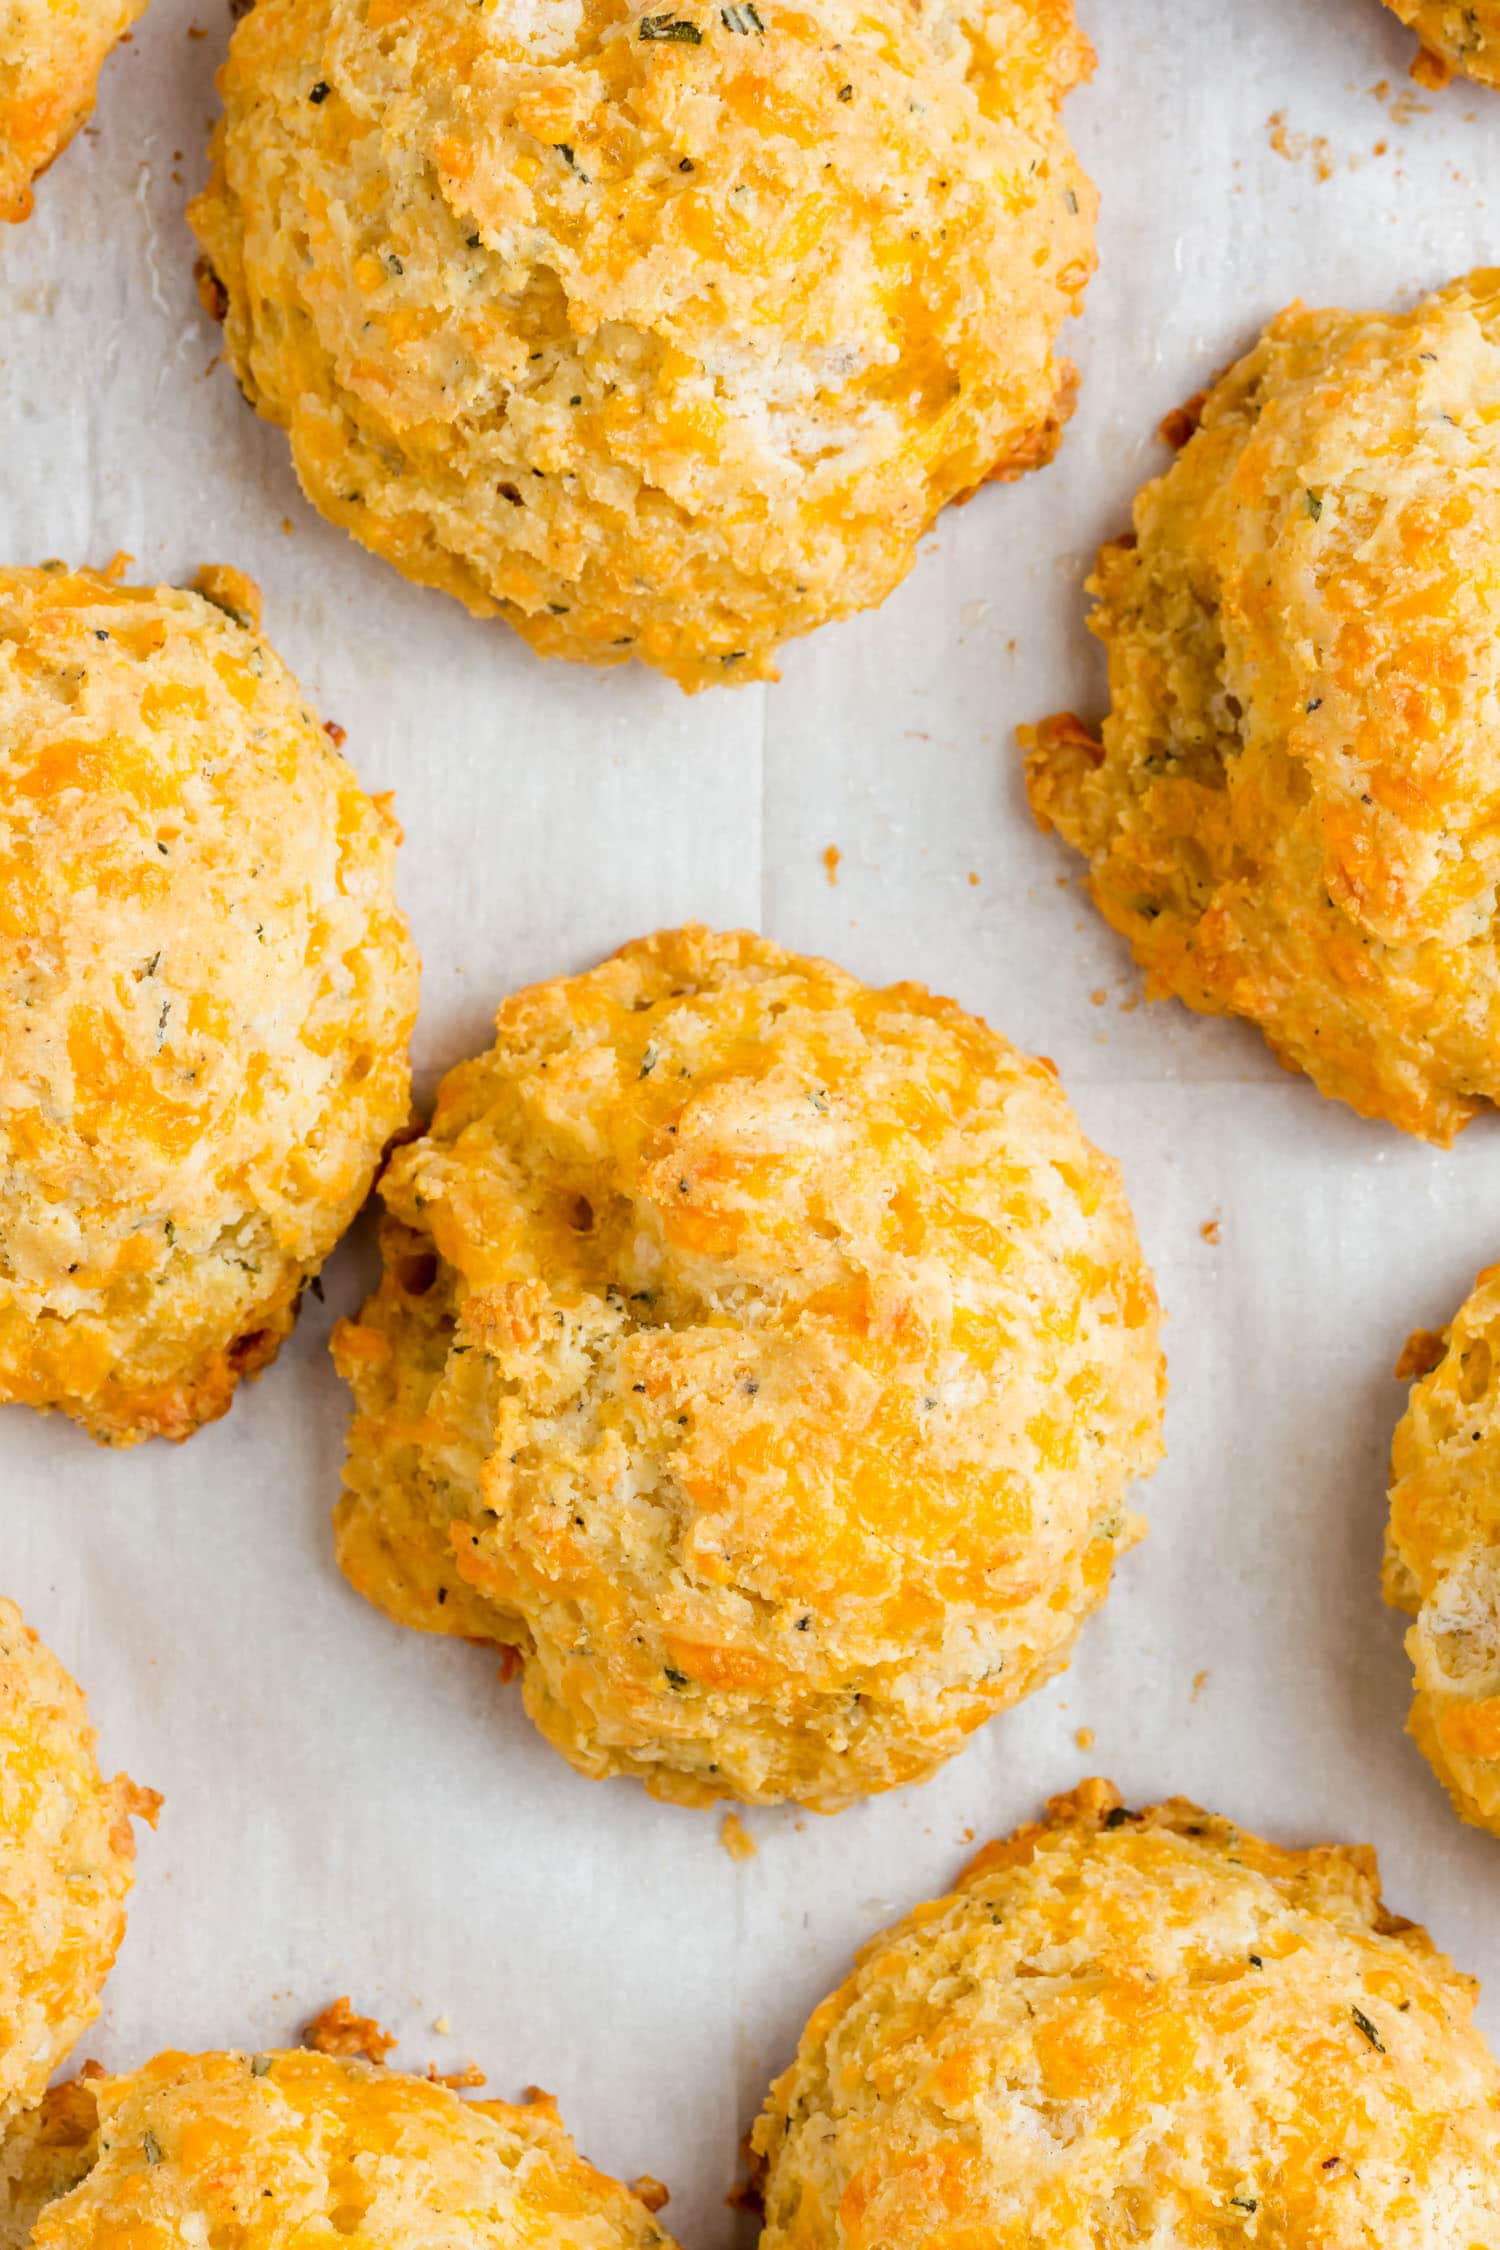 Gluten-FreeRecipeGluten-Free Cheddar Drop BiscuitsThese gluten-free cheddar rosemary biscuits are cheesy, savory drop biscuits with sharp cheddar, fresh rosema…
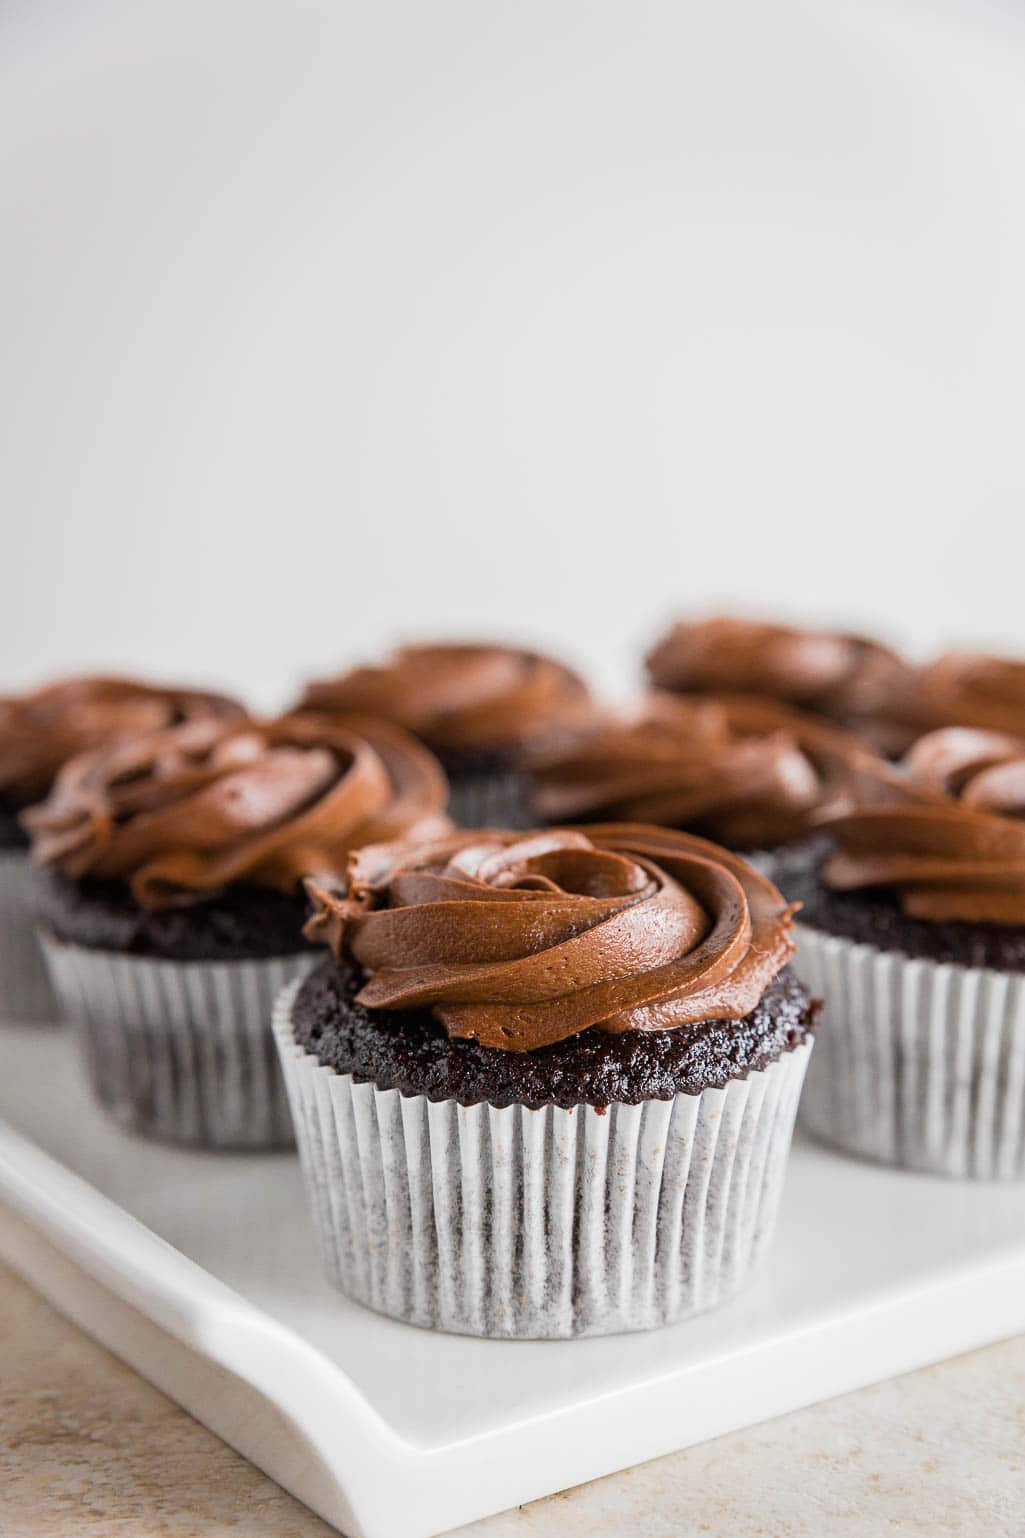 Gluten-FreeRecipeGluten-Free Chocolate CupcakesOne-bowl gluten-free chocolate cupcakes with a chocolate buttercream frosting recipe included. The batter use…
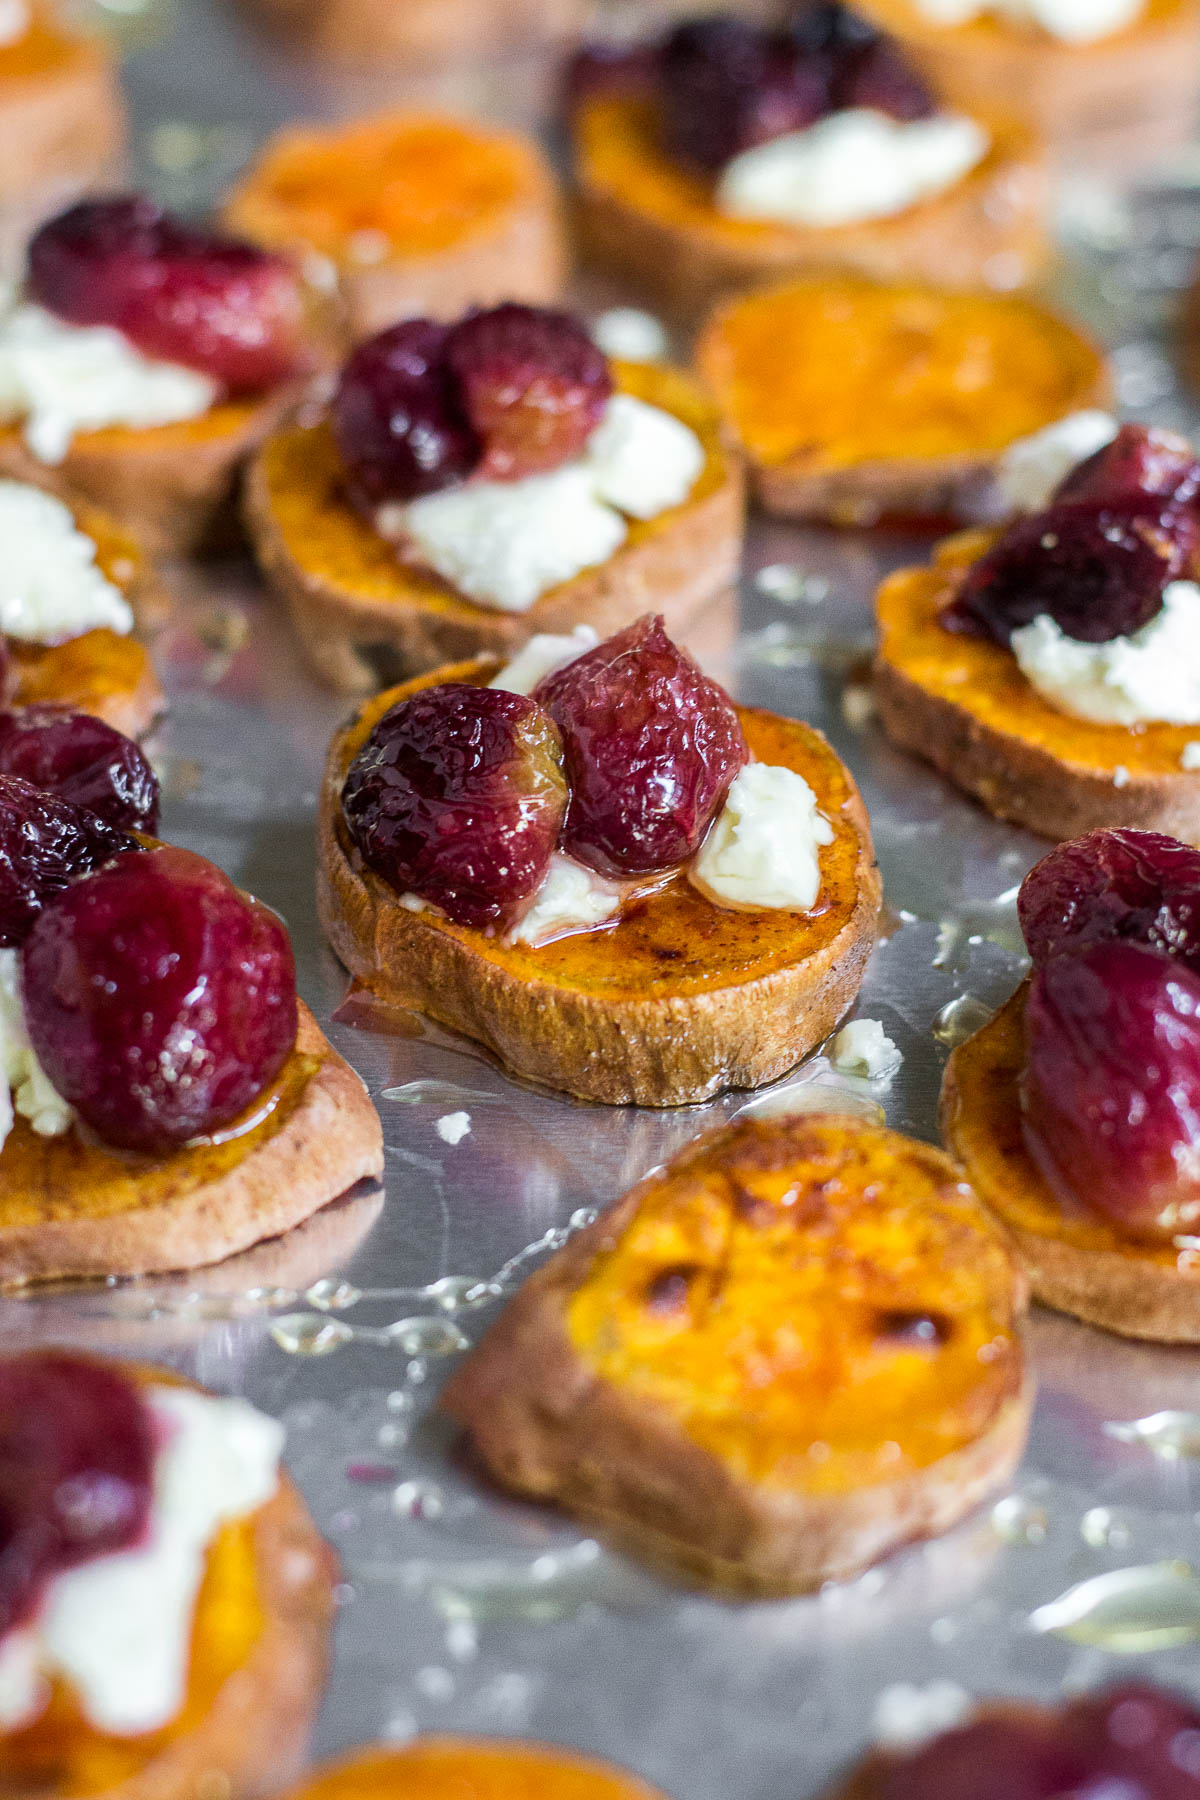 Gluten-FreeRecipeSweet Potato Rounds with Roasted Grapes and Goat CheeseThese sweet potato rounds with roasted grapes and goat cheese are a delicious gluten-free appetizer recipe th…
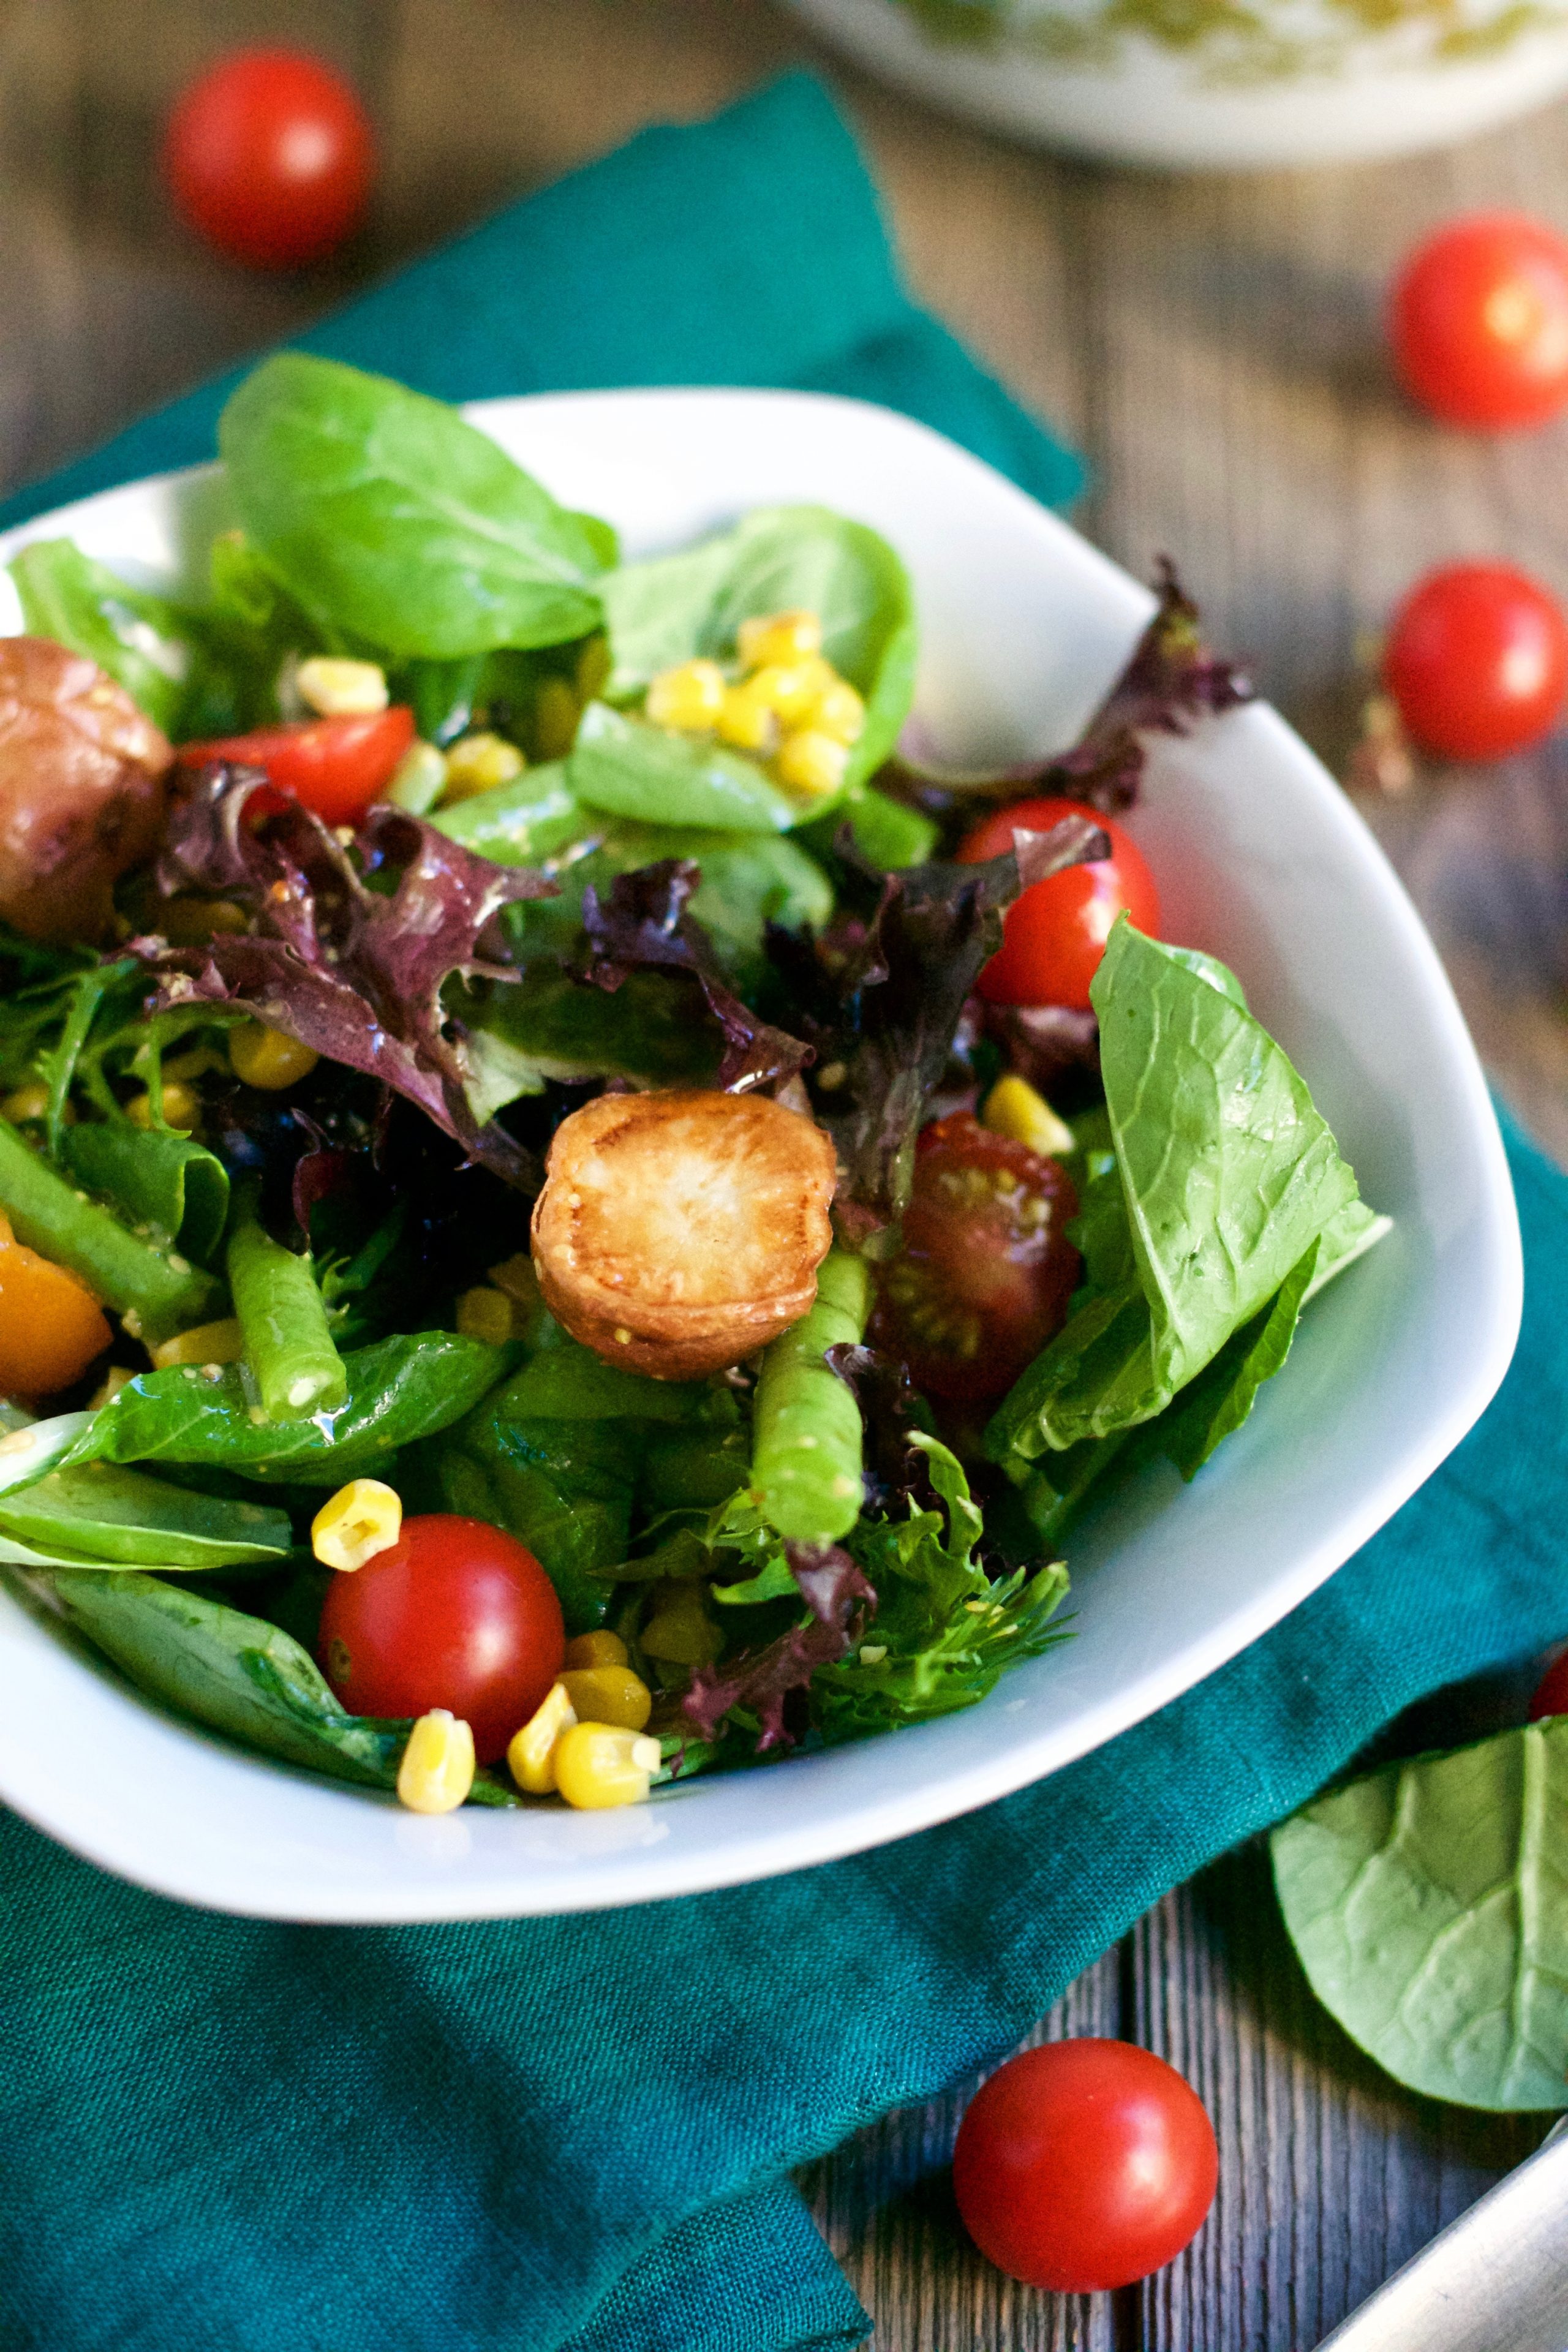 Gluten-FreeRecipeFarmer’s Market Salad with Mustard VinaigretteThis farmers market salad is loaded with roasted potatoes, green beans, fresh corn, and cherry tomatoes, all…
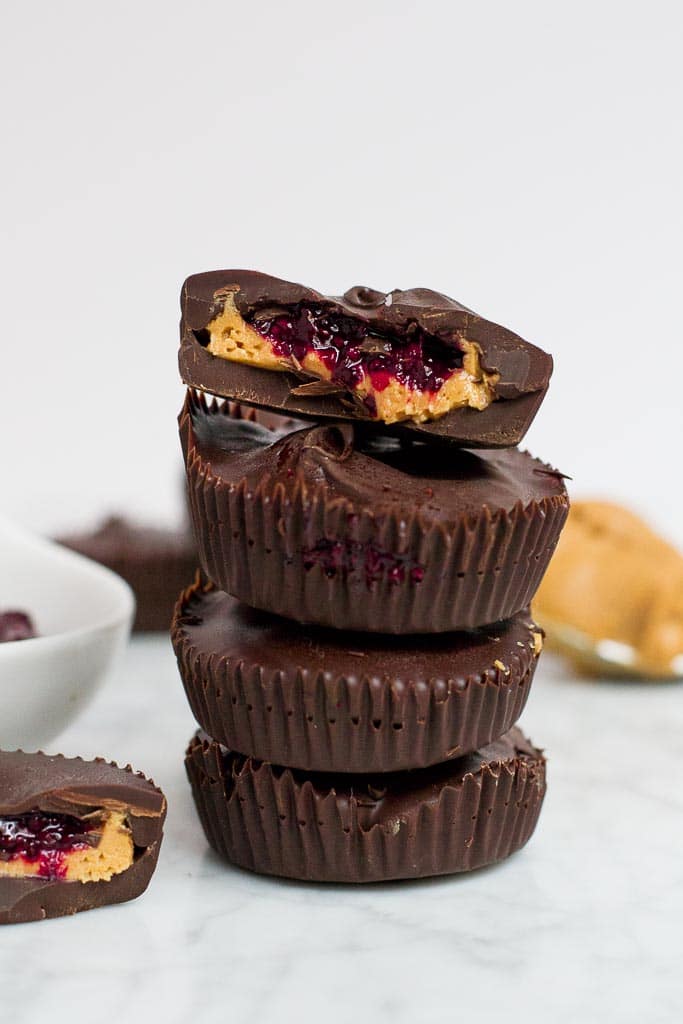 Gluten-FreeRecipeChocolate Chia Jam Peanut Butter CupsHomemade peanut butter cups with a layer of berry chia jam. No-bake and easy to make gluten-free, dairy-free…
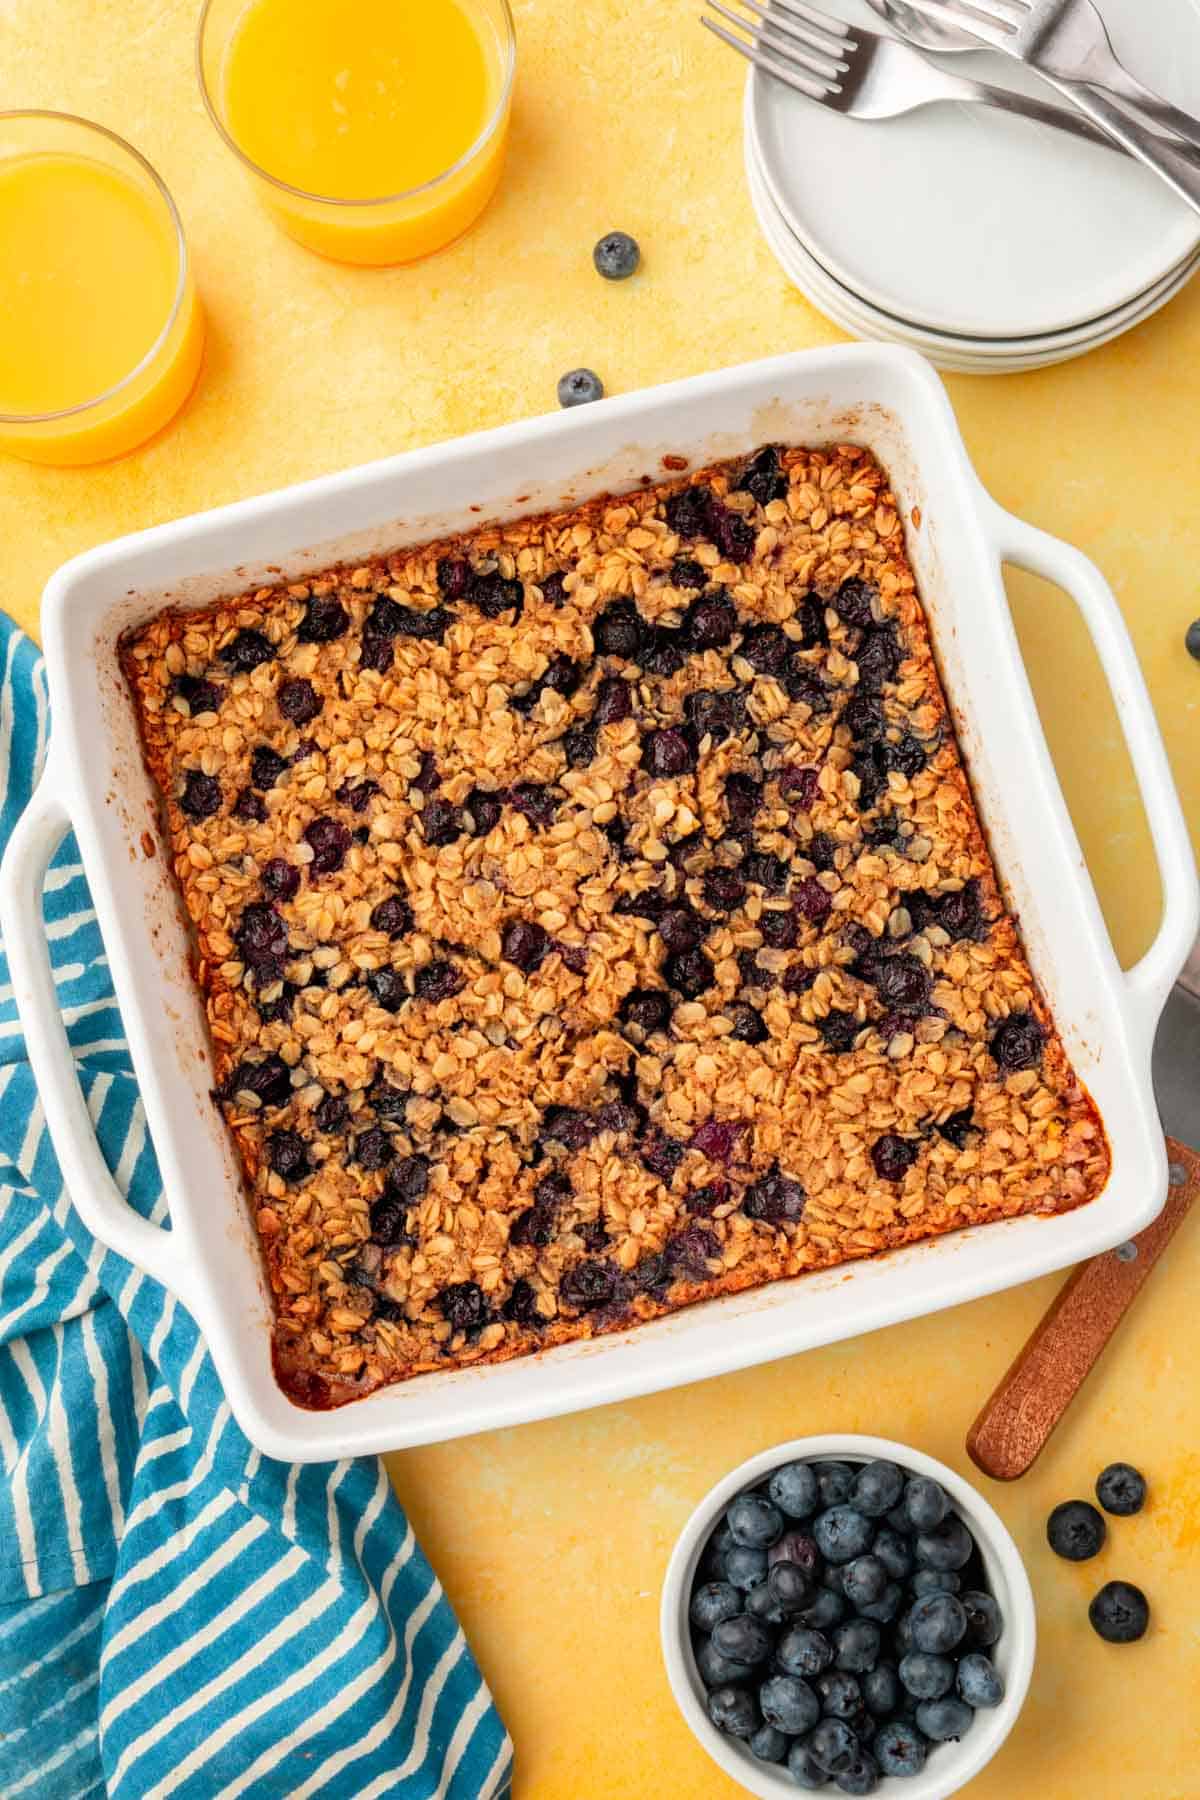 Gluten-FreeRecipeBlueberry Baked OatmealThis gluten-free blueberry baked oatmeal is vegan, dairy-free, and egg-free. It's like a cross between oatmea…
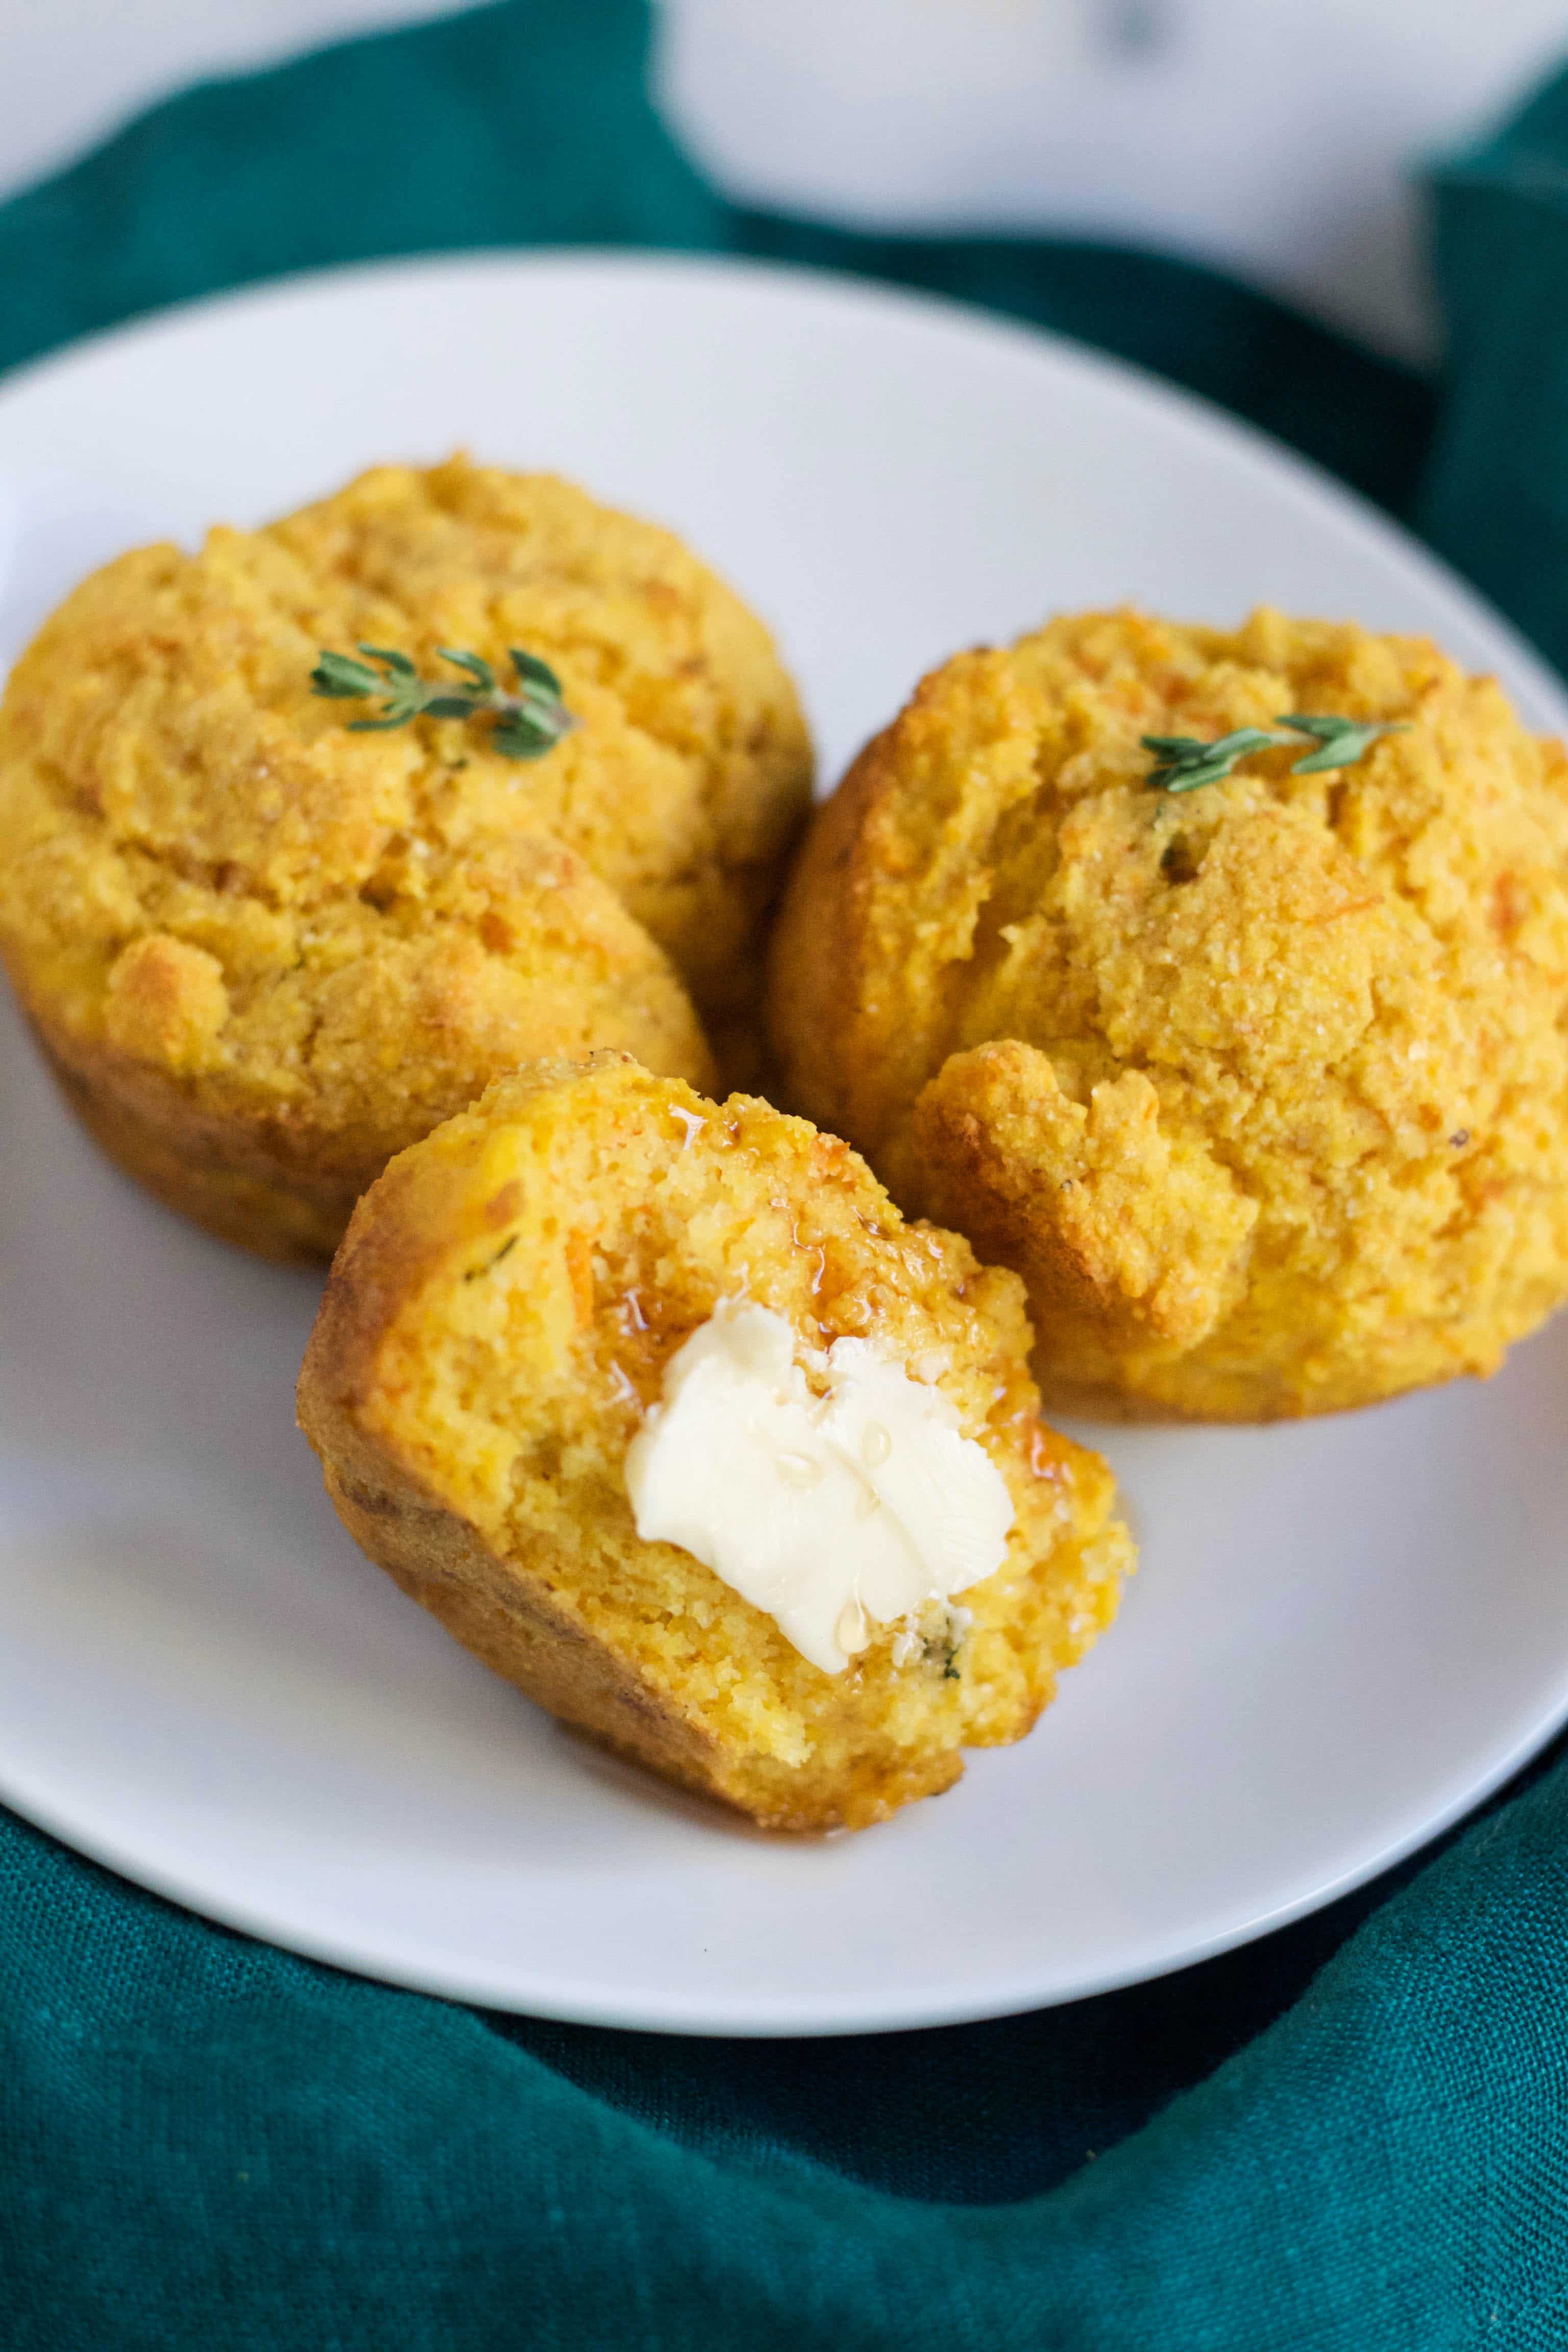 Gluten-FreeRecipeGluten-Free Vegan Sweet Potato Cornbread MuffinsThese gluten-free vegan sweet potato cornbread muffins are perfect for dipping in a bowl of warm and hearty c…