Gluten-Free Easter Egg Sugar Cookies
Buttery gluten-free sugar cookies decorated with royal icing in a simple Easter egg design. The cookies hold their shape perfectly and the raised dot decorating technique is beginner-friendly. Perfect for Easter baskets, spring parties, or decorating with kids.
- Prep20 min
- Cook15 min
- Total2 hr 35 min
- Yield15 cookies
30 Mar 2015
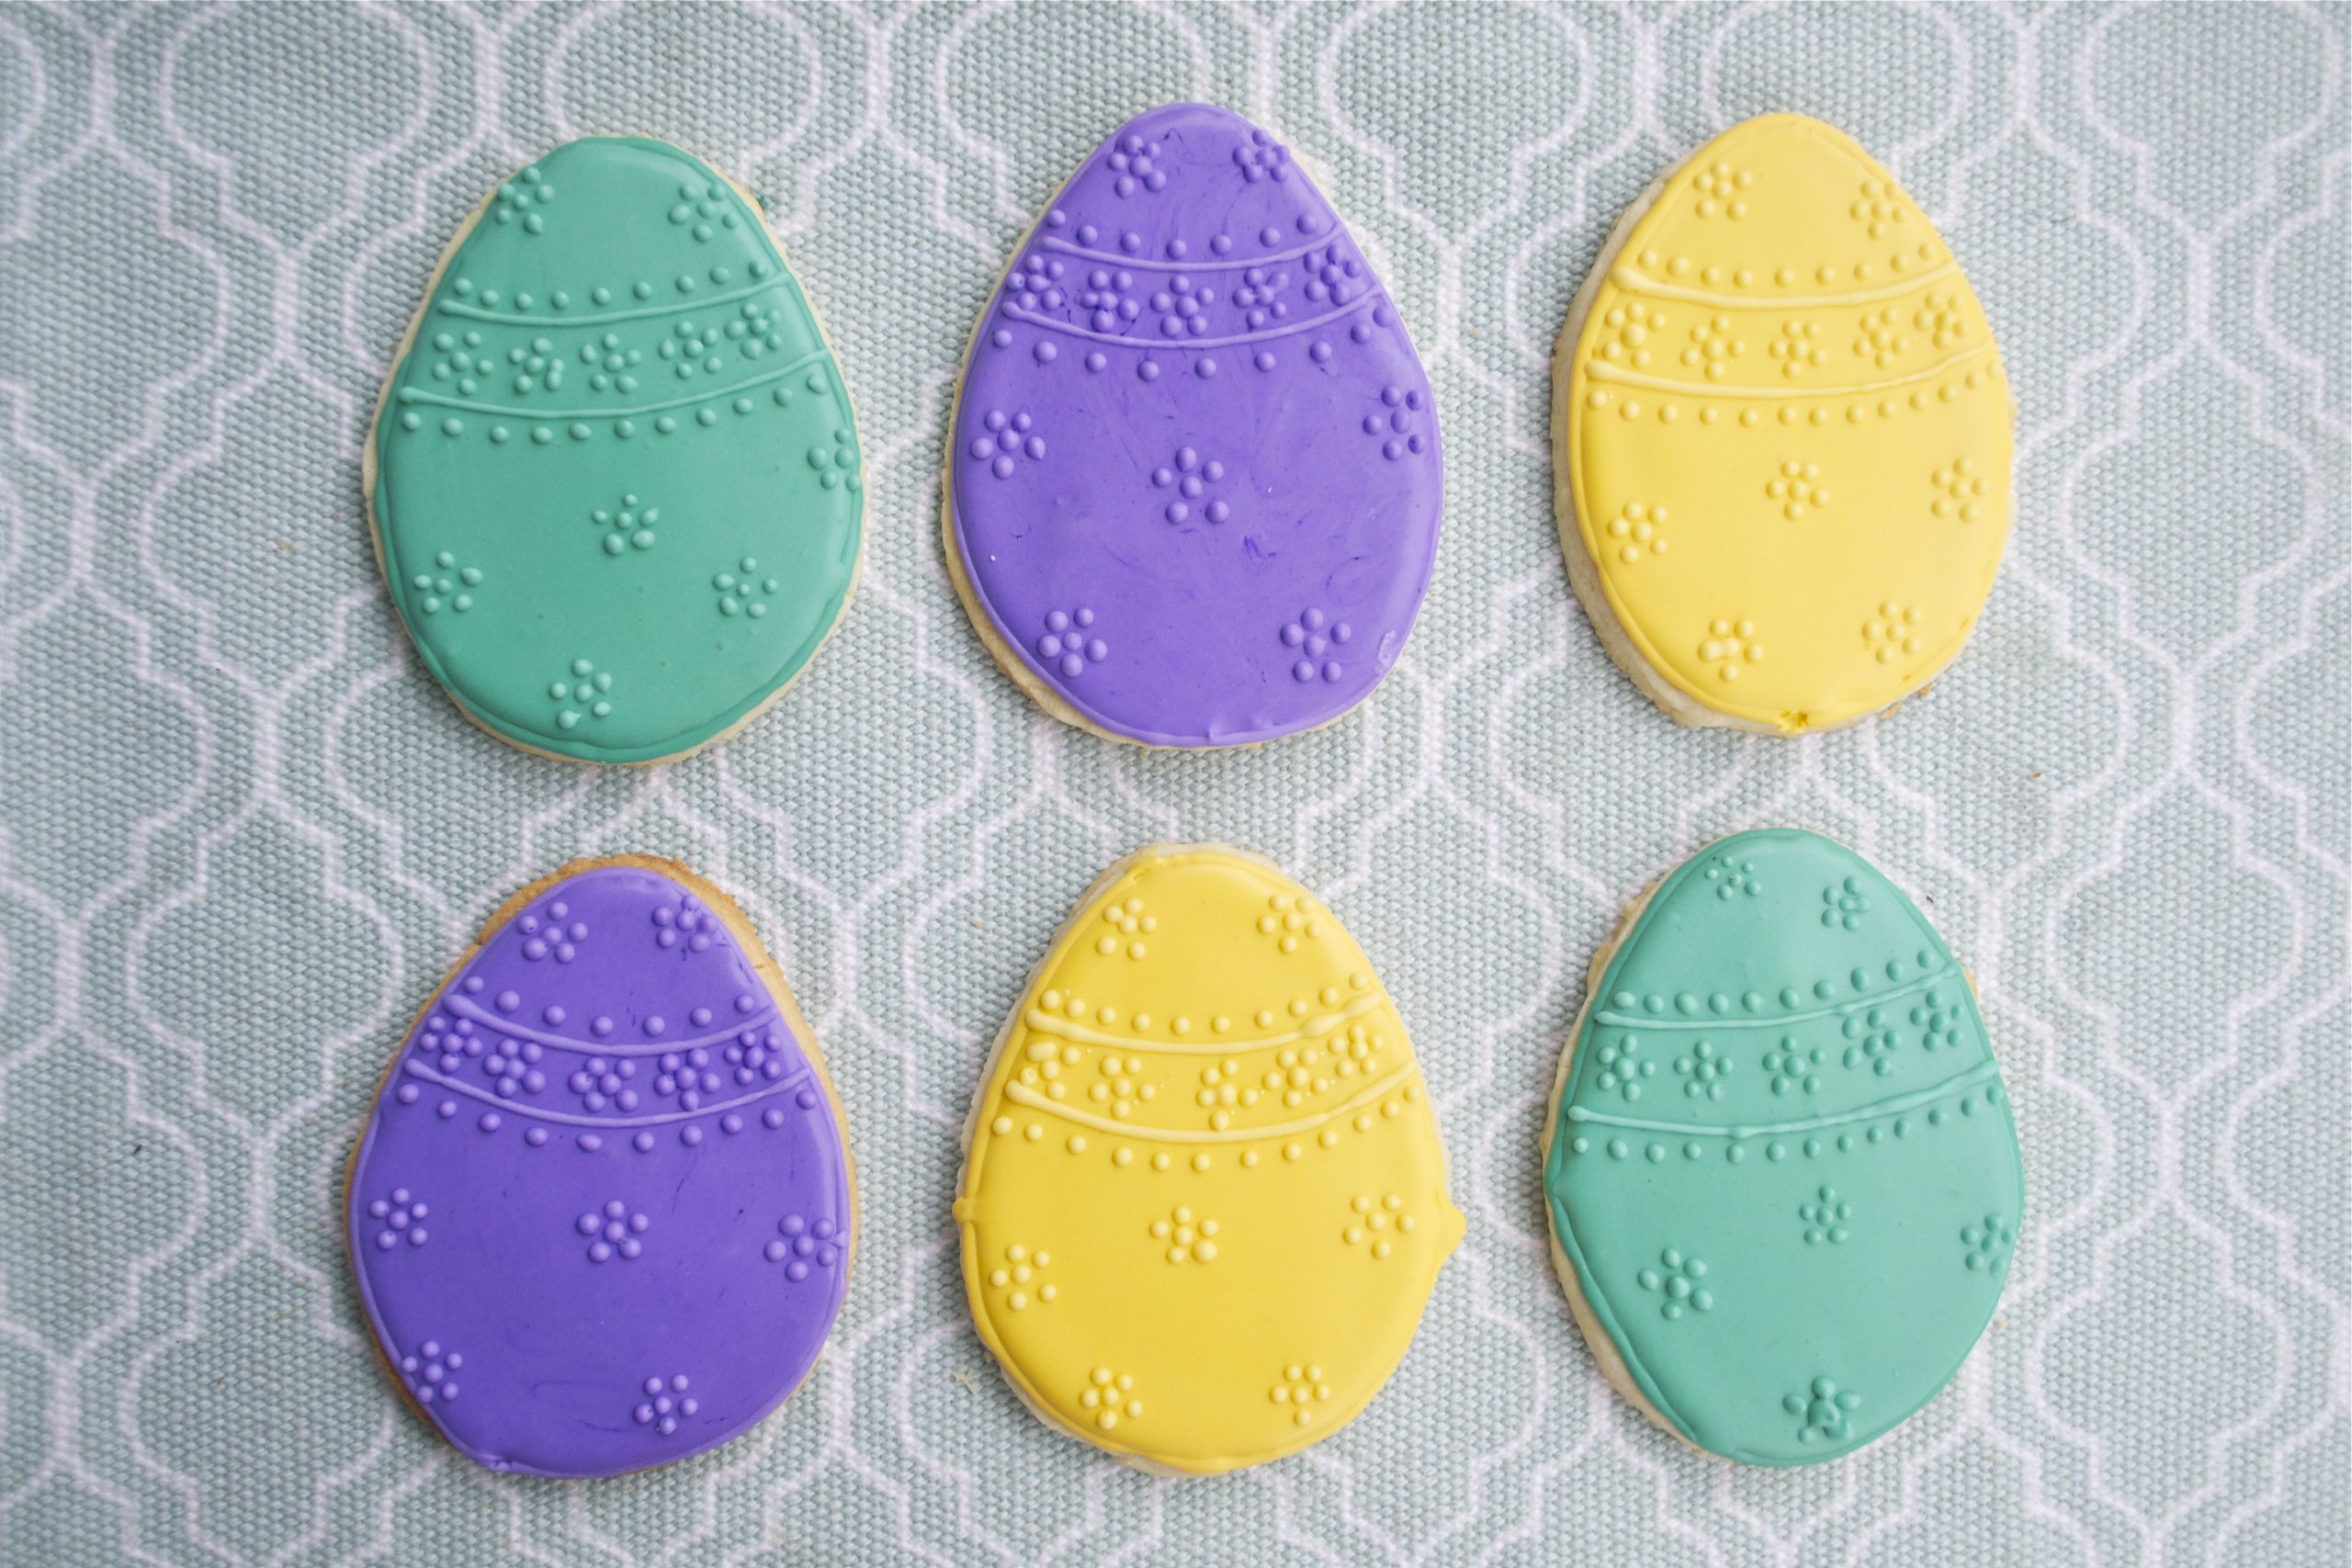
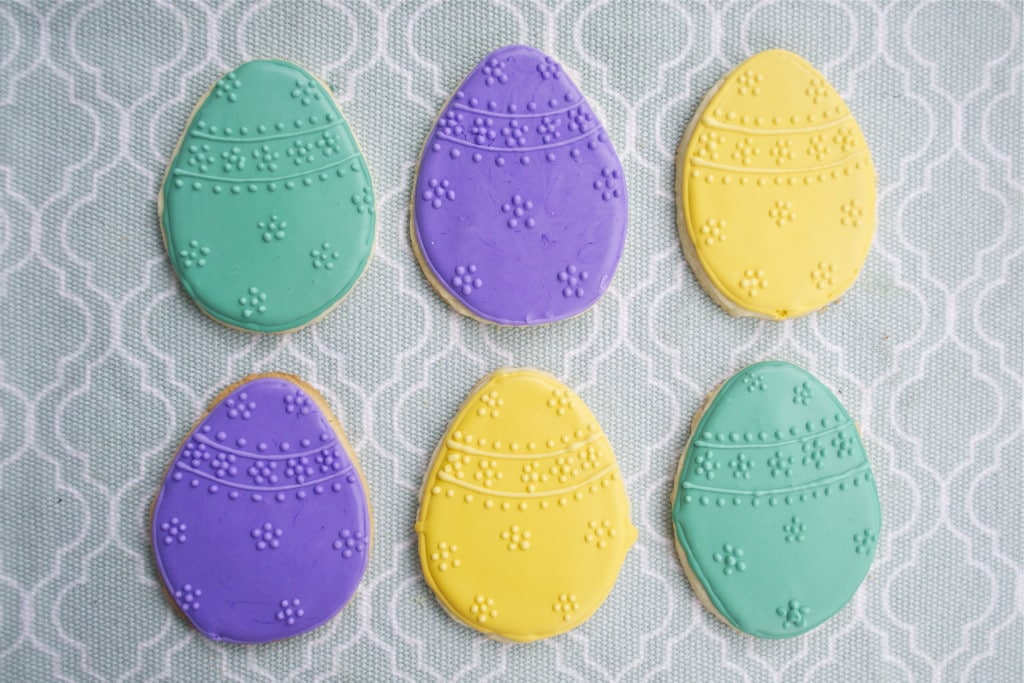
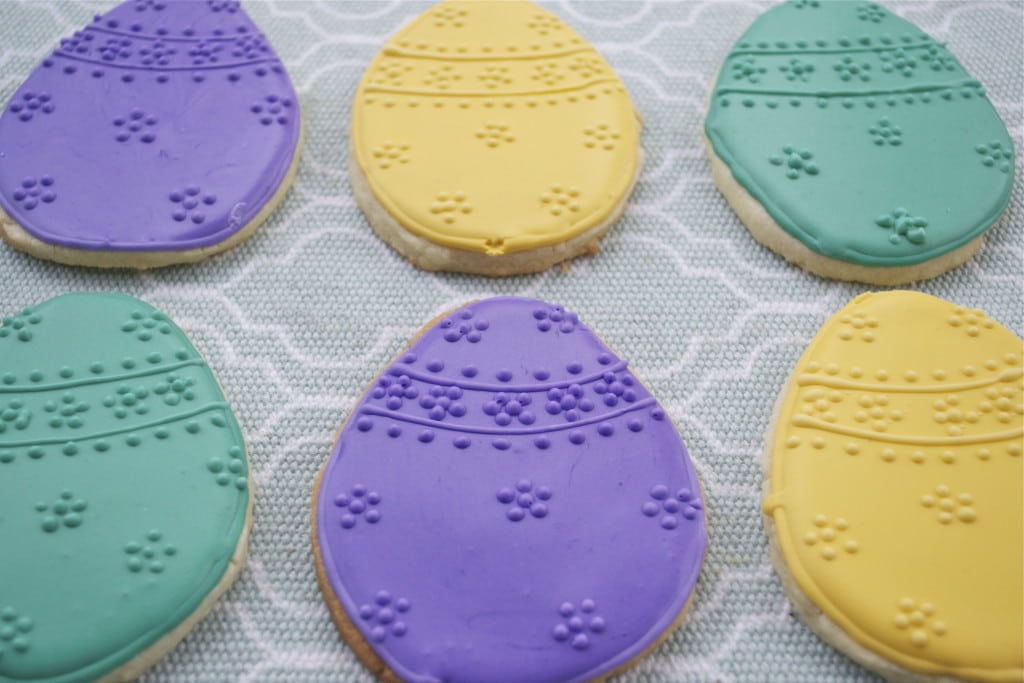
These gluten-free Easter egg sugar cookies are decorated with royal icing using a simple raised dot design. The cookies are buttery and hold their shape perfectly, and the decorating technique is beginner-friendly.
I used to make these for my cookie business, and they were always a hit for Easter baskets and spring celebrations. The design looks impressive but only requires basic piping skills.
Expert Tips
- Chill your dough. Refrigerate the dough for at least an hour before rolling. If it’s too soft, the cookies will spread and lose their shape.
- Freeze before baking. After cutting, freeze the cookies on the sheet for 10-15 minutes. This helps them hold crisp edges.
- Know your icing consistency. Use 10-second icing for outlines and 4-second icing for flooding. If you’re not sure, err on the thicker side—you can always add more water.
- Let each layer dry completely. Don’t add the dot details until the base flood coat is fully set, at least 2-4 hours or overnight.
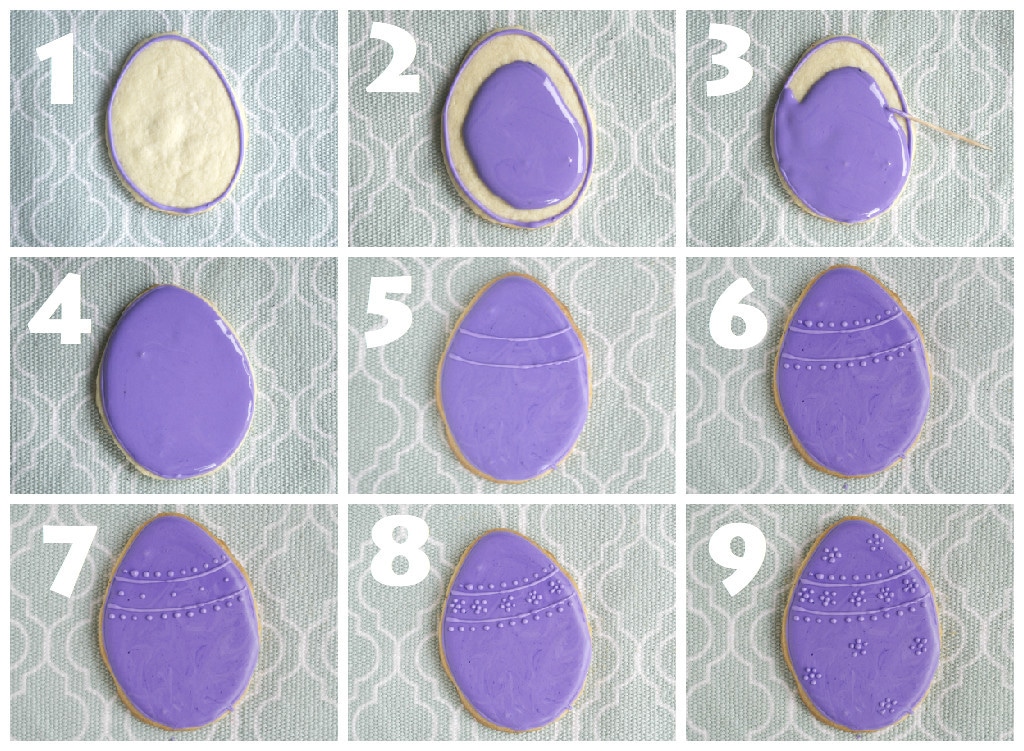
How to Decorate Easter Egg Cookies
- Start with a baked and cooled egg-shaped sugar cookie. Outline the edge of the cookie with 10-second royal icing using a #2 or #3 tip.
- Fill (flood) the inside with thinned 4-second icing.
- Use a toothpick to spread it to the edges.
- Let the base coat dry completely, at least 2-4 hours or overnight.
- Pipe two horizontal lines (slight curved) across the cookie using 10-second icing and a #2 tip.
- Add a row of small dots along the bottom line.
- Add another row of dots in the center of the two lines, leaving some space in between. These will become flowers.
- Add small dots around each flower center to form the flower petals.
- Finish with dot clusters (flowers) in the top and bottom sections. Let dry completely before stacking or packaging.
Storage instructions
- Undecorated cookies: Store in an airtight container at room temperature for up to 1 week, or freeze for up to 3 months.
- Decorated cookies: Store in a single layer in an airtight container at room temperature for up to 2 weeks. Do not freeze decorated cookies—the icing may crack or bleed.
How to Serve
These cookies make great Easter basket gifts with some gluten-free mini egg blondies . Just wrap them individually in cellophane bags tied with ribbon. For Easter brunch, arrange them on a platter with other spring desserts like gluten-free lemon bars , raspberry white chocolate blondies , or gluten-free coconut macaroons . You can also bake the cookies ahead and set up a decorating station for kids with bowls of colored icing and sprinkles.
Method
Make the dough:
-
1
Cream 1 cup unsalted butter and 1 cup powdered sugar with an electric mixer for 2-3 minutes until light and fluffy.
-
2
Add the 1 large egg, 2 teaspoon almond extract, 1 teaspoon vanilla extract, and 1 teaspoon salt. Beat until combined.
-
3
Gradually add 2 1/4 cups Bob's Red Mill 1-to-1 Gluten-Free Baking Flour, about 1/2 cup (70g) at a time, mixing after each addition. Do not overmix.
-
4
Pat dough into a 1-inch thick disc, wrap in plastic wrap, and refrigerate for at least 1 hour.
Roll and bake:
-
5
Preheat oven to 375°F (190°C). Line a baking sheet with parchment paper.
-
6
Dust your work surface and rolling pin with powdered sugar. Roll the dough to 1/4 inch thickness.
-
7
Cut out shapes using an egg-shaped cookie cutter. Place on prepared baking sheet.
-
8
Freeze for 10-15 minutes to help cookies hold their shape.
-
9
Bake for 8-10 minutes, until edges are lightly golden and center looks matte, not shiny.
-
10
Cool on the baking sheet for 5 minutes, then transfer to a wire rack to cool completely.
Make the royal icing:
-
11
Combine 4 cups powdered sugar, 3 tablespoons meringue powder, 1 teaspoon vanilla or almond extract, and 5 tablespoons (75g) of the 6-8 tablespoons water in a stand mixer fitted with the whisk attachment.
-
12
Mix on low for 1-2 minutes, then increase to medium-high and beat for 3-4 minutes until thick, white, and increased in volume.
-
13
For outline and flood icing, add water 1 teaspoon (5g) at a time until you reach 15-second consistency (icing drizzled on top sinks back in after 15 seconds). You may not need the full 8 tablespoons (120g) of water.
-
14
Divide icing and tint with gel food coloring.
Decorate:
-
15
Outline each cookie with 10-second icing using a #2 or #3 tip.
-
16
Fill with 15-second flood icing. Use a toothpick to spread to edges and pop air bubbles.
-
17
Let dry completely, 2-4 hours or overnight.
-
18
Add raised dot details with 10-second icing using a #1 or #2 tip. See step-by-step photos above.
-
19
Let dry completely before stacking or packaging.
Cook next
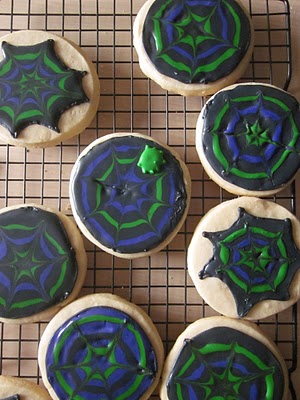 Gluten-FreeRecipeSpider Web CookiesThese gluten free spider web cookies are perfect for Halloween. If you are having a party for the holiday, yo…
 Gluten-FreeRecipeGluten-Free Chicken Noodle SoupGluten-free chicken noodle soup with hearty vegetables, shredded chicken, and gluten-free egg noodles. The ch…
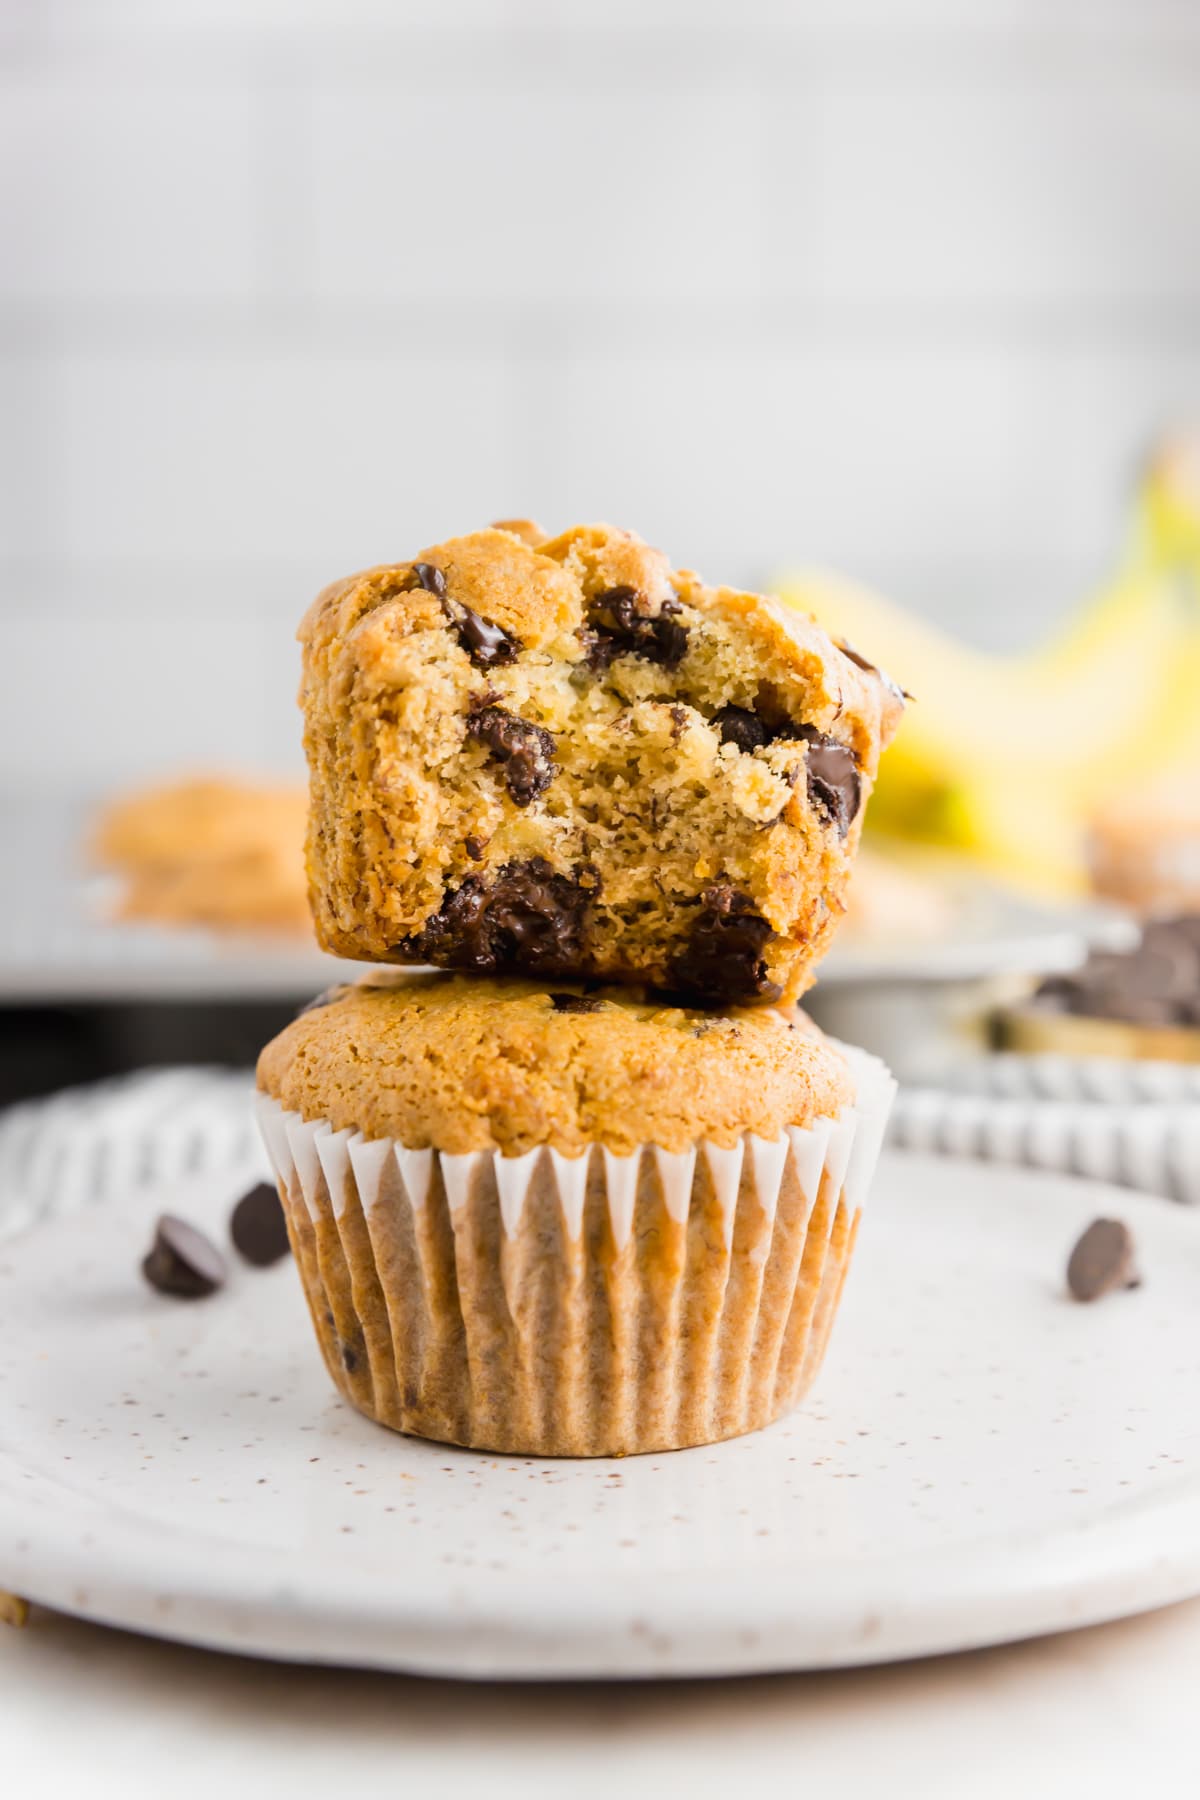 Gluten-FreeRecipeGluten-Free Vegan Banana Chocolate Chip MuffinsKids and adults alike love these gluten-free vegan banana chocolate chip muffins! No egg replacers needed - j…
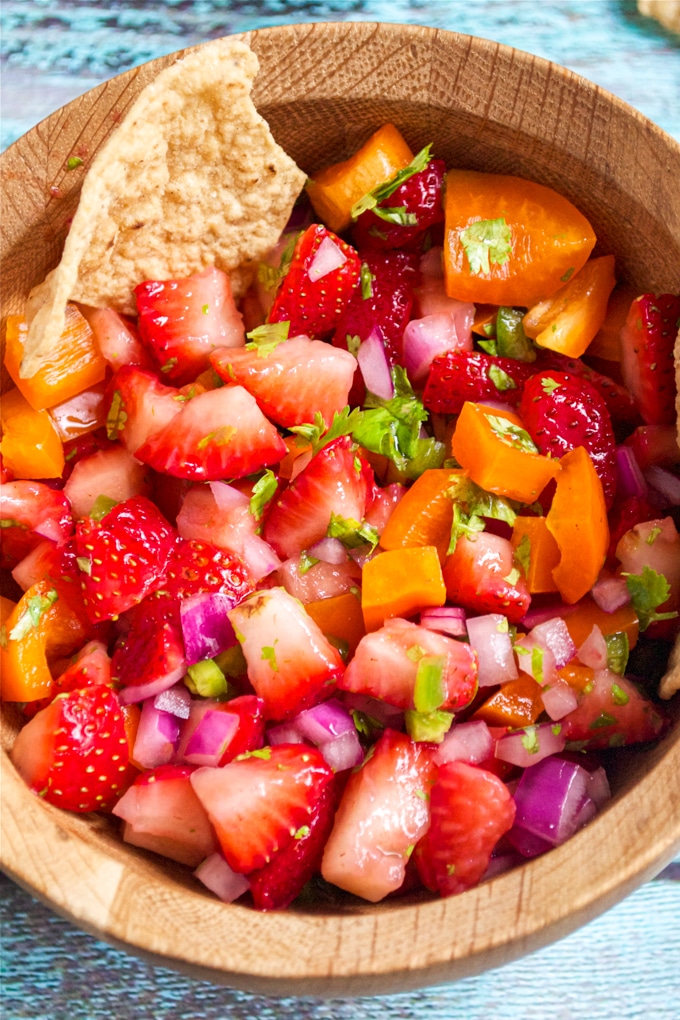 Gluten-FreeRecipeStrawberry SalsaThis fresh strawberry salsa is sweet, spicy, and perfect for summer entertaining. With juicy strawberries, ja…
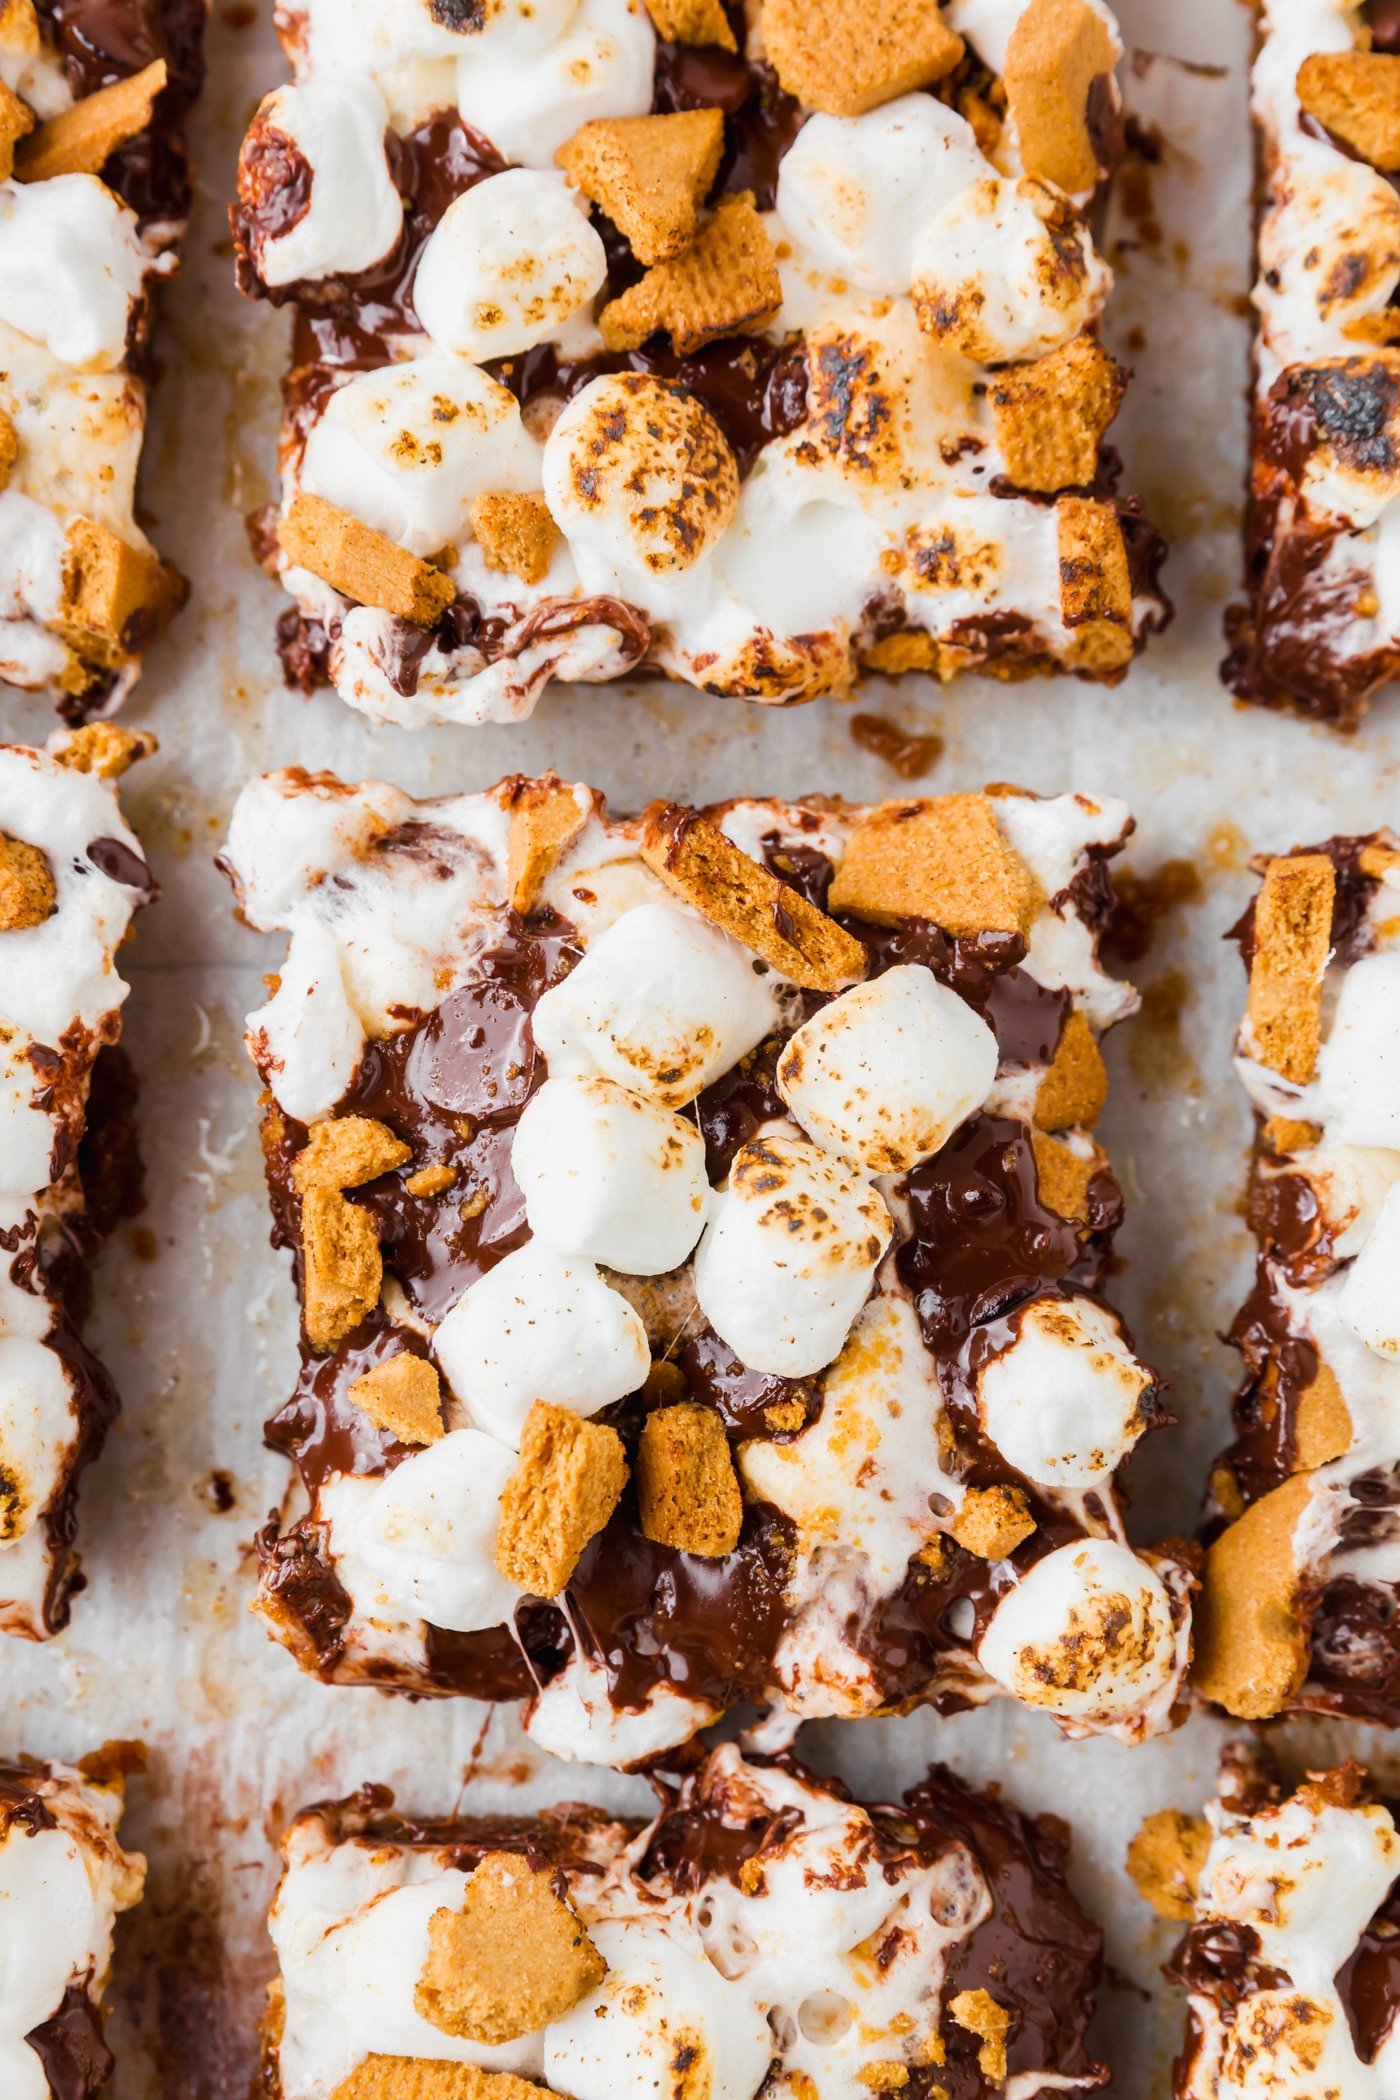 Gluten-FreeRecipeGluten-Free S’mores BarsThese gluten-free s'mores bars have a buttery graham cracker crust, a layer of melted chocolate chips, and to…
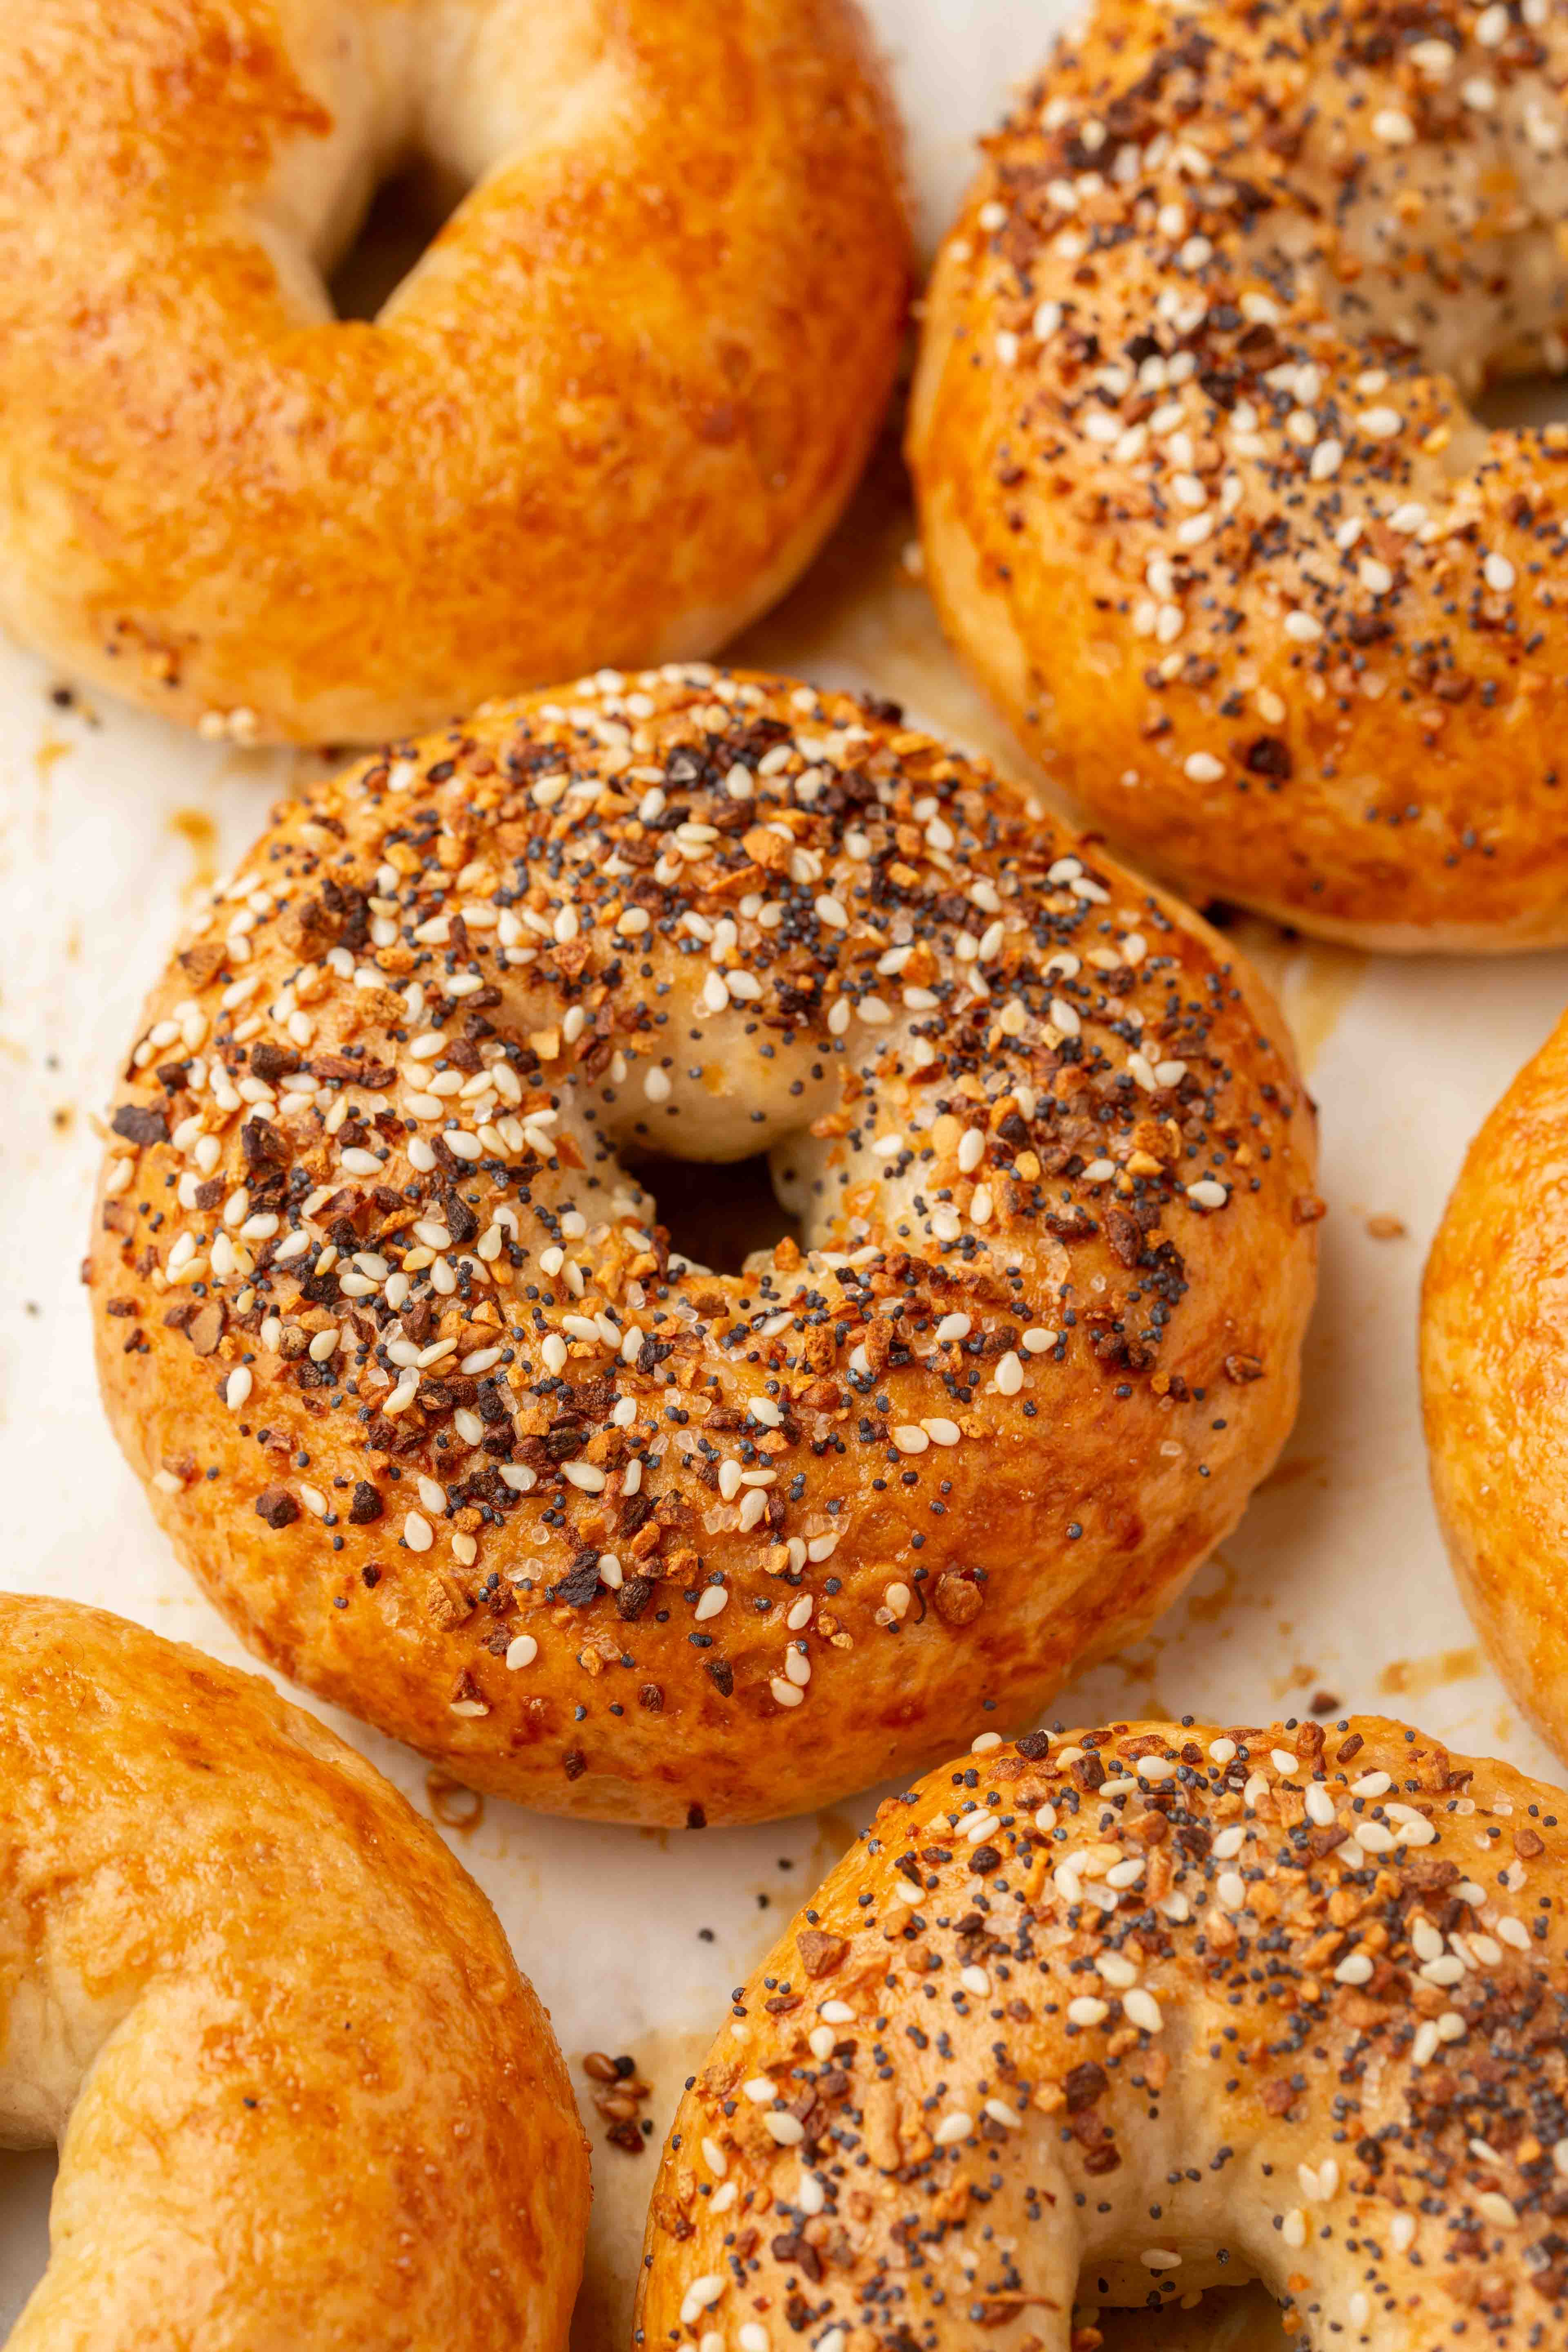 Gluten-FreeRecipeGluten-Free BagelsThese gluten-free bagels are chewy, dense, and golden with a shiny crust that comes from boiling in a brown s…
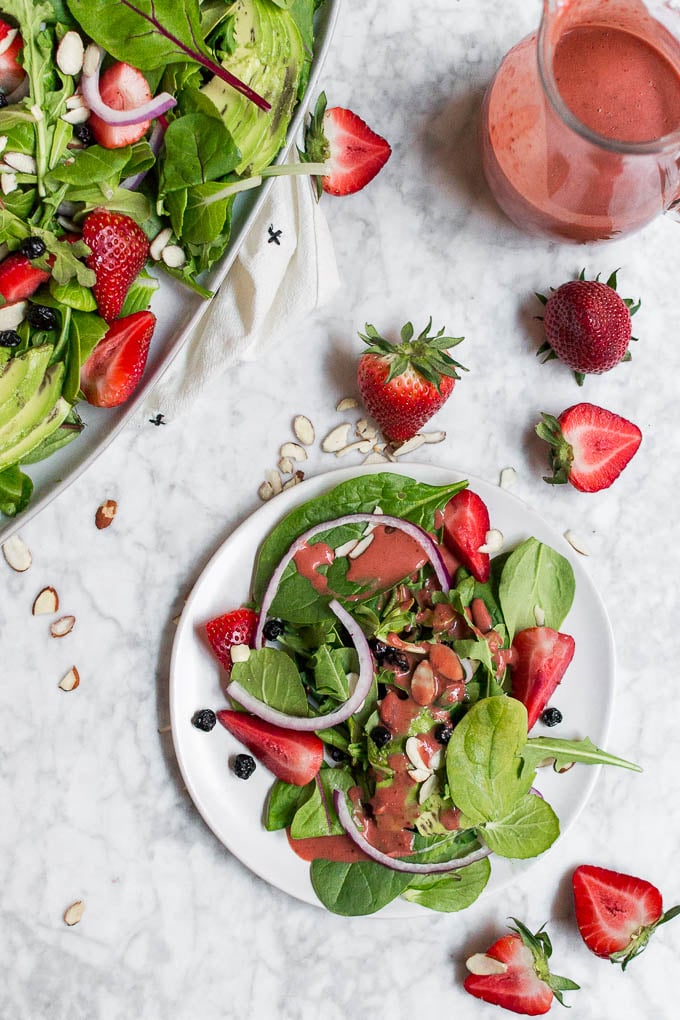 Gluten-FreeRecipeStrawberry Spinach Salad with Strawberry Balsamic DressingThis strawberry spinach salad is fresh, colorful, and tossed with a homemade strawberry balsamic dressing tha…
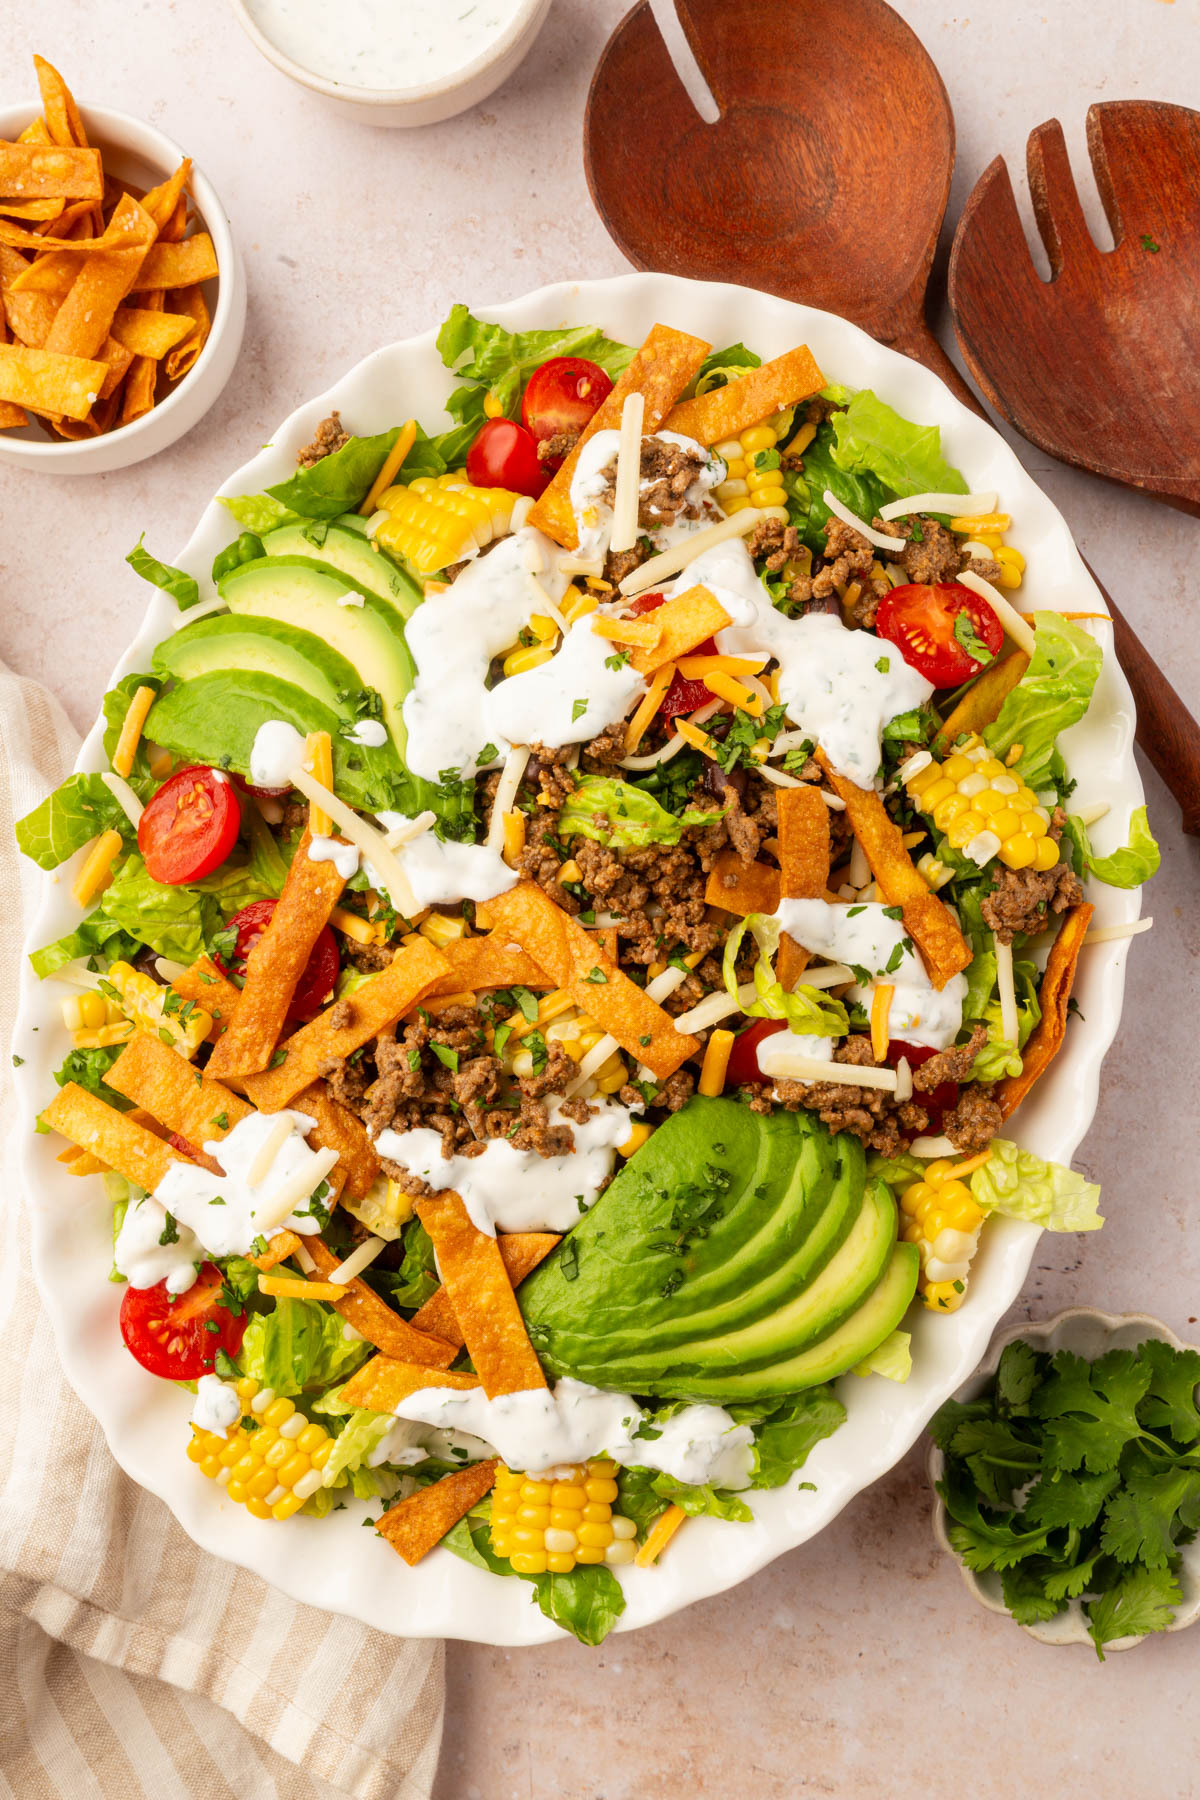 Gluten-FreeRecipeGluten-Free Taco SaladThis gluten-free taco salad is fresh, filling, and ready in about 30 minutes. Made with seasoned ground beef…