Gluten-Free Oreo Pie Crust
This gluten-free Oreo pie crust is made with just two ingredients and comes together in about 10 minutes. It works for both baked and no-bake pies and fits a 9-inch pie dish, tart pan, springform pan, or baking pan. Rich, chocolatey, and easy to press into any pan.
- Prep10 min
- Cook10 min
- Total20 min
- Yield1 9-inch pie crust
26 Oct 2023
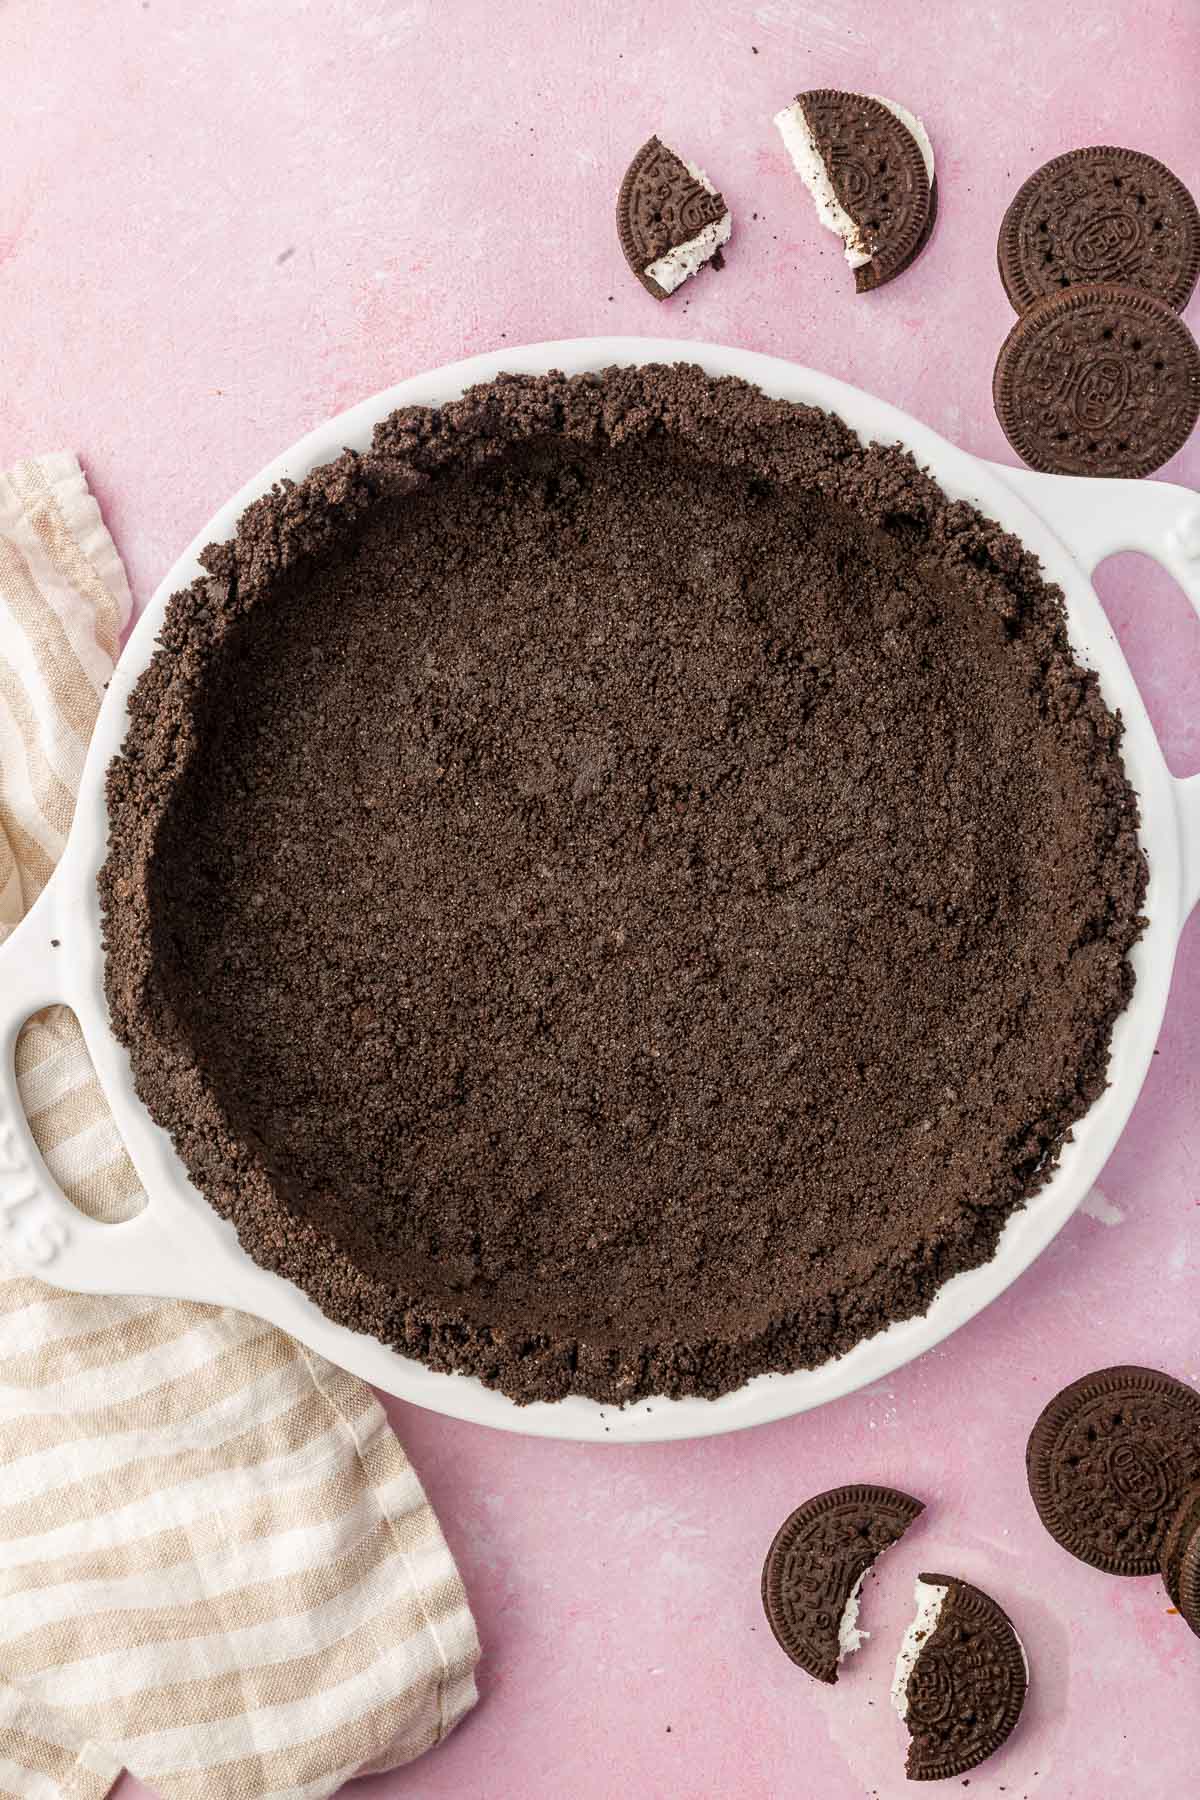
Two ingredients. That’s it. This gluten-free Oreo pie crust comes together in about 10 minutes and works for both baked and no-bake pies. I use it for my gluten-free Oreo pudding pie and my gluten-free cheesecake when I want a chocolate crust instead of my gluten-free graham cracker crust .
The key is using regular gluten-free Oreos, not double stuffed. Too much filling and the crust won’t hold together the way it should.
Why You’ll Love This Recipe
- Two ingredients. Gluten-free Oreos and melted butter. That’s the whole thing. No sugar, no extra flour, no other binders needed.
- Baked or no-bake. Works either way. Bake it at 350°F for 10 minutes if your filling goes in the oven. Chill it in the fridge for an hour if you’re doing a no-bake pie.
- Works in any pan. A 9-inch pie dish, tart pan, springform pan, or 8-inch baking pan all work with this recipe. One recipe, a lot of flexibility.
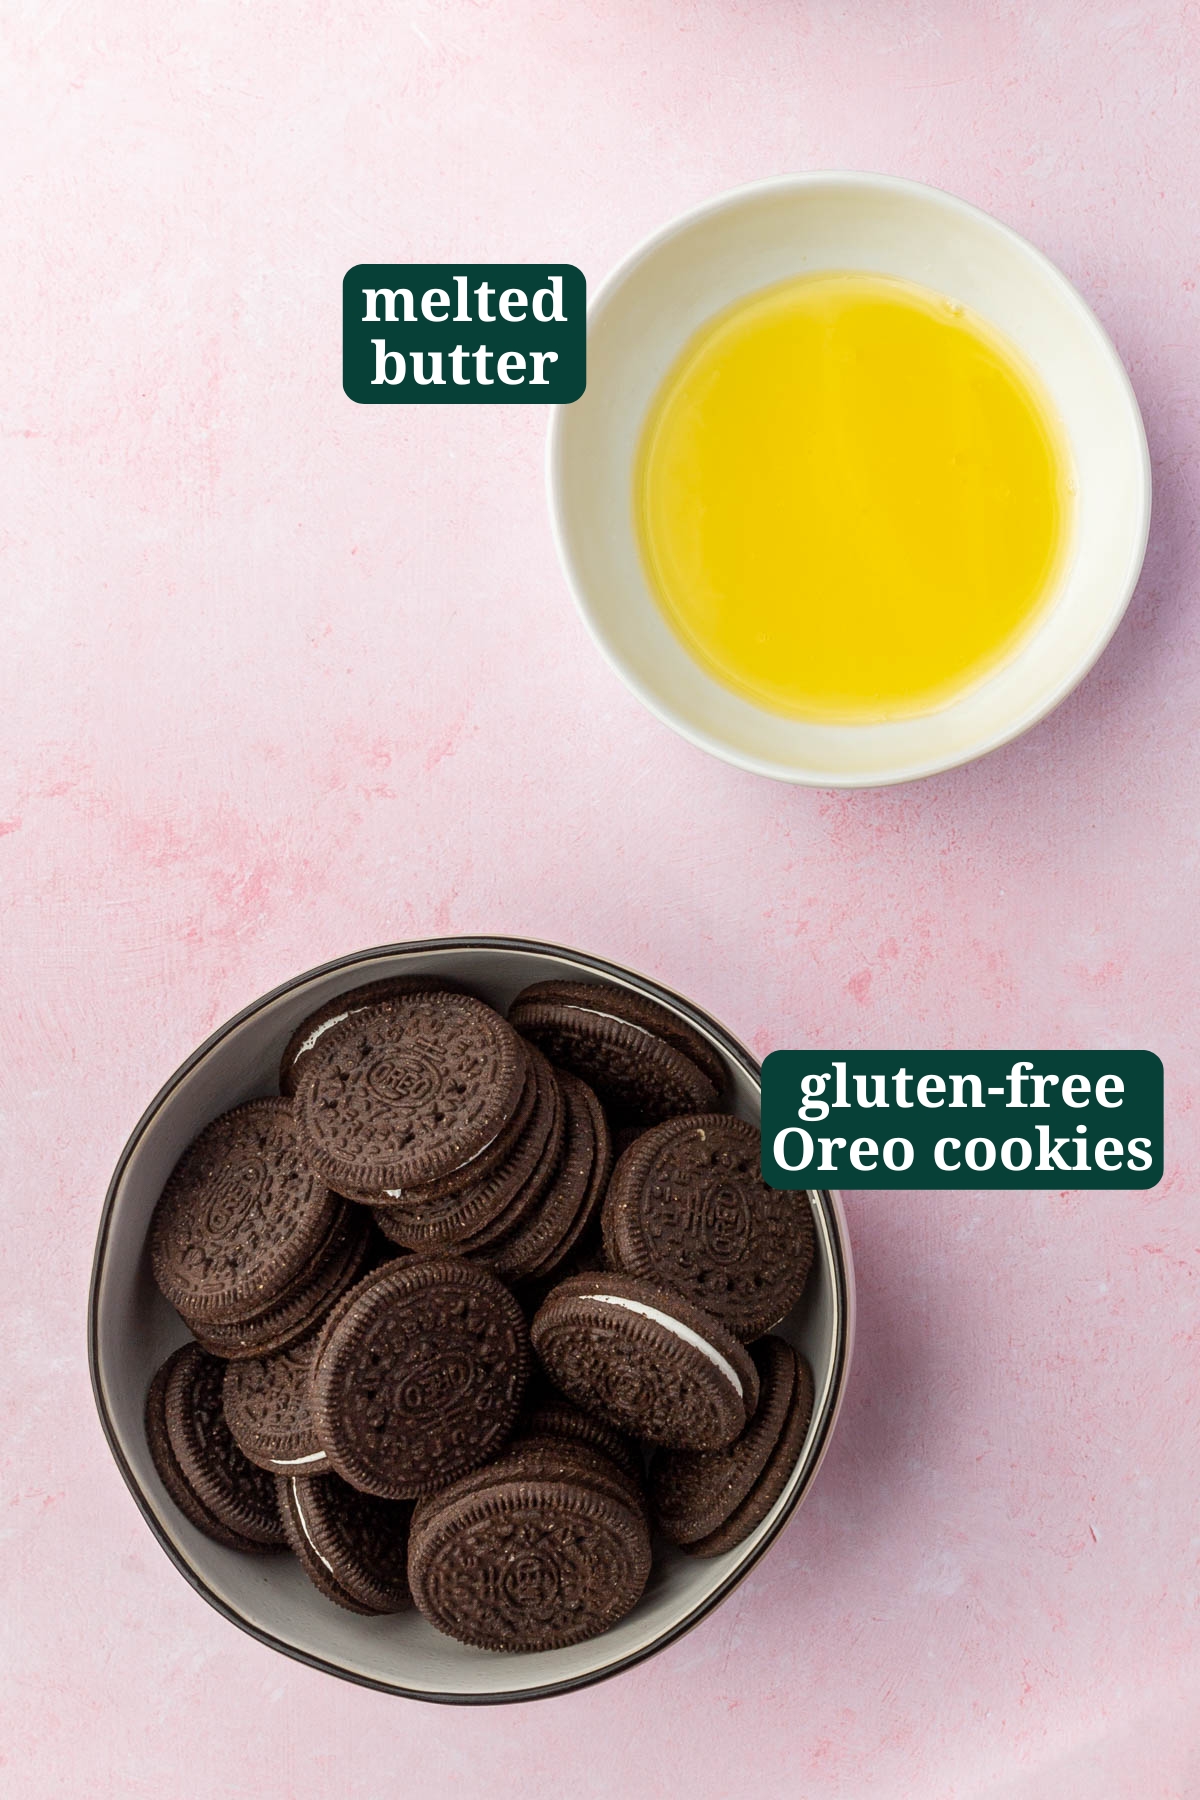
Ingredient Notes
- Gluten-Free Oreos – Use regular gluten-free Oreos, NOT double stuffed. The extra filling in double stuffed throws off the ratio and the crust won’t hold together. Leave the filling in the cookies when you process them.
- Unsalted Butter – Unsalted butter works best here. Melt it and let it cool slightly before adding to the crumbs. If it’s too hot it can make the crumbs greasy rather than sandy.
Baked crust or no-bake crust?
Technically you can do either, but I usually bake mine even when the filling is no-bake. Ten minutes at 350°F and it holds its shape noticeably better when you slice. If you skip the oven, refrigerate the crust for at least 1 hour before filling. Either way, make sure the crust is fully cooled before anything goes in.
Step-by-Step Instructions
This gluten-free Oreo pie crust is very simple to make with just two ingredients. The below photos with matching steps are not the complete recipe, but are meant to help you see the recipe made at various stages so you can make this cookie crust perfectly every time. Pay special attention to the fine crumb of the cookies in the food processor and the thickness of the cookie crust in the tart pan.
For the ingredient list with measurements, full instructions, printable recipe, and additional notes, please scroll down to the recipe card.
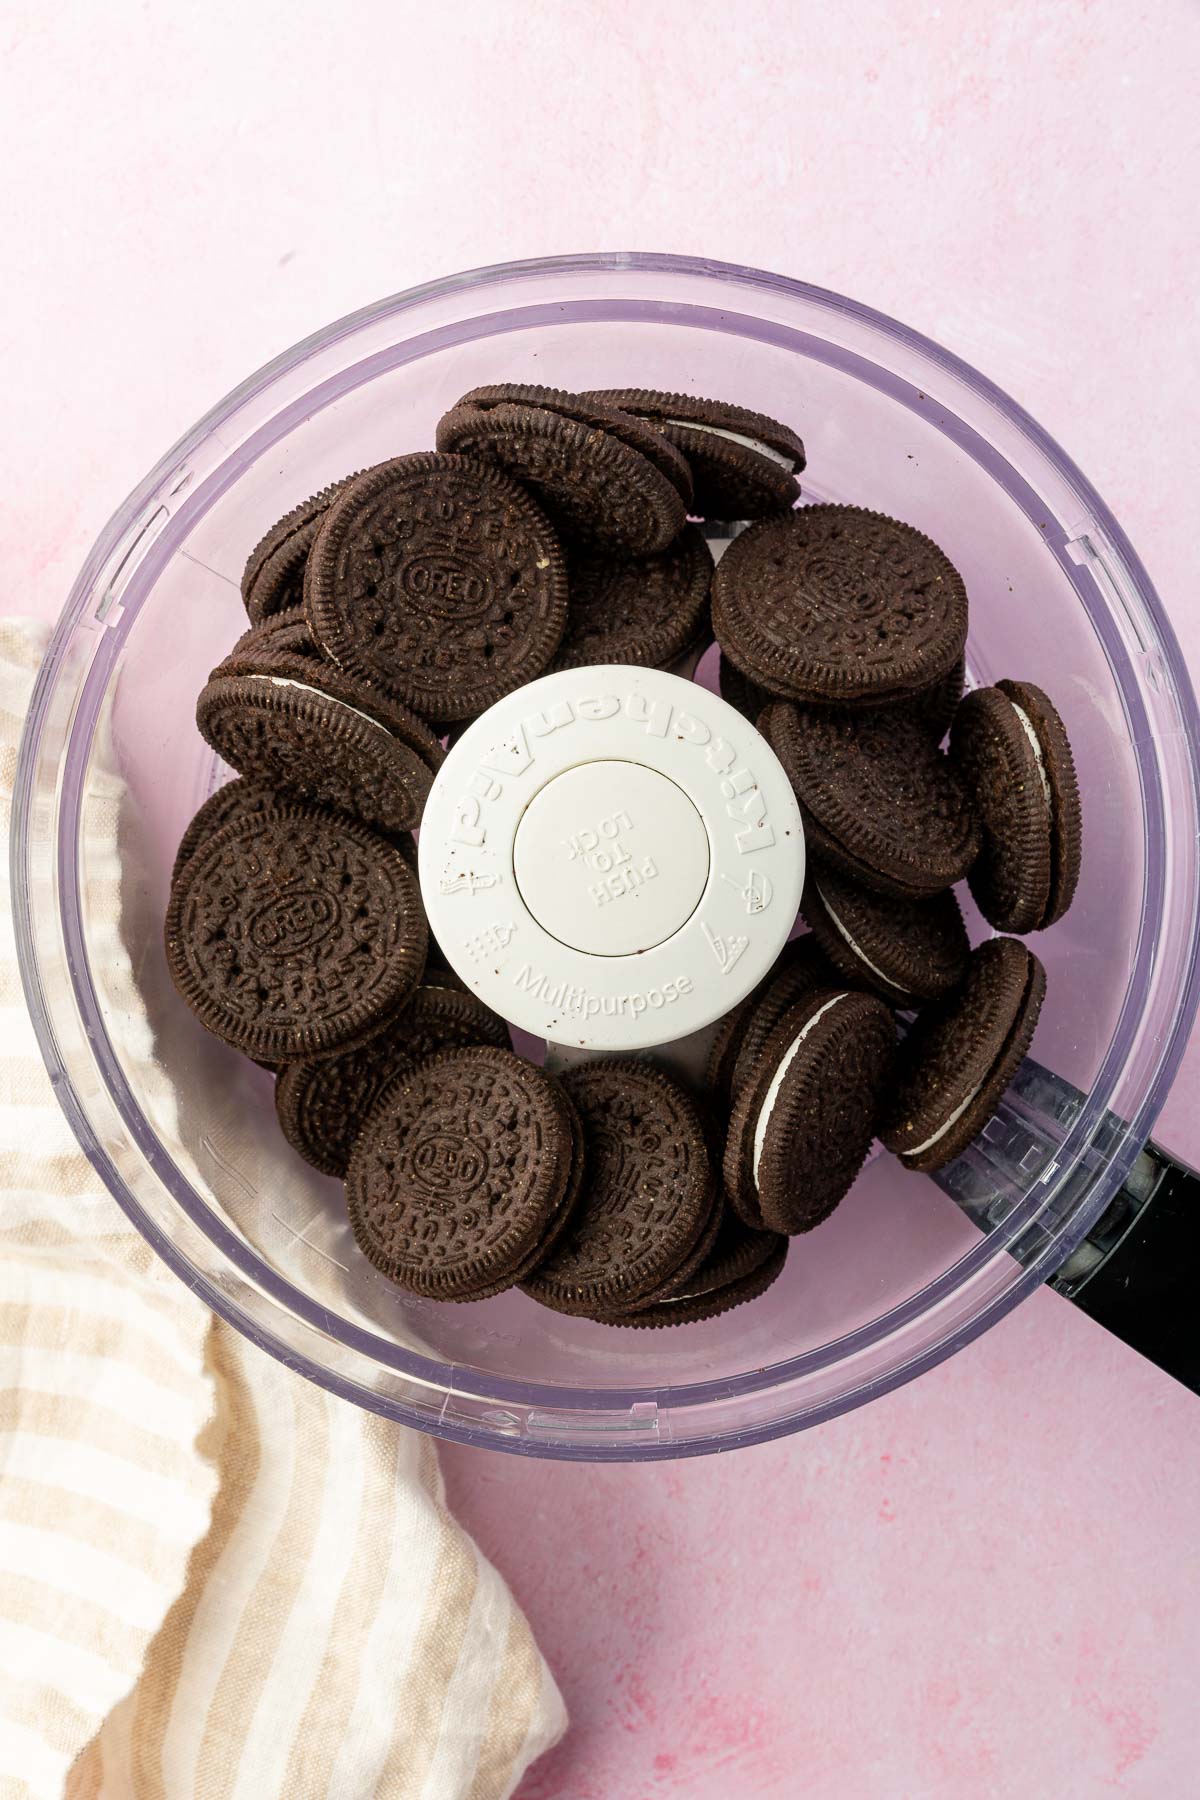 Add the gluten-free Oreos to a food processor. Be sure to leave the filling in the cookies.
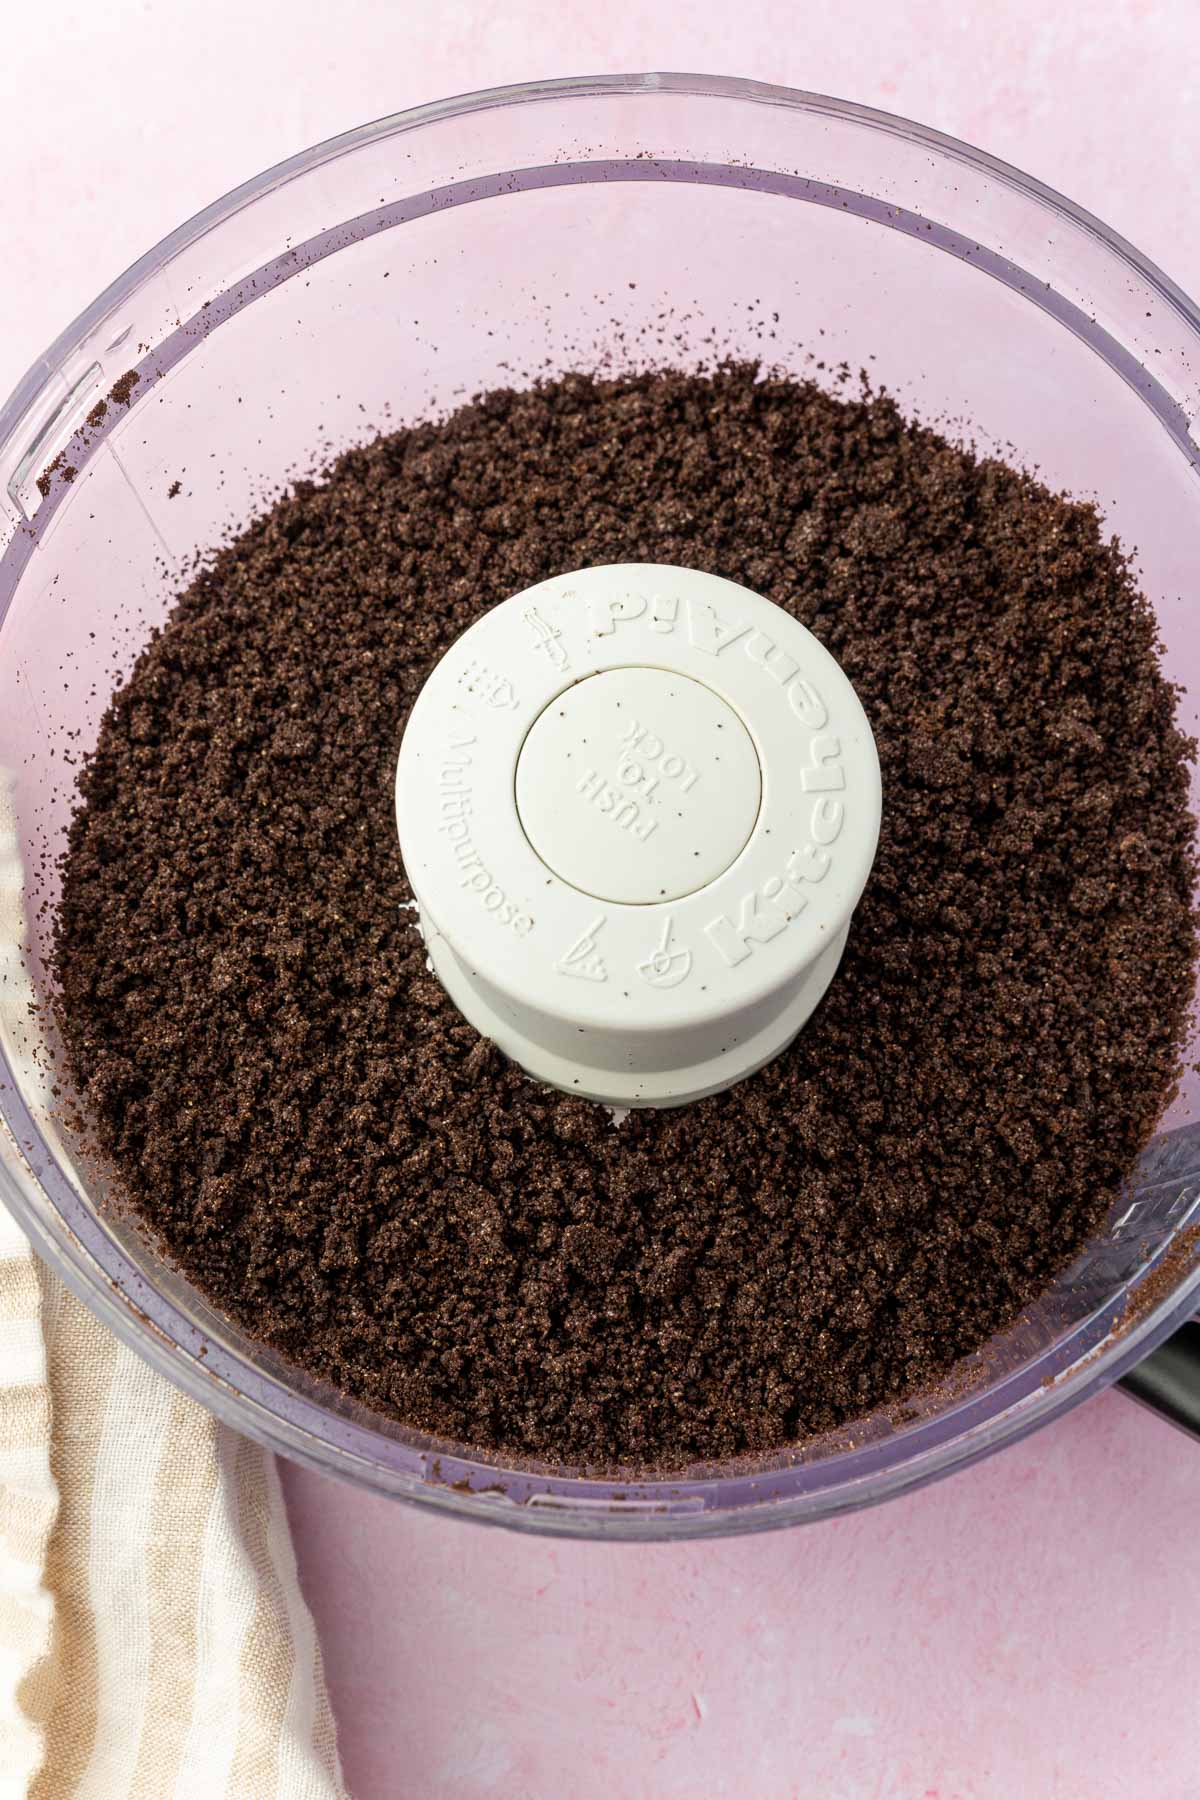 Pulse until the chocolate sandwich cookies are finely ground. You don’t want any big chunks because your pie crust will fall apart in the pan.
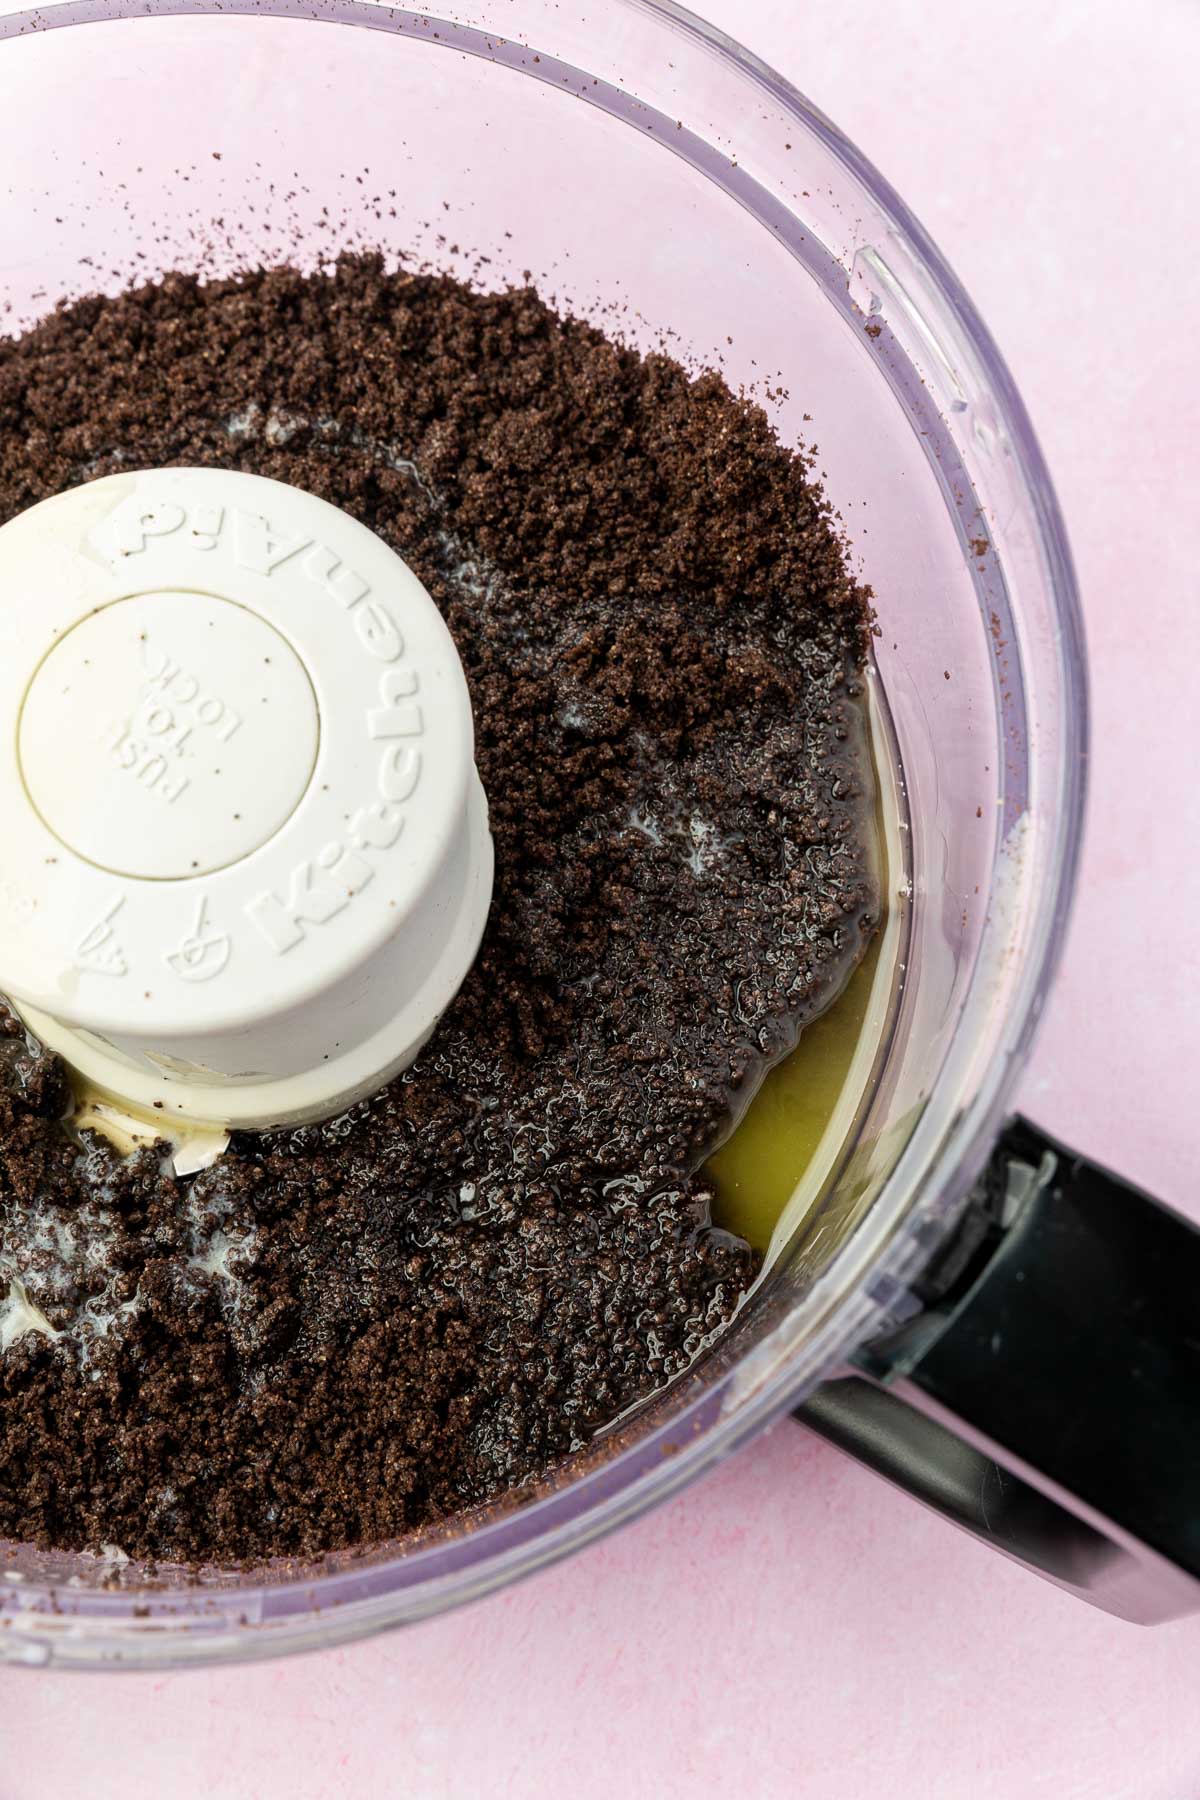 Add the melted butter to the cookie crumbs.
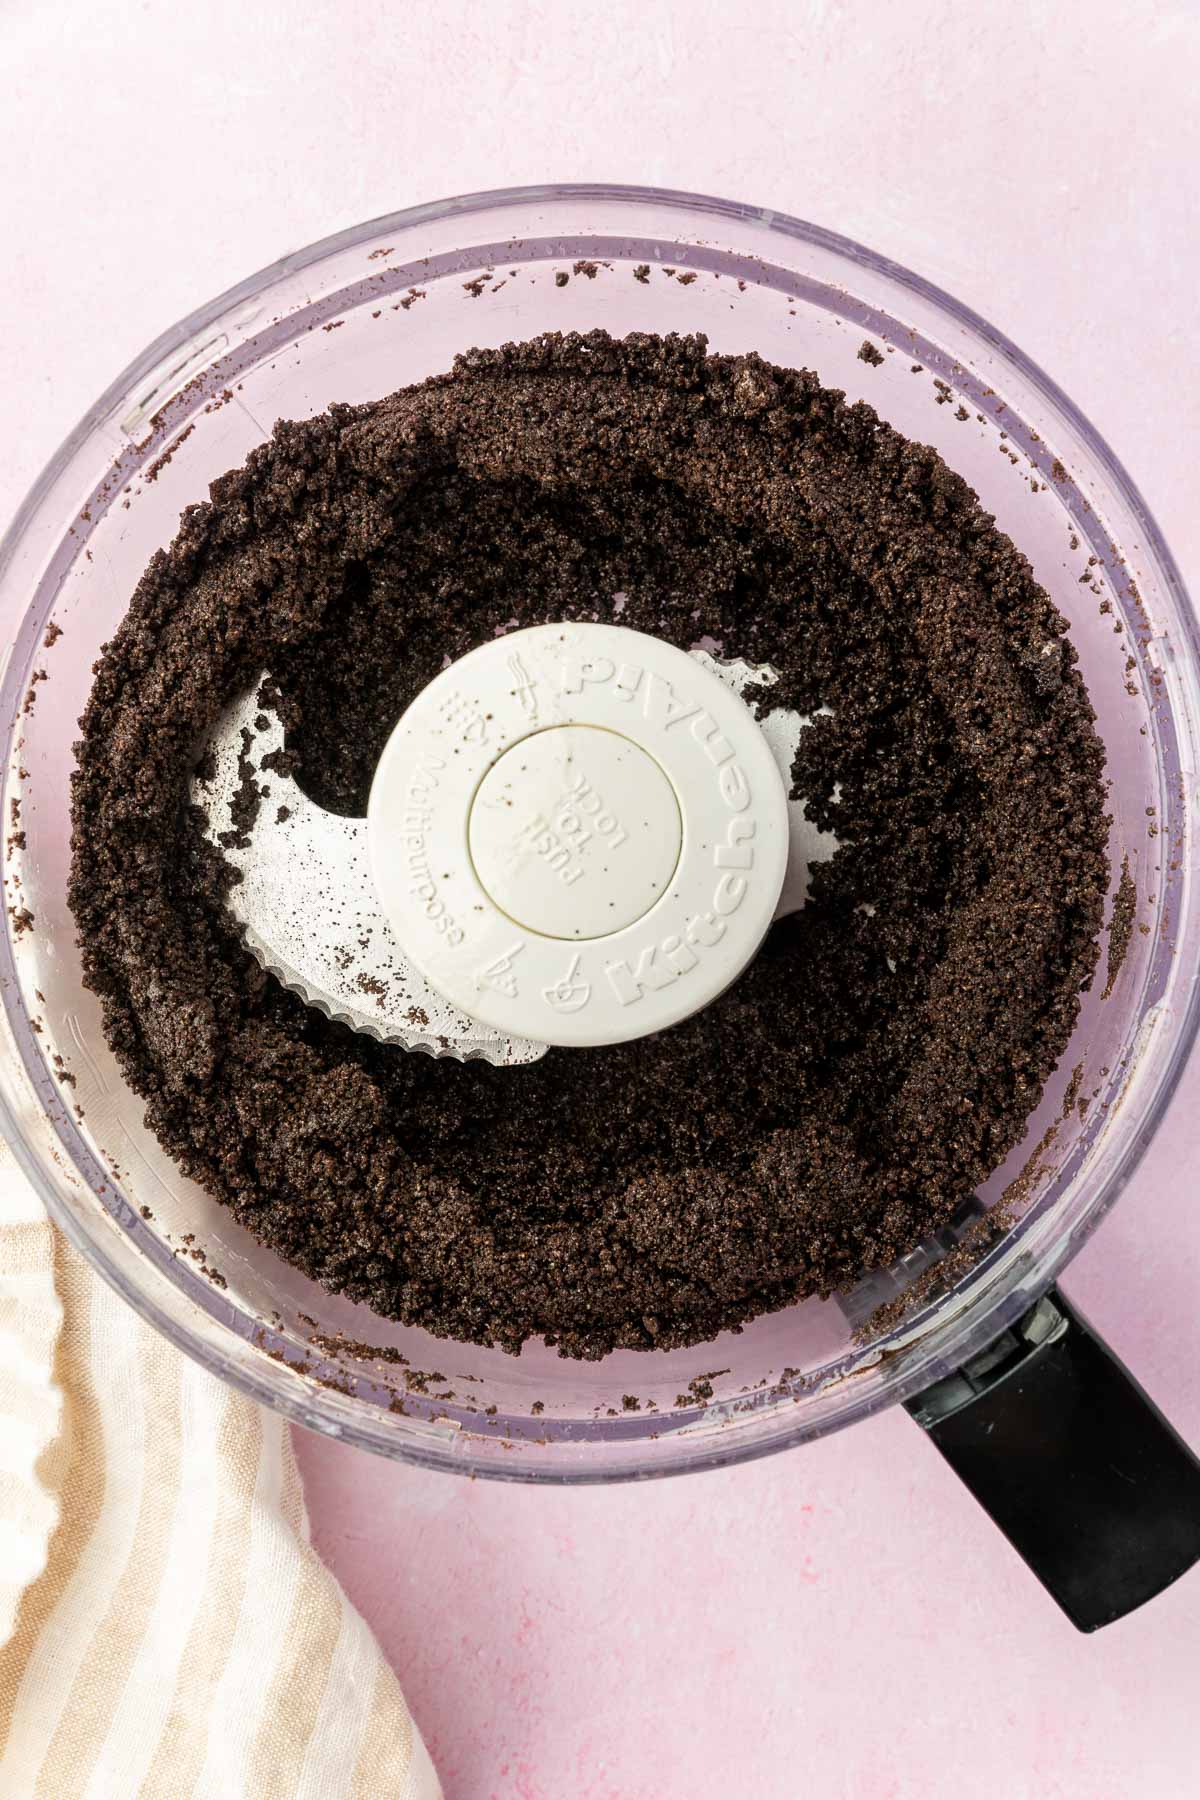 Pulse until the cookie crust begins to hold together into large clumps and butter is evenly distributed.
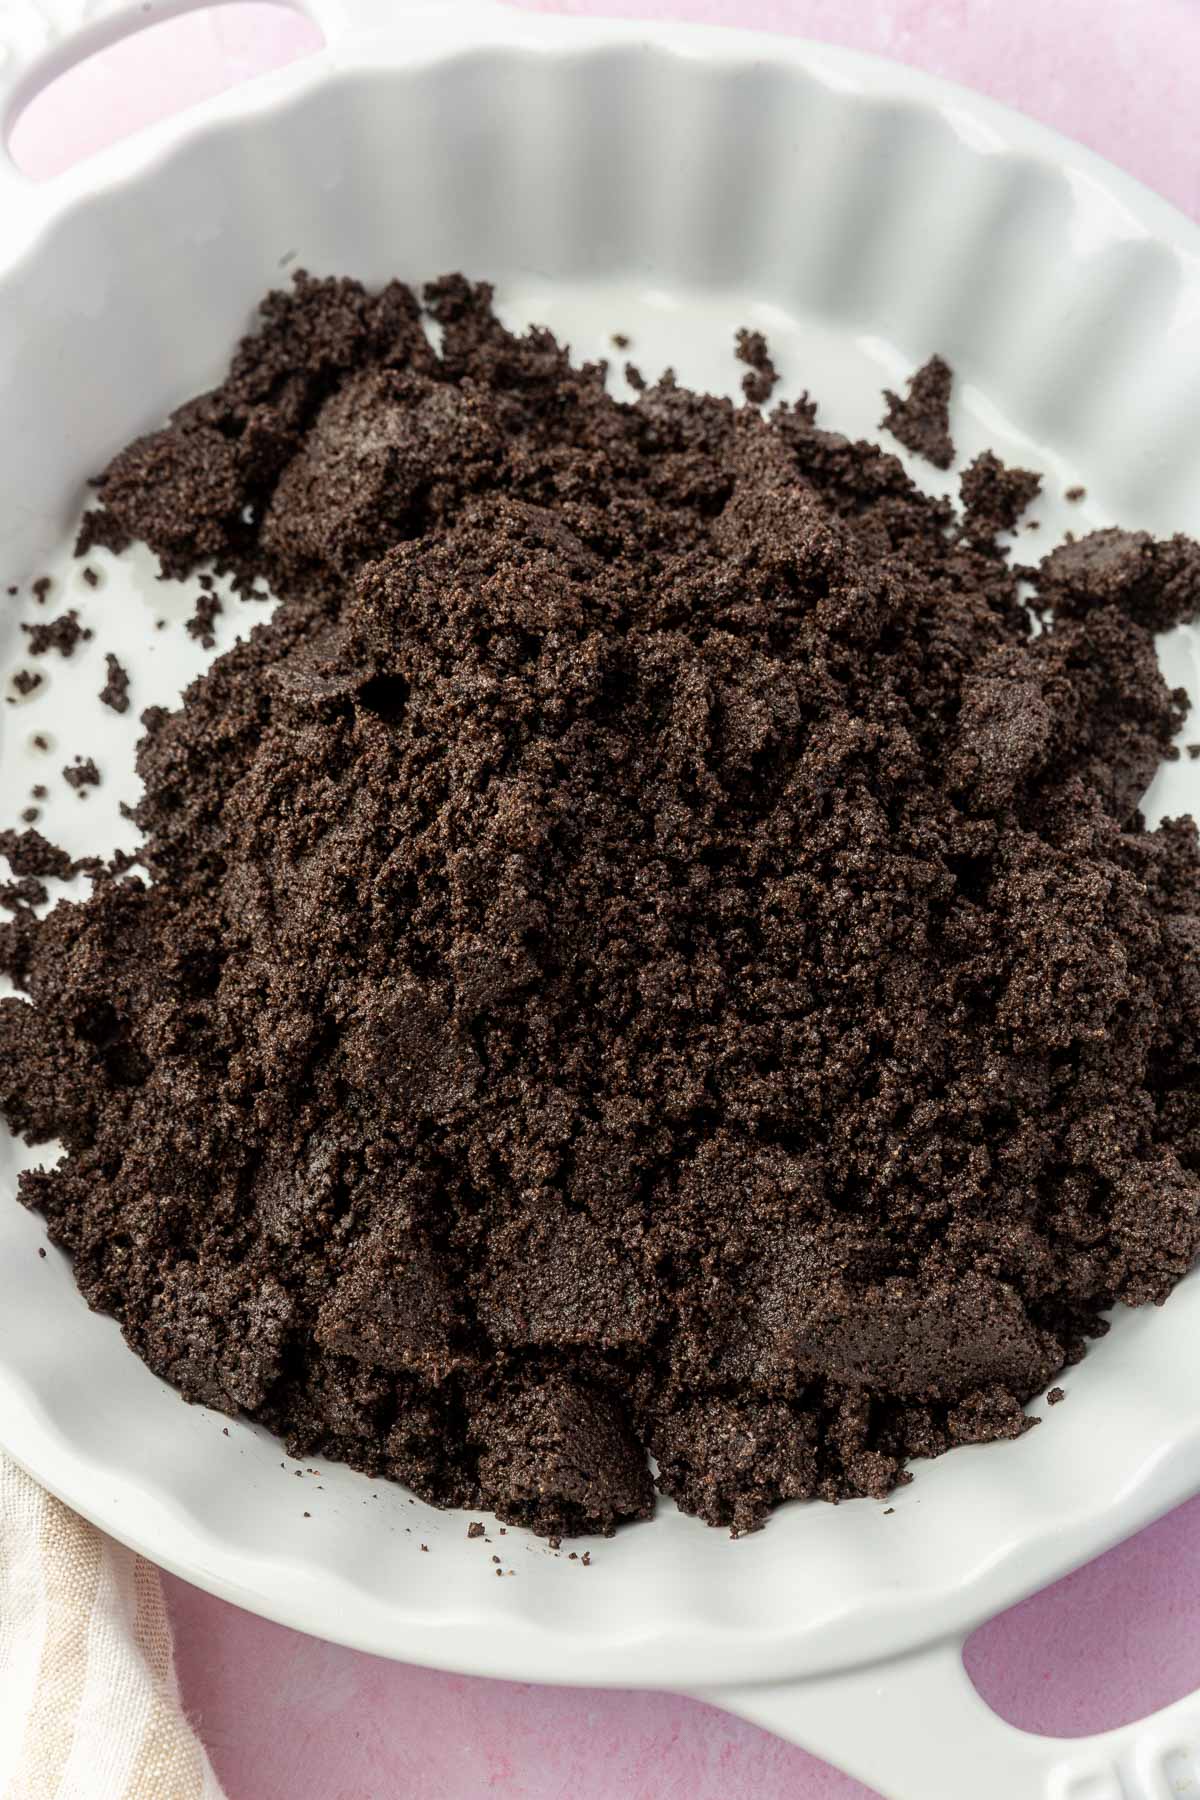 Pour the cookie crust mixture into a greased pie pan, tart pan or springform pan.
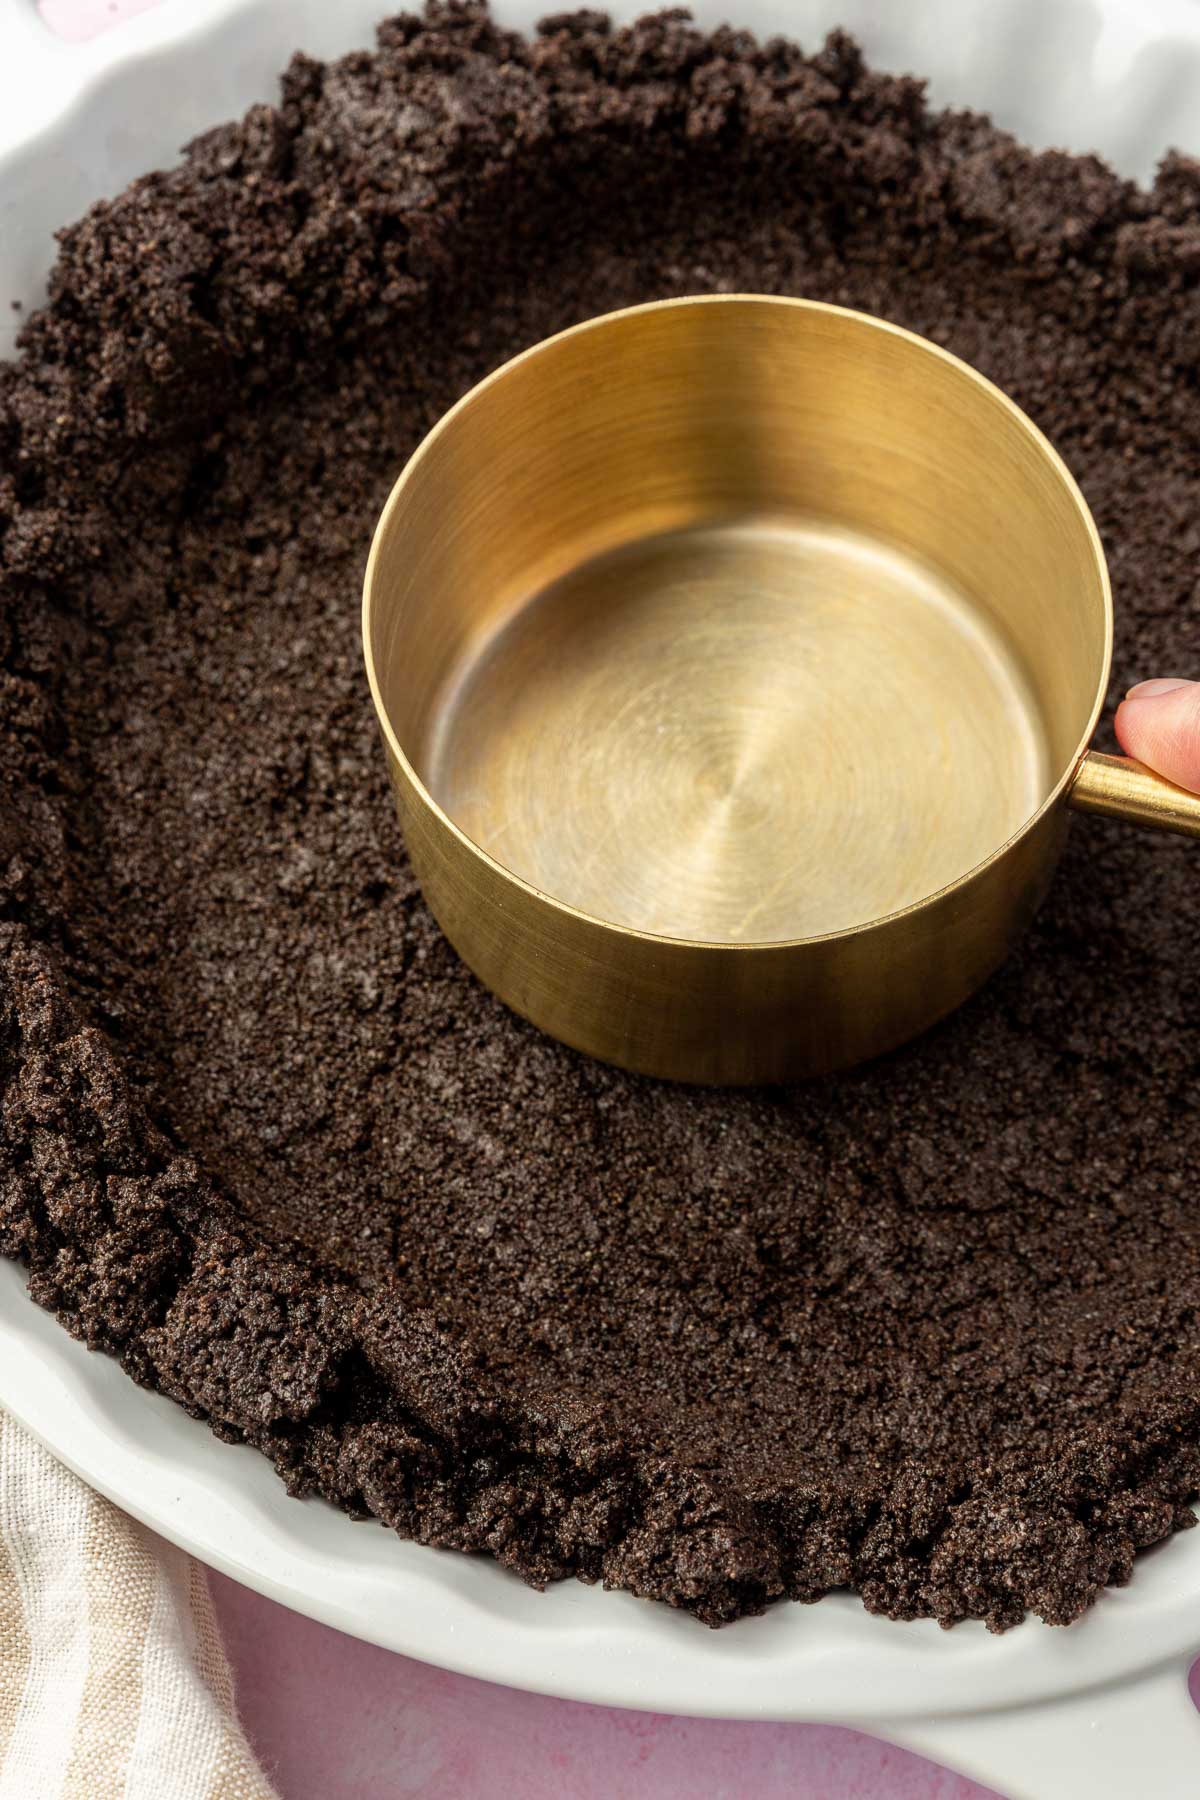 Use the bottom of a measuring cup to press the cookie crumbs down firmly into an even layer.
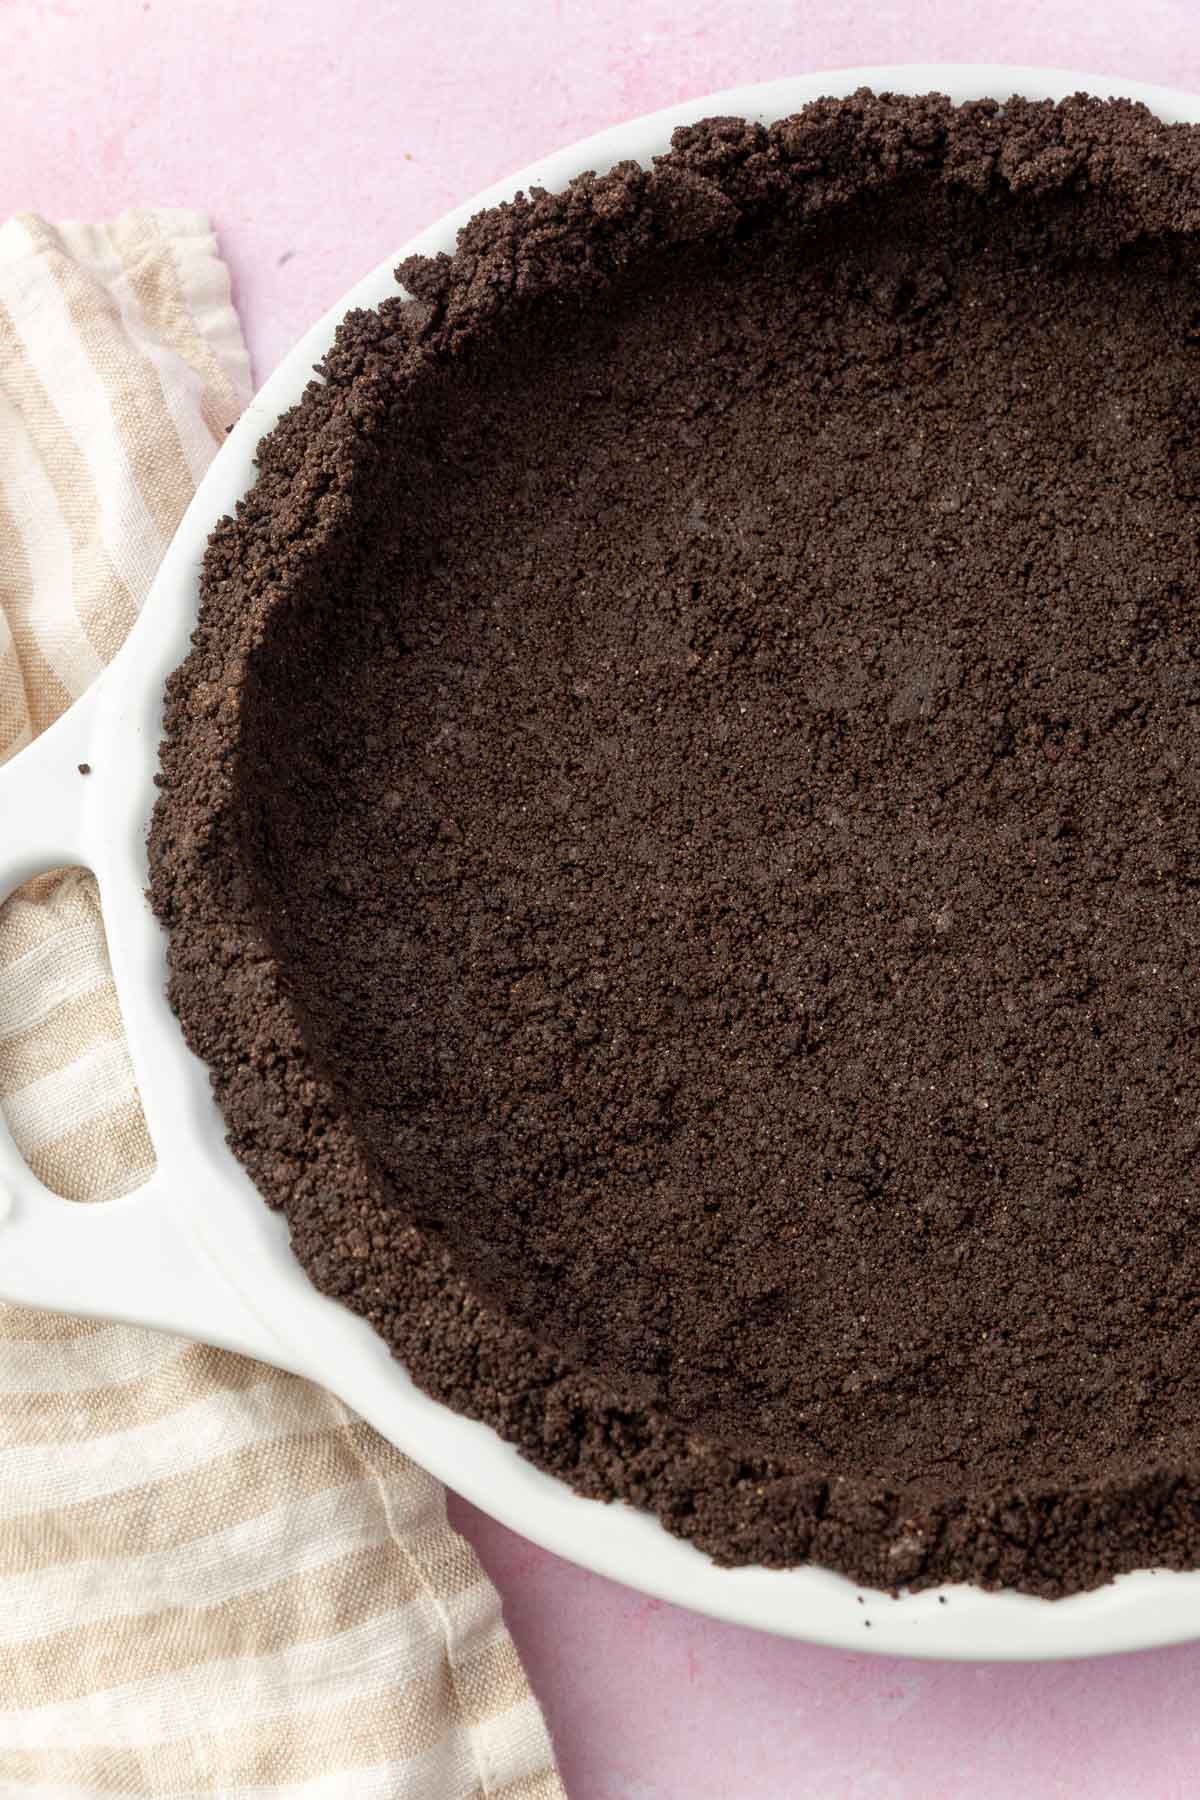 Either bake in the oven for a baked filling or regriferate or freeze for filling with a no-bake filling.
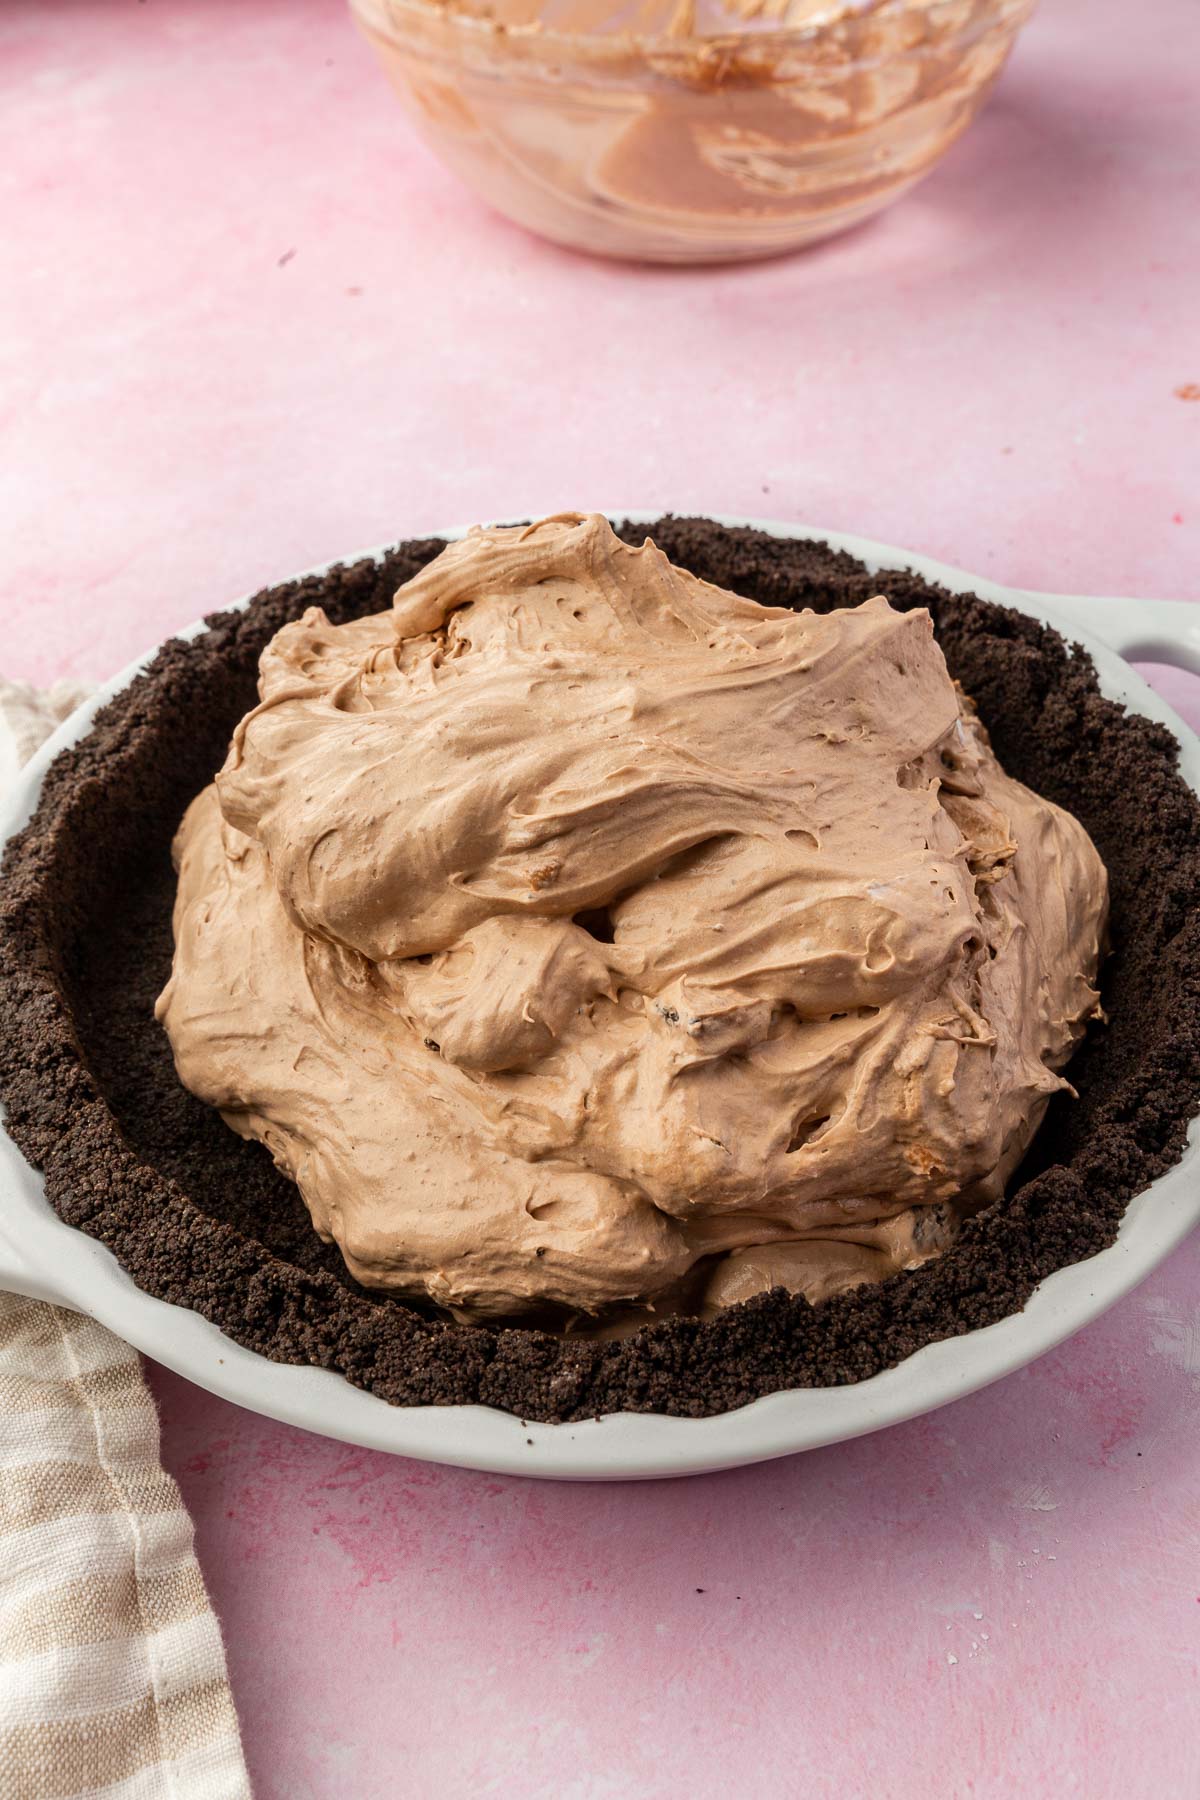 Fill as desired and enjoy!
Recipe FAQs
Do I remove the filling from the Oreos before processing?No. Leave the filling in. It helps the crumbs stick together and adds flavor to the crust. This is also why double stuffed Oreos don’t work here. Too much filling makes the crust greasy and hard to press.
Can I use this crust for cheesecake?Yes. For a springform cheesecake where you want the crust to go up the sides, double the recipe. For a cheesecake in a standard pie dish where you only need a bottom crust, the single recipe is enough.
What if I don’t have a food processor?Put the Oreos in a zip-top bag and crush them with a rolling pin. It takes a bit longer and the crumbs may be slightly less uniform, but it works. The goal is fine crumbs with no large pieces.
Expert Tips
- Process to a fine, uniform crumb. Any large chunks and the crust will crumble when you cut the pie. Run the food processor until the texture is consistent throughout, with no visible cookie pieces.
- Press firmly, especially up the sides. Use the bottom of a measuring cup to pack the crumbs down. Loose crumbs around the edges are the main reason crusts fall apart when sliced.
- Let it cool completely before filling. If you baked the crust, a hot or even warm crust will make cold fillings weep and the crust soggy. Cool completely on a wire rack first.
Storage Instructions
- Storage: Once the crust is prepared, if not being used immediately, wrap it tightly in plastic wrap or aluminum foil. Store it in the refrigerator for up to 3 days before adding your filling. If you’ve already added a filling, the storage duration will depend on the type of filling used.
- Freezer Option: Wrap the prepared crust (without any filling) tightly in plastic wrap and then in aluminum foil. Label with the date, and store it in the freezer for up to 3 months.
- Reheat: If you’ve frozen a pre-baked crust, there’s typically no need to thaw it before adding your filling and baking. Just add a couple of minutes to the baking time. If your filling does not require baking or you’ve frozen a pre-baked crust, you can let it thaw at room temperature or in the refrigerator.
Serving Suggestions
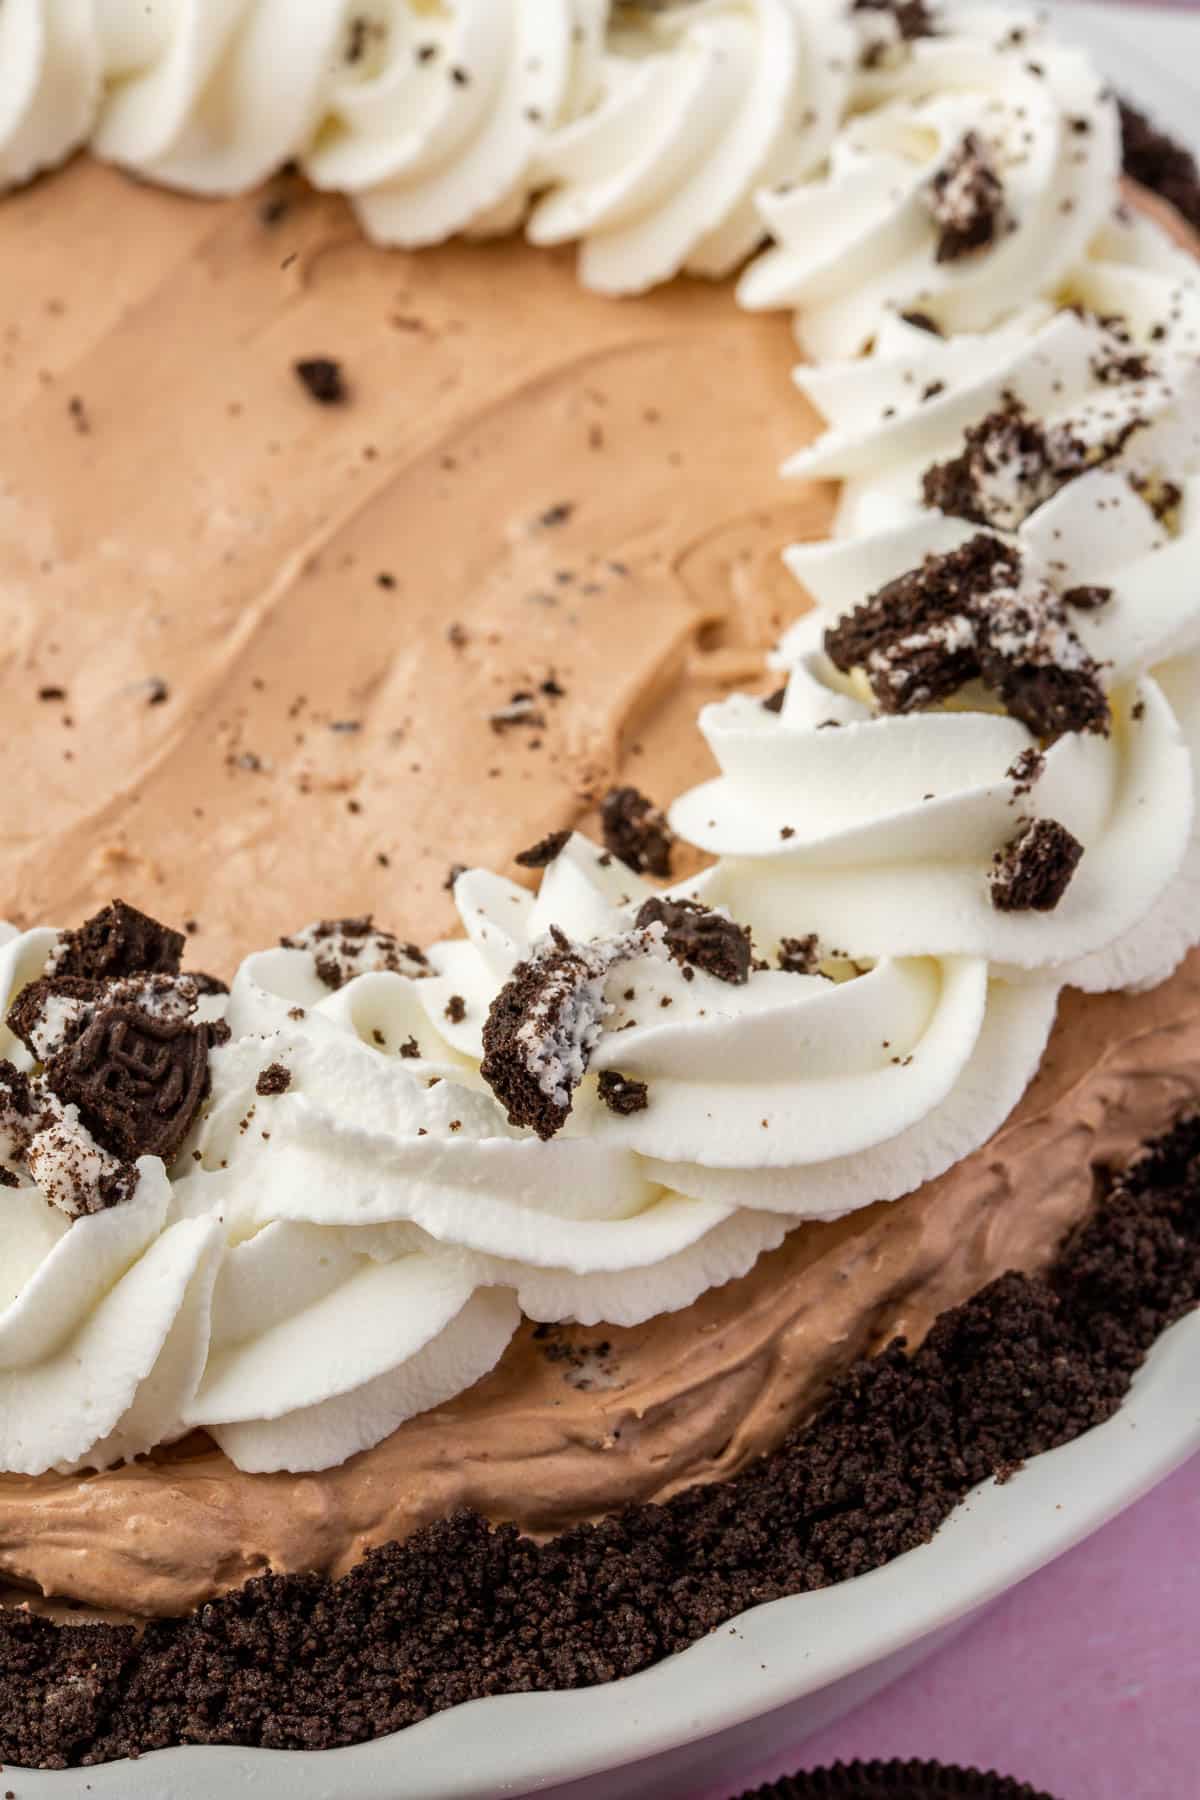
My favorite thing to make with this crust is my gluten-free Oreo peanut butter pie . It’s a combination I keep coming back to. Chocolate and peanut butter in one dessert, and the crust holds up perfectly under that filling. You can also use this crust recipe as a chocolate swap in my gluten-free strawberry cream cheese pie when I want something a little richer.
Method
-
1
Add 24 gluten-free Oreos to a food processor. Do not remove the cream filling. Pulse until the cookies are ground into fine, uniform crumbs with no large pieces remaining.
-
2
Transfer the crumbs to a bowl and add the melted 4 tablespoons unsalted butter. Stir until all the crumbs are evenly moistened and the mixture looks like wet sand.
-
3
Pour the mixture into a greased 9-inch pie dish, tart pan, springform pan, or 8-inch baking pan. Use the bottom of a measuring cup to press the crumbs firmly and evenly across the bottom and up the sides.
-
4
For a no-bake crust: Refrigerate the crust for at least 1 hour before adding your filling.
-
5
For a baked crust: Bake at 350°F (175°C) for 10 minutes until set and fragrant. Cool completely before adding your filling.
Cook next
 Gluten-FreeRecipeGluten-Free Blueberry CobblerThis gluten-free blueberry cobbler has a sweet blueberry filling topped with golden, flaky biscuits. The bisc…
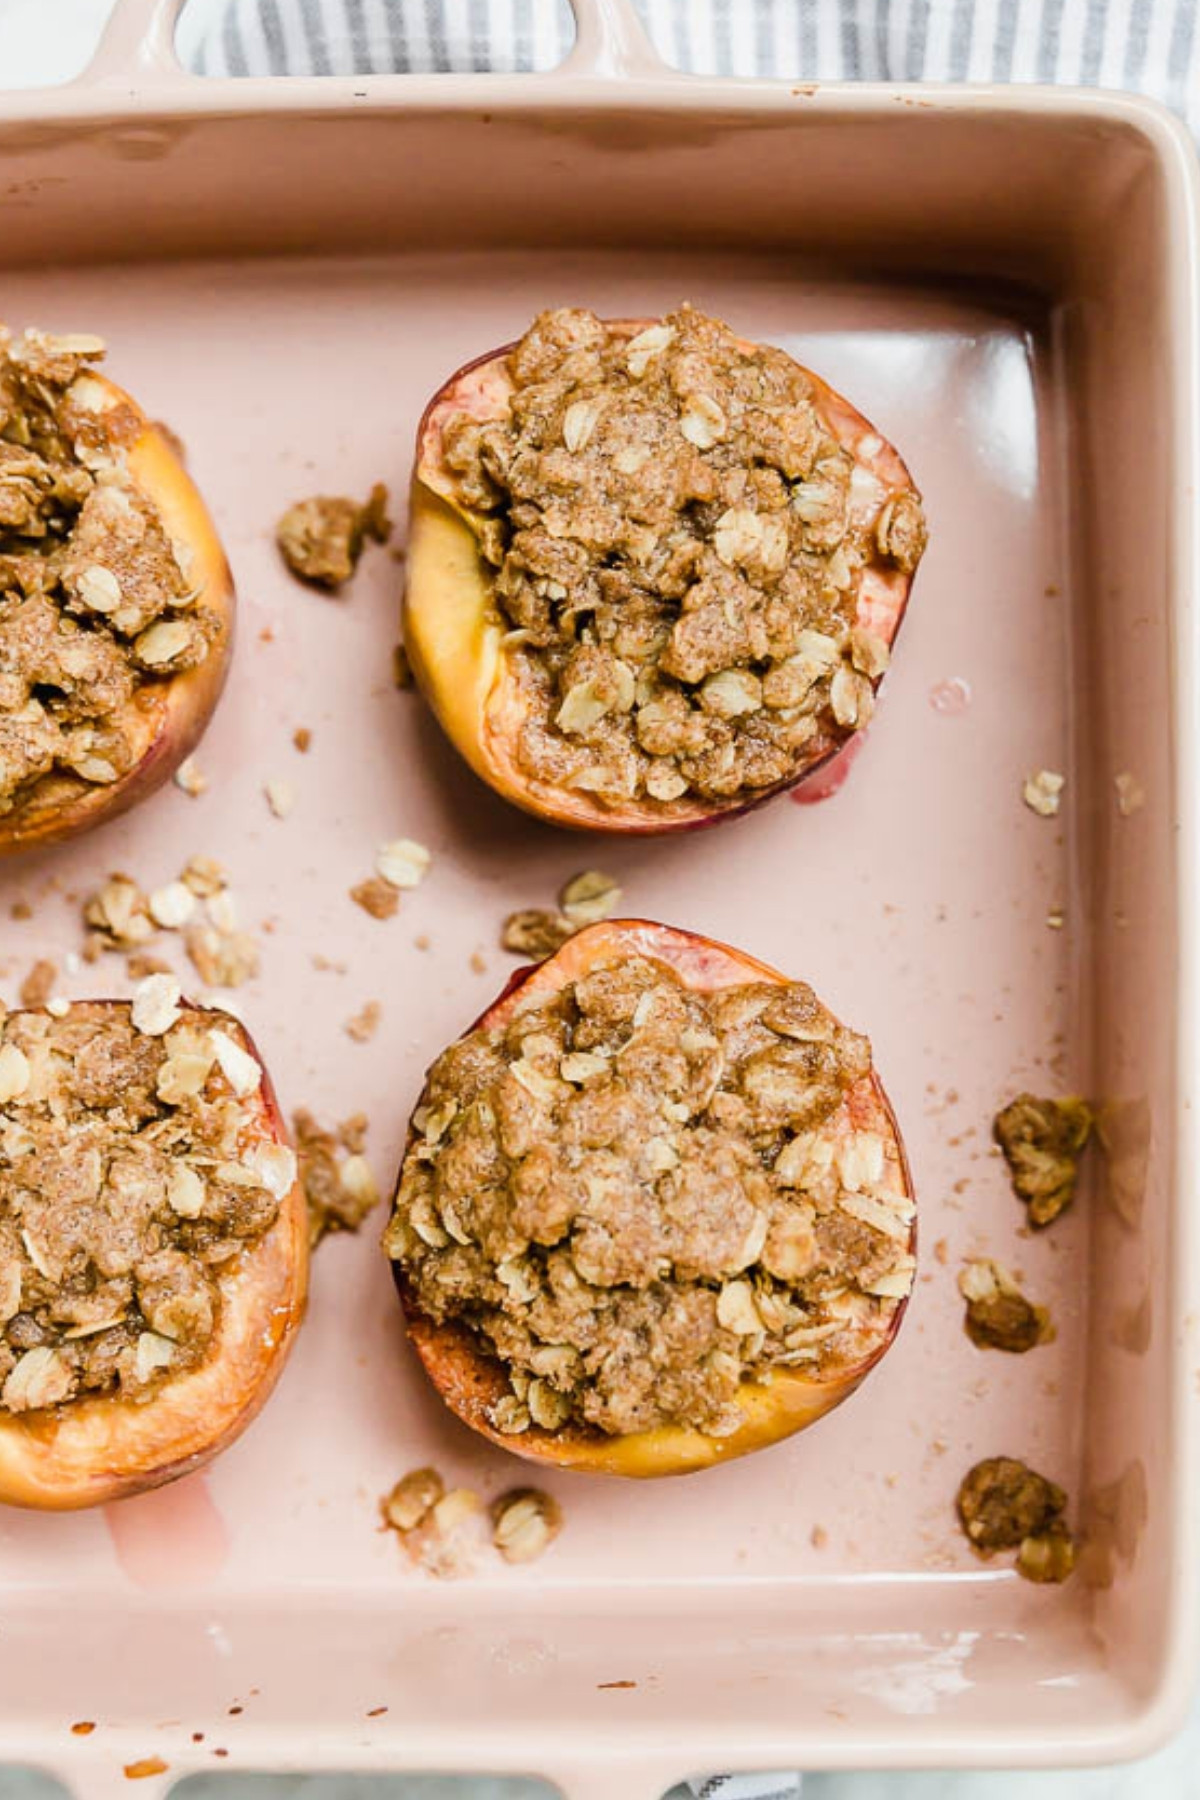 Gluten-FreeRecipeBaked Peaches with Gluten-Free Streusel ToppingThese gluten-free baked peaches are stuffed with a crispy oat streusel topping and baked until golden. They t…
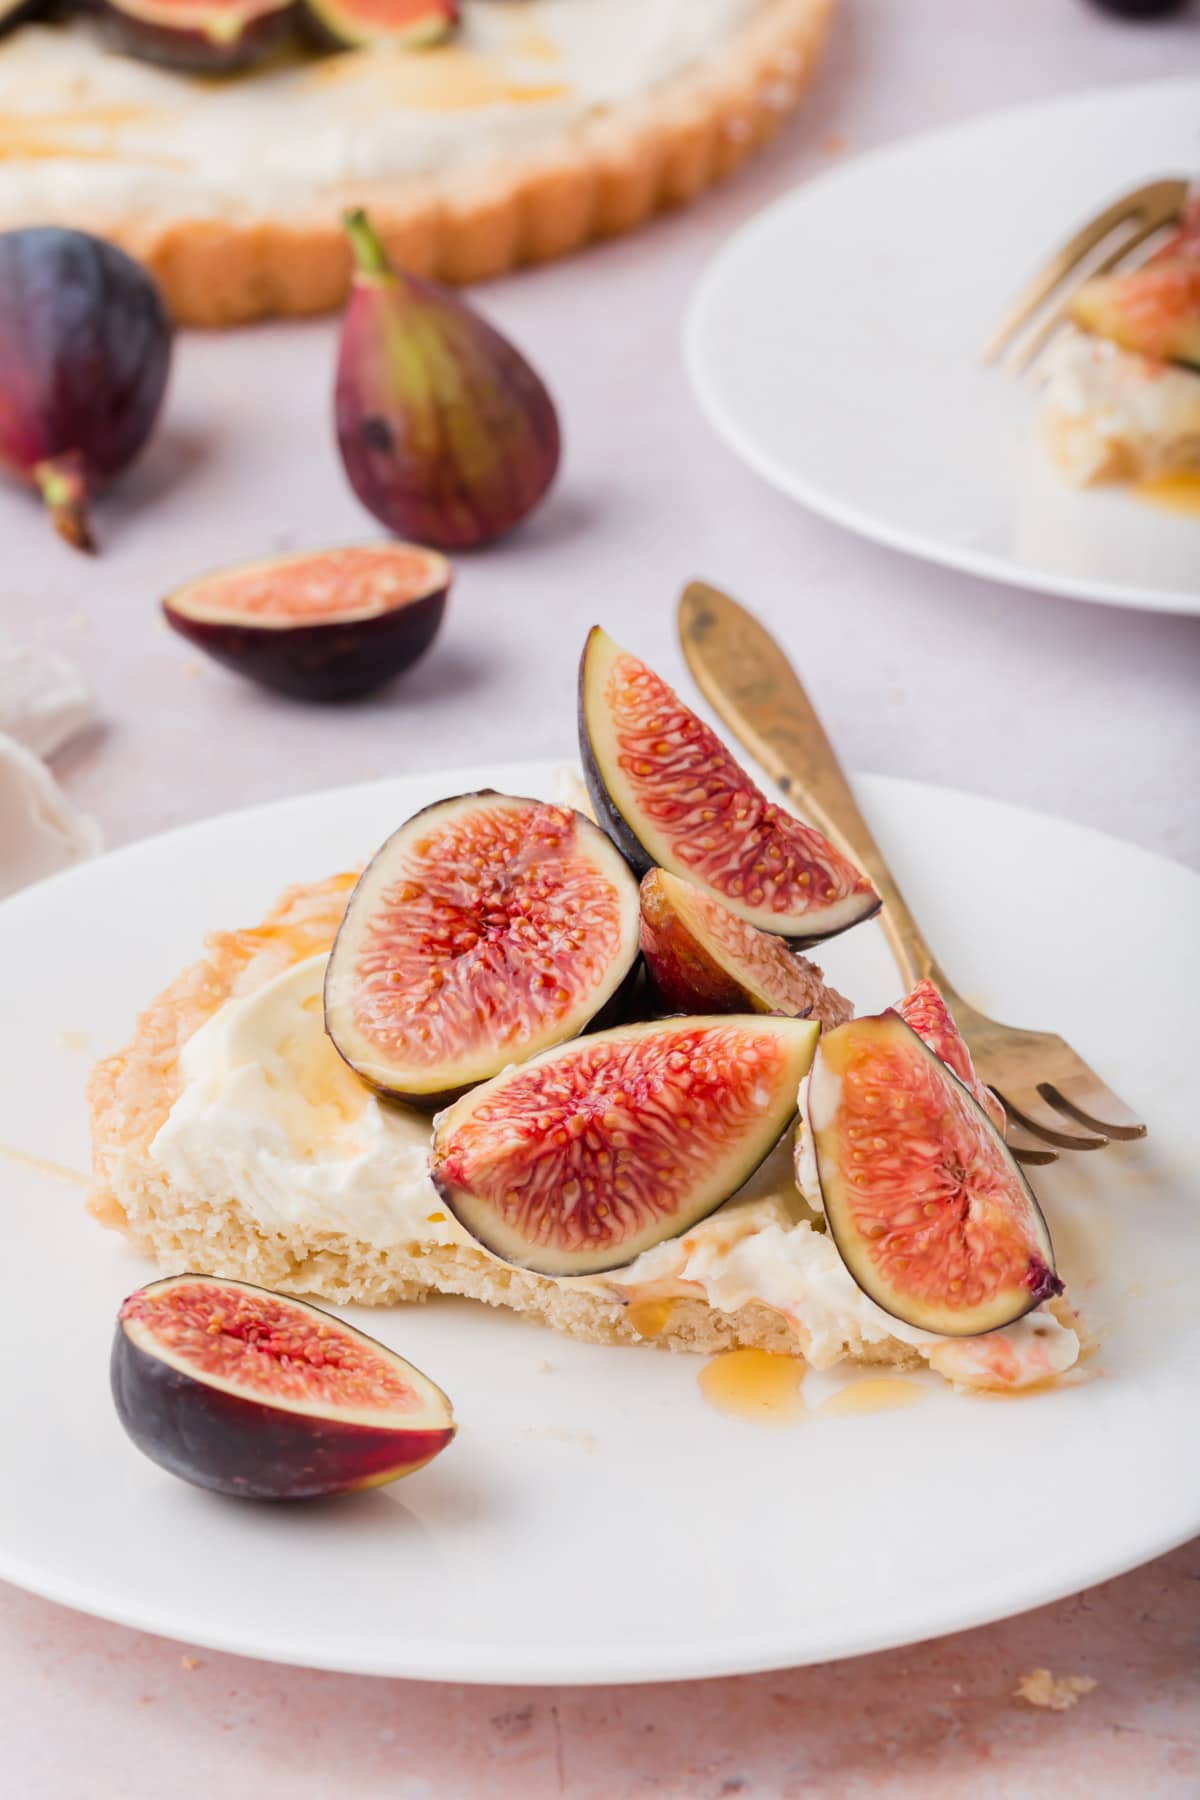 Gluten-FreeRecipeGluten-Free Fig Tart with MascarponeThis gluten-free fig tart has a buttery shortbread crust, a whipped mascarpone filling, and a topping of fres…
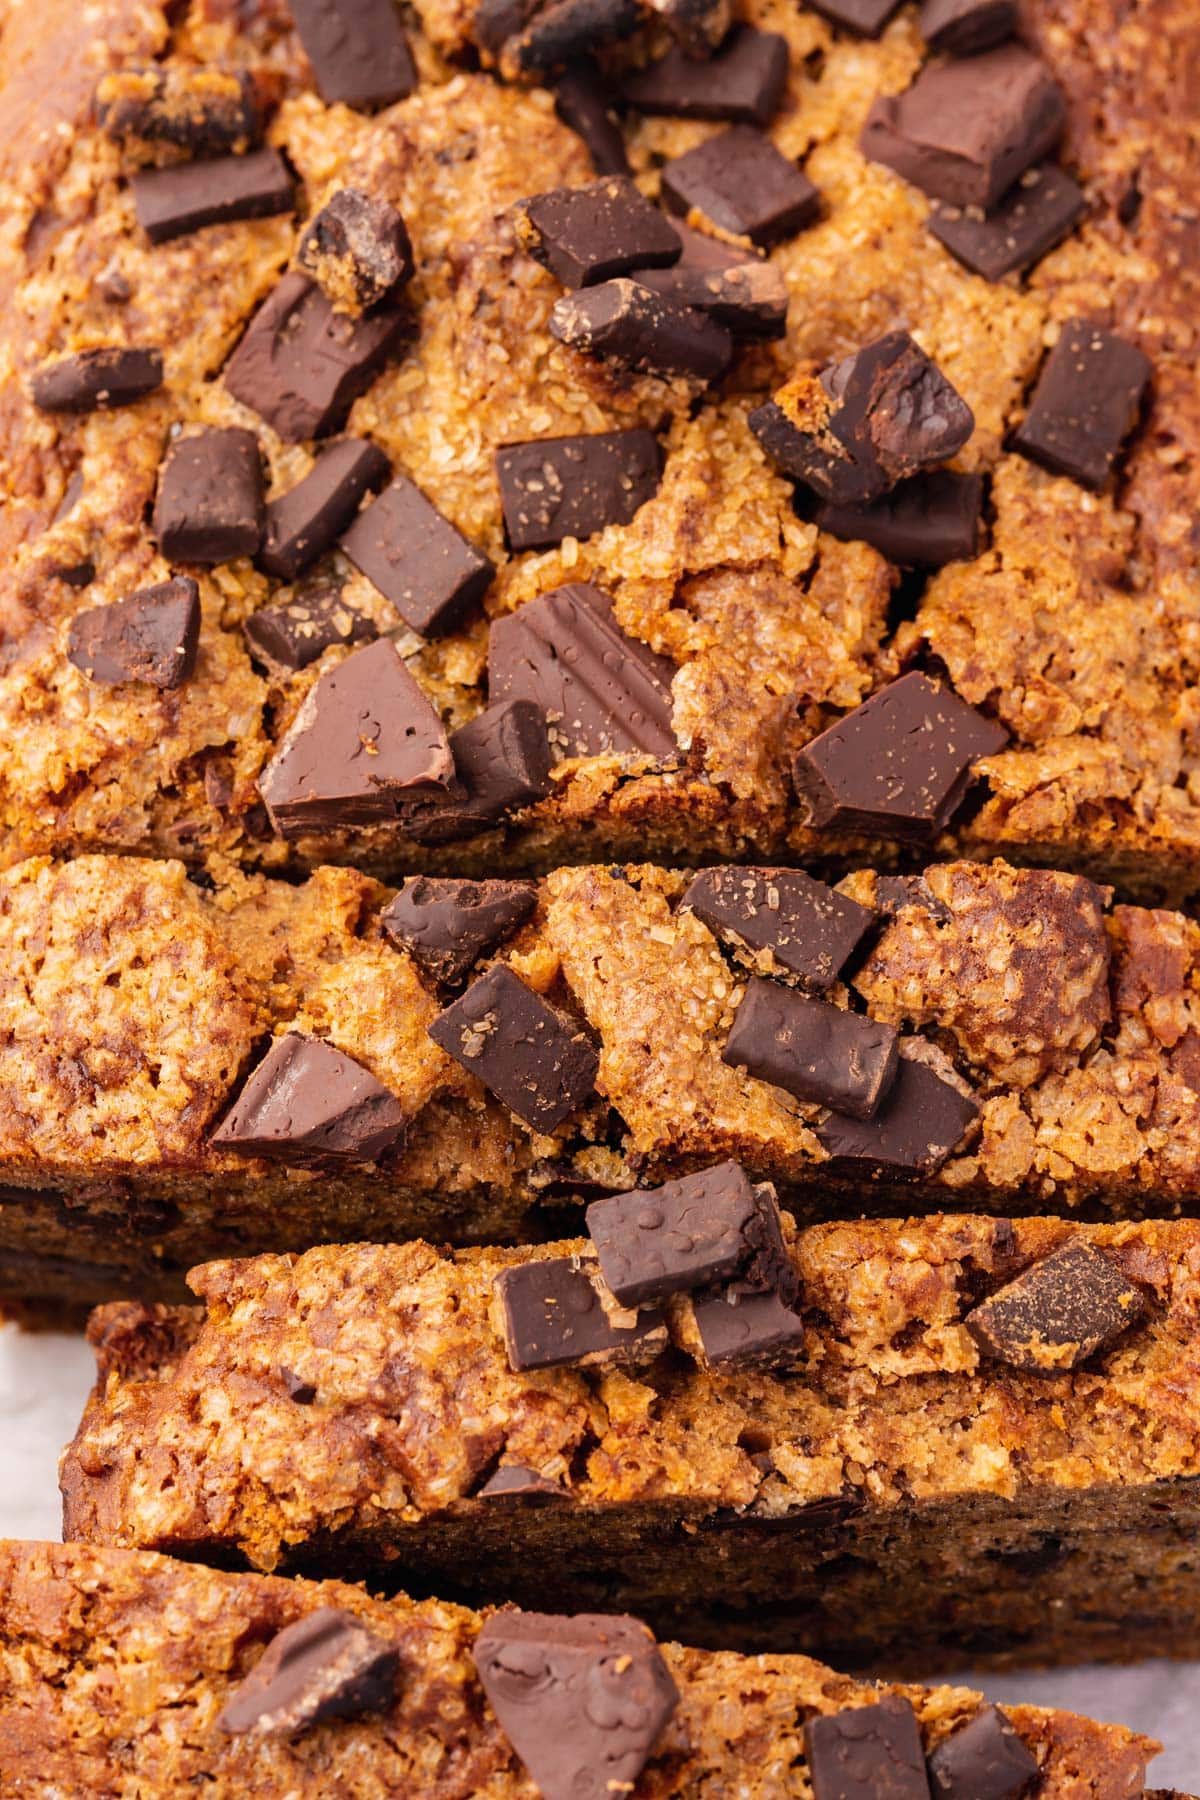 Gluten-FreeRecipeGluten-Free Vegan Banana BreadThis gluten-free vegan banana bread is made with very ripe bananas, applesauce instead of eggs, and studded w…
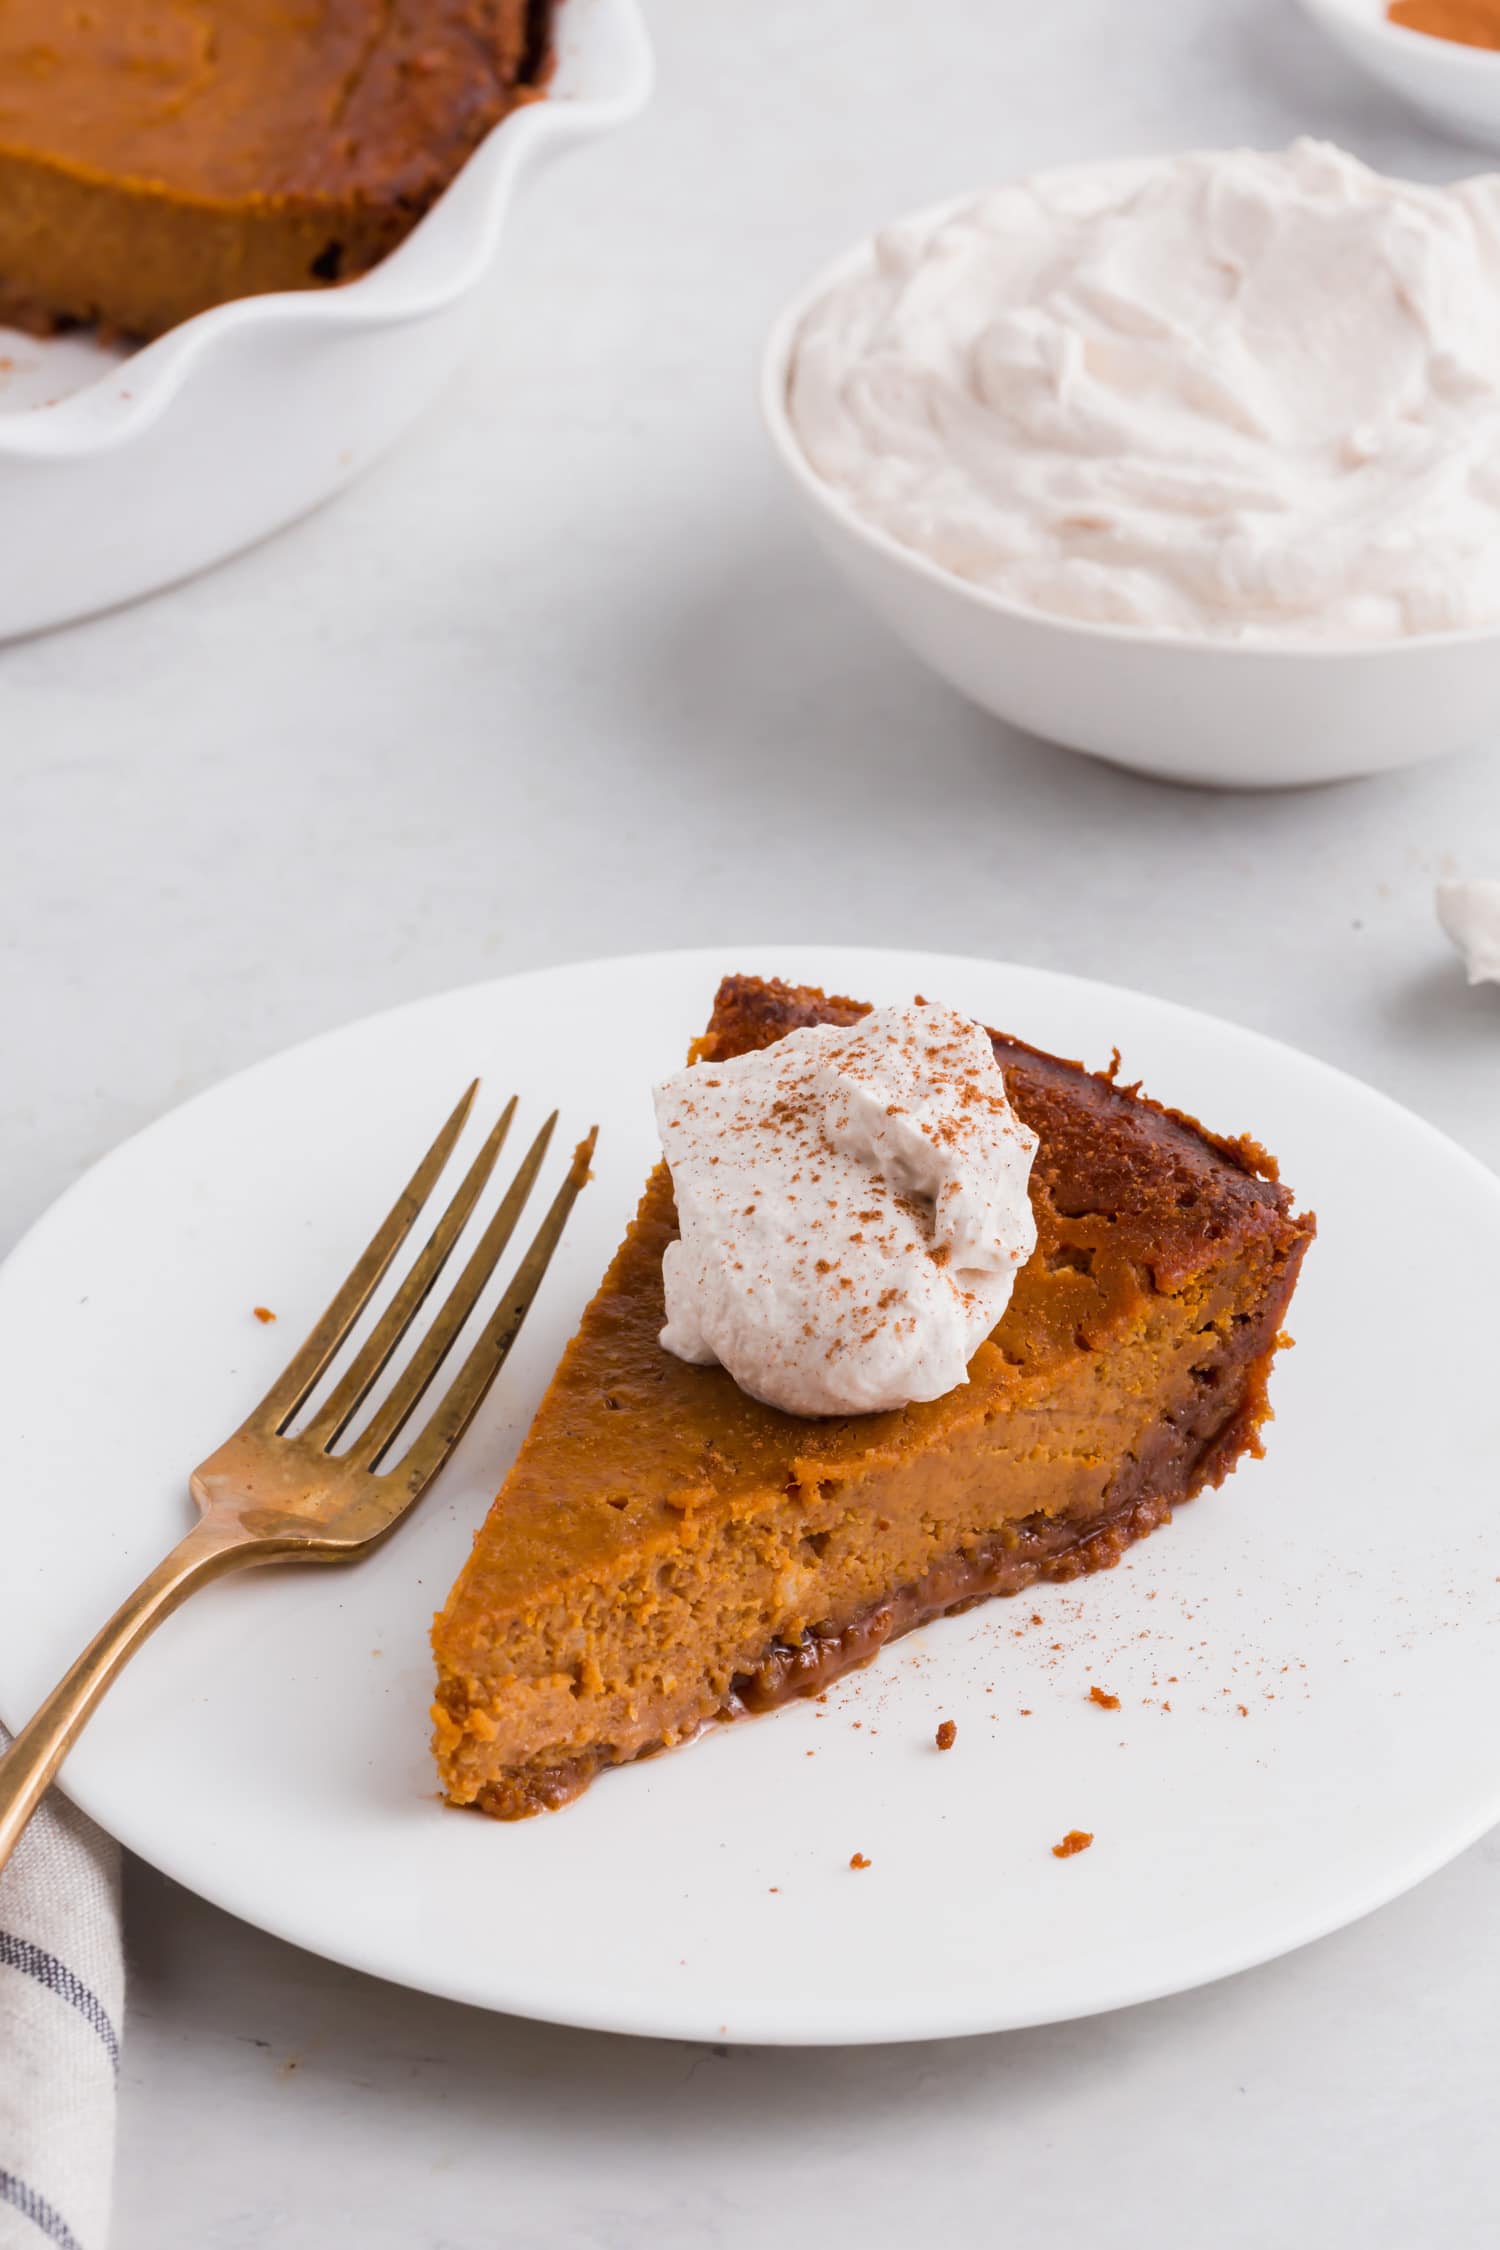 Gluten-FreeRecipeGluten-Free Pumpkin Pie with Graham Cracker CrustThis gluten-free pumpkin pie is so simple with an easy gluten-free graham cracker crust. The filling is perfe…
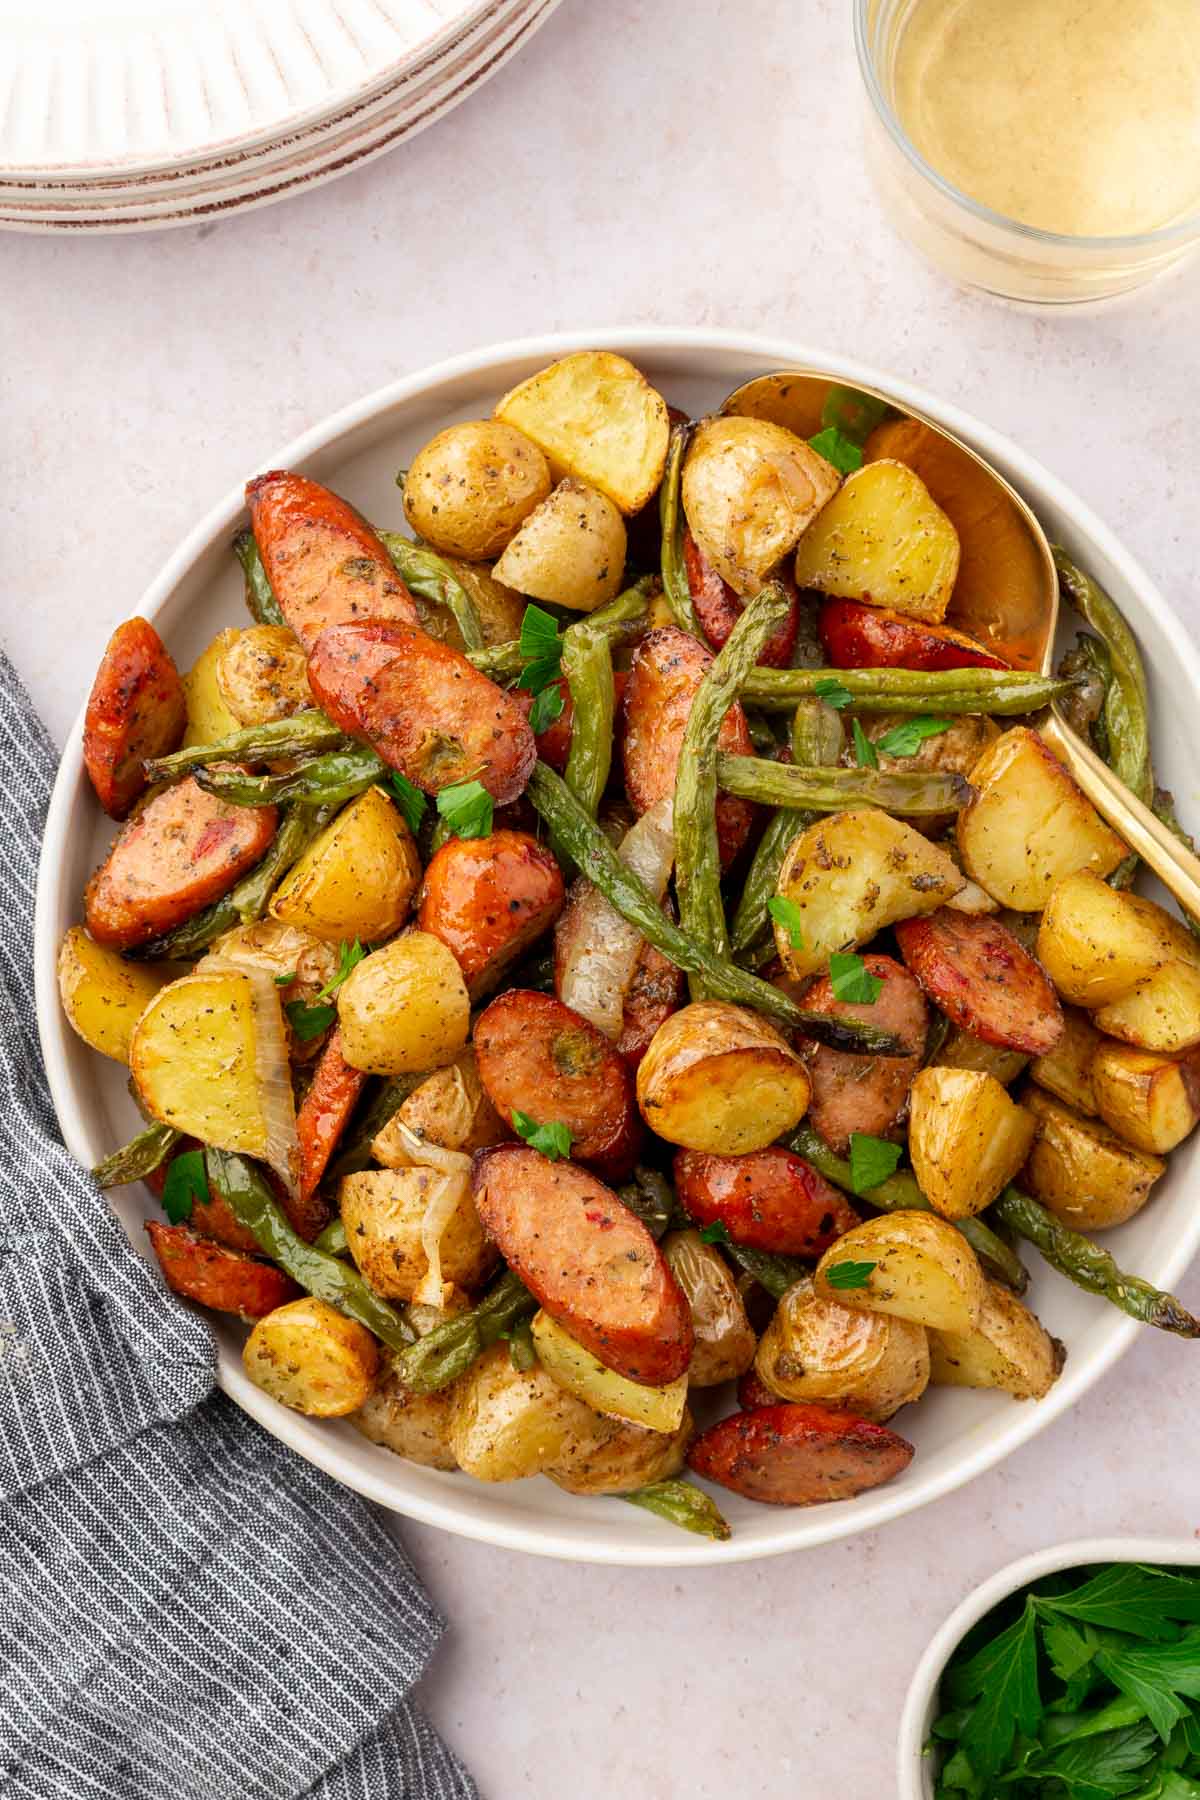 Gluten-FreeRecipeSheet Pan Sausage, Green Beans, and PotatoesThis flavorful one-pan meal featuring smoky andouille sausage, green beans, and potatoes is always a family f…
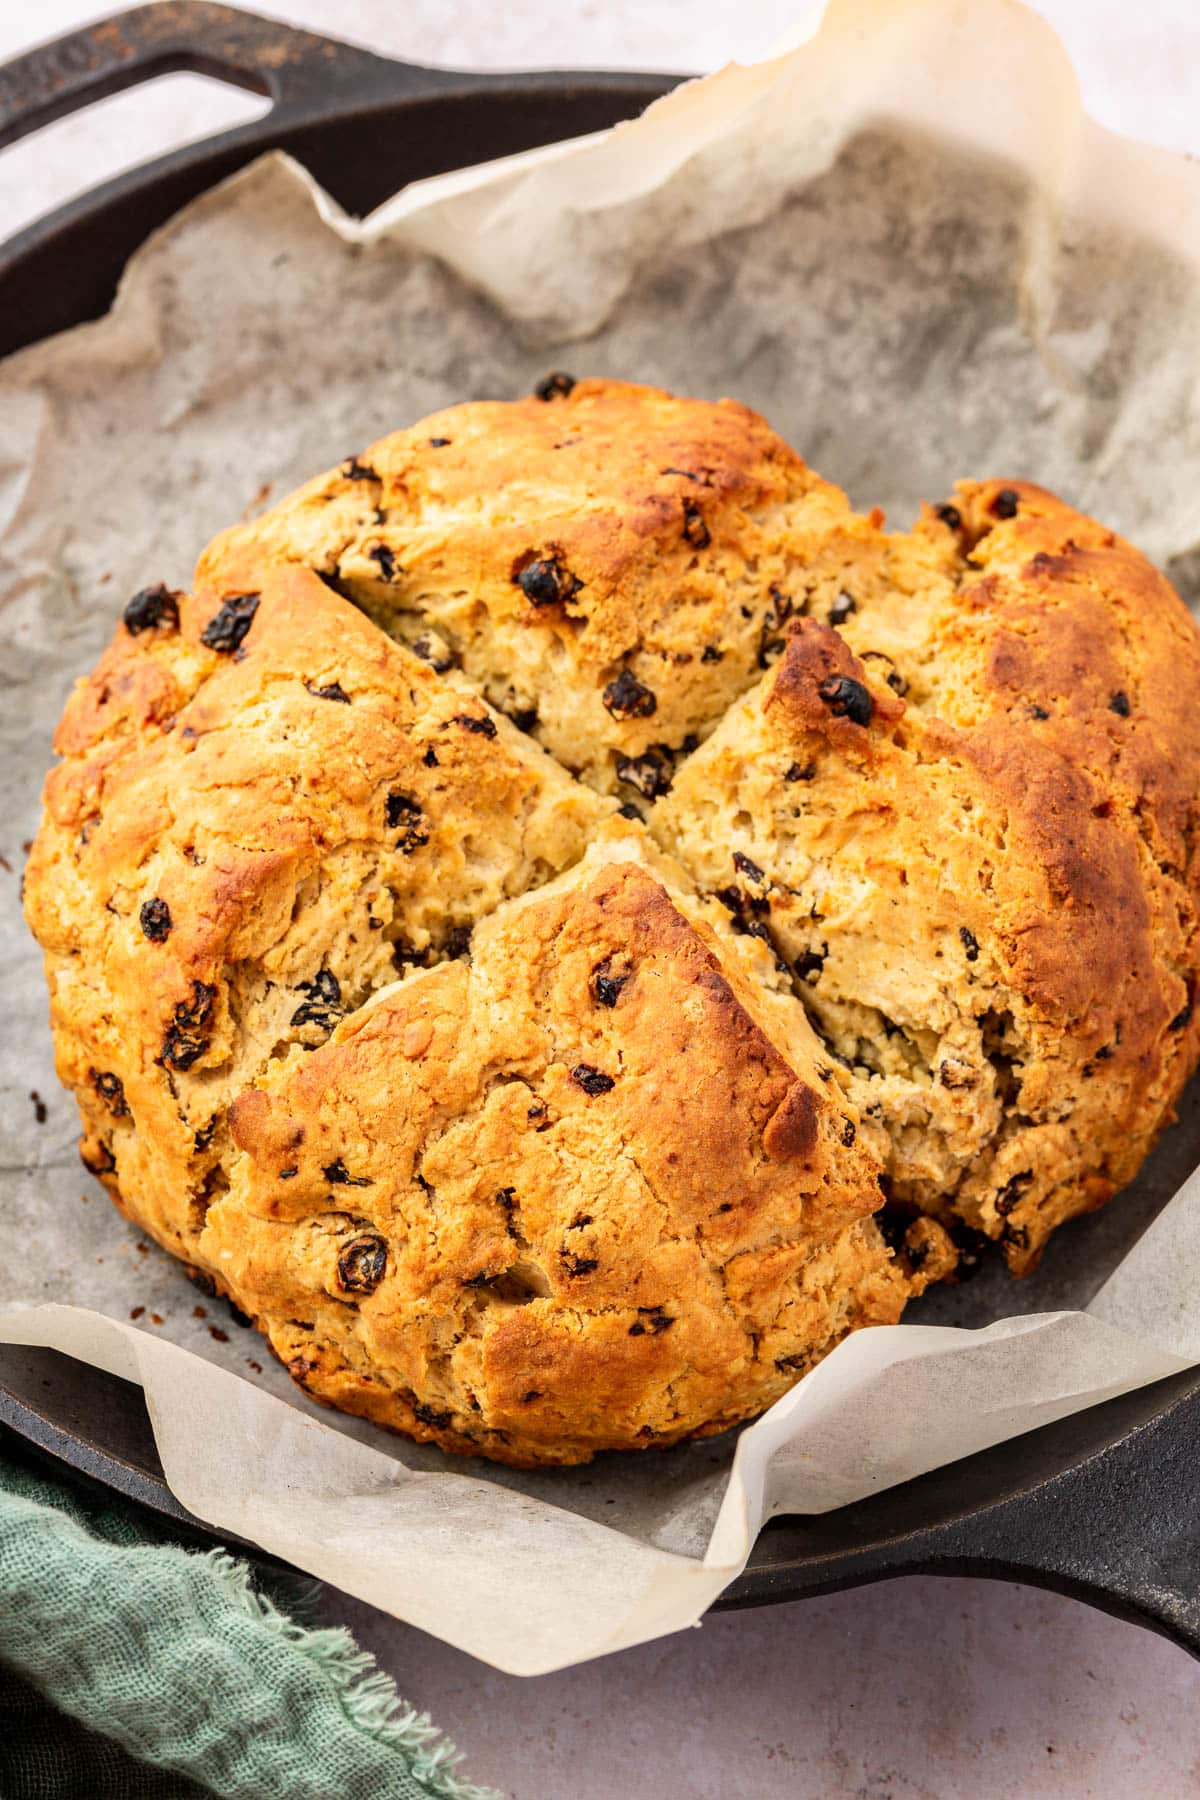 Gluten-FreeRecipeGluten-Free Irish Soda BreadThis gluten-free Irish soda bread is a quick bread made with buttermilk, baking soda, and cold butter. No yea…
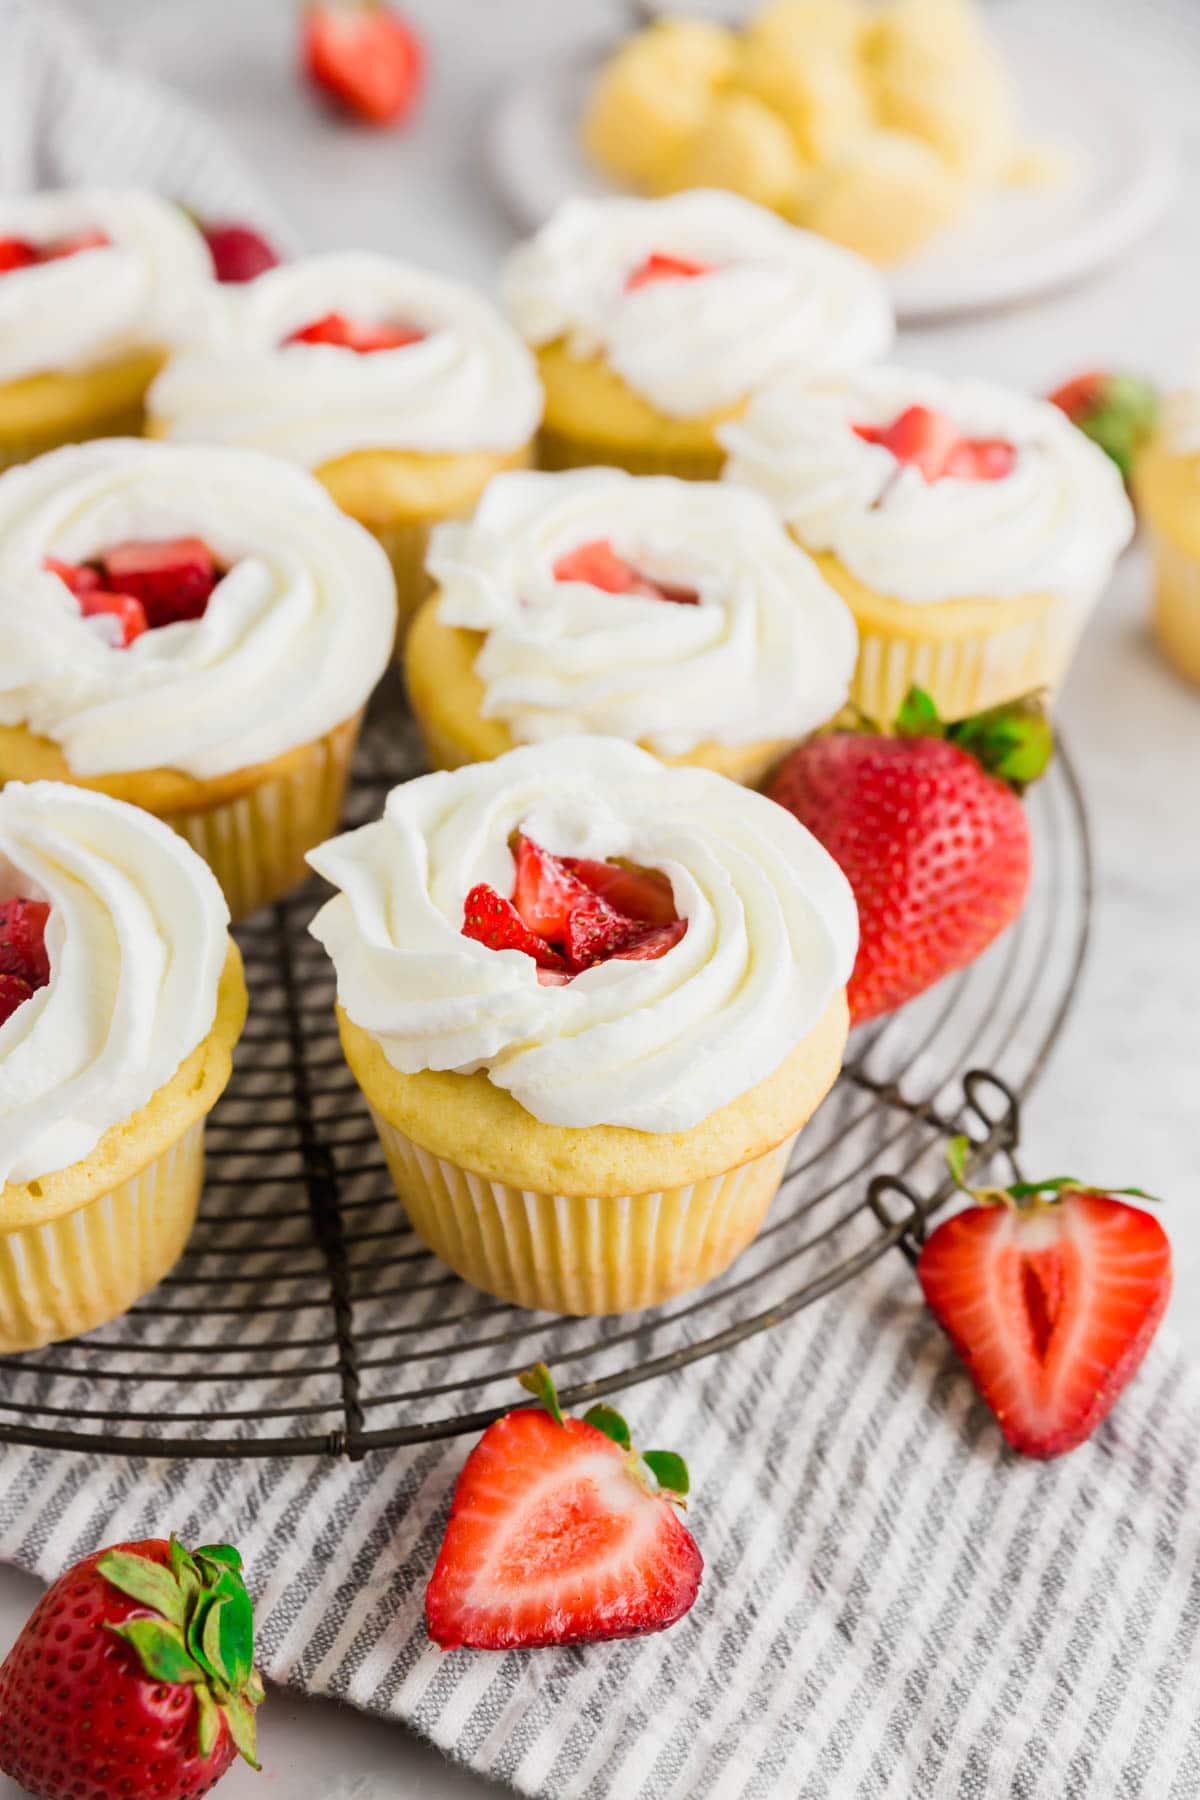 Gluten-FreeRecipeGluten-Free Strawberry Shortcake CupcakesStrawberry shortcakes get a makeover with these gluten-free strawberry shortcake cupcakes. Vanilla cupcakes a…