Gluten-Free Snickerdoodle Bars
These gluten-free snickerdoodle bars are thick, chewy, and topped with a cinnamon sugar coating that gives them that classic snickerdoodle flavor. No mixer needed and ready in about 35 minutes.
- Prep10 min
- Cook26 min
- Total36 min
- Yield18 blondies
11 Aug 2011
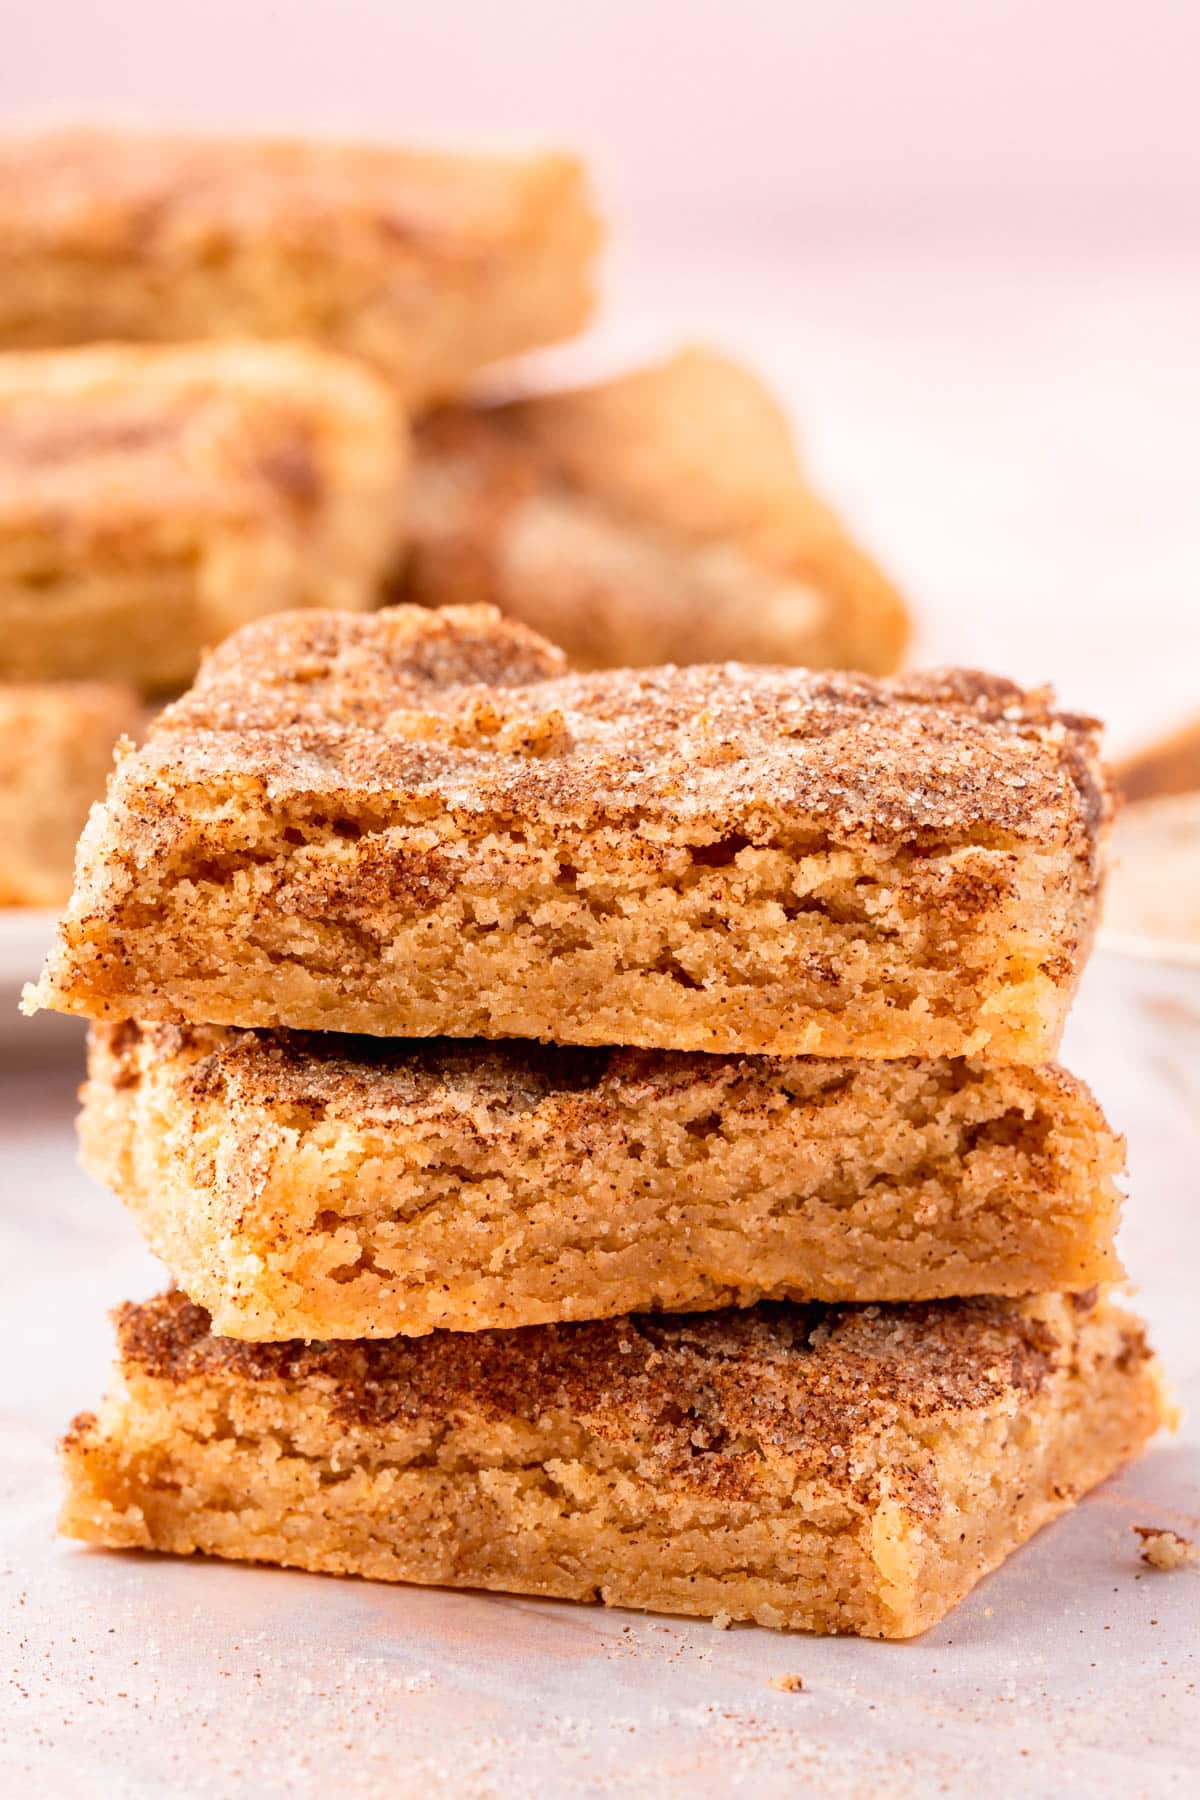
These gluten-free snickerdoodle bars have all the flavor of a classic snickerdoodle cookie but in an easy, sliceable bar format. The dough comes together in one bowl with no mixer and no chilling required, which makes them one of the faster bar recipes on the site. Melted butter instead of softened butter is what keeps them thick and chewy all the way through.
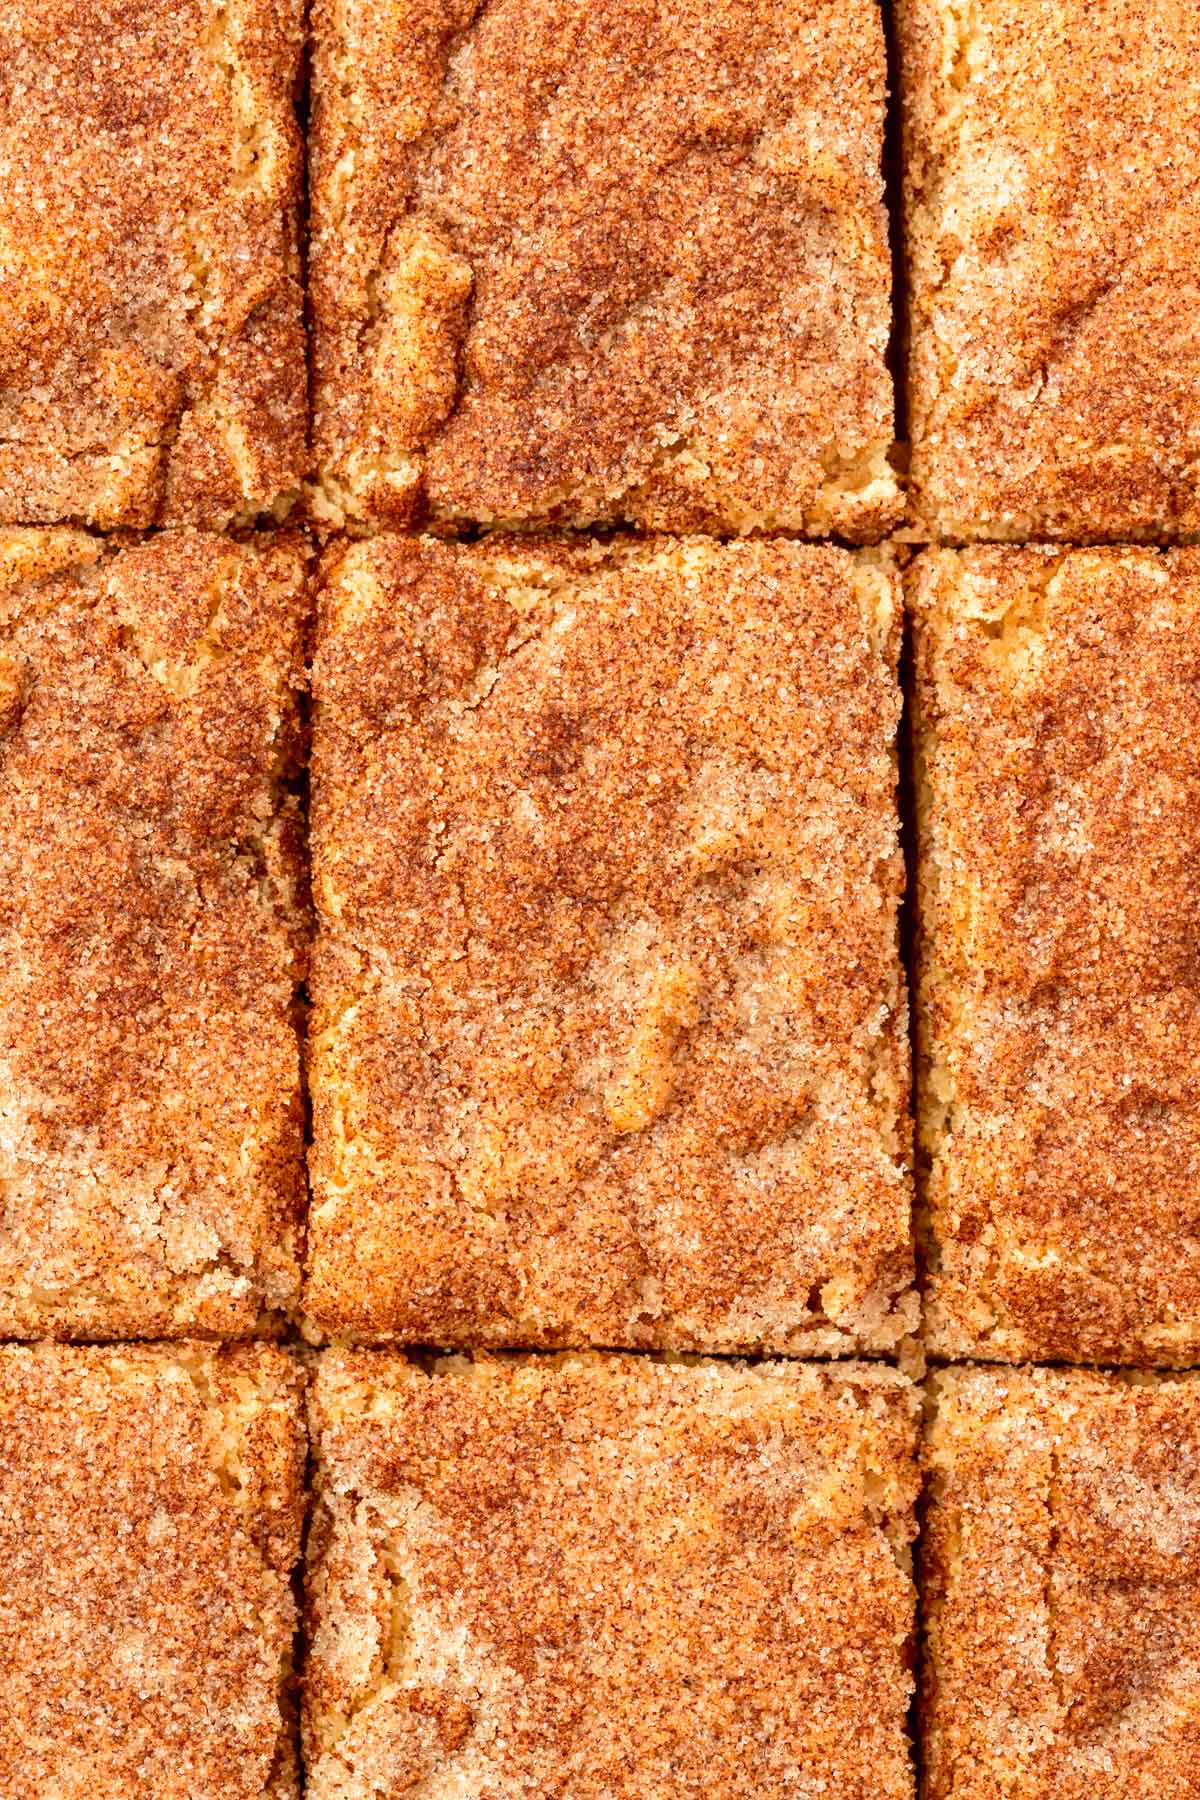
The cinnamon sugar topping goes on right before baking and gives you that classic snickerdoodle coating without having to roll individual dough balls. One 9×13 pan makes 18 bars, which is enough to bring somewhere or stock the freezer for later.
Why You’ll Love This Recipe
- No mixer needed. The dough comes together in one bowl with a whisk and spatula. Melted butter means you don’t have to wait for anything to soften or cream.
- Faster than making cookies. No scooping, no rolling, no batches. Spread the dough in the pan, add the cinnamon sugar topping, and bake.
- Tastes just like the classic cookie. Cream of tartar gives these bars that signature tangy snickerdoodle flavor so they don’t just taste like a cinnamon sugar bar.
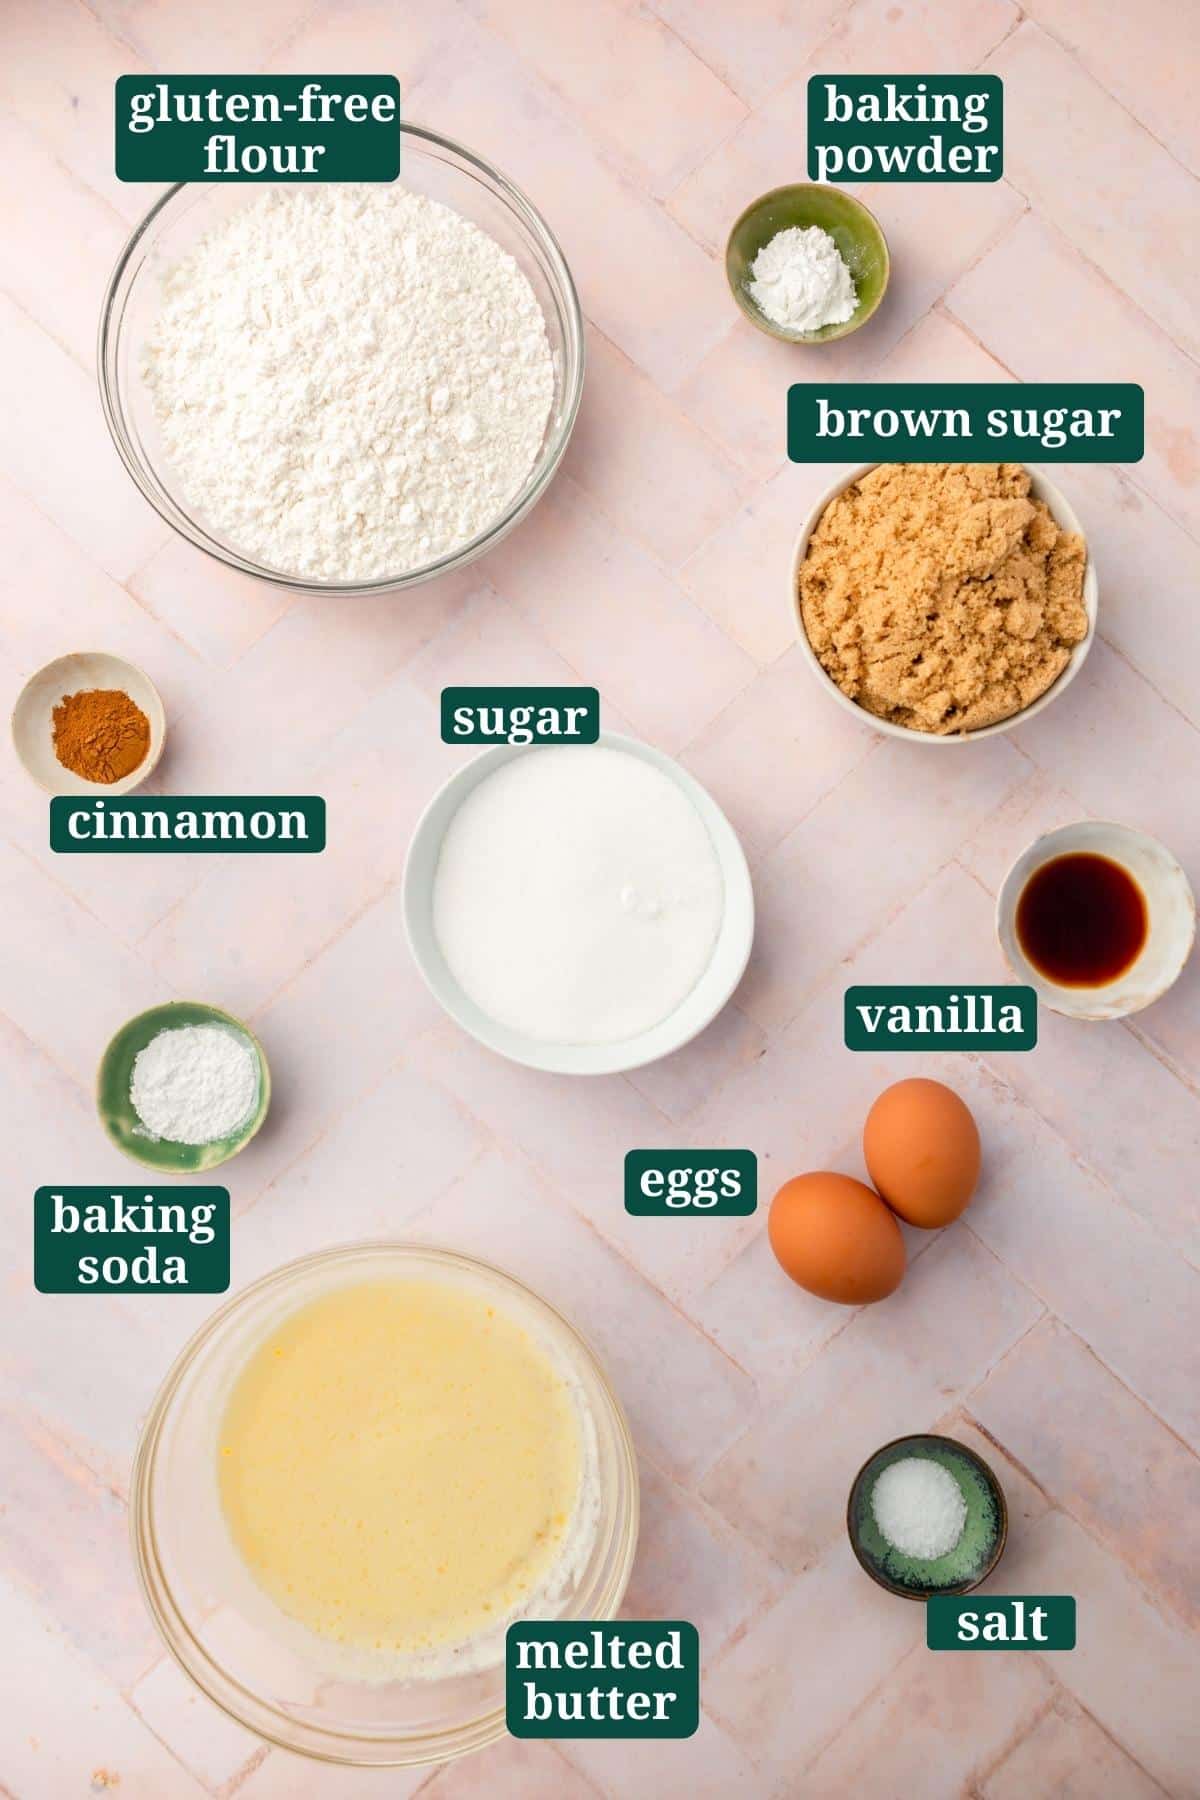
Ingredient Notes
- Gluten-Free Flour Blend – Tested with Bob’s Red Mill 1-to-1 and King Arthur Measure for Measure. Both already contain xanthan gum. I can’t guarantee results with other blends.
- Cream of Tartar – What gives these bars their snickerdoodle flavor. Without it you’d just have a cinnamon sugar bar. Don’t skip it.
- Melted Butter – Using melted rather than softened butter is what makes these bars thick and chewy. Let it cool slightly before mixing in so it doesn’t scramble the eggs.
- Brown Sugar – The combination of brown and granulated sugar gives these bars chew and flavor. Don’t swap it out for all white sugar.
- Cinnamon Sugar Topping – Go heavy with it. A generous coating on top is what gives you that classic snickerdoodle finish.
Why I Include Metric Measurements
Measuring ingredients by weight gives you consistent results every single time. Gluten-free flour is especially sensitive to how it’s scooped, so even a small variation can affect how these bars turn out. I’ve included grams for every ingredient in the recipe card so you can just weigh as you go. Once you start baking by weight, you’ll never go back to cups.
Recipe FAQs
Are snickerdoodles gluten-free?Traditional snickerdoodles are not gluten-free because they’re made with all-purpose flour. This recipe uses a gluten-free flour blend to make them gluten-free.
Why are my snickerdoodle blondies dry?The most common reason is overbaking. Pull them when the edges are set and the center no longer looks shiny. They’ll firm up as they cool and will be dry if you leave them in too long.
Expert Tips
- Line the pan with parchment. Leave an overhang on the sides so you can lift the whole slab out before slicing. It makes for much cleaner cuts than trying to slice in the pan.
- Be generous with the cinnamon sugar. The topping is what makes these taste like a snickerdoodle. Don’t hold back.
- Don’t overbake. Pull the bars when the edges are set but the center still looks slightly underdone. They’ll continue to firm up as they cool and will be dry if you wait too long.
Storage Instructions
- Room Temperature: Store in an airtight container for up to 2-3 days.
- Freezer: Freeze in a single layer on a sheet pan until solid, then transfer to a freezer-safe bag or container for up to 3 months. Thaw at room temperature for about 30 minutes before eating.
- Make Ahead: These bars are great for making ahead. Bake a day in advance and store at room temperature overnight. The texture is just as good the next day.
Serving Suggestions
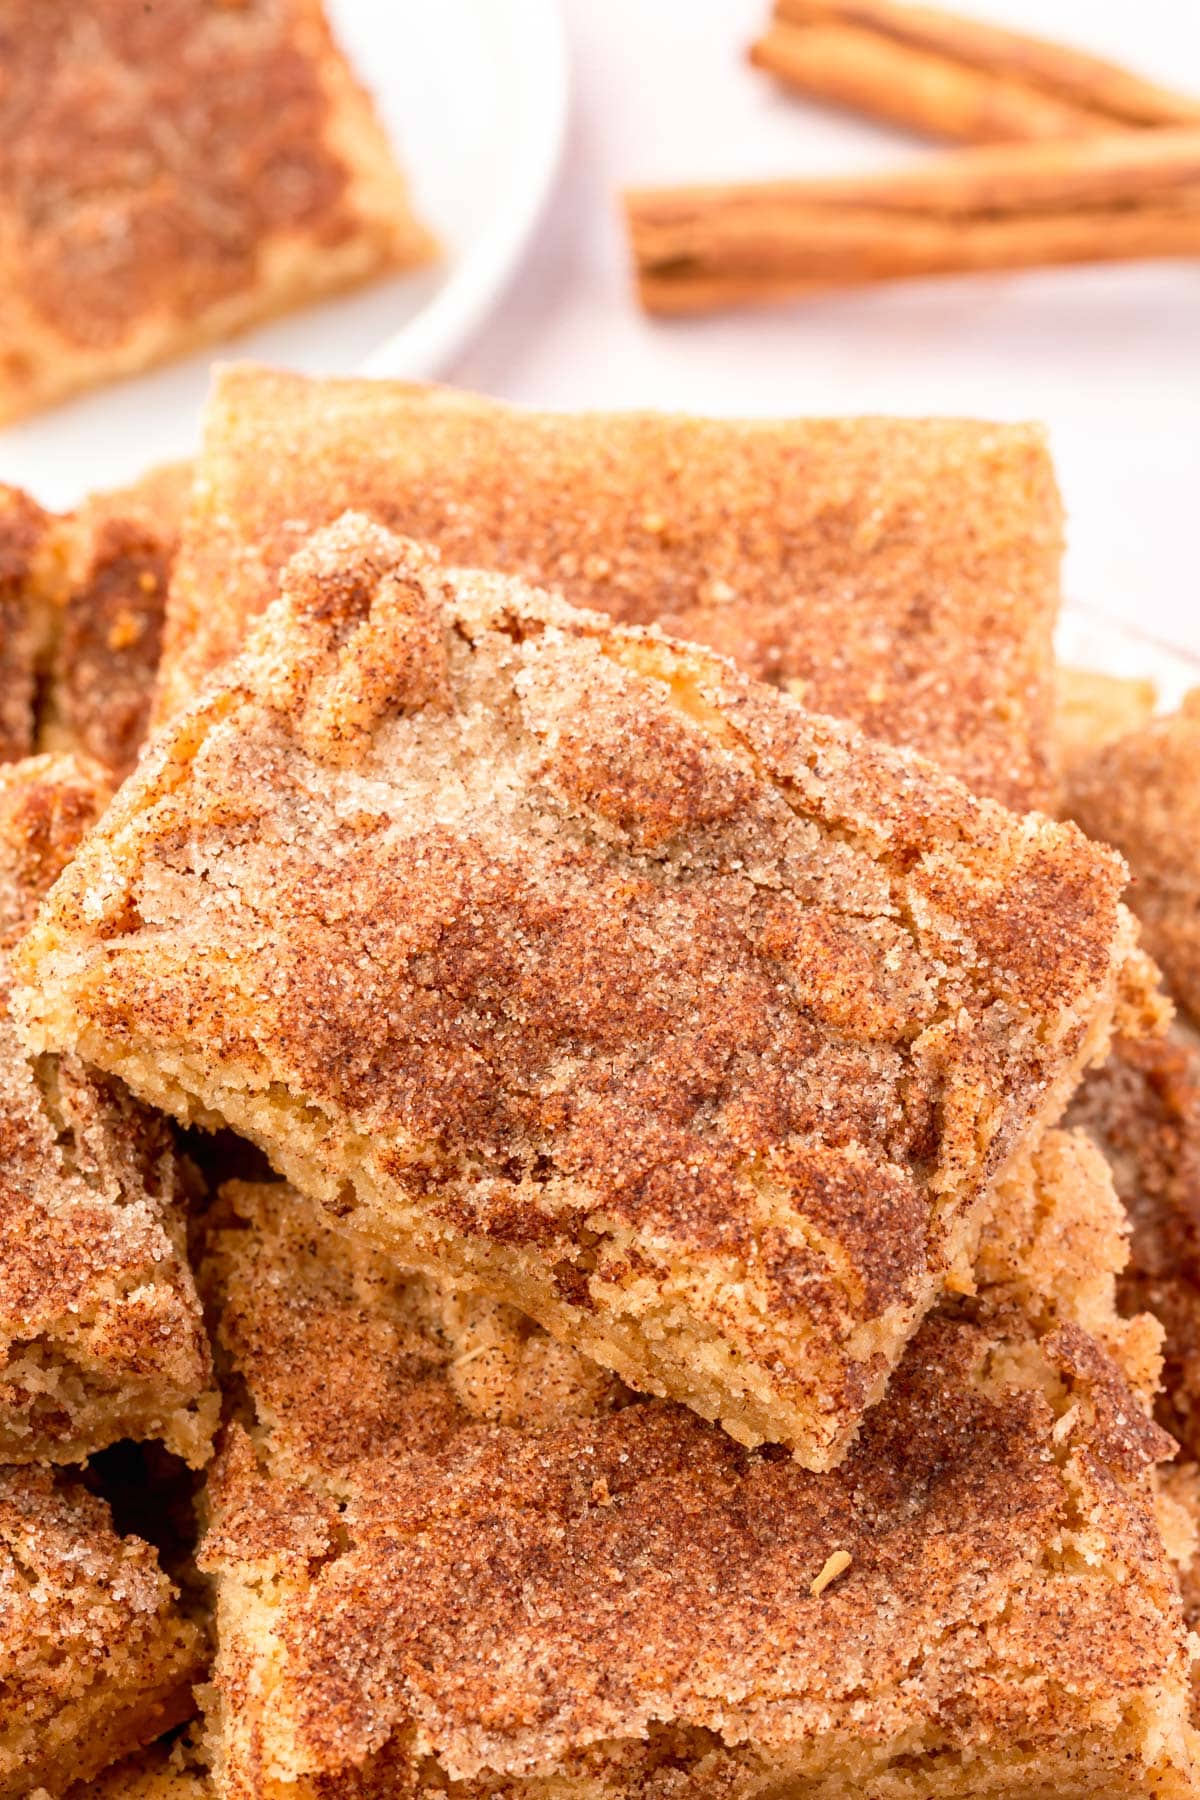
These bars are easy to slice and stack, which makes them good for bringing somewhere or packing into a treat box. They go well alongside my gluten-free snickerdoodles if you want the cookie and bar version of the same flavor on one platter. For a full bar spread, my gluten-free chocolate chip cookie bars and gluten-free blondies are made in the same 9×13 pan and slice up the same way, so you can make all three and cut them into similar sized pieces for a crowd.
Method
-
1
Preheat the oven to 350°F. Grease a 9x13 inch baking pan and line with parchment paper, leaving an overhang on the sides for easy removal. Set aside.
-
2
In a medium bowl, whisk together 2¼ cups gluten-free flour blend, 2 teaspoon baking powder, 1½ teaspoons cream of tartar, 1 teaspoon salt, and 1 teaspoon cinnamon. Set aside.
-
3
In a large bowl, whisk together 1 cup brown sugar, ¾ cup granulated sugar, and 1 cup unsalted butter (melted and slightly cooled) until combined. Make sure the butter is not hot or it will cook the eggs. Add 2 large eggs and 2 teaspoons vanilla extract and whisk until smooth.
-
4
Add the dry ingredients to the wet ingredients and stir with a spatula until no streaks of flour remain. Do not overmix.
-
5
In a small bowl, combine 2 tablespoons granulated sugar and 1 teaspoon ground cinnamon for the topping.
-
6
Transfer the batter to the prepared pan and spread into an even layer with a spatula or offset spatula.
-
7
Sprinkle the cinnamon sugar topping generously and evenly over the batter.
-
8
Bake at 350℉ for 22 to 26 minutes, until the edges are set and the center no longer looks shiny. Do not overbake.
-
9
Let cool in the pan before lifting out using the parchment overhang and slicing into 18 bars.
Cook next
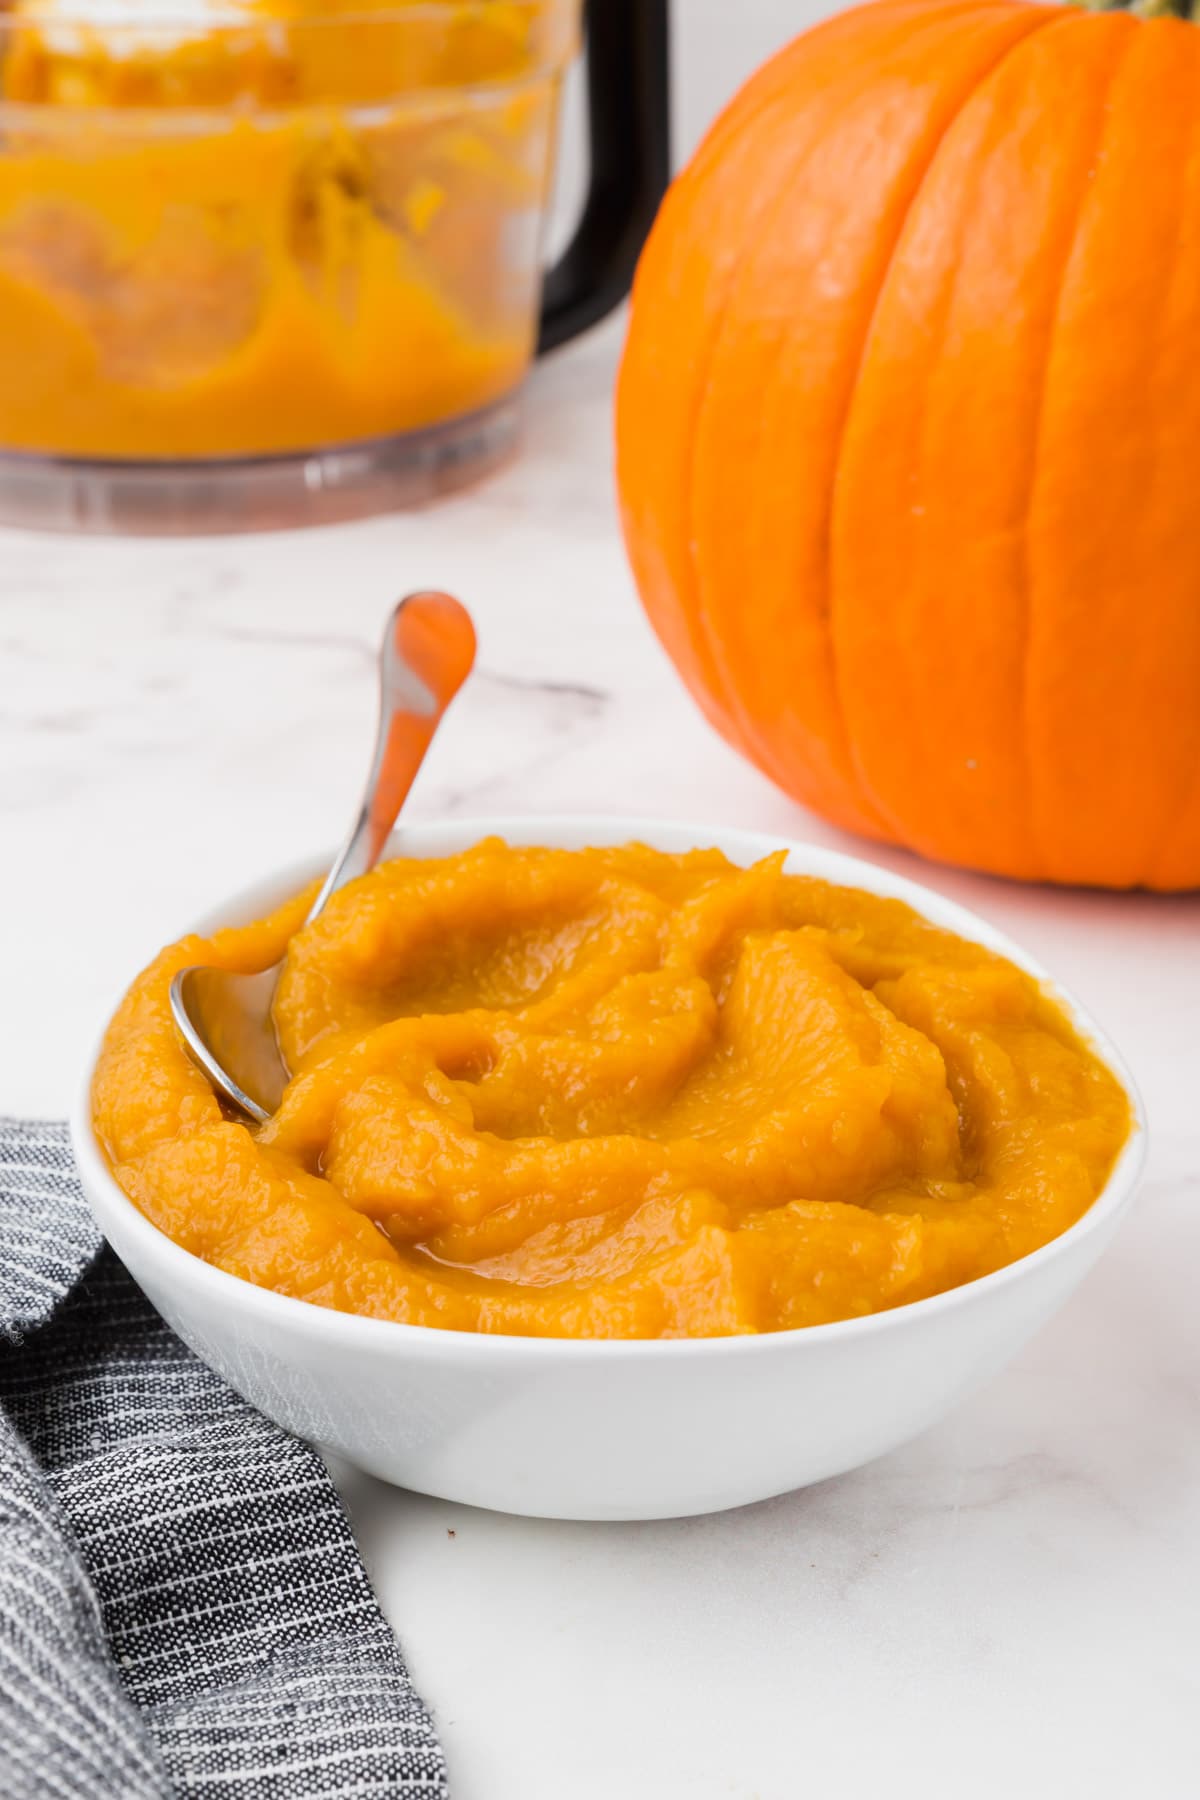 Gluten-FreeRecipeHow to Make Pumpkin PureeThis homemade pumpkin puree is so easy to make with just one ingredient needed. With these simple tips and tr…
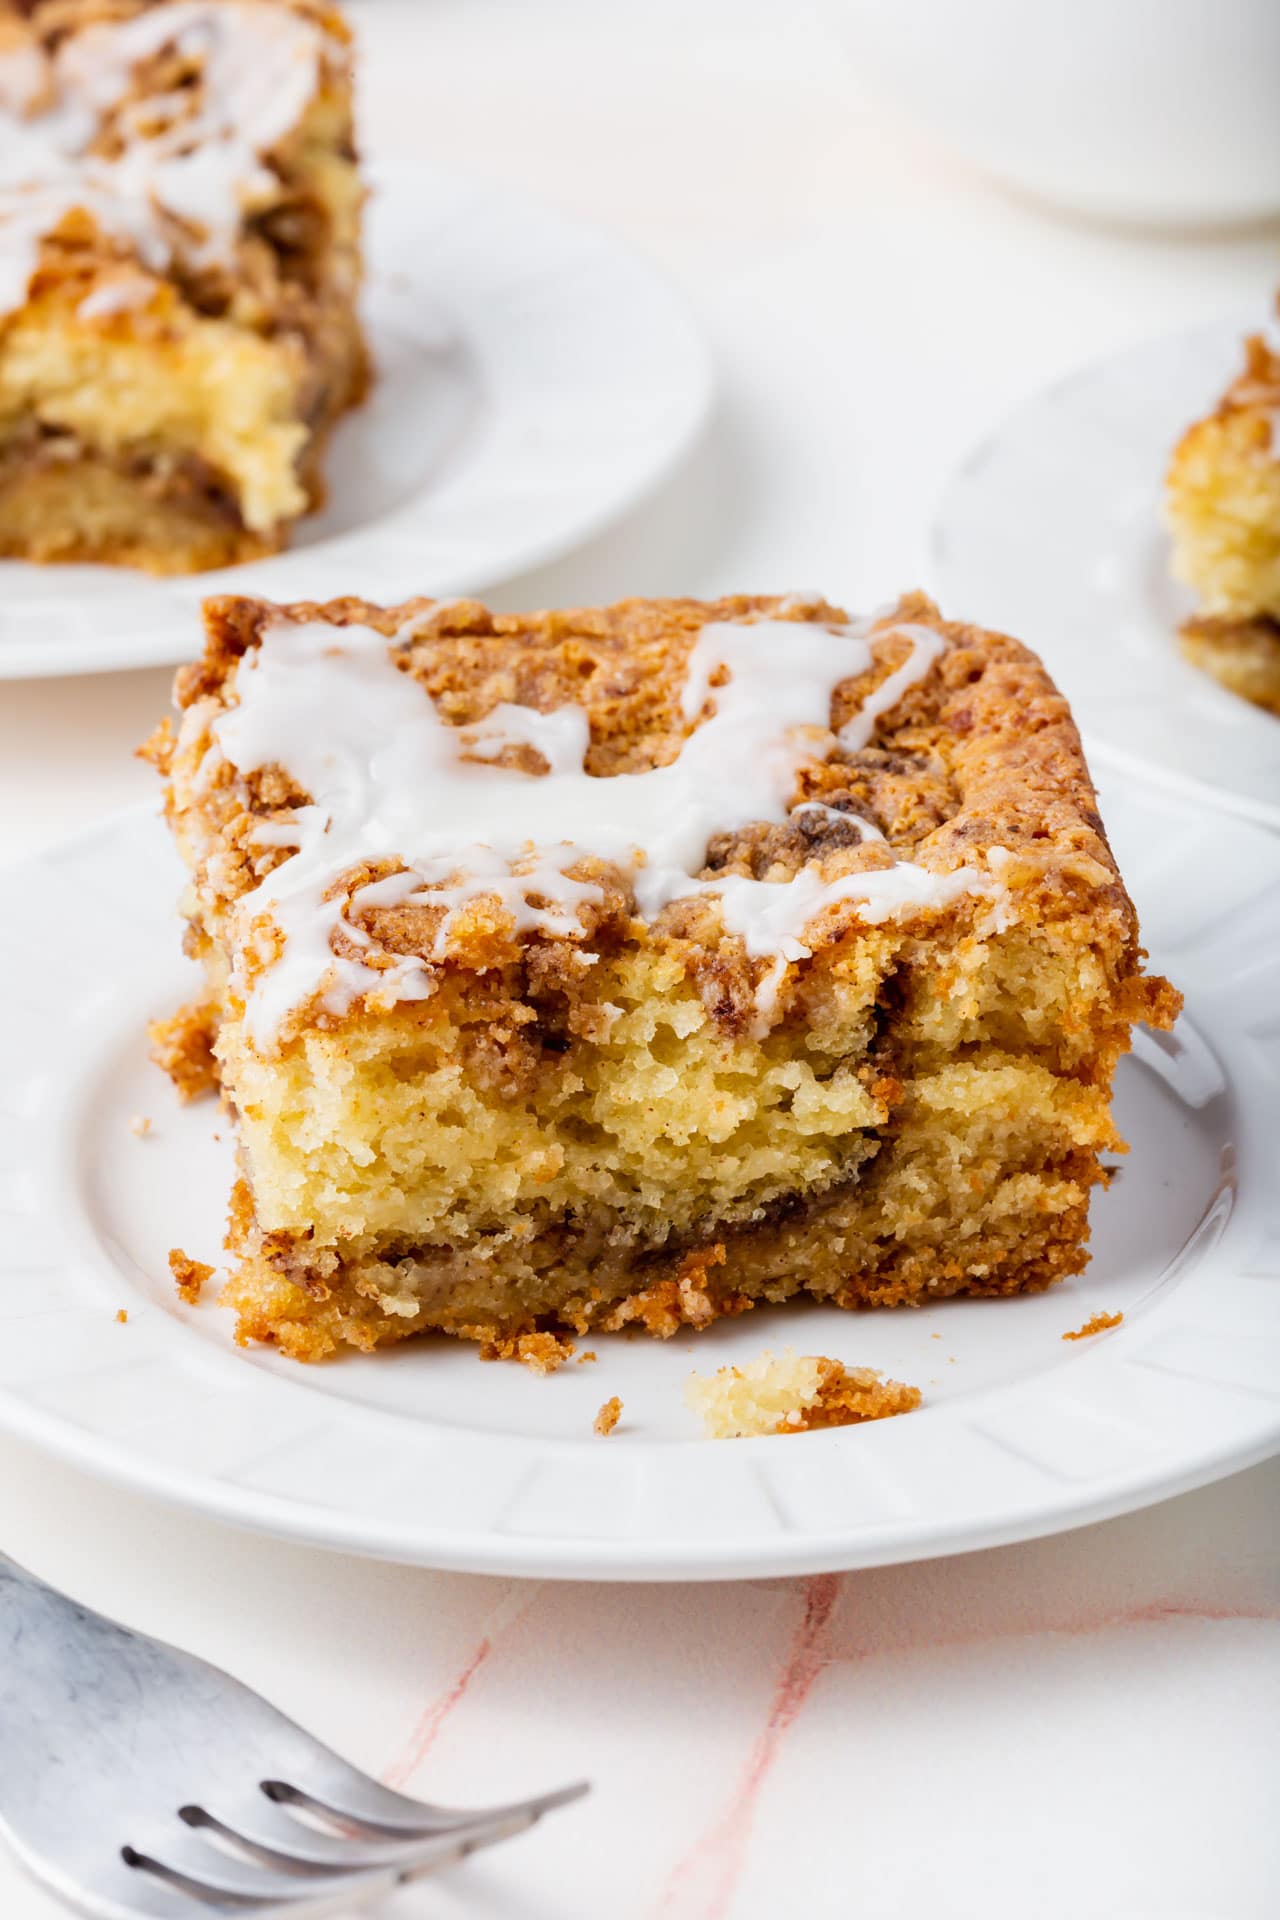 Gluten-FreeRecipeGluten-Free Coffee CakeGluten-free coffee cake with a cinnamon sugar swirl through the middle, a thick crumbly streusel on top, and…
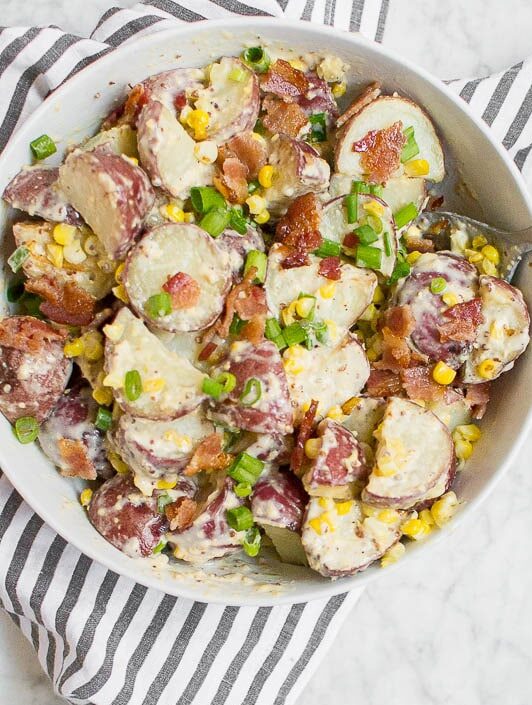 Gluten-FreeRecipeRoasted Red Potato Salad with Bacon and CornThis roasted red potato salad comes together on one sheet pan with crispy bacon, sweet roasted corn, and a cr…
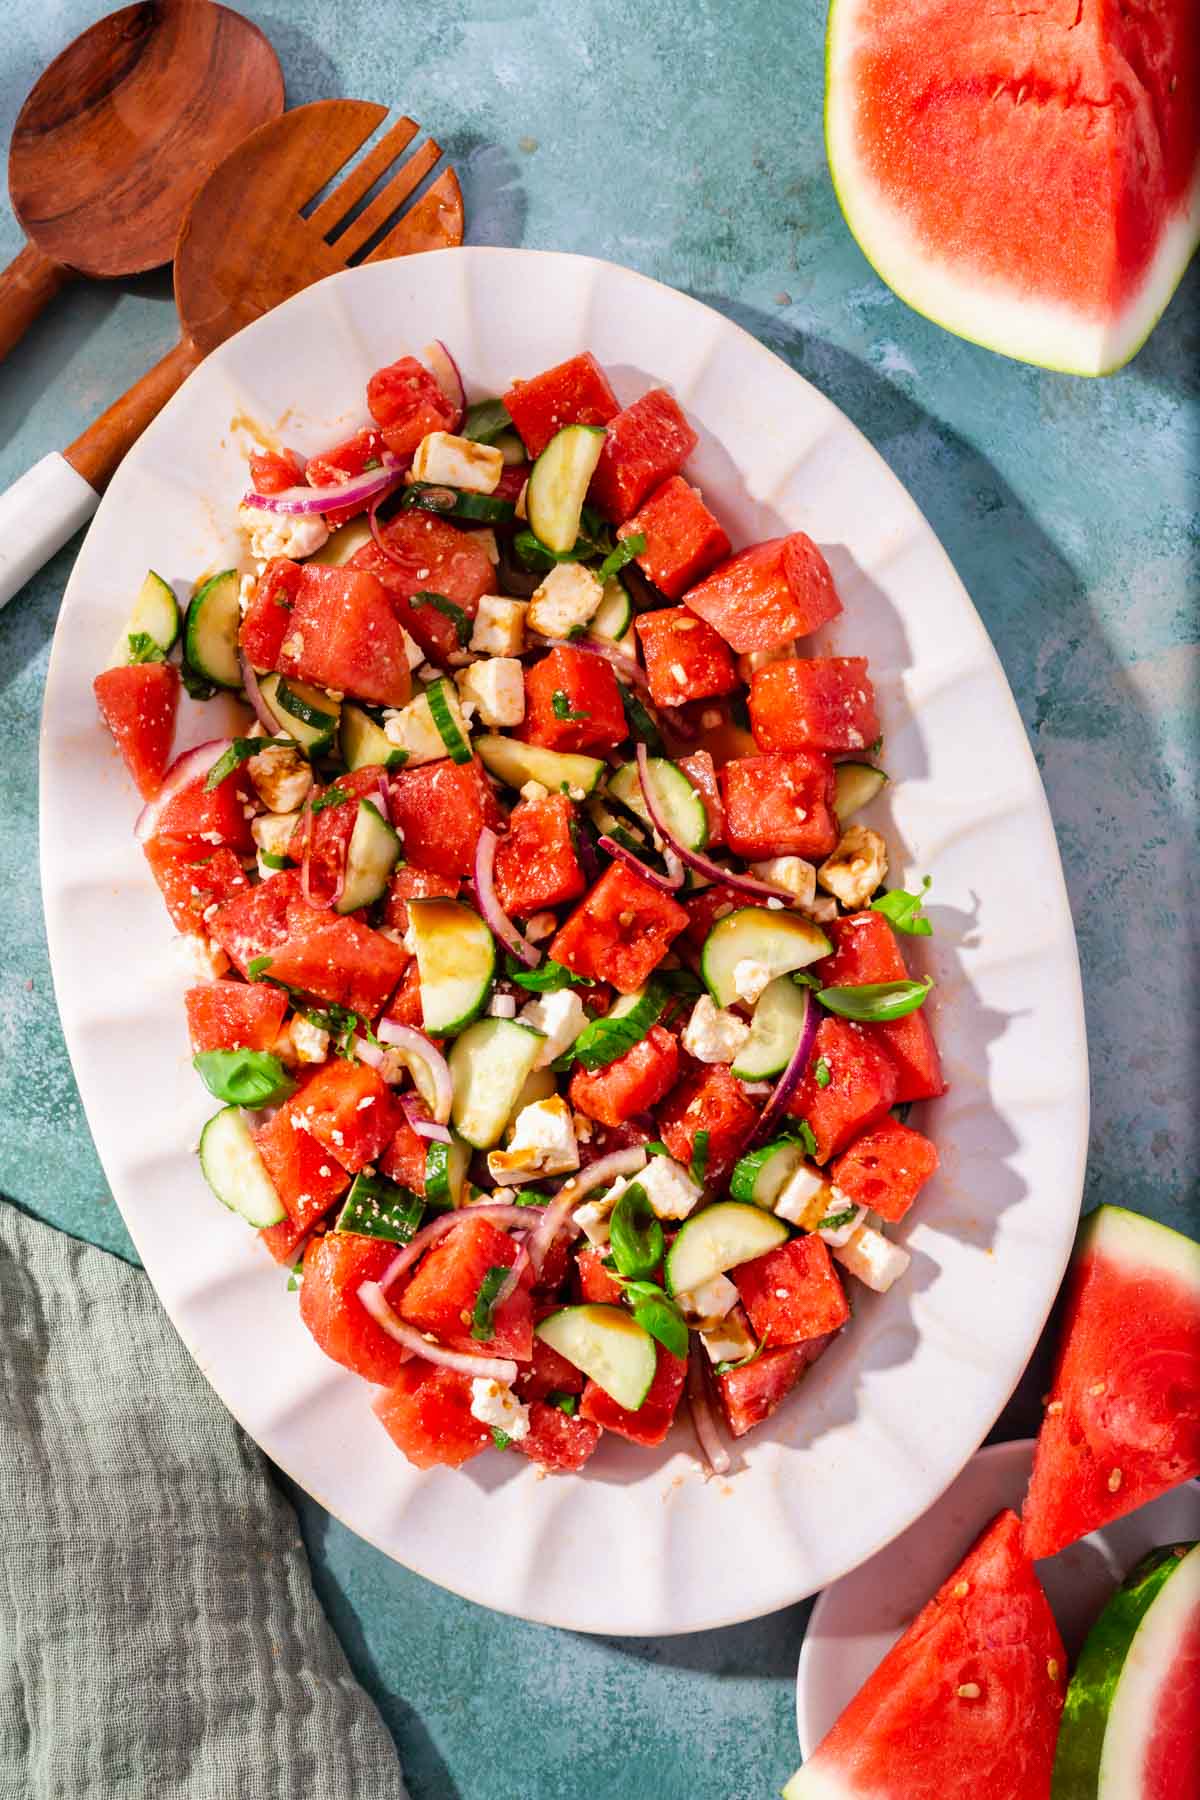 Gluten-FreeRecipeWatermelon Basil Salad with Feta and CucumberThis watermelon basil salad is made with juicy watermelon, English cucumber, red onion, fresh basil, and feta…
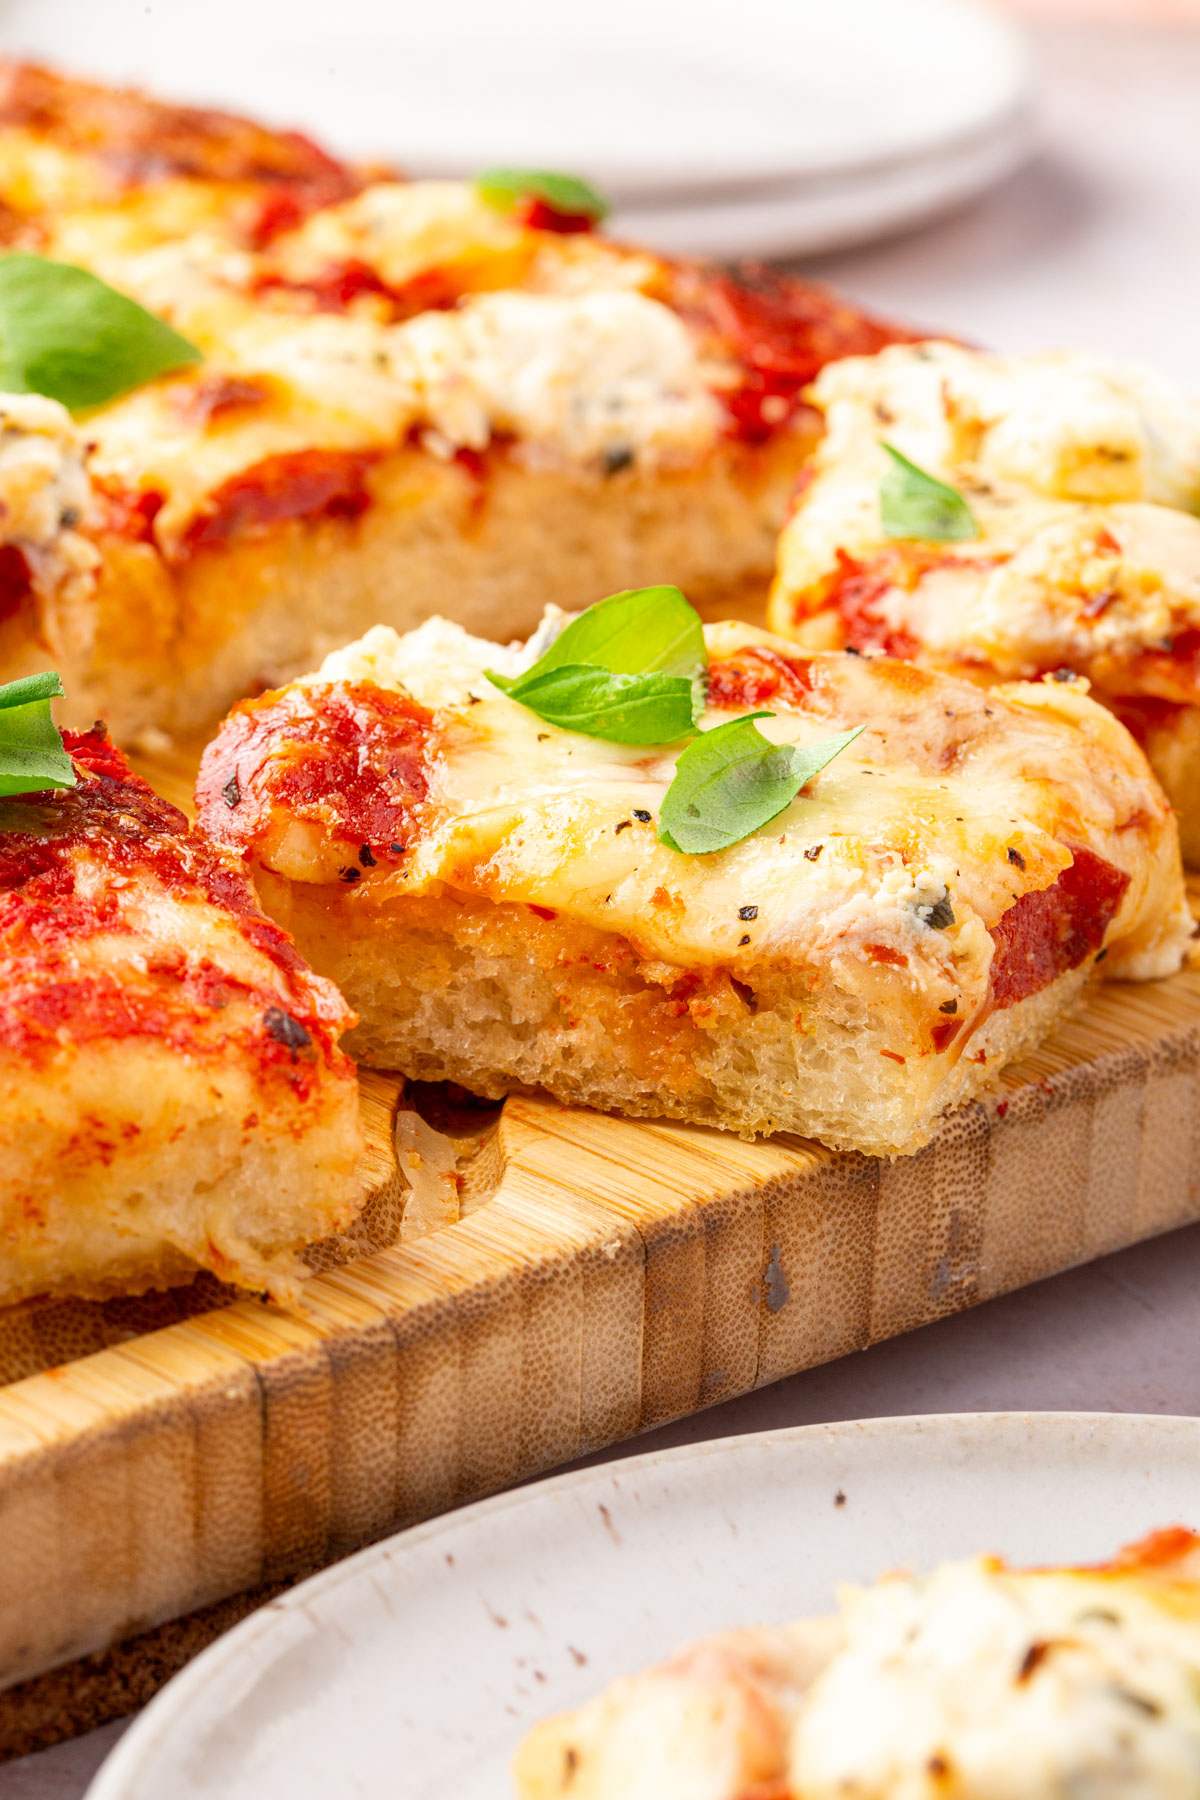 Gluten-FreeRecipeGluten-Free Focaccia PizzaThis gluten-free focaccia pizza has a crispy, golden bottom and a soft, airy interior — perfect for holding s…
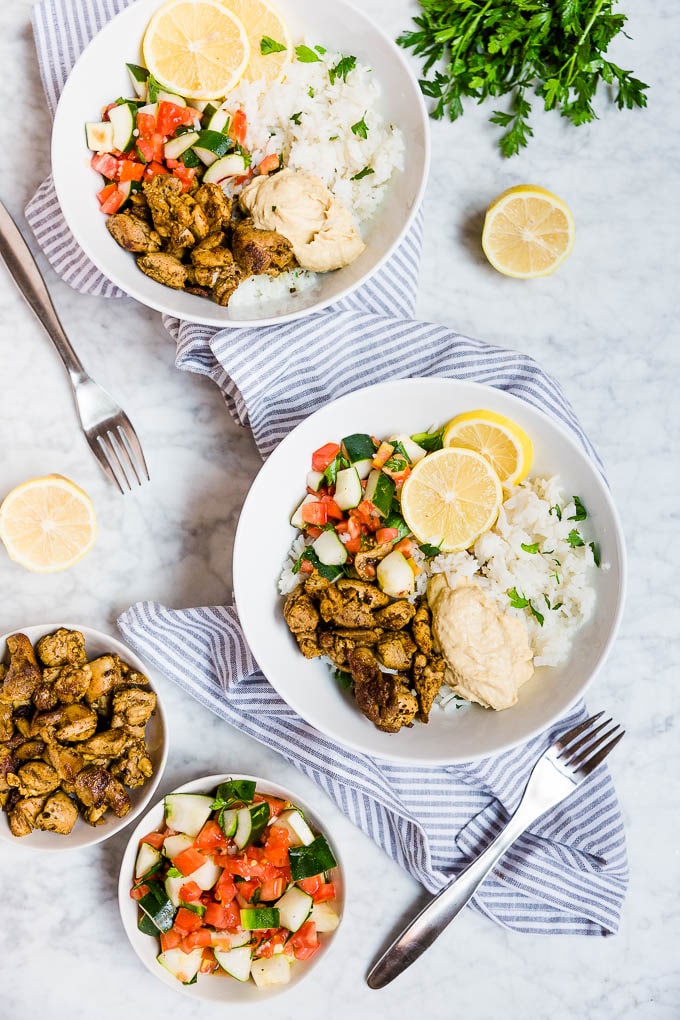 Gluten-FreeRecipeMediterranean Chicken BowlsThese mediterrean chicken bowl are great for meal prep. Seasoned chicken, rice, hummus and a tomato cucumber…
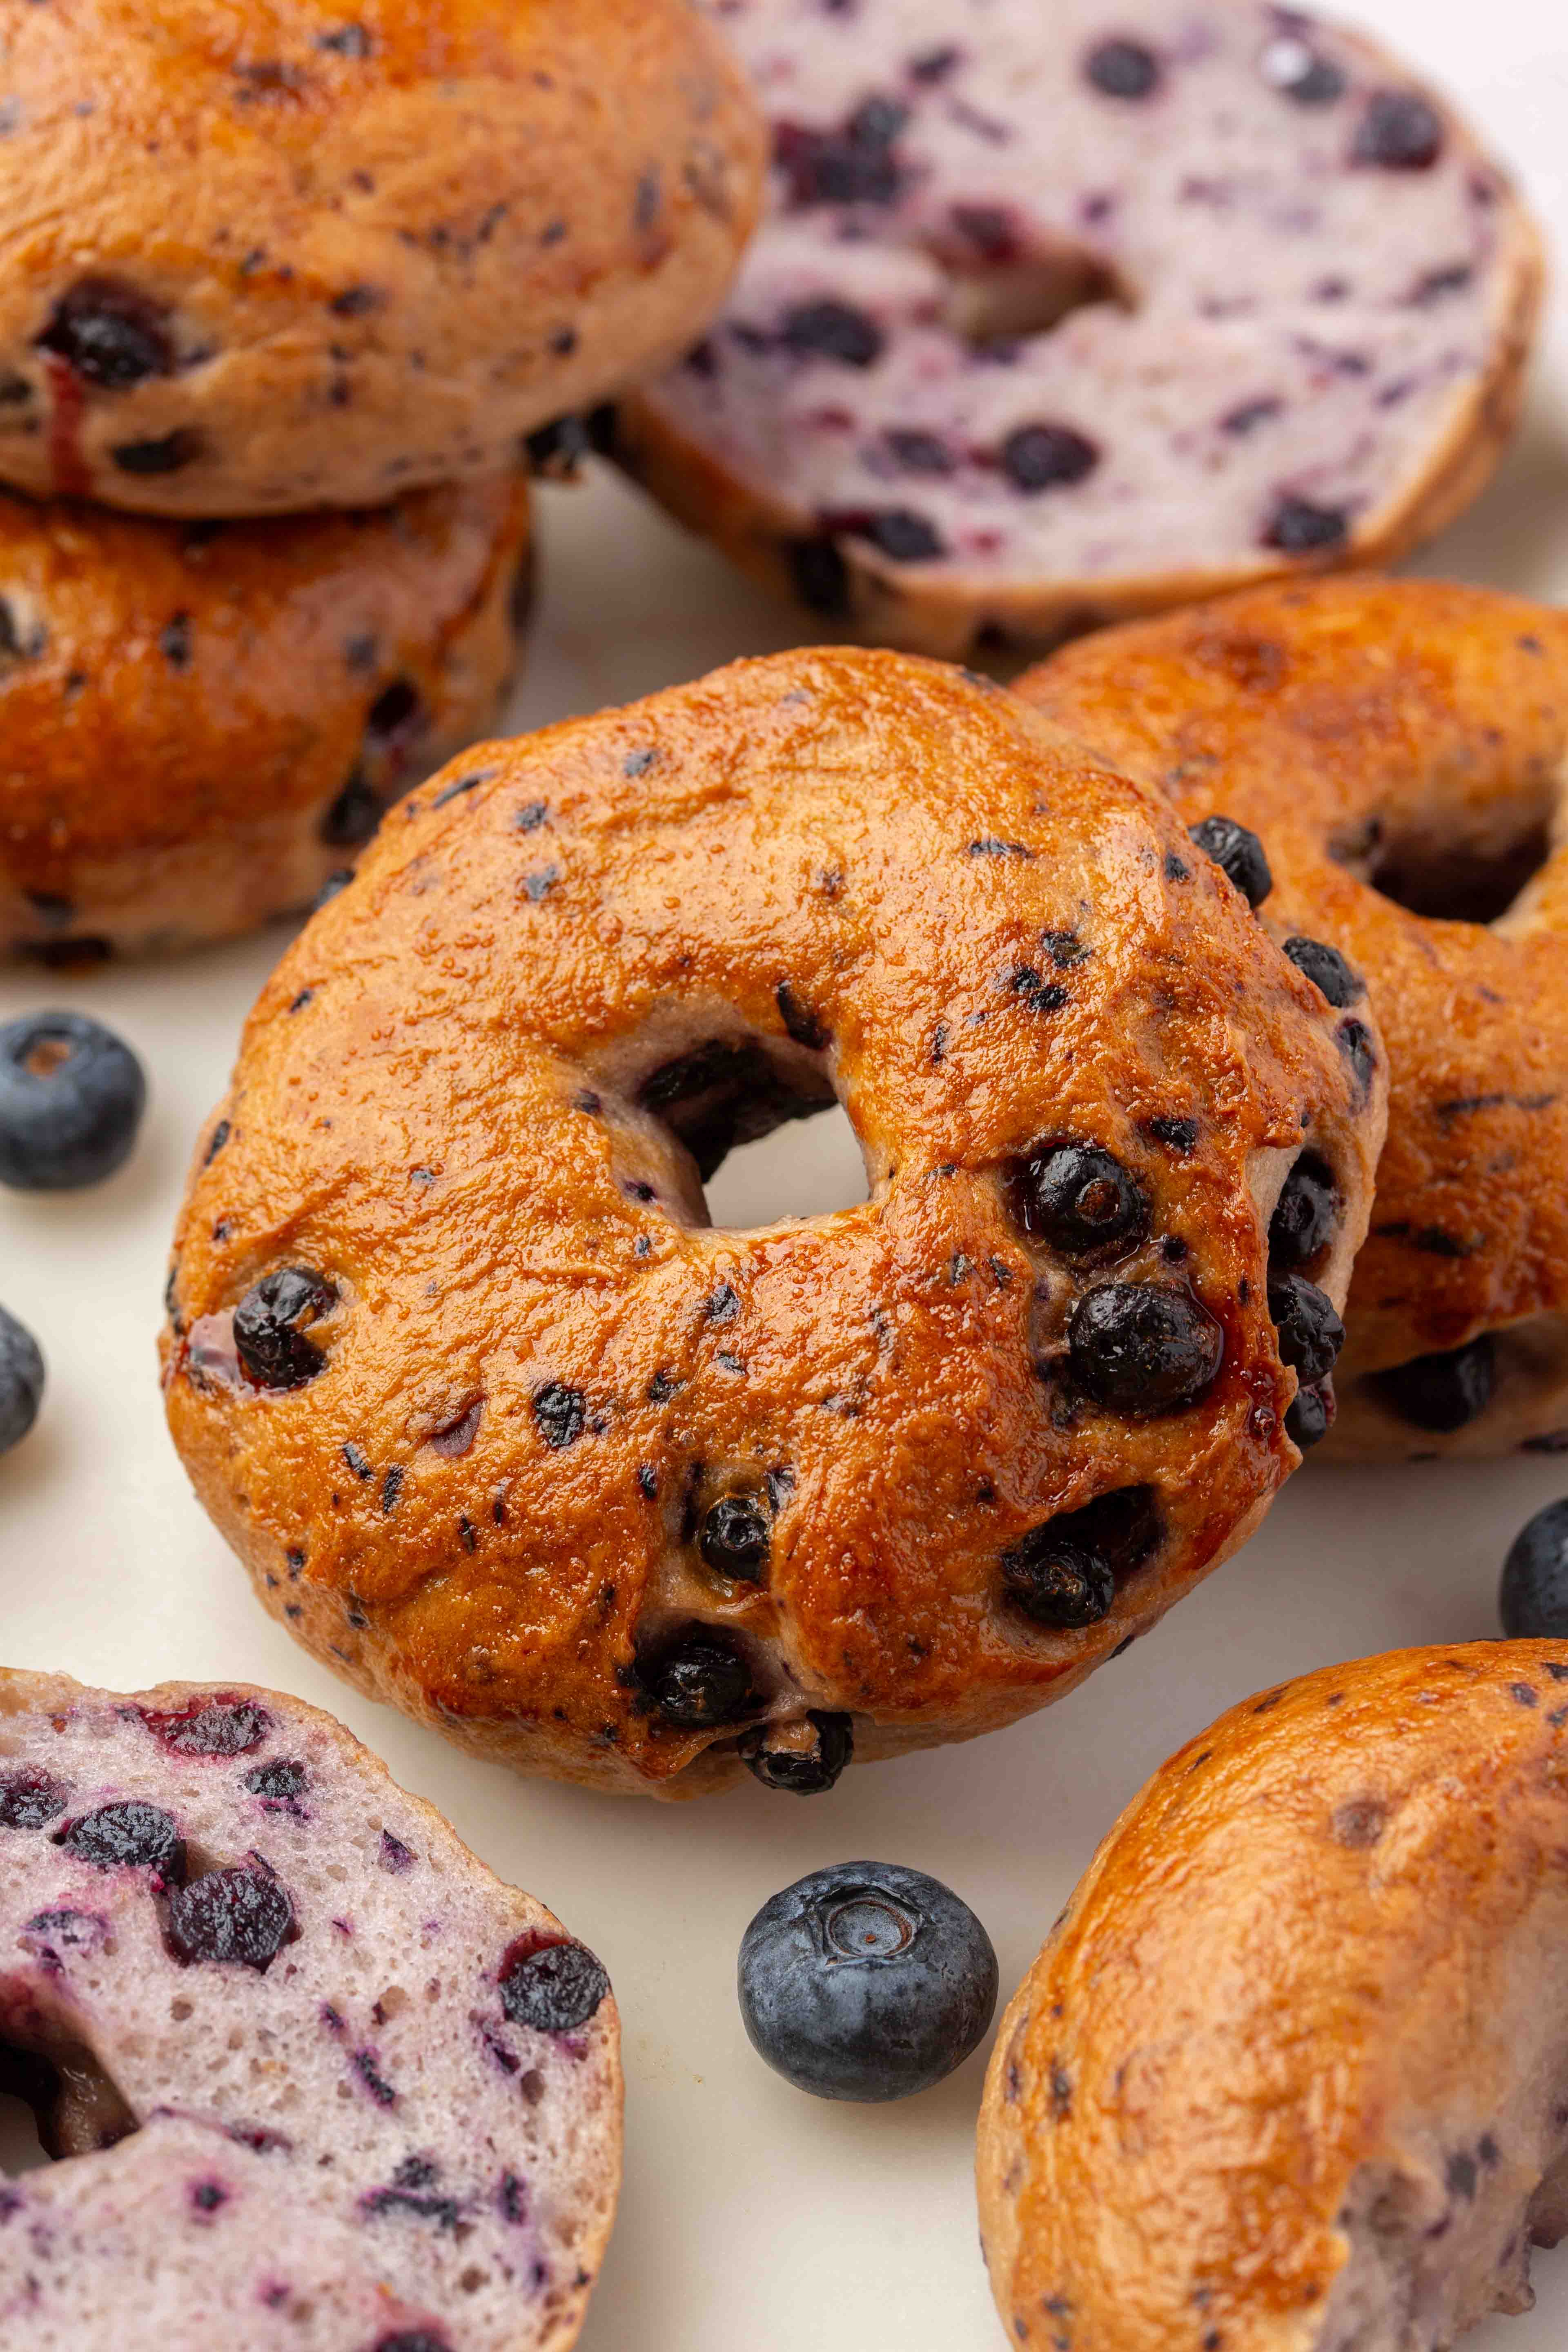 Gluten-FreeRecipeGluten-Free Blueberry BagelsThese gluten-free blueberry bagels are chewy and dense, with fresh blueberries worked into the dough and drie…
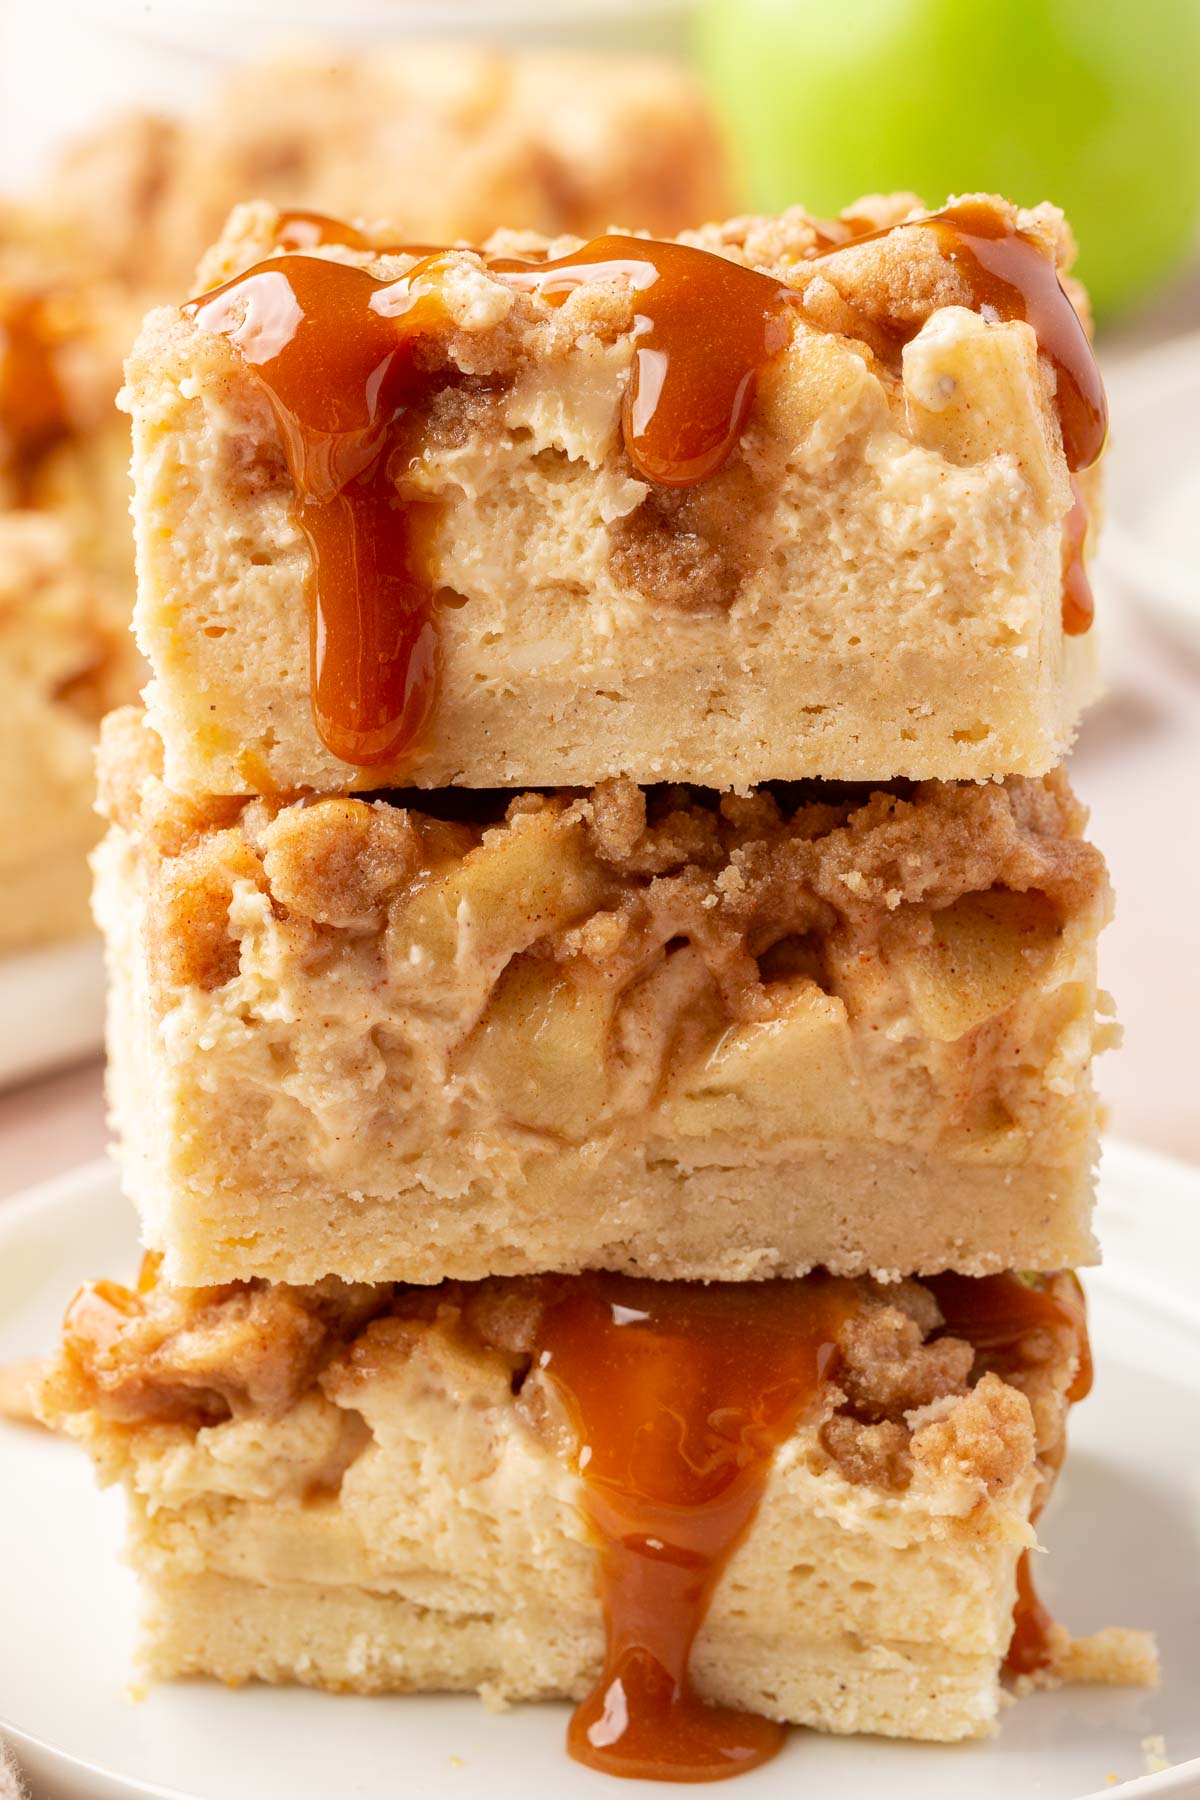 Gluten-FreeRecipeGluten Free Caramel Apple Cheesecake BarsThese gluten-free caramel apple cheesecake bars have a simple shortbread base paired with a smooth cheesecake…